12 minute read
CAREER COACH


UH-OH! I PAINTED ONA HOTDAY, AND NOW MY FRONT DOOR LOOKS ALL BUMPY.
You’ll have to use a paint scraper to remove the blisters (bumps), then sand them smooth before startingover. This time, waituntil the temperature is between 50 and 85 degrees Fahrenheit. Any colder orwarmer than that and the paint may not bind together properly as it dries,which can cause blisters to form again. Ifyou’re painting inside, remember that humidity can make the paint take longer to dry; sealing doors and windowsand setting up a fan in the room can help.
Advertisement
HOW TO PAINT IT
Follow these foolproof plans for painting anything and everything (beyond the walls*).
trim
Tape along edges where trim meets walls or other surfaces. Using an angled sash brush, first prime, then paint. Always move the brush in the direction of the wood grain (up and down if the trim is a vertical piece; side to side if it runs horizontally), covering 12 to 24 inches at a time. As you move to the next section, overlap your first stroke with the stillwet edge of the last one for a seamless result. Allow the first coat to dry (generally about an hour for latex paint); repeat.
ceiling
Starting in one corner, use an angled sash brush to cut in along the ceiling’s edge, creating a strip about three inches wide by three feet long. This is a crucial step because a roller can’t create a sharp line where the ceiling meets the wall. While the strip is still wet, switch to the roller, which will allow you to cover the surface much more easily and evenly. Use a zigzag pattern to paint three-foot-by-three-foot sections, overlapping each new section over the wet edge of the last one. (See How-To: Roll the Right Way, right.) Repeat the process along the entire surface.
*STARTING AT SQUARE ONE? Find how-tos for painting a wall at realsimple. com/walls.
floor
Prime, then apply two coats of paint, waiting for each coat to dry before applying the next one. Cut in a three-inch-bythree-foot strip along the edge. Then switch to a zigzag pattern using the roller. Remember: Don’t paint yourself into a corner; figure out your escape route before you begin. Finish with a coat of clear acrylic polyurethane for extra durability.
front door
Rehanging a door can be tricky, so it’s better to paint it in place. Pick a dry day when pollen levels are low or you’ll end up with a coat of pollen dust stuck to your new paint. Use a plastic drop cloth and masking tape to seal the doorway from the outside so the door can stand open as you work and while it dries. Cover the hardware with painter’s tape, or remove it. Wash the surface using a sponge dipped in soapy water, and rinse with a clean, damp cloth. Sand with 220grit sandpaper, wipe away the dust with a damp rag, and let dry. Prime, then apply two coats of paint, brushing in the direction of the grain with a wood door. HOW-TO
ROLL THE RIGHT WAY Roll too hard and you’ll get thin coverage and an orange-peel texture; too lightly and you’ll get thick patches that could crack when dry.
STEP 1 Dip the roller about ½ inch into the paint tray, then roll against the tray’s bumpy, angled section a few times to distribute the paint over the roller. STEP 2 Apply the roller to the surface in a zigzag pattern (imagine that you’re painting the letter N,M, or W), covering an area about three feet square and overlapping with the still-wet edge of the last area that you painted. Don’t lean on the roller. The weight of the roller itself applies the perfect pressure to the surface. STEP 3 Fill in and smooth out the zigzag with even, up-and-down strokes. You’ll know that you are overrolling or don’t have enough paint on the roller when you hear a smacking or popping sound as you roll. After you have a filled-in three-foot square, move on to the next area.
kitchen cabinets
First make a map of the cabinet layout and number each unit on the map. Next, write the corresponding number on each door or drawer as you remove it so you’ll know where each one goes when you’re finished. (You can write the number on a small piece of tape or right on the surface—but don’t paint over it.) Remove all the hardware and label that, too, if the sizes are different. Wash every piece to be painted with soap and water (as for a front door; see left). If there’s a lot of grease buildup, clean with a concentrated stain remover, like Krud Kutter ($7, homedepot.com). Dry thoroughly. Rough up the surface with 220-grit sandpaper. Wipe away the dust with a damp cloth and let dry. Use an angled sash brush, a flat brush, or a small roller to apply primer and then two coats of paint, always following the grain of the wood. Allow each coat to dry completely before you begin the next; let the final coat dry fully (for at least a couple of days) before you rehang doors and replace drawers and hardware.
What do I need to know about lead paint?
Ifyou live in a home built before1978, scraping or sanding through old layers of paint could generate dust or fumes that contain lead, avery serious health risk, especially for children and pregnantwomen. Do a quick check first, using a DIY lead test kit (like 3M LeadCheck Instant Lead Test Swabs; $10.50fortwo, homedepot.com). If the test detects lead,you’ll need to find a contractor certified by the EnvironmentalProtection Agency (EPA) to perform leadpaint abatement. Find one at epa.gov/lead.
HOW TO PAINT SPECIAL SURFACES
BRICK
Rub your hand over the surface. If white or red dust comes off, seal with a penetrating primer made for brick before painting. Apply two coats of latex paint using a low-nap roller to get a smooth finish, and cover the brick and the mortar with the same color.
METAL
If you don’t know what type of metal you’re painting, hold a magnet to it. If it sticks, the metal is ferrous and prone to rusting; coat it with a rust-inhibiting primer before painting. You can use a brush or a roller to paint, depending on the shape of the piece. Choose a paint or a primer that’s formulated for use on metal.
LAMINATE
Clean the surface, then sand with 220-grit sandpaper. Wipe away dust with a damp cloth; dry thoroughly. Use a primer formulated for use on laminate, followed by two coats of high-quality eggshell or semigloss paint, which is more durable than flat paint. Allow the paint to cure (dry to maximum hardness) for at least a week before using the surface.
CERAMIC TILE
A caveat: Painted tile usually won’t hold up for long in a wet area. And unless you have tons of time to tape every tile— or a super-steady hand— it’s nearly impossible to paint the tile one color and the grout another. Your best bet is to paint it all white. Clean the tile, paying particular attention to areas around a sink, where invisible soap scum may have built up. Let dry overnight. Apply painter’s tape where wall meets tile. Prime with a product formulated for ceramic tile, then paint with two coats of high-quality eggshell or semigloss.

HOW TO PAINT FURNITURE
indoor furniture
Wipe the piece with denatured alcohol to remove dirt or grease. You can skip the next step if the furniture you’re painting is relatively free of dings and scratches (or if you don’t mind some imperfections) and it has a dull finish. But if you’re dealing with a beat-up surface or painting over a glossy surface (which is difficult for paint to stick to), sand first with a sanding sponge (a soft, flexible sander that can follow the contours of furniture), then wipe away the dust with a damp cloth. Turn the piece upside down and paint the underside first, starting with a primer formulated for the furniture material; or, if it’s a wood piece
THE PAINT EXPERTS
KATHARINE KAYE MCMILLAN, coauthor of Do-It-Yourself Painting for Dummies • CARL MINCHEW, vice president of color innovation and design at Benjamin Moore • CHRIS RICHTER, senior merchant of interior paint at the Home Depot • LUCIANNA SAMU, color and DIY expert and paint educator at Benjamin Moore and Aubuchon Hardware • BRIAN SANTOS, “the Wall Wizard,” an author and industry expert • CHERI SPARKS, owner of A Painting Company, in Denver • STEPHANIE TULIGLOWSKI, artist and decorator in Joliet, Illinois • DUSTIN VANFLEET, interior designer and co-owner of Funk Living, in Tifton, Georgia • RICK WATSON, director of product information at Sherwin-Williams • DEBBIE ZIMMER, spokesperson for the Paint Quality Institute, a division of Dow that hasn’t been painted before, choose a primer designed for bare wood (like Zinsser Bulls Eye 1-2-3 water-based primer; $19, walmart.com). Follow with two coats of paint in an eggshell or semigloss finish. Turn the piece over and do the top side. For a super-durable finish, spray with two coats of acrylic polyurethane once the paint is dry.
outdoor furniture
To paint wood furniture, follow the steps for indoor pieces, but use exterior paint in a semigloss finish, which is typically harder than flat finishes and allows dirt to be removed more easily. If you’re painting furniture made of ferrous metal (see left), you’ll need a primer that ensures adhesion and inhibits rust (Rust-Oleum Stops Rust Clean metal primer spray, for example), as well as either paint formulated for metal or a “universal” formula. Paint plastic furniture with a product made to bond to plastic (like Krylon Fusion for Plastic).
Can I paint an antique?
Sure, ifyou’re not concerned about potentially ruining the authenticity and decreasing the piece’svalue—or if the piece isn’tvaluable. (“The word antique just means anything over100years old. Not all have intrinsicworth,” says Katharine Kaye McMillan, a coauthor of Do-It-Yourself Painting for Dummies.) If you’re taking the plunge, first figure out if thewood has beenwaxed. Use a dull knife oryour fingernail to scrape the surface lightly. If a gummy surface balls up, it hasbeen waxed, whichmeans you need to sand the surface thoroughly (otherwise the paint won’tstick). Start with 80-grit sandpaper, then work your wayupto120-grit until the surface is free of buildup.You can use the sandpaper’s folded edges to get into any intricate carvings. Wipethoroughly with a damp cloth. Prime and paintas you wouldfor any other piece of furniture.
DO’S AND DON’TS
OF SPRAY PAINT
DO work outdoors, so you don’t have to worry about ventilating the room or getting paint on other surfaces. DO wear eye protection and a ventilator or a dust mask to keep paint from getting into your eyes, nose, and mouth. DON’T get too close or you’ll have uneven results. Follow the manufacturer’s instructions on how far to hold the can from the surface, and keep your arm and hand moving while painting. DO use many coats—three or four thin ones instead of one thick coat—to avoid drips and patches. DON’T rent a power sprayer. It may sound like a timesaver, but unless you’re a pro, it can cause expensive damage within seconds if overspray ends up on nearby objects (like windows!).

THE CLEANUP
Care for your brushes and roller covers the right way and they’ll last for years.
brushes
CLEANING: Scrape excess paint against the edge of a tray or bucket. Fill a bucket or a sink with warm water and add a few drops of dish soap. Submerge the brush, spreading the bristles so the soapy water reaches the ferrule (the metal part). Scrub off dried paint on the handle or the ferrule with a nonscratch scouring pad. Rinse under cool water until the water runs clear. Spin the brush dry inside a bucket using your hands. (Or, for best results, use a brush spinner; sold at hardware stores.) Reshape the brush with your hands. STORAGE: When the brush is dry, put it back in its “keeper” (cardboard packaging) to maintain its shape. Don’t have it? Store the brush flat on its widest side.
rollers
CLEANING: Use the blade of a 5-in-1 tool to scrape excess paint from the roller, letting it drip back into the tray. Pull the roller cover off the cage and set the cage aside. Fill a sink with warm water and add a few drops of dish soap. Submerge the cover, kneading it with your hands to work the soapy water into the fibers. Rinse under cool water until the water runs clear. Squeeze out any excess, then stand the cover on end on top of a few paper towels to catch drips. Thread over a dowel or a line to dry. Wash the metal cage with dish soap. Use a nonscratch scouring pad to remove any dried paint. Rinse and pat dry. STORAGE: Store in a dust-free cabinet. Be careful not to pile anything on top of the roller covers so you don’t crush the nap.
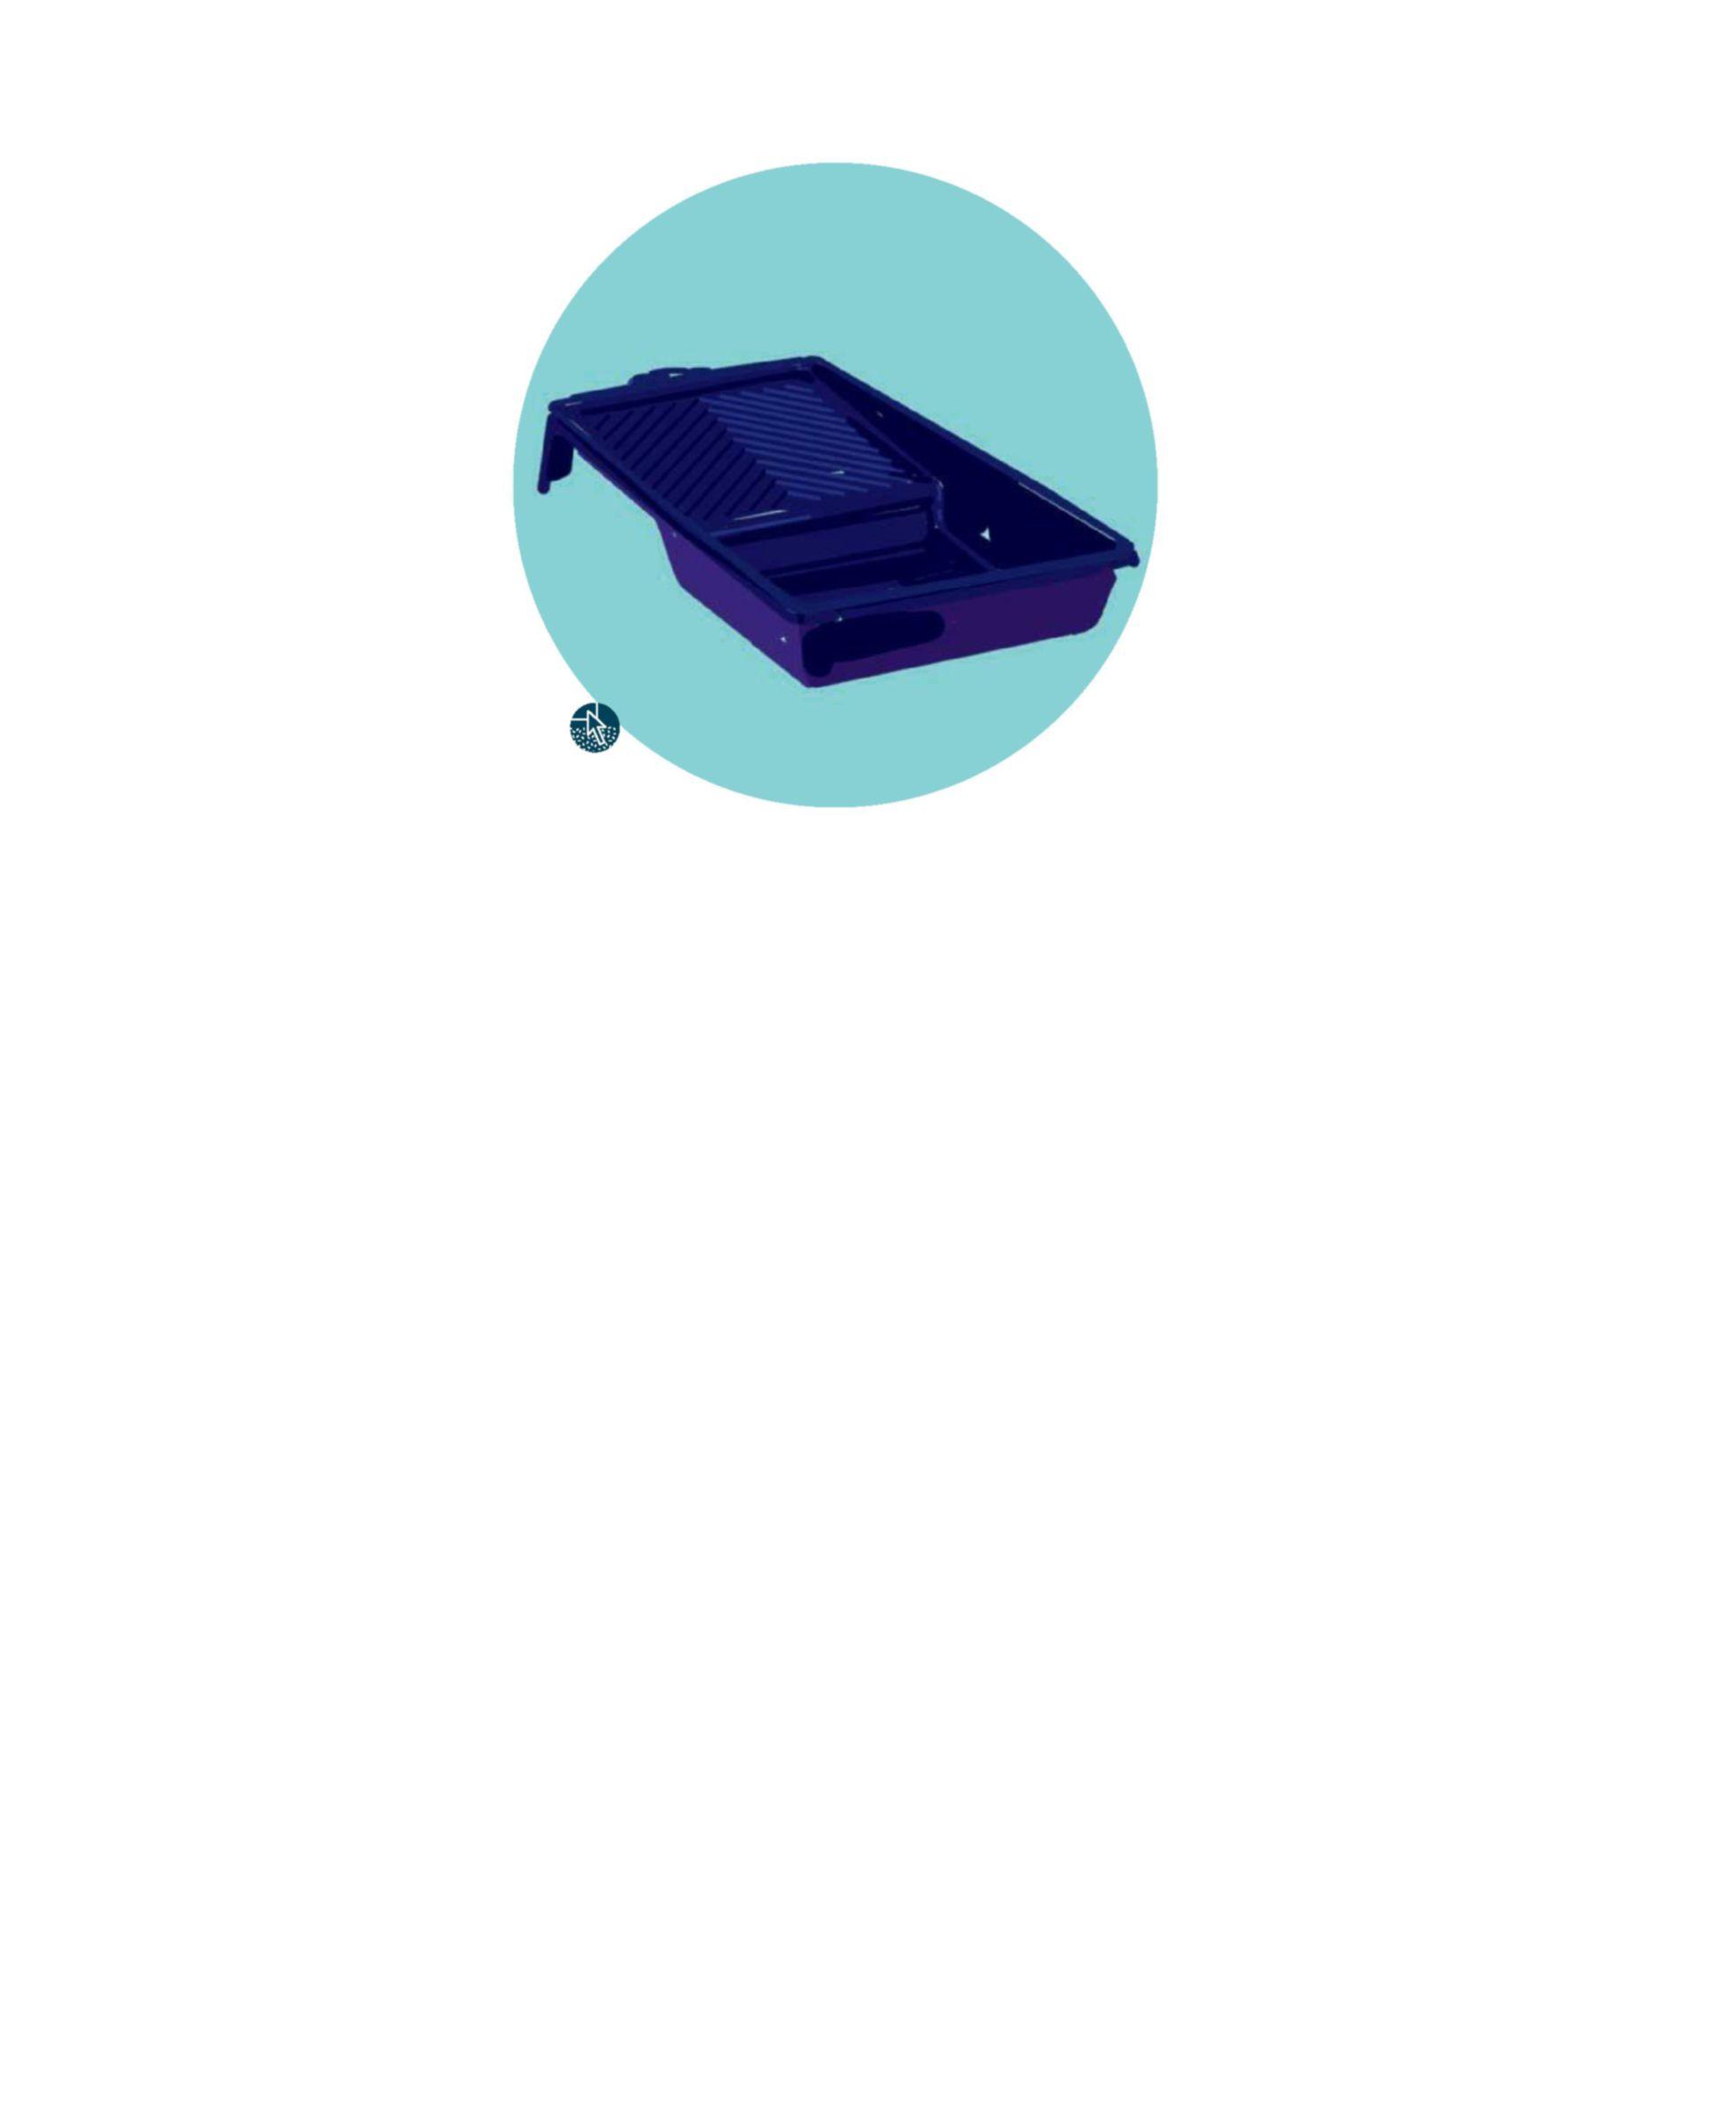
roller tray
CLEANING: Skip the cleanup by using a disposable tray or a disposable plastic roller tray liner (about $2 at home centers), then discard it when the job is complete.
MADE AMESS?
Don’t stress. For water-based paint stains, rinse clothing in warm water, then launder as usual. For oil-based paint stains, treat with turpentine and rinse; then pretreat with detergent, rinse, and launder.
ASFOR THE LEFTOVER PAINT…
STORE IT
When stored correctly, leftover paint should last about one year. At the end of the project, wipe the rim of the can and lid, removing any excess paint that could prevent a tight seal. Stretch a piece of plastic wrap across the top of the can to keep out air and bacteria, so the paint doesn’t dry out or become mildewed. Replace the lid, tapping around the edges with a hammer. (Put a folded rag between the metal top and the hammer so you don’t damage the lid or keep it from sealing properly.) Store in an area, like a basement, that stays between 50 and 95 degrees Fahrenheit; that way, the paint won’t freeze or get too hot.
DISCARD IT
Check with your municipality for recycling and disposal instructions; regulations vary widely. In many places, you can’t throw paint out with the trash. And never pour paint down a drain or a sewer, because the chemicals can get into the water supply.
WHICH HUES TO CHOOSE? Find the pros’ picks for foolproof colors for every room in the house at realsimple.com/paint.
THEREALSTORY ABOUTDIVORCE