Frozen
Assignment 2 _Part II materials and proccess’ journal
locj

Frozen
Assignment 2 _Part II materials and proccess’ journal

Clay is soil like composite, hydrous almousliate of minerals naturally formed by the weathering of sedimentry rocks (aka hydrothermal alteration).
Find clay in its many applications in industrial process such as paper and paint making, Thanks to its amazing workability. When mixed with correct ratios clay and water form a plastic mass with the ideal formability.
Taking a design from the organic forms family this journal documents the challenges making and perparing the plaster mould that matches (for lack of a better term) the forms porporties. From casting and glazing with two slips: porcelain and terracotta. Further insights into the variables and characteristics. how the different clays (mineral additives) and deffloulants interact and behave with the mould and glazes are discussed. Focusing particularly on the amount of slip aborbed and which had better castability; being the volume required in ml/mins. To then reflect on appropriate suggestions to the slip, application and technqiues to improve the quality and finish.

 Lochelle Gonsalves (s3850284)
... form family
(when overcoming the mould materials determine the process)

[mark on the mould] when filled this section in particular could result in an undercut where the plaster catches


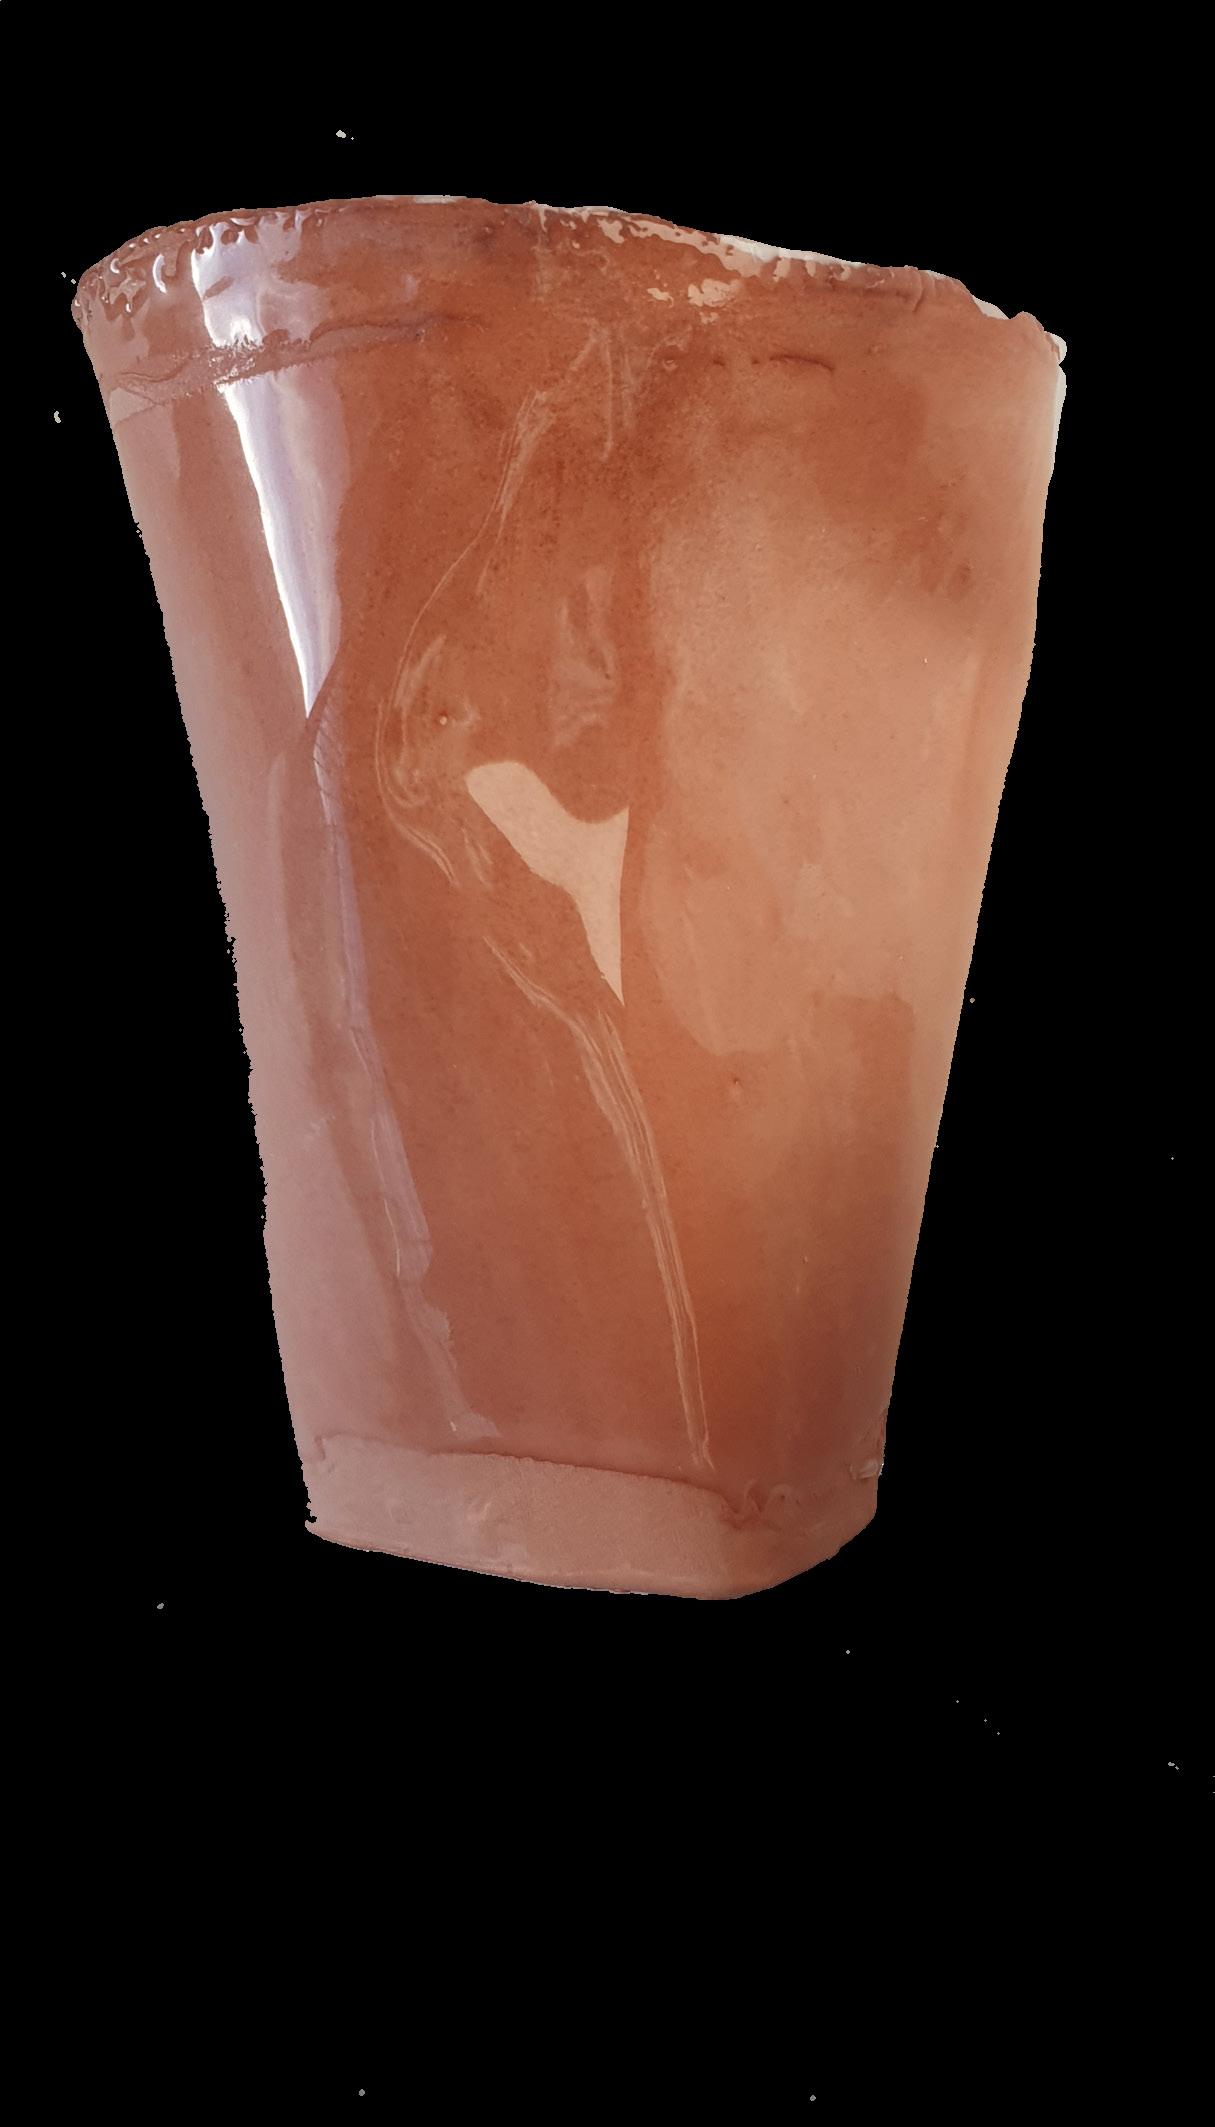
A vlyn form was selected as it is straight waterproof and fairly sturdy but as can be seen it did need to be reinforced with foam making it into a closed form.
Through vinyals is able to reform without much distortion due to its memory. Flexibility which accommodate the casts which are not flexible. Also the benefit of having moisture resistant properties and minimal surface detail meant sealing and greasing _solvent only required for the spare. With draft angle of 10-15 this ensures the use hot glue to form to sides. Against the _ texture of spare drill holes to raise the mould and prevent slipping.
Originally, I planned on one part mould but working with the organic form family meant filling the undercuts that became pretty obvious concerns with the clay body catching on mould. Therefore would have to be taken apart in halves (aka a two part mould). However, the potentional methods for making the halves came with the requirement that they both come apart and reconnect without causing leathery viynal any distortion. While there were many possiblities, most of which were only explored conceptually (refer to the following sketches). While a two part mould may not be the typical or correct method its ability to combine two processes saw it as the most reliable and time effective method.
Note: High-density blue foam products are designed to resist compression under heavy loads” therefore its tightly knit structure makes it perfect for forming. Yet if we put more thought considering an environmentally sustainable option would be ideal.

Then came selecting the right material for the job…clay. Being quite malleable and able not requiring perparation enabled further possibilities. The first a dam wall. Despite this method was that it was a much more sustainable and time effective. Using clay in this way had a greater risk of flooding and distorting the shape of the vinyal form. It was harder to judge when or if it was compact as possible. Even so precautions were taken to make sure the clay was neat and level along both sides of the wall. However, it was due to flooding eventually it was filled completely
Selecting the correct parameters and seam direction were important
These sketches use the traditional method for a two part mould where the sides are built in a way that can slide out and one side be blocked of around the mould when casting the first side. However, considering the the seam where the vinyal connects. Along with the risk of potential leakage and or further undercuts from parralex errors this was set aside.
 Lochelle Gonsalves (s3850284)
Partial construction of the damn wall
Lochelle Gonsalves (s3850284)
Partial construction of the damn wall

When it came adding the plaster powdered to the water allow it to sufficiently damp also noted that the water was still transparent not fully opaque. As after a 2-5min wait I noticed the colour of the powder has darkened meaning the water enough time to coat every – of plaster. Water being opaque is not only this crucial indication but as agitate (e.g stir) the powder as this would create lumps.

air bubbles in the first half can be seen as pouring technique was not yet corrected

Seeing as the two batches have same ratios, I experimented with different techniques each half. First stirring by hand then sieving-pour on an angle; And 2nd using paint mixer-pour and pouring on a level bench. I Found that hand stirring has a much thicker consistence even after sieving, where plaster coated the hand so that skin colour was not visible. Whereas the plaster was much thinner flowing through fingers when made with the paint mixed and also saw some small air bubbles on the surface as it was setting. This could be since excess water forced up bringing air in form on a bubble. though uneven pouring could also contribute. With pourability influenced by consistency. Just as the thinner plaster flowed freely through the fingers, it also poured much faster. The difference between the two is what I saw as making crepe’s batter vs pancakes. Similar to how strands of gluten within the flour batters become tighter and break more easily under pressure overworking batter makes it thinner. This metaphorical analogy of rest also applies to concept on not agitating the plaster and even wood. Though the similarities in wood do not see the concept of rest. I could see from how important it is to not work too quickly when heat bending rather work with the material properties (eg stiffness of the wood fibres). water ratio 3:1 (1750g water to 2.5kg)


As illustrated below precautions against this were taken like only pouring from one corner of the perimeter allowing the plaster slide naturally cover the form. This ensures that if air bubbles were to form it would not be on the actual form. Lied level to prevent it setting at a slant.

 Lochelle Gonsalves


After creating a barrier required with soft soap (diluted 1:1 with water), wiping the excess between each application to prevent sticking. The next challenge, Separating the plaster from the form. While in the clasps of the clay, it was difficult to secure the form with it distorting. hoping that pulling the spare would come with the mold was the wrong way to go as it came apart. As such discovered the adhesive properties greater with the black particle board. Despite being laminated. However, with the form separated from the plaster wall, additional screws were used to secure the sides to the base. Using the force of the drill instead physical force which was much more successful the 2nd time around as the sides came of easily. The 3-4 Notches created to help the case interlock. However, this time to using the adhesive properties of the clay to our advantage. Found it was more effective to take apart insert clay in the gaps before drilling the Cottle together as this ensures that clay trapped between will patch the gaps which sucked the plaster earlier.


The main ingredient of porcelain is kilen that influences its absorbtion rate and makes it have a low plasticity.
To understand the nature of both ceramics high/low fire, I begin with considering their contextual applications. Seeing as I have no experience making terracotta and porcelain, by looking at their lived properties saw valuable insights to what the making process entails. Take terracotta ‘baked earth’ as it known, almost feel the clay earth particles in its porous texture. Whereas porcelain when put simply can be described as cups, tiles and decorative objects; Porcelain gets seen through its uses over its properties. On the other hand, Terracotta is recognised as being more robust than most other earthen wares then the tiles and pots it becomes. As such, I became more considerate of the latter of both when preparing the slips.


When manufacturing ceramics heat is applied after the material is formed into its desired shape. In more technical terms is a process known as slithering. Where the parameters of temp thankfully are measurable factors. That through simple conditioning can be modified to our specification… but what is it that we require? Well taking the sponge like terracotta and the chalky smooth porcelain for one are both ideal. [But] Bringing it back to the essence of castability what we want is ‘slip-length normalized by its value in the smooth wall’. This is the reason for considering deflocculation and viscosity. The reason being to protect texture and but prevent distortion. Staying within these parameters are essential to obtain the mechanical strength possessed.


For dry casts it is said that the “higher the slip concentration, the lower the porosity”. While it is quite obvious when the mold was dry and free of soft soap residue the slip to pull away easily. What becomes more apparent was the reaction between the polymers and metal ions in water causes soluble salts (e.g magnesium sulfate) to form and migrates to the surface. Creating areas that where the greenware particles become adhesive to the mold. Then why do we add water in the slip? why is porcelain both delicate and durable? It is water that makes it possible to have porcelain cups and electrical insulation. Water is the glue and the substance that gives it its plasticity. Though this is different between porcelain and terracotta. Take the porcelain slip initially being slightly too watery. Possibly from over flocculating it but after weighing the container to again give an indication of its specific gravity. It was the formulation that was the concern as too much adjustments stability of the slip could be detrimental to its ability to survive the kiln. Though we opted for Walker’s imperial porcelain instead i later reinvestigate viscosity experimenting with different methods of mixing and sieving. Yet even stirring the slip initially as a viscous slurries of ceramic particles became challenging to mix to the state where the platetel are homogenized. While I questioned whether hand mixing would give better control. I also took note that ceramicists who do hand mix use small volumes. However, the reason to opt for the paint mixer would be it providing the high energy necessary to stabilise the slip and prevent recogulation. In particular for the more viscous slip (being the porcelain) to transition to a more semi solid state their particles must have high energy for the perfect dispersion.

Though this happens at a microscale, the dark spots seen during efflorescence (drying) are a good indication.
Adjusting the stability of the slip which is done by keeping the particles in suspension as the gaps determine how much glass is produced.


I found mixing the porcelain slip took longer this could be since the kilen in porcelain makes it more plastic and therefore unable to move as quickly compared to the terracotta bodies which have more flux and lower specific gravity take less time to stabilise.
While, the paint mixer did quicken the process made knowing the specific gravity as an indication of the adequate mixing time going in alll the more important. Milling the slip into a separate measuring cup allowed another important observation that roughly the same volume needed of both slips. While, a lower specific gravity helps the mobility of slip, through the sieve.

Referring to plasticity as workability I wanted to see if the porcelain as more workable in the mixing and sieving stages remained more plastic when casting. Knowing that water will be absorbed into the plaster as it hardens against the mold walls and that expansion decreases as the thickness is raised; I decided to test this further with 4 attempts at different wall thicknesses. I found that the better casts thickness were formed through shorter times (800ml/7mins). This suggests that walkers ceramics porclien slip will yield only slight shrinkage on drying and firing of the cast piece. As it is not coarse nor porous.
At times, the easily workability of porcelain slip being very viscous did indicate that it contained a lot less water to remove from the mold. Therefore, porcelain had smaller feasible range for testing. In comparison to terracotta which as previously discussed has greater porosity meaning it will take longer to detach and greater variation with time. While it was unfortunate that I could not see any significant change in the initial greenware, as most of testing were done on porcelain. When they were bone dry the variation showed in weight. Weight is for our purpose is more for aesthetic. However, take a clay pot made of terracotta compared to they will need to thick enough to hold their weigh against the wind all the while not be too heavy for the table where it rests.


The plaster particles act like a porous sponge meaning that it absorbs water this is where we must then consider den sity as it’d be more desirable for it be like synthetic sponge where we can control the pore diameter. luckily this is also dependant on the particle size of slips particles. While can not control this in the same way as Powders are prepared via a sol–gel process. “a pore size range of the prepared membrane as small as 3–6 nm can be obtained”. However adjusting the time of this react we have more control of the end result

draining, setting, cutting + removing
After draining the slip is allowed to dry in the mould this allows it loose enough plasticity to come of the sides. This is where the capillary forces from plastic state loose strength. As the water is drained loosing solvent sees the space between particles reduced and attractive forces take hold. microscopically we see this as distance being less then that of the energy barrier” whereas in real life is seen as shrinkage. Once most of the solvent exscapes the surface gels. As can be seen in the casting test bellow once this happened in 40mins**. Luckily this did not take rather long to reach this state or happened too quickly these would indicate over deflocculation[1] and under floucation[2] respectively.
[1] The gritty texture seen in this under-flocculated clay body is due to a slow cast. The skin on the slip makes it unable to gel as such it will take longer and potentially crack in the process.


The slip lost its plasticity and gel within an hr at most. Comparitivly the texture of the plaster mould meant that it was not ready to release from the side. Sieving it was beneficial to use the finer sieve as it further dispersed the particles
Taking the greenware out the mold became the next challenge although cutting the lip of the cups once leather hard were doable though having the greenware separate from the mould halves to be more difficult at this stage. Relentless tugging at the mold was something I was not prepared to do instead after another couple hours the greenware came out perfectly. While, there was no moister in the mold this again could be the works of soft soap residue. However, to establish if whether this was the case, I attempted to remove the mould with force. Without much success as can be seen below the ceramics ripped along the connect as this is where stress accumulated. However, looking at it taken apart revealed the thickness. Assuming as moister in the air keeps it leather hard there would be various stages of leather hard. This too became apparent while removing the rim. Either it was like spreading buttery creamy soft cuts (fresh leather hard) or at the medium leather hard stage like carving hard cheese. density greater medium stage can carve away at the lip and not have to worry about At the extremely fragile bone dry stage
freshly leather hard


soft leather hard stage terracotta and porcelian both cut easily (note terracotta has not be captureed in the pictures )


medium leather hard

At medium leather hard stage terracotta showed a bit more resistance. This required more pressure and hence giving more control for better fettling (note terracotta has not be captureed in the pictures )
Lochelle Gonsalves
Fettling + Sponging
Bone Dry (what not to do)


Rehydrating the bone dry porcelain did help with fettling at this stage. However the particples structure being unchanged for the most part made it very risky. As such can be seen to have completely shattered when sanding the base. Would only reccomend sponging at this stage. Note: terracotta has not be captureed in the pictures as it was only sponged at this stage.
Lochelle Gonsalves (s3850284)
The workability vs results
Then came the firing, even at the bisque stage we see hard but is this really what promise walkers slip temperatures specified. Though initial firing the porous green body of terracotta transforms into a firm and strong piece of earthenware. Despite not being stone ware like porcelain. Why is this…well from workability we know that properties that make both slips gel are fundamentally different. The properties which give porcelain its plasticity and allow terracotta a high absorption rate. Again, differences before bisque dry speak through the bone dry texture. The powdery mildew terracotta is much more chalky compared to porcelain feels rather less cold and clay like. Knowing their drying properties and take the cold as an indication that still clay. Still, what is clay… chemically clay is the two molecules of silica and alumina respectively bonded with two water molecules. For these bodies to become bisques the water trapped within the clay particles are loosened. Using heat of the bisque fire the water evaporates out but at the same time the clay bodies all contain carbon, organic materials, and sulphur which will burn off anywhere between 300-800°C[3]. once removed when wiping of sediment is sponged off we see moister from the sponge the moister absorbs changing the colour. Meaning it is still porous. Keeping the bisque fire to (945 C) crucial to maintain some porosity for the wet glazes to adhere.
The role of silica is imperative. Just as Silica is used a filter strength to green bodied porcelain and its independent characteristics influence how the clay body experiences thermal expansion and contraction. The glaze also possesses its own characteristics which must be supported. Essentially, their densities changes when fired must be controlled variables for our cups bare the additional weight. Therefore, ensuring the correct volume in the application but also the glaze has the correct specific gravity. Being the weight per unit of volume of glaze. The influence of gravity and mass. For this determining the mass (number of atoms over the volume) means considering the atomic weight. Referring to period table for potters
[3] This ensures the water doesn’t become steam that would cause the clay to expand until it eventually shatters.

Chemistry + effects achieved with additives

However, selecting the correct additives are not only to ensure glazes are firmly bonded to survive the kiln and match their characteristics. Also Having this formulated to yield and firing time range. Understanding the is still vital to determine the flux of the glaze as the firing range were 1230-1300(stoneware) and 1600 earthen ware. Understanding that overlap between ranges is when the magic takes place and more specifically when the high fire range this is where the calcium, magnesium, and barium (alkalines) if present in ceramic glazes and its vitreous bodies, react together with the acidic glass former, silica. Melting together. Whereas low firing temperatures accommodate flux rich glazes.
Yet these oxides also become stabilisers, colorants and opacifiers. Tell tale through the properties of finishes. For one, the coloured glazes all contain of transitional metals compounds which oxidise to particular levels of intensity. To list a few tin oxide attribute to the shades of crola blue or the ilmenite for blue-jade. Yet looking into how these naturally occurring minerals are sourced or more so recovered. Take the jade which uses rare earth minerals recovered from coal ash. Coal as we know contain a variety of minerals, specifically rich in iron oxides which is insoluble in water and extremely stable. Its lightweight structural components makes it useful beyond the world of ceramics to its uses fuel cells in aerospace and electrochemical applications. Interestingly unlike the effect of iron oxide in this earthenware glaze its potentional can be in high-fire reduction for stoneware can yield lovely, blue tones and celadon green (as can be seen on the right).
Yet most of what we see comes down to application


The difference going into the dip and therefore thickness achieved is influenced by waxing. Take the Jade used on the outer surface for many of the porcelain where the difference in colour and feel is quite noticeable. With the one of the right double 1000 method was much more successful. In this case dip time proportional to the pour and drain method as this process is somewhat longer and beneficial. Left longer the jade on the interior had a beautiful discoloration.


In comparison to the viscosity tomato red which is also seen on both inner and outer surfaces of the porcelain, made it run much quicker. As a result, the spill though unintended the highlighted the form with a waterfall of colouration washing the curvature with the effect of reoxidation. Though the same techniques were applied the finish was much less even. Viscosity can be helped by adding a flocculant to bring it back to a creamy consist to make it apply uniformly. Yet when gelled the specific gravity has to be lower. As such hope the variation in thickness in the bisque itself is not seen.


However the effects of applying the glaze too thickly was evident even before firing. With the application of the white gloss on the porcelain bisque ware cracked. Almost like a dried lake where the islands of glaze which still cling onto the pores of the bisque. Visible cracks forms as the glaze loses its wet adhesion while shrinkage is imparted (drying). Note: Glaze chemistry and potential contamination could also have been the cause. Luckily I was able to chip off the glaze and reapply. This time going for a brush on glaze.


Brush on glazes used for the stoneware were forms of opaque gloss therefore have much lower specific gravity allowed them to be brushed on in a thin layer. This worked much better with the bisque ware being on the thinner end and also intended to be glazed on the outside. As commercially available glosses the brush ability for both were on the lower end. Multiple coats are recommended to make up for it contain less water. These high solid glazes meant viscosity and volume of the glaze allow this. allowing the pink gloss to adhere to the outside without causing the bisque surface to excessively dampen. This way adding more layers will increase the volume/% of particles. Note adding water to brush on glazes cause the hydrolyzed or gelled (MgO, CaO) particles to form an undesirable oxide layer in water.
As I did not form the connection between the brush on glazes settling out at the bottom of the containers to them also evening out when fired (which also became the case). I instead attempted to have a stroke effect to resemble the pink scales of a dragon fruit. Again being gloss meant this did not show well. And made this more of an experimental piece, we see the difference in opacity.


When compared to the pink gloss on the interior of the other appeared to have a better opacity and even coating Although, completely different to painting; chemistry and application wise. The effect of undertones of speckles blue seeds could bring out the colour as described by traditional colour theory. Pouring technique also appears to be more effeciive.

This piece of high fired stoneware has thin areas which we see in its biscuit state and in the final product as the red highlights. From where the (iron rich) tomato gloss has reoxidised from its glossy dark brown or brownish black to areas turning red or gaining red highlights.


Resembling the speckled avocado qualities of emu eggs with its deep greens and wore look these discolouration in the jade are characteristic of Crocus martis an impure form of iron oxide.
Lochelle Gonsalves (s3850284)


Having not explored brush on glazes for the terracotta. I was drawn back to dipping glazes. However now with the knowledge that porcelain dips were about 10-15 sec and the terracotta being even more porous I would need to be much quicker. Waxing the bottom to allow to go straight down while being upright. Speed of this technique was what I was confident in, though the result did not achieve much evenness. Due to defects through unwanted texture and contaminates. One in particular, within that glaze encased and later formed a bubble. This was not a case of technique as pouring straight down (faster then pouring out on angle) evenly filling the inside with white. Not opting to wax the rim and brought an interesting crackle effect that would have helped the concept of coconut with a crackly.
The wax was unforgiving as can be in the “dragonfruit” artifact. Areas in contact with wax were resisting the glaze even while pouring the bubbles. however once upright the effects of gravity allowed the glaze to completely slide of the affected regions. On the flip side waxing the lip aesthetically was great for the watermelon rim. Thinking more practical we do not see this as common practise. Rather, would be more acceptable to glazing the lip to allowing the contents of the cup flow smoothly and have a nice mouthfeel.


A buffer reaction forms as the glaze attacks the clay body forming alternating layers or compositions of oxide and silicate that penetrate (the clay body) and dissipate strain energy from thermal expansion. In this case the presence of a contaminate caused textured layer incasing the dirt.

