3 minute read
Kohl’s Art Studio at Home: Archuleta Animal


Brett Henzig, Youth and Family Programs Educator
Get creative at home! Make an animal inspired by Felipe Archuleta’s Porcupine sculpture. Like Archuleta, we will also be using found materials to add finishing texture and details to our sculpture.
Materials: toilet paper • school glue • flour • warm water • toilet paper tube and/or cardboard • scissors • tape

Felipe B. Archuleta, Porcupine, 1978. Gift of Herbert Waid Hemphill, Jr., M1984.136. Photo by P. Richard Eells.
Step One
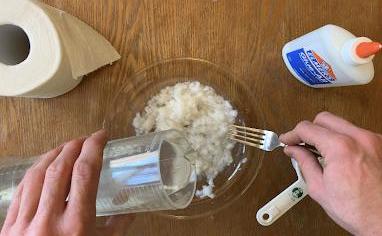
Tear the toilet paper into small pieces and place into a bowl. I used about eighteen squares. Add warm water to the torn pieces until they are completely covered. Mash the paper pieces and water together. Add more warm water to keep the paper covered. Let the mixture sit for ten minutes.
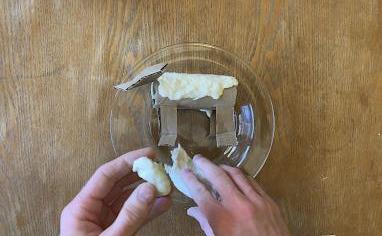
Step Two

While your paper softens, use a toilet paper tube, cardboard, or both to make an animal form. Cut and combine the pieces to make the rough shape of the animal. Use masking tape to hold the pieces together.
Step Three

Archuleta carved wooden animals and used a mixture of sawdust and glue to add forms and details to the rough-cut wood. Finish making the paper clay to add details.
Step Four

Give the paper and water mixture—a mixture known as “paper pulp”—a final mash. Make it as smooth as you can. Squeeze the paper pulp in your hands to remove excess water. Place the moist pulp balls into a new bowl.
Step Five
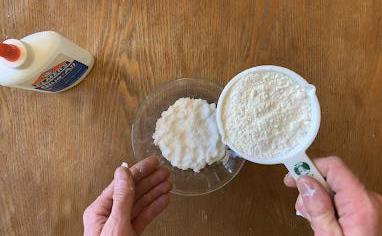
Add about a tablespoon of white glue to the pulp. This will make it very sticky. Sprinkle flour over the mixture and knead it until it is less sticky. We want to achieve the right balance of ingredients: if it is too dry, add small amounts of water and knead; if too watery or sticky, more flour. Not sticky enough? Add glue.
Step Six
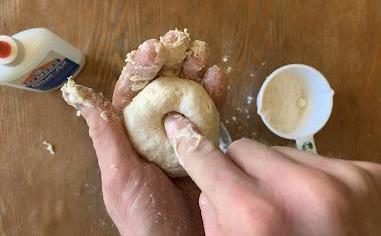
Your paper clay is ready when you can press into it without water coming out, and without it sticking to your finger and tearing. It should be slightly sticky, and the indentation from your finger should stay in the clay.
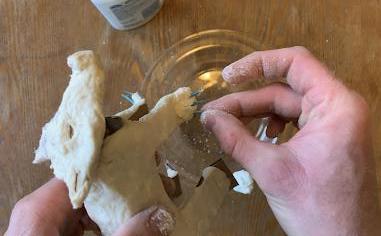
Step Seven
Flatten pieces of clay to drape over your cardboard form. You can press balls of clay onto the form to add bulk.
Step Eight
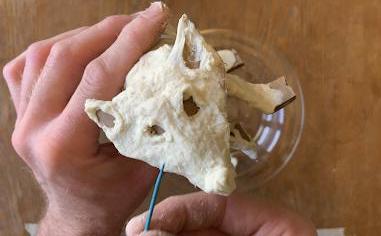
Use your fingers or a tool to make textures and details in the clay. Toothpicks, chopsticks, and kitchen utensils like your fork are great options.
Step Nine
Archuleta was known for using objects around his home and studio to add details. His porcupine has quills made out of straw from a broom. I used a toothpick to make claws, and yarn with a twist tie to make a fluffy tail. What objects can you find to add details to your animal?
Step Ten

Once your sculpture is dry, you can paint it too!
What type of animal will you make? Invite us to check it out! Tag @MilwaukeeArt and use #MAMStudioAtHome to share.
Find more Kohl’s Art Studio activities on the Museum’s website every other week. Learn new techniques and materials, and explore your creative side! As with all new things, provide your child the support and supervision they need, practicing safe use of tools and materials. You know your kids best!