Nancy Hatch Nancy Hatch
Debary Elementary School Debary Elementary School
AArt rt
KK-5th -5th
6
The Creative Connections Teacher Institute has placed an impact on my profession with a bright new understanding in the perspective and the importance of equity and the universal design of learning and how it can be implemented within the art classroom
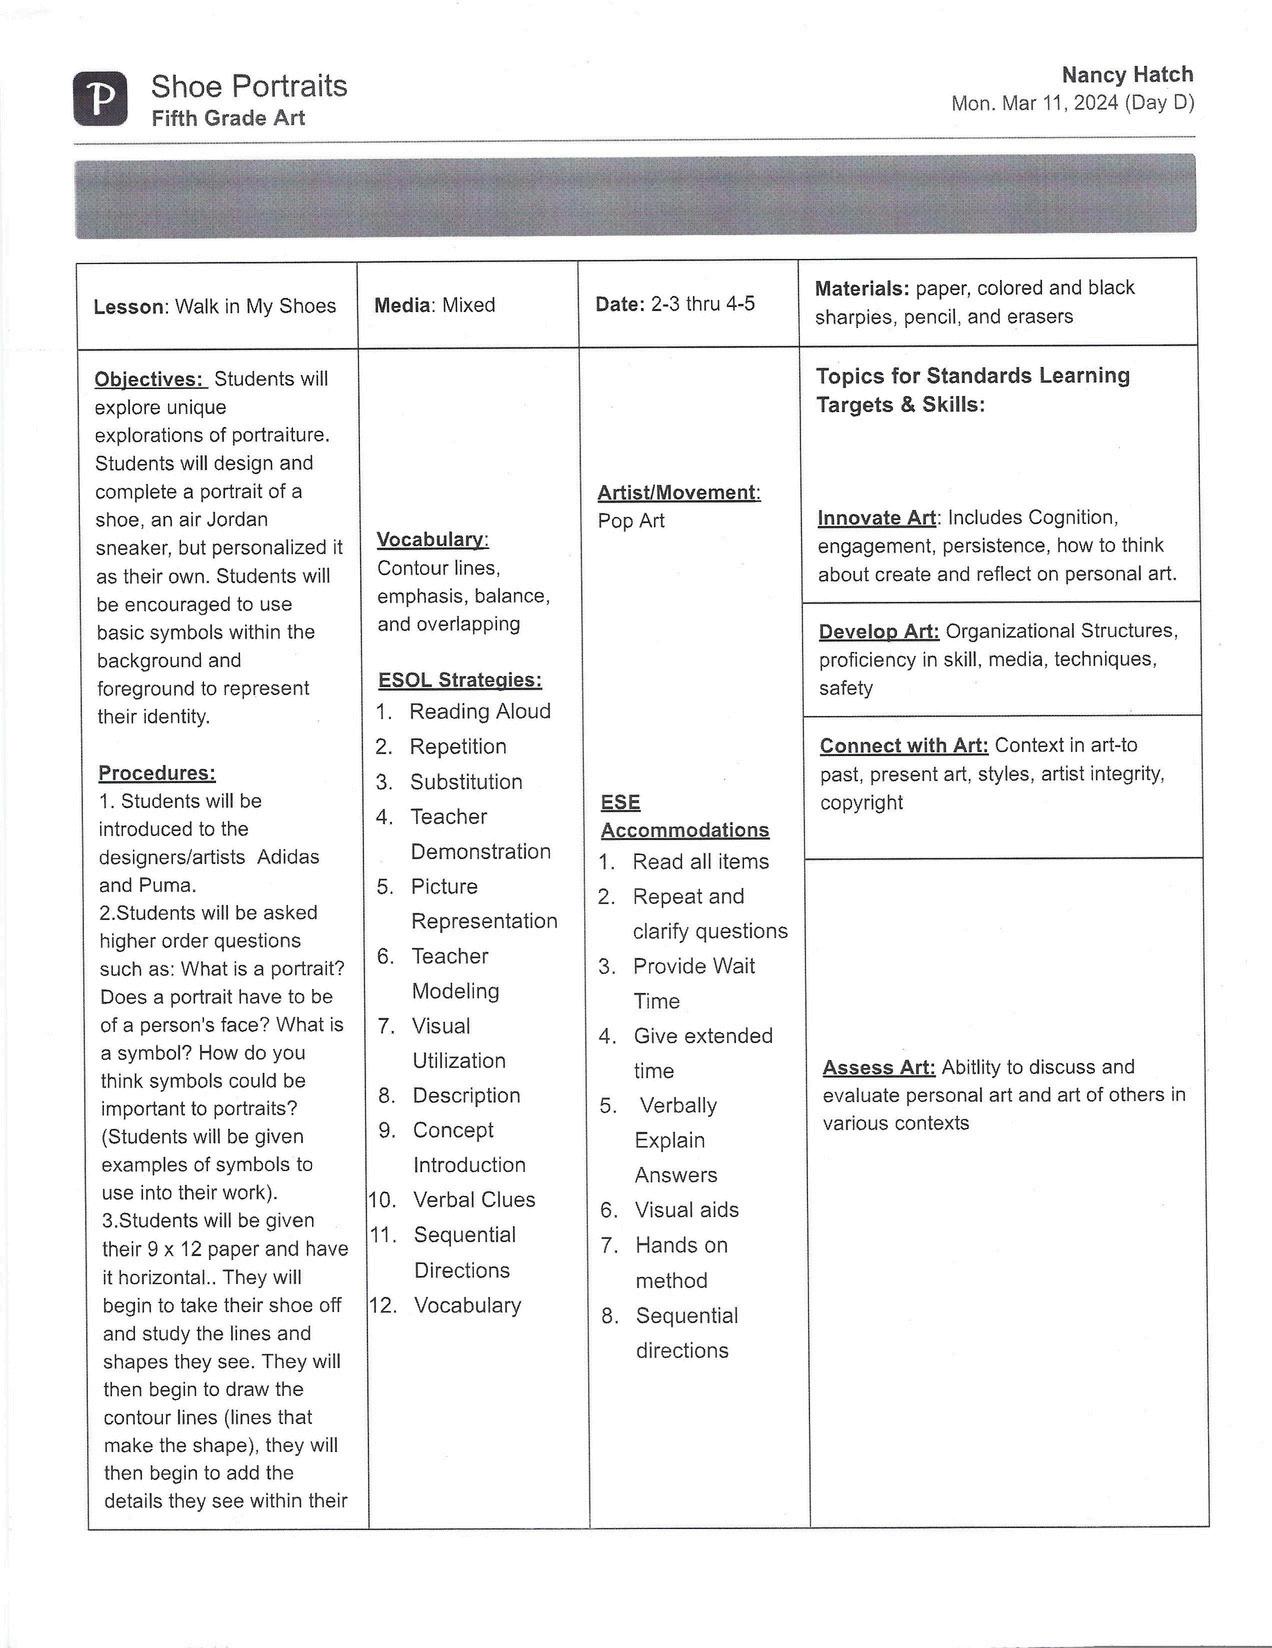
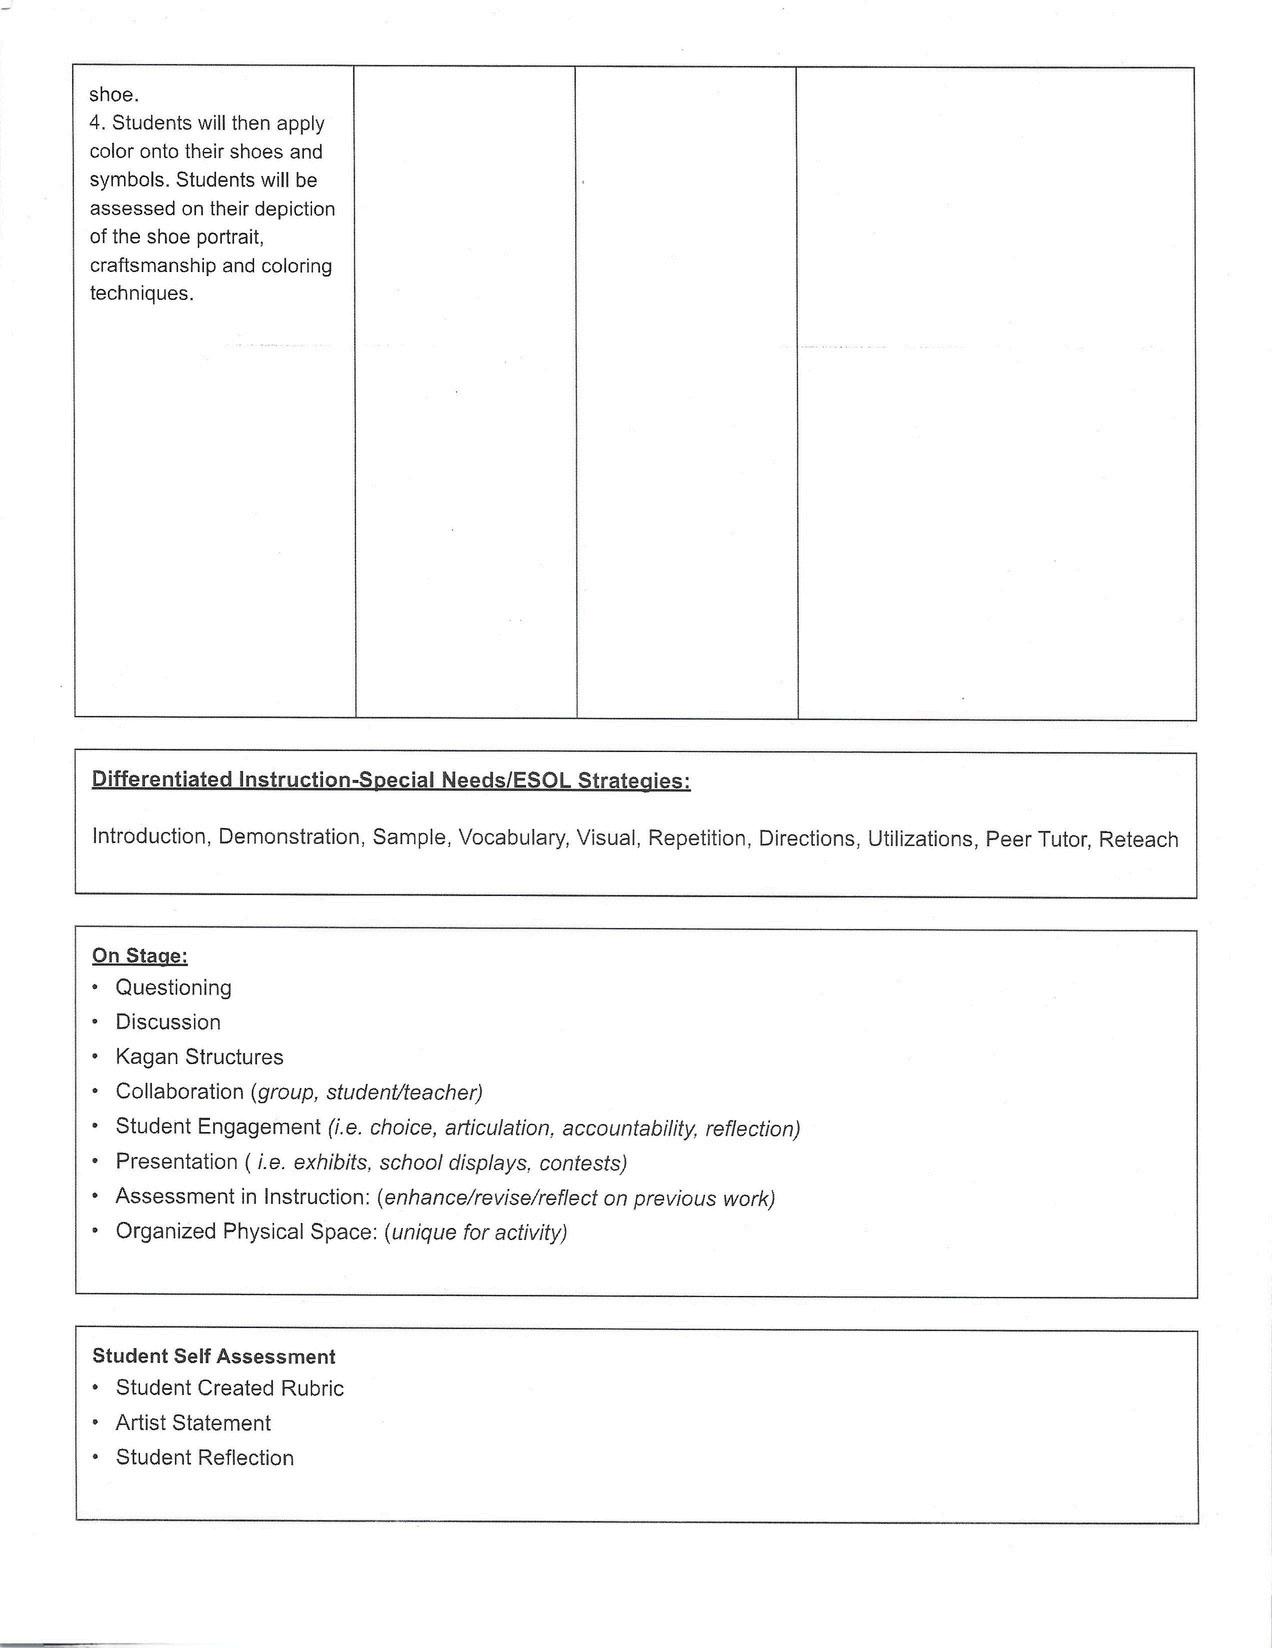
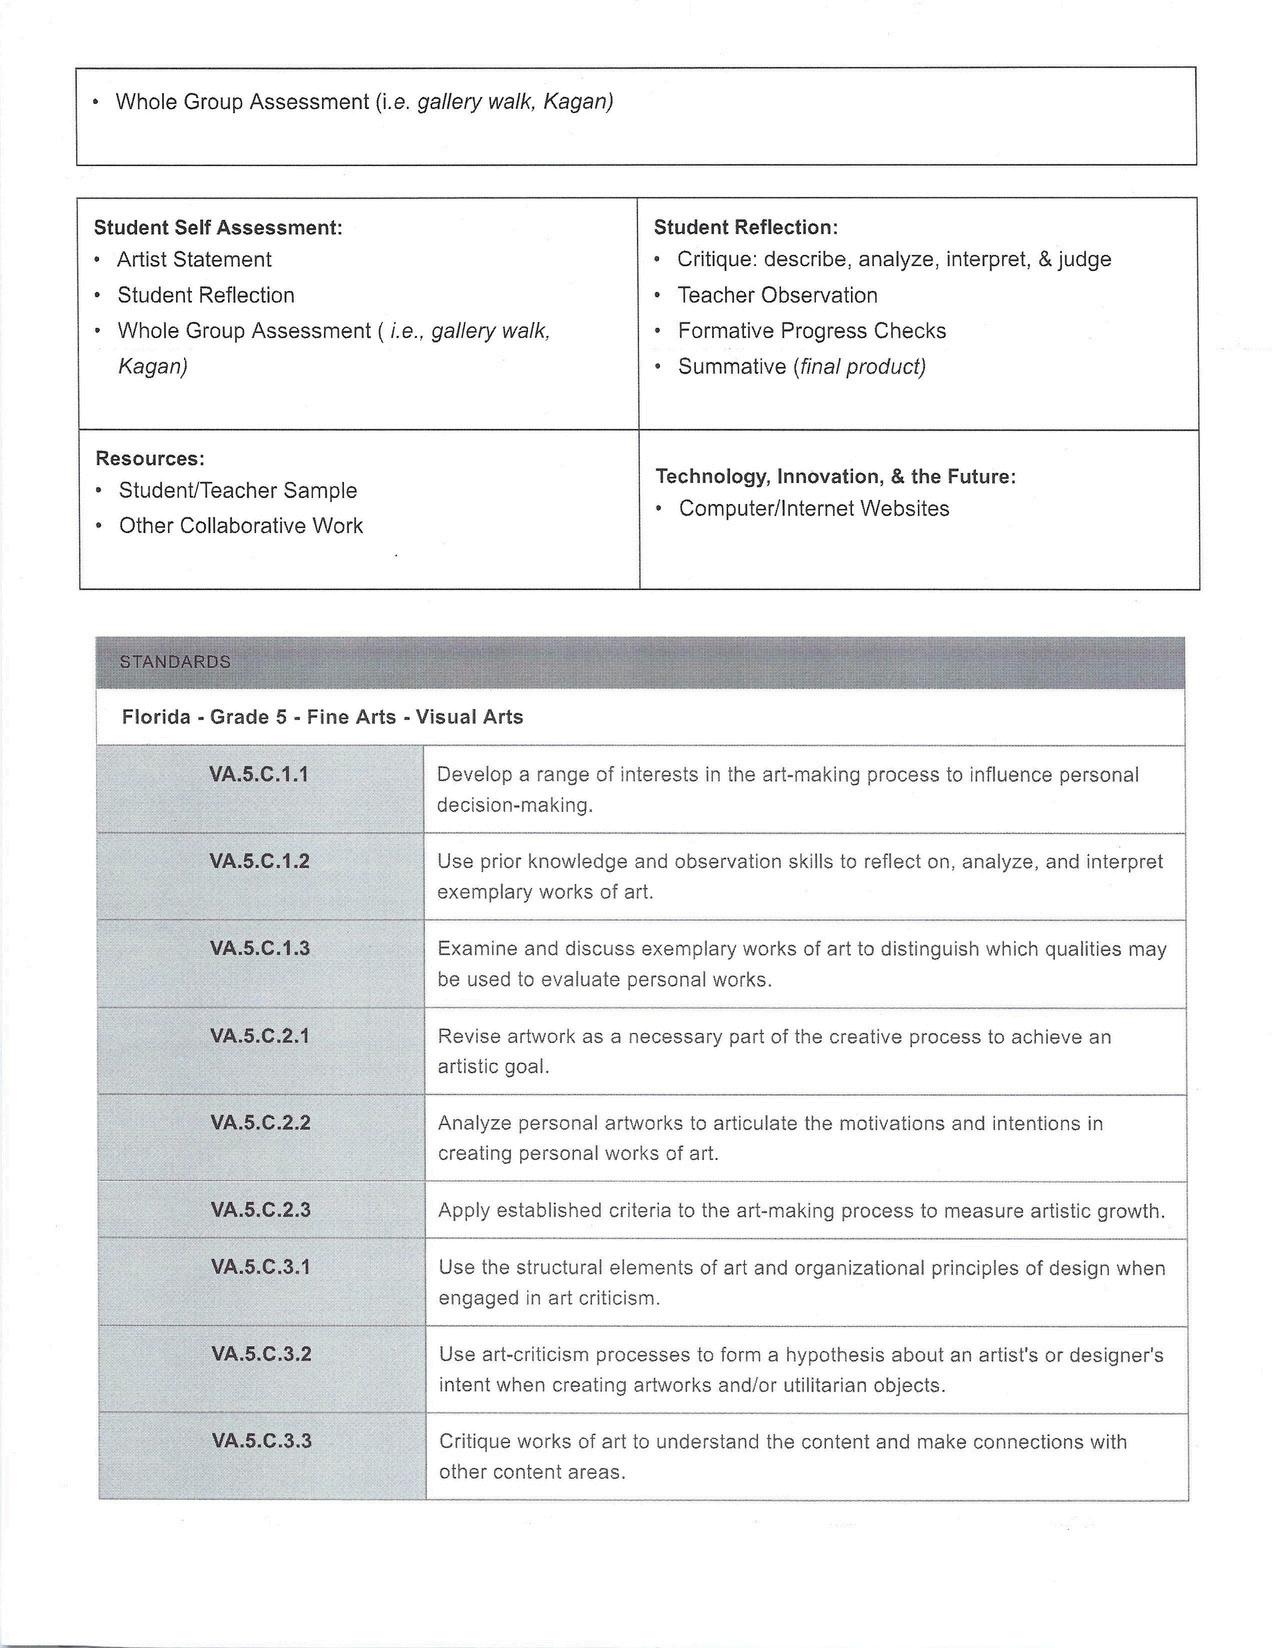
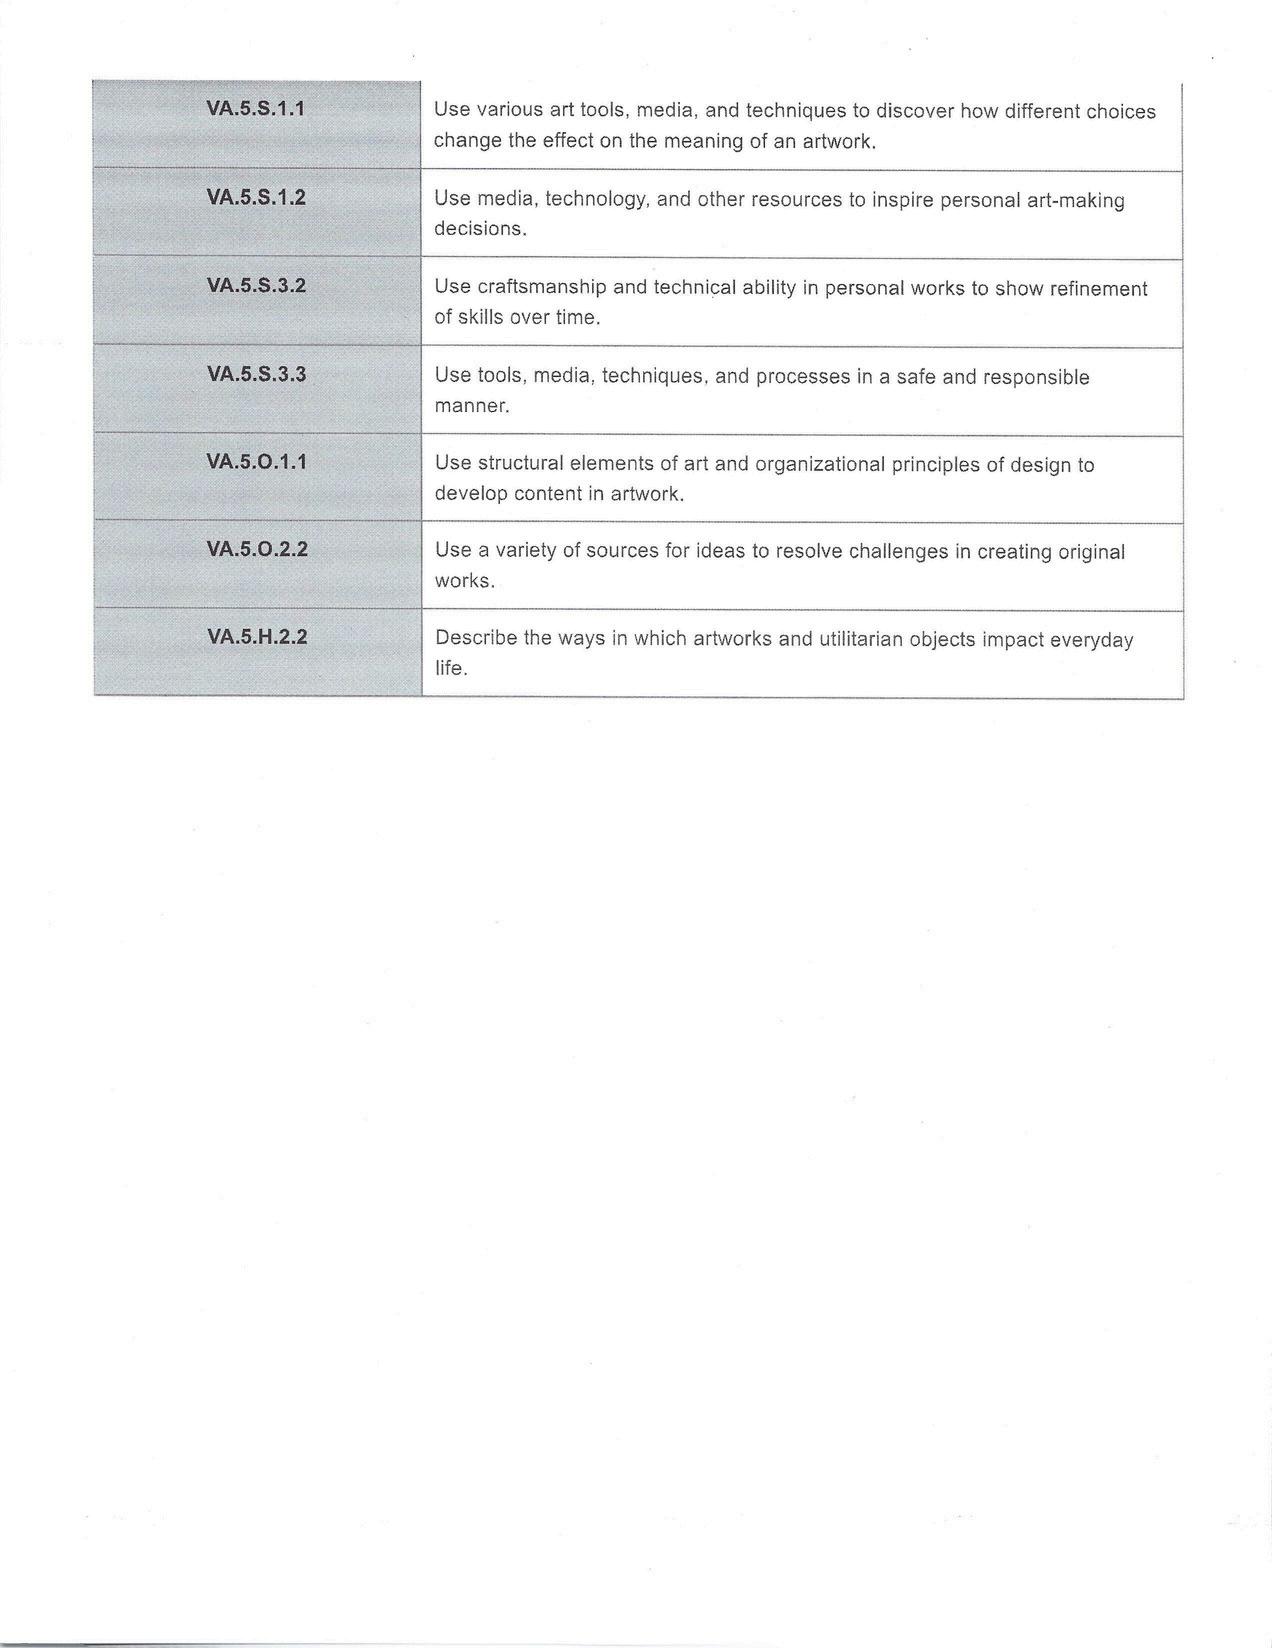
Learning through this platform, I had a better understanding of UDL and equity because all students are capable of learning and if lessons are delivered and implemented appropriately, it can help all students succeed in an inclusive and equitable learning environment Having that “culture shift” mentality, I began to recognize that I have set a value system within my class of believing in variability, equity, and inclusion. Having the knowledge of UDL skill set within a lesson, eliminates barriers that prevent students from learning. As a teacher, I must be cognizant of how students will be responsive based on how I approach them culturally and become well informed on them individually This aspect of UDL allowed me to support my students academically, behaviorally, socially, and emotionally, especially through the arts Furthermore, the lesson I designed for my fifth-grade students allowed me to formulate the lesson based on UDL When designing the lesson, I looked at my students' overall environmental life situations to support them with an empathy based designed UDL I threaded through the areas of where they struggle, I considered the context of their well-being, and I reflected on barriers that would not allow them to be engaged. All these attributes play an important role in each student's aspect of their educational journey. The lesson “Walk in My Shoes” allowed them to explore themselves as well as giving them the opportunity to educate me and their peers about who they are and what they are about
I learned that the skills and strategies a teacher withholds is not enough for changes to occur such as, making your classroom more inclusive and equitable for all students By differentiating my lessons, I create that UDL classroom that eliminates barriers, and produces creative problem solving and critical thinkers. Students need to be shown their strengths and limitations and allowing them to seek additional support from the teacher when needed.
All the principles of UDL are phenomenal, but the principle I related to the most from UDL is the third principle, the “how ” In my class I give my students that flexibility, so they become individual goal setters, strategic planners, and deliver what needs to be delivered through their actions and expressions they place into their art
All principles from UDL and Equity are valuable tools for teachers, but also allows them to have ALL students engaged; but engaged in a setting to provide students with options to recruit their interest, sustain their effort and persistence, and options for self-regulating.
7
Artist: Nancy Hatch
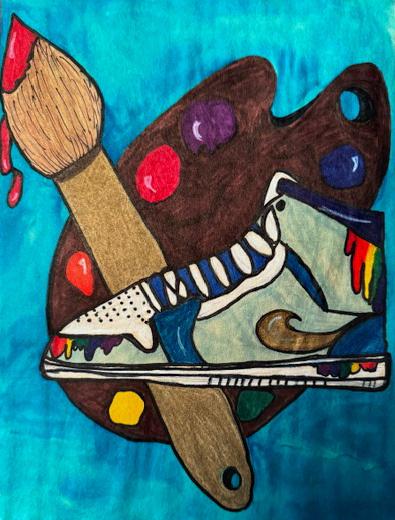
A walk in my shoes is the everyday life of a woman and the many identities she accumulates throughout her lifetime. In the chaos of everyday life, there are moments that define us and what better way to try to understand a woman until you walk in her shoes. Many of the shoes defines her many attributes in her everyday life, but in the current moment of everyday life, she is always measured by others that she encounters. Nevertheless, everyday is a fashion show as she treats her world as her runway.
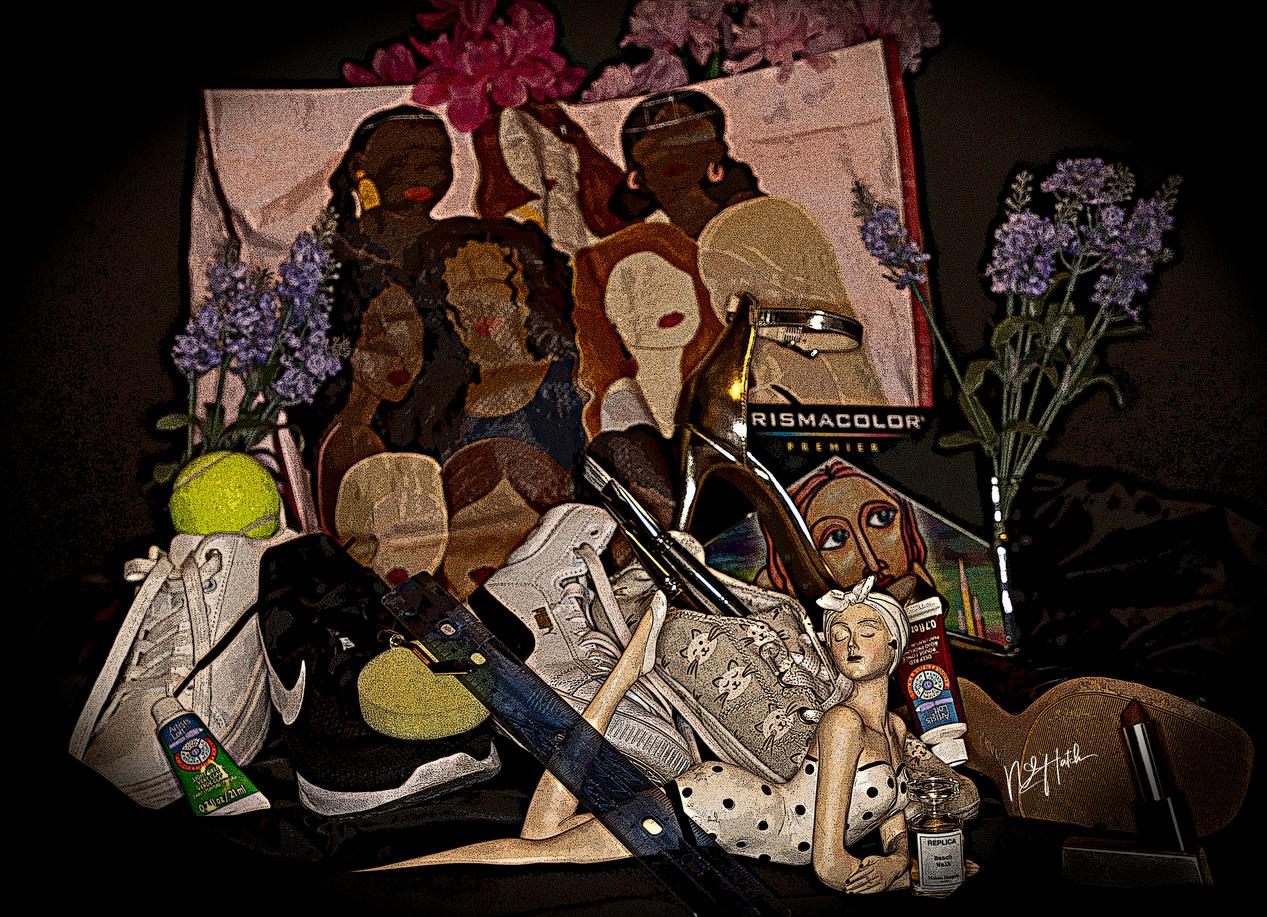 Walk in My Shoes
8
Walk in My Shoes, Nancy Hatch
9
10
11
12
13
Evelyn Rodriguez, 5th
Amy Fernandez Amy Fernandez
Read-Pattillo Elementary School
Read-Pattillo Elementary School
AART RT
VVPK-5th PK-5th
14
I feel that professionally any time I can get together with other creative Educators it’s a win. Being an Elementary Art Educator there is no one to bounce ideas, discuss issues or problem solve with that understands your world. We are always trying to fit out organic creative selves into the square mold of the other teachers. Many times, you feel like you are just losing ground with the kids, or are just spinning your wheels not sure what to do. But in this workshop, it was great to vent, validate what you are feeling, and receive great creative ideas and tools to use to maybe to solve some of the same issues.
This class made me focus much more of my attention on the troubled, quiet, and withdrawn kids in my room. I have now made it my mission to figure out ways to include them, show them they are worthy and just make them know that I see them and want them to learn. I believe that putting the work in to build personal connections between will create a desire for them to want to be creative and participate correctly in my program. Hopefully, with this the behaviors and insecure issues will begin to diminish.
I believe that any new information that can help with my teaching and classroom management is a plus and can only help. I view the teaching practice as a profession that is always changing to meet the needs of whole. I do not take it personally if what I am doing isn’t working. I am glad to try new techniques, change my mind-set and try a new approach. Every few years the dynamics of the population of every school change and we as educators need to be willing to morph with it.
For me, focusing on all the kids and putting in the effort to make the personal connection with them is my big take-away for the institute and eliminate as many berries as I am able to within my room and time.
I feel that when I design my lessons in the future, I really need consider the barriers of some of my little ones. Maybe have pre-assignments or mini exercised, which simplify what we are going to be doing on a larger scale for all kids to know and understand the processes we are going to be doing. Also, design alternative ways to get to the same end result. (Like using the books in my assemblage assignment for a way to treasure hunt for images.)
15
Grades: 4th
Lesson Name: Assemblage Box
Assigned: _1-15-24_____ End Date: 2/16/24__
Purpose/Objective of lesson: Students will be exposed to the relief/3-dimensional art of the assemblages, the origin, artists who are known for the movement and contemporary artists who use this style. Students will also learn what makes an assemblage different than other sculptures. They will be exposed to the idea of finding images/ treasures and assemble them to create a well-balanced piece of art.
STUDENT DIRECTION:
WEEK 1:
1. Students will be introduced to the art of Assemblage through a PowerPoint and short lecture.
2. Students will then look through discarded library books for text, images, patterns and designs that they feel drawn too. Student tear out as many pages as they want.
WEEK2:
1. Students will review what an assemblage is with a short Q&A.
2. Students will get a ½ shirt box, paint brushes and text pages.
3. Students will be shown how to cover the sides of the box, gluing the pages so they lay flat (good craftsmanship).
4. Students will also cover a divider piece which is just a cardboard strip using text or construction paper.
5. Students will also decide on an image for background of their assemblage. They can pick for their already chosen images or pick something new.
WEEK 3-4
1. Students will decide where they want me to hot glue their dividers.
2. Students will choose and cutout 2-3 small images that need to fide inside the box. They will be stilted to create depth in the box. (They need to keep in mind when adding things how they all relate within the box.)
3. Once these are glues down students can discuss with me a plan to add more if they choose.
4. The final step is to hunt through the boxes of actual 3-d objects and pick 2-3 to glue into or onto their boxes to complete their assemblage piece. (They need to keep in mind when adding things how they all relate within the box. )
16
5. Students are reminded that the things they need to add to and relate to the theme they have created within the box.
WEEK 5
1. Complete anything within the box that is not finished.
2. Complete Assemblage Reflection Worksheet.
Outcome/reflection on the implementation of the lesson/activity:
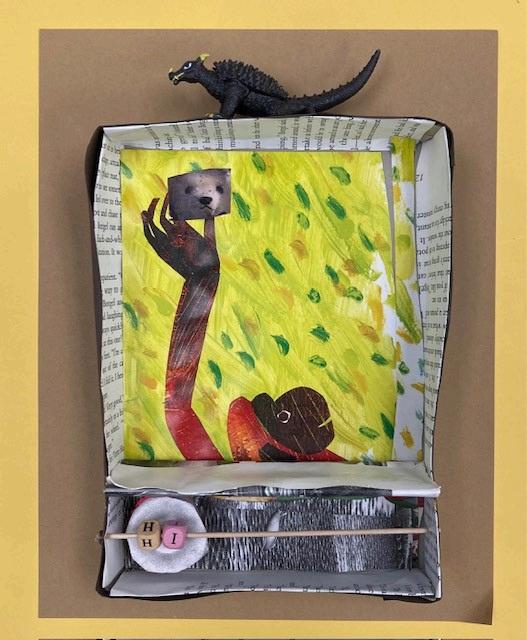
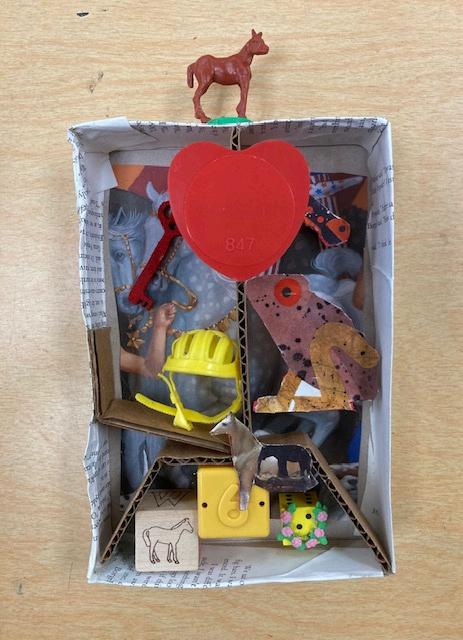
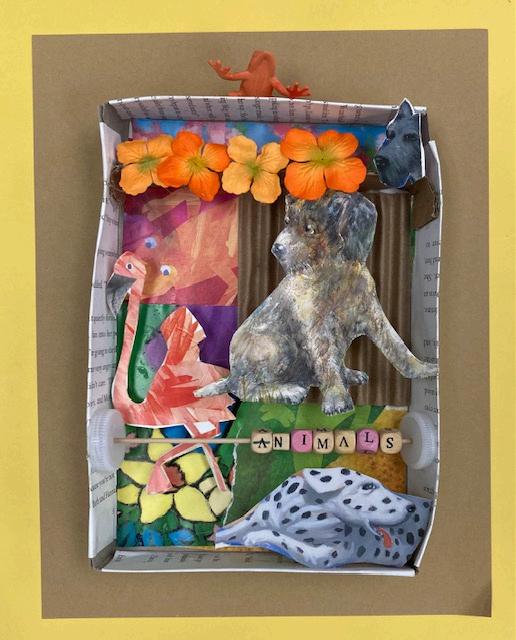
I feel that it was a successful lesson to introduce the art of assemblage and the creative process. Treasure hunting for images allowed the students to just look for images they liked and create a story with those images. They learned how to tear from a book, cover the book with paper, stabilize and stilt the images, create dividers within the box, and edit how many 3-d objects the assemblage needed.
**A follow-up lesson would be for the students to alter the images with paint to make them more their own, and or draw their own images. We would discuss copy right laws and plagiarize for this second project.
**Would also put out less 3-d objects for the students to choose from, it became overwhelming for some.
17
Second Look Perception Activity
Emma Clay
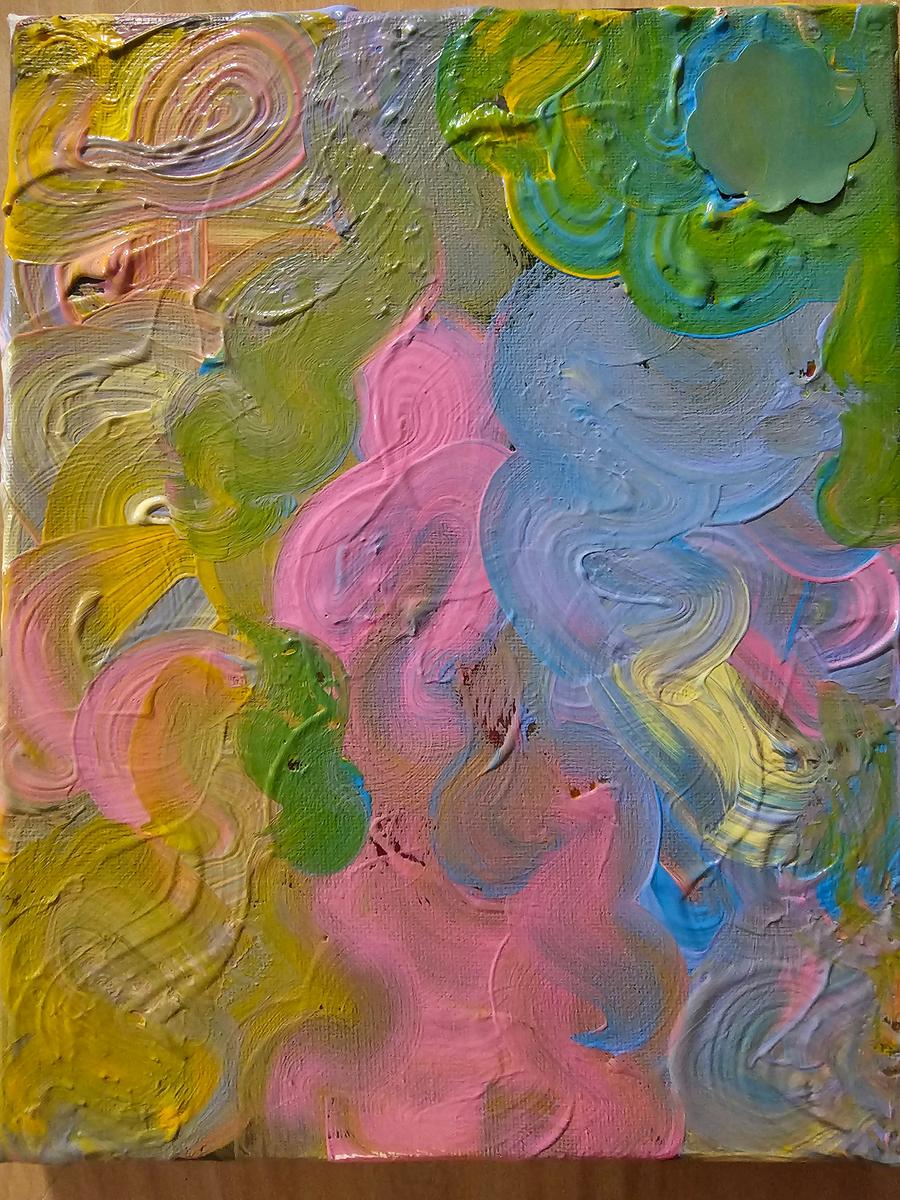
Najee Dorsey “Landscape”
4/2/2024
1) Write down 3 questions that immediately come to mind as you look at this artwork
Where did she get the idea? What is it based from? How long did it take?
2) What kinds of things do you see in this artwork?
I see clouds and mountains.
3) What words would you use to describe this artwork?
Abstract
4) What mood or personality does the work project?
The mood feels happy and dark.
5) What specific emotions or feeling does this work arouse? It makes me feel curious.
6) Does the artwork remind you of anything?
It reminds me of seashells.
7) What things seem familiar in this artwork? What things seem new to you?
The layout is familiar. The placement or the colors are new to me.
8) Does the artist/artwork have a message? What might it be?
I think the message might be, even though everything around you may seem fuzzy and unclear but the path you need to take is clear.
32
33
Landscape, Emma Clay
Jennifer Surgent Jennifer Surgent
Palm Terrace Elementary Palm Terrace Elementary
AArt rt
PPk-5th k-5th
34
Participating in the 2024 Creative Connections Teacher Institute was a rewarding experience for me. I found the opportunity to meet with the other VCS educators very beneficial and validating. It was great to be surrounded by likeminded people who could relate to my life as an art teacher. I instantly felt connected to the teachers. I felt supported and heard. The focus of the Creative Connections Teacher Institute was something I needed. It opened my eyes to the needs of all my students. It made me take a deep look at my classroom curriculum and helped me become more sensitive to the learning barriers my students are challenged with.
I have already put what I have learned into practice by changing the way I approach the development of an art lesson. I also now dedicate more time to reflect on the overall outcomes, using the time to examine the strengths and weaknesses of a project and how I can improve upon it. The adjustments have proven to be advantageous for all involved. I cannot thank the Museum of Art – DeLand enough. I am leaving the 2024 Creative Connections Teacher Institute a better educator than I was before.
35
April 2024
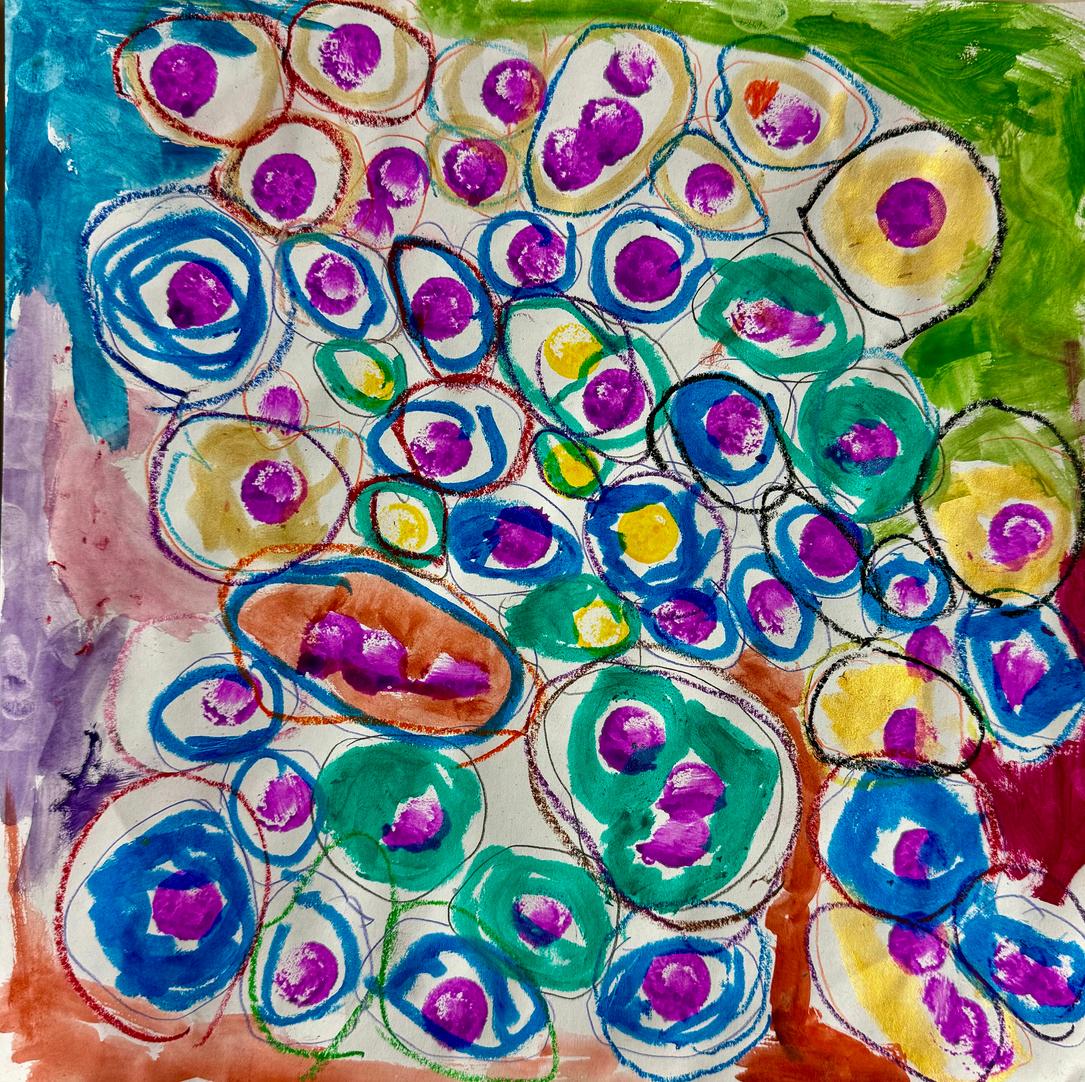
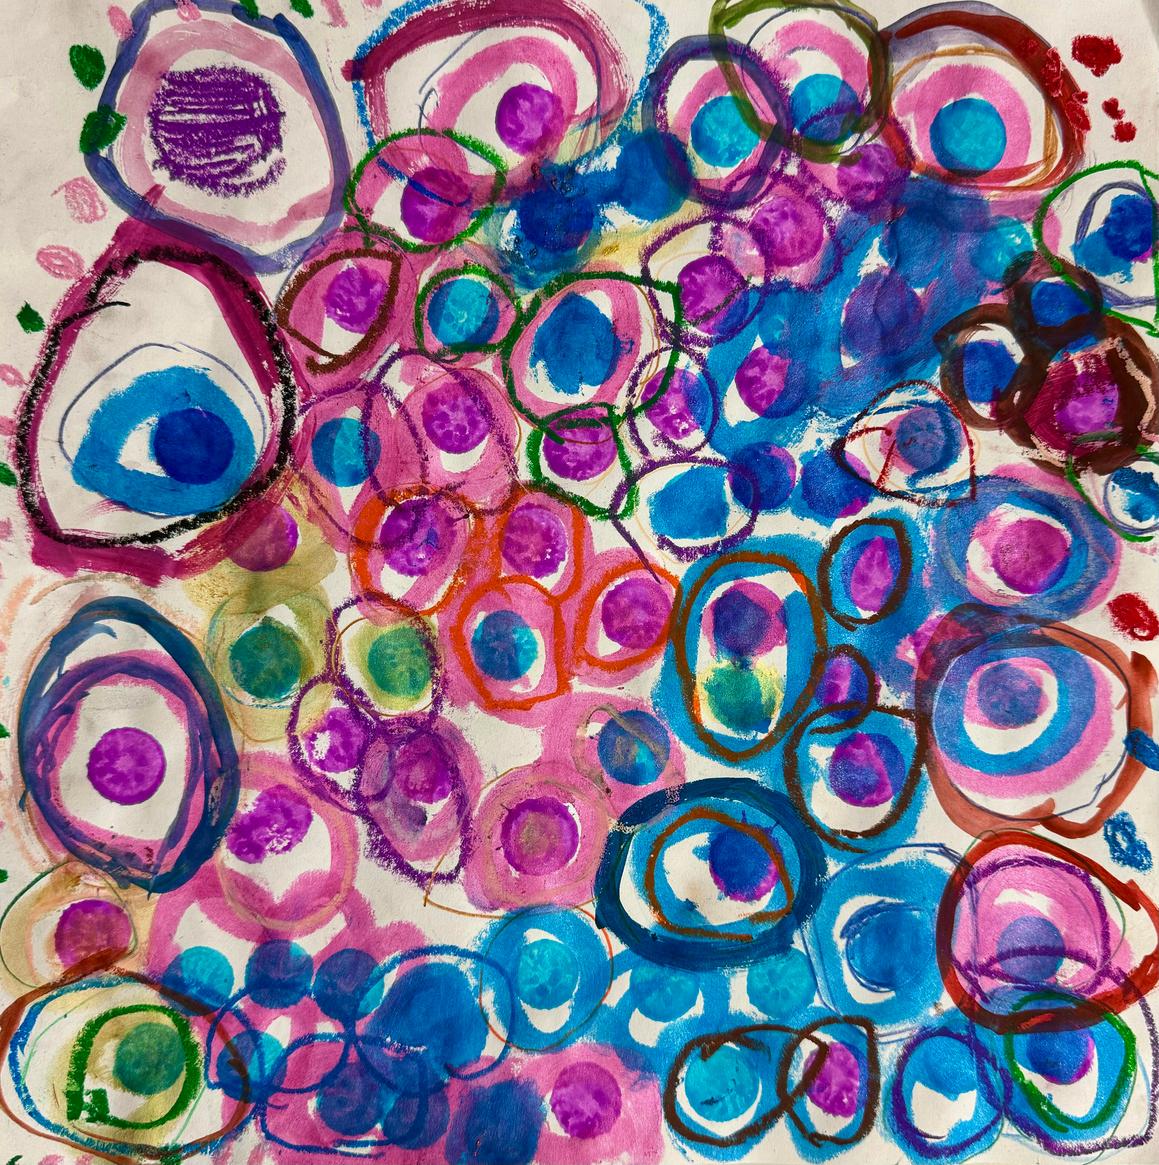
Circles – An all-inclusive art project
Participating Grade Levels: Kindergarten, First, and Second
Subject Area: Elementary Art (PreK – Fifth)
Lesson Objective: The lesson was designed to offer all participating students an equal chance to succeed. The Circles project invites all levels of artistic skills and allows students to produce a piece of art they can be proud of.
Lesson Description: Students will use a wide variety of art materials to create circles on white 12x12 art paper.
Materials Used: Crayola Dot Markers, Metallic Tempera Paint Sticks, Colored Pencils, Glitter Gel Pens, Oil Pastels, Tempera Paint, Metallic Acrylic Paint, Crayons, and Circle Stamps made from recycled materials.
Lesson Outcome and Reflection:
I set out to create a lesson that did not require any previously acquired art skills, therefore, I focused on the circle shape. I determined that everyone would feel comfortable creating a simple circle and I was correct. I was pleased that I did not hear students moan and groan about not having the abilities to execute the project.
I feel Circles was a success! The young artists produced visually pleasing, interesting art pieces that they felt proud of. And most of all, they had fun! Mission accomplished.
36
37
Circles, Palm Terrace Elementary Students
Circles, Palm Terrace Elementary Students
Tiffany Warren Tiffany Warren
Champion Elementary Champion Elementary
AArt rt
PPk-5th k-5th
38
Of all the professional learning opportunities that I have participated in this school year, this has by far been the most valuable to me. It was a refreshing experience, because it was a training created and facilitated by teachers with a passion for education and the arts and was designed specifically for art teachers and any creative minds interested in attending, in the district of Volusia. It was an incredibly inclusive professional learning opportunity that was not limited to just art educators, but an open invitation to anyone in our educational community-especially those artistically inclined, however their art comes to fruition. What an incredible experience it has been.
This teacher institute occurred through three sessions at the Museum of Art in Deland, the first Saturday of the month from January through March, from 9:00 until 1:00. It was presented in a way that I was able to connect, on both personal and professional levels, with my love of art. We viewed pieces of art from a variety of perspectives, learned about the lives of artists and their reasons to create, and for me it made me realize a lot about myself. It made me realize that the way that I learn as a professional and as a continuous learner should be valued too.
Our learning styles do not stop when we enter adulthood. I honestly think that if more professional learning opportunities were stylized like this one, teachers would both feel better about the content delivered, and more respected and valued in our field. It also gave me multiple perspectives on how to approach, understand, and reduce barriers to learning in the classroom. With this professional learning opportunity, came chances to make good changes in my classroom and my professional outlook, and a universal realization among my peers and I that some things are unfixable by the educators in the classroom, but a problem that needs to be addressed more appropriately with those above us.
The way the content of UDL and different research and writings regarding UDL was delivered and discussed, was adapted for the more artistic minds (in this case, the art teachers and educators who typically fall in more “creative” categories- writing, English, etc.). It was a perfect approach for how I learn. I was able to learn and discuss in a smaller setting, with other educators who have a similar interest, with people who cared about what I had to say, because they experience similar things, and presented by an individual who loves both education and art-in a way that facilitated really rich discussion with colleagues, strategies to apply, plan, collaborate ideas, and connect with our content areas. This was a professional learning that I willingly signed up for because it was something that I wanted to improve in and am interested to know how other art teachers may implement this as well. I do not regret a second of it. I highly recommend it to any educator, and hope it is offered again in the future, so I can recommend it to my team.
I want to continue actively approaching barriers throughout the duration of my career, understanding them, and overcoming them with my students. This opportunity also allowed me to connect with other teachers in a similar field to mine and consider things through different lenses-not just the “elementary” one size fits all way. There were educators from elementary, middle, high school, and collegiate levels present. We felt heard by our peers, valued, and that what we had to say was validated. The discussions, analysis of written works about UDL, and collaboration of different topics addressed made this the first time in years, I actually enjoyed learning about UDL. I really enjoyed my time in this professional learning.
I am so thankful to have had this opportunity. It was a great experience, and I promise that I will use what I have learned to support my students the best way I can. Thank you so much.
39
Subject Area: Art
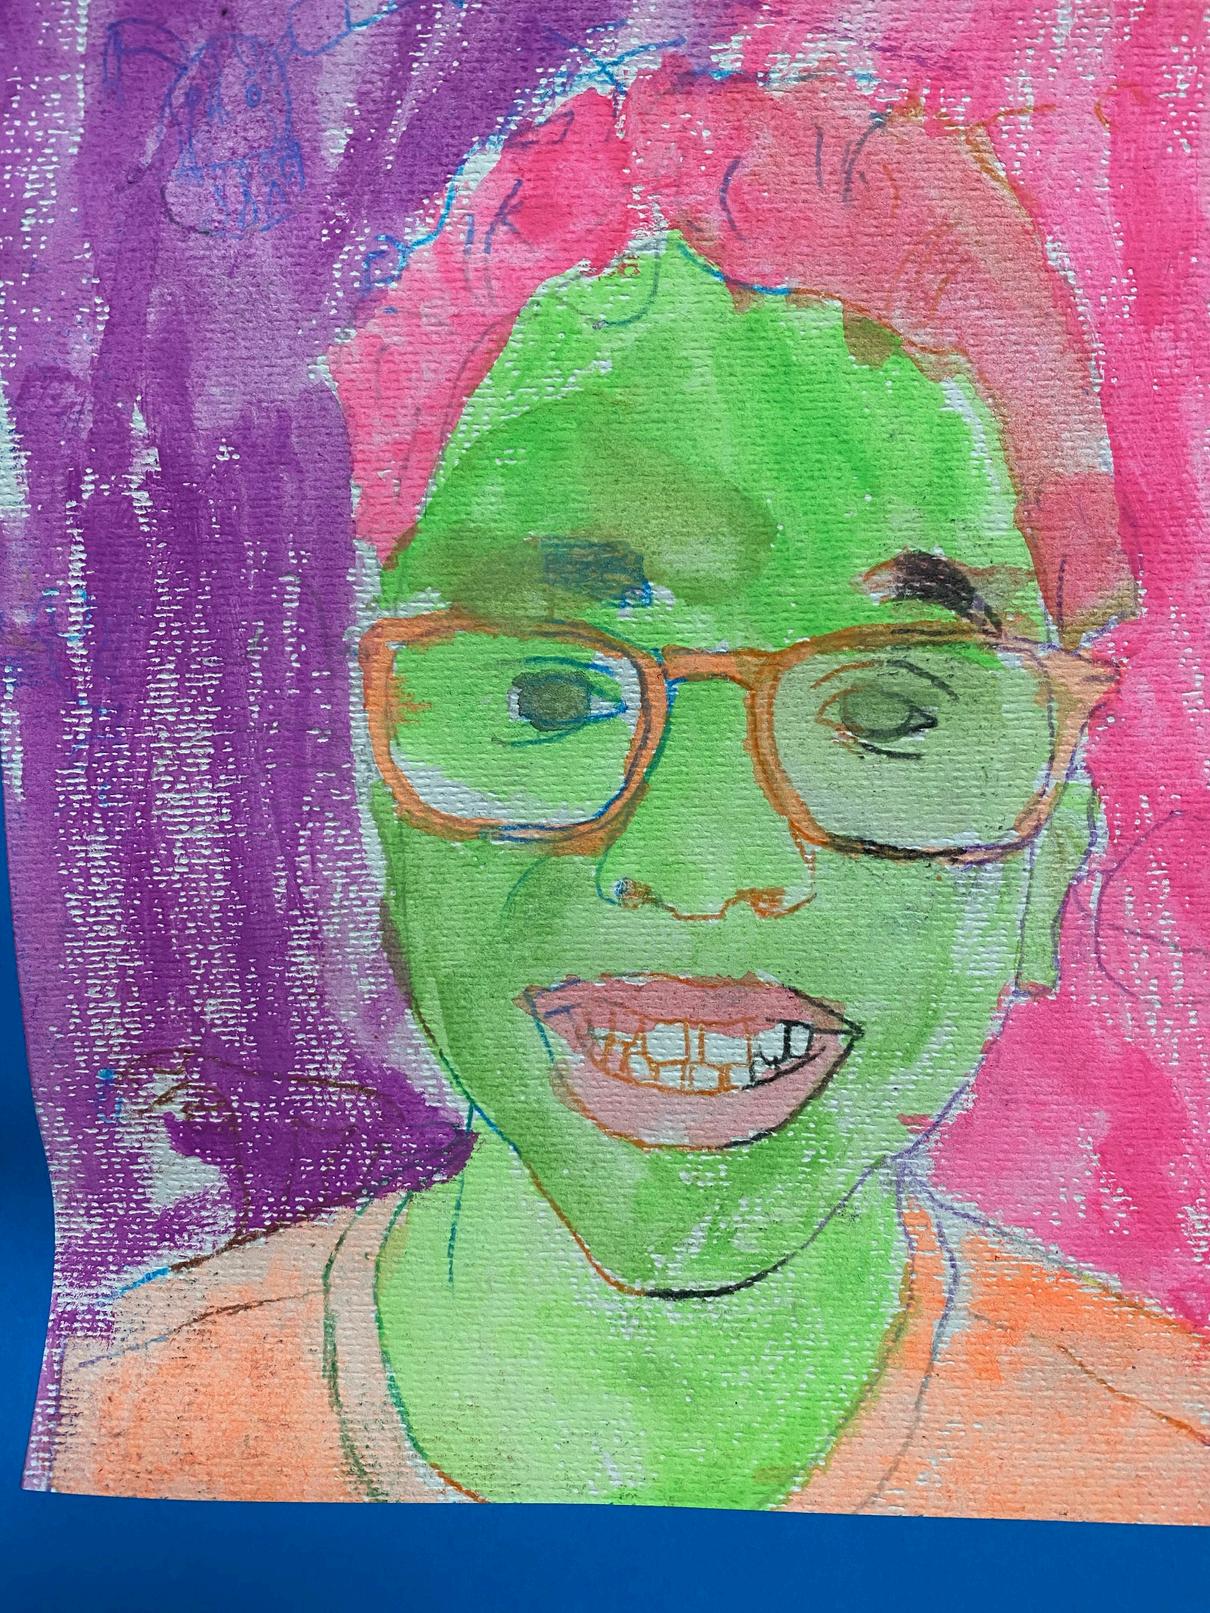
Title of Lesson: Alien Self Portraits- “It’s Alien to Me”.
Grade Level: 4th Grade
Lesson Overview:
This is a lesson that I do each year with my fourth-grade students, but for this year and with what I gleaned from the Creative Connections training, I modified the lesson heavily for a totally different approach.
Typically, I do a gray and white study where they are learning to shade, with a bright color background that represents them. This lesson is highly adaptable and may be modified down to lower primary grades as well, and fully up to 12th grade. This lesson is a tried-and-true way for me to introduce shading to my older students, in a way that helps build confidence and not crush it. All students walk away from this project with some level of success, and it usually pushes them in a positive direction for their future growth. It takes the goal away from them drawing the perfect image, and focusing on the shading and value they add to the piece.
This year I flipped the lesson from a focus on value to one that pushes emphasis and color usage in their work. A little less scary and a little more illustrative, for a more pop art and abstract look to their work. It essentially makes their work look what some people would say is “weird” or “strange”, and I find this exciting. Let them be weird. Let them use colors. Let them enjoy the process as they are learning. This made the lesson even more incredible for my students. This was all fueled by what I learned through discussions, readings, and observations cultivated through the Creative Connections Teacher Institute sessions this year.
Purpose of Lesson:
To explore the creation of self-portraits, using vocabulary from prior experiences in 3rd grade, and that we have used this year in 4th grade, to create a new piece that reflects ourselves in a different way. Students will make a mixed media piece, using various techniques and tools, to create unique works of art. To allow more creative freedom and choice with selecting materials from several options made available for use.
Objectives:
VA.4.S.1.4- Use accurate art vocabulary to discuss works of art and the creative process.
VA.4.S.3.3- Follow procedures for using tools, media, techniques, and processes safely and responsibly.
VA.4.C.2.3- Develop and support ideas from various resources to create unique artworks.
40
Time permitted:
3-4 class sessions of 40 minutes each.
Materials:
Consumables:
• 8x10 photograph of students on copy paper (takes prep time before)
• Watercolor paper
• Oil Pastels (we used regular colors-but neon would be next level awesome, and black light reactive).
• Watercolor paints/ tempera cakes
•
•
• Colored Pencils Regular Pencils Painter tape/ washi/ masking tape (whichever you have that can block off areas, and peel off well).
• Optional: fun pens, gel pens, metallic markers for fun small touches at the end.
Non consumables:
• Paintbrushes
• Water cups
• Palettes for mixing
ESOL Accommodations:
• Written instructions (translated by using translator apps on their devices)
•
• Access to their devices for translating content and communication to myself and others. Integrating personal culture and interests into the content encouraged, but not required. Supporting students with their culture and background being an important part of themselves, to help them feel safe in expressing themselves and learning in the art room.
• Modelling in front of the student the techniques required.
•
•
•
•
•
• Peer students to model Breaks to take a Gallery Walk, to reflect on what other students may be doing, and to have time to ask questions if needed.
Increased time for answering questions. Increased time for completing tasks.
Visual cues for material location.
Visual supports everywhere.
•
• Open ended sketchbooks to communicate ideas and inspiration, where they can write information and then translate it into English on the app of their device. Labels everywhere, in English but with photos as well to show what the material is.
41
IEP/ 504 Accommodations:
Actual accommodations and modifications vary depending on level of need and who was present in my classroom.
Typically, I already:
•
• Repeat/ clarify directions
Chunk directions for students to focus on/ have personal checklists on a sticky note for what students need to focus on doing.
Verbally present, while providing visuals to pair with it. The visuals are usually in the form of anchor charts they can refer to whenever they need.
Verbal encouragement
Increase/ decreased movement depending on needs.
Frequent breaks-if indicated. This also may be where I give them breaks without them knowing it’s a break-to chunk the time. I may ask them if they are comfortable to take a moment to do another task, to get them up and moving.
Extended time
Visual Supports, prompts, and cues.
Verbal Prompts and Cues
Visual schedules, timers, and more.
Lots of different adaptive materials or ways to present work
From Creative Connections I challenged myself to try these more:
• Reduced stimuli (offering students the ability to work on their pieces away from others in the room, and sometimes reducing the voice level to whisper discussion only).
Sometimes I would play super soft instrumental music, and if I was playing it, then this was a time where student talking was limited to a whisper.
•
•
•
Being very specific about the types of materials used. Sometimes more choices can be overwhelming for students, so modifying it further by only allowing three options, and they got to pick from those three.
Colored overlays (excellent for students with dyslexia to be able to read the instructions/ comprehend better). With these, I told them to chunk steps from the anchor chart as well. I only have one or two students so far that has really needed something like this according to accommodations-though I wish it were more widely available for students in general-especially those who are better at masking their difficulties in areas. If this option made them uncomfortable, I also could and would quickly jot down instructions on colored index cards or sticky notes, to chunk instructions for them and help set more realistic goals for their time, efficiently. Again…Chunking steps by creating short goals that would be attainable for students.
“Today your goal is to complete step 1 and 2. If you get further than that, that is awesome, but you are only expected to have the first two parts done today. Is there a way I can support you with completing these tasks- checking in or a buddy’s support?”
• •
•
•
• • • • •
42
•
(This one is where I took what I previously was doing and just made it go a step further. It is an option needed by many students-not just ones with documented needs of accommodations.
Additional adaptive materials for sensory sensitive students, or even just the choice of alternative writing materials.
• More preferential seating (with my room the size that it is, I have to typically group people, but if I noticed a kid really in need of a quieter space with reduced stimuli, I was able to work with that child to find a spot where they could be productive in their work and showing what they learned through their art.
Lesson Prep:
Before beginning the lesson, you will want to plan to photograph the students and print their images, so they are prepared to start the project the following class. I do this while students are working on the last day, of their prior project. I’ll call them up in groups by table, take a quick photo of them, and have them go finish their work. Once finished, I email myself the photos, dump them all into a word document, and either print them on the copier at work, or kindly ask my school secretary if she minds printing them in color. If I have it pre-sized and in one document, she usually doesn’t mind-especially if it is only for one grade level, and I don’t ask for color copies all the time.
Lesson Week 1:
Students will review in a whole group setting (for me on my carpet in the front of the room), what it means to create a self-portrait, and how that can be represented. Then we discuss how we can apply the elements of art and the principles of design in our work. In our project, we want the emphasis of the piece to be on the self portrait itself, so we need to be intentional about everything surrounding the artwork to ensure nothing takes away from the focal piece- the self portrait itself. The value was incredibly important to last year’s piece, but for this year’s piece, understanding how to use the space well, using colors carefully, creating good lines throughout the piece, can make the piece visually appealing, balanced, and interesting to look at. Students will then be asked to use oil pastel (in their choice colors), to fully color the back of their photograph. The entire paper is encouraged, because the entire paper can be used as an opportunity for added details. Students are directed to color firmly with the pastels, filling in all white space on the back of their photographs. They do not need to worry about a fancy design or pattern, blending perfectly, or anything in that manner-they just need to choose colors they like and fill the space. Once the paper is filled, I will tape it to their sheet of watercolor paper with them and then they will use a pencil to fully trace the details they want prevalent in their piece.
Lesson Week 2:
Students will trace on top of their entire photograph, focusing on the details of the person, and NOT shading at all at this time. While working, students are also encouraged to draw alien features to give a funky element added to their self-portraits. The alien features they choose is up to them. If they do multiple eyes, antennae, different ears, and more. They can be creative with what they want to add. Once finished, students are encouraged to use the remaining spaces on the front of their photo to come up with whatever background they want. It
43
can be a place, completely abstract, or something that has what they love and value, around their alien self. As they do this, the oil pastel will be pushed into the paper-which will create a fun resist piece they can paint around later.
Lesson Week 3:
Week 3 is fully painting. About half the students finish this week, but the other half typically needs one additional week to fully paint, detail, and complete their artist statements for this piece. Students will paint their work, using a variety of different color options. The colors they choose are up to them. While they work, I do circle through and encourage them to consider the background color while they are painting their portrait. To bring emphasis to the face, they will need to have contrast occurring in the work, so picking colors to help the portrait stand out will be what helps their work look more interesting than another’s. Contrasting warm and cool can make the piece more effective. When they are finished, they place their art on the drying work, and can start working on their artist statement.
Lesson Week 4:
About half of the classes need this additional week-especially if they are my early release class. In this last week all students are finishing up, adding any extra details with colored pencil or other dry media to add back in details they may have accidentally erased, and finishing up artist statements. With this lesson, I also involved students in the selection of the frame they needed for displaying their work. They had to pick a frame that complimented their work and helped it to stand out but didn’t take away from their piece; something that made their work pop and not look flat. With this I taped their frame to their piece and attached their artist statement to the back.
44
45
Liam Rios Ramos, 4th

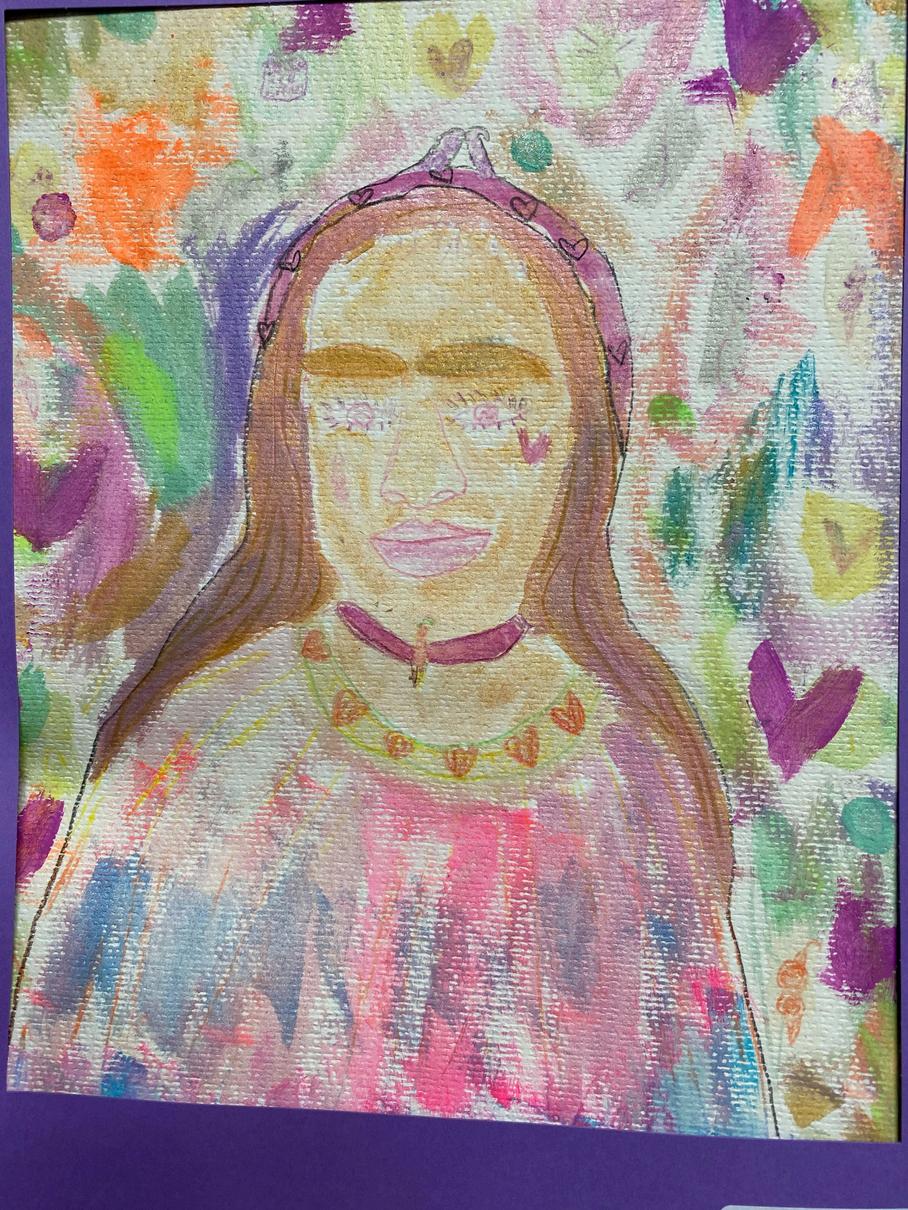
46
Lailoni Fitzgerald, 4th
Aahna Shah, 4th

47
Kyle Oatman, 4th
Dr. Rajni Shankar-Brown Dr. Rajni Shankar-Brown
Stetson University Stetson University
EEducation ducation
Undergraduate and Graduate Undergraduate and Graduate
48
I am grateful for our Creative Connections Teacher Institute! Heartfelt appreciation to Museum of Art-DeLand, Curator of Education Martha Underriner, Pam Coffman who originally founded the Institute, and to the generous sponsors who enable this dynamic professional development opportunity for educators, particularly the generous family of Dr. Evans C. Johnson.
It is a gift to be in community together and nurture creativity, and I always appreciate having intentional space to reflect and grow with fellow educators. With deep gratitude and excitement, I eagerly look forward to the 2025 Creative Connections Teacher Institute.
Namaste and onward, together!
49
Grade Level:
College/University Level and PreK-12
*This interdisciplinary lesson is designed to meet the needs of diverse learners. The lesson may be adapted across grade levels (pre-kindergarten to adult leaders)
Purpose:
Engage and Analyze:
Practice self-reflection and community sharing
Demonstrate and Apply:
Utilize and perform multimodal communication skills
Comprehend and Synthesize:
Develop a basic understanding of global citizenship and art for social change, intersectional social and environmental justice, and the significance of social and civic responsibility.
Evaluate and Create:
Investigate a social and environmental justice issue and creatively advocate! Use recycled or repurposed materials, including littered items collected from mother earth, to incorporate into your design
Lesson Description:
1 Open by briefly sharing the history of haikus and the traditional format of a haiku poem (17 syllables in three lines of 5,7 and 5 syllables) Haiku is a short form of poetry that originated in Japan, an island country in East Asia Next, share 2 to 3 examples of haiku poems do a teachaloud and encourage student voice! Discuss the poetic format and possible meanings of the poems as a whole class. Next, have students reflect on parts of their social identities and lived experiences to write their own haiku. Have students share in pairs or small groups, and then invite a few students to share in a whole class format. Briefly have students interrupt the haikus and share possible meanings. See Appendix A.
Adaptation Note: If students are younger (PreK, elementary-level), focus on teaching syllables and counting, including through clapping words out or using correlating body movements Also, pull up a world map and show the continent of Asia and point to the country Japan When working with secondary level or college/university-level students, bridge in the history of Haikus and modern evolution, as well as Japanese poetic concepts Haikus are a part of a poetic genre known as renga or linked poems For deeper connections, also teach students (especially high school and college-level students) key Japanese concepts that ground Haiku poems, such as kireji
Recycled Art and Reflection: Creative Explorations for Social and Environmental Justice
50
(cutting word) and kigo (seasonal reference)
Have students take a brief nature walk outside. Then pause to listen to the sounds. Inhale the outside air Feel the warmth of the sun or the coolness of a breeze Study nature using different senses observe specific items (a rock, a leaf, a flower, a twig, etc ) in detail, watch movement in light and shadows, identify diverse colors including monochromatic shades, and feel different textures in natures Have students record their findings through words and/or images –whatever comes naturally and brings joy
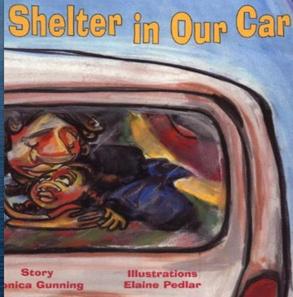
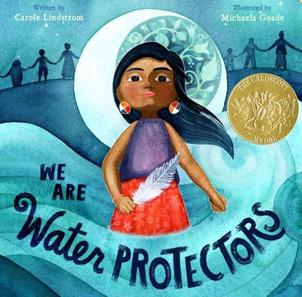
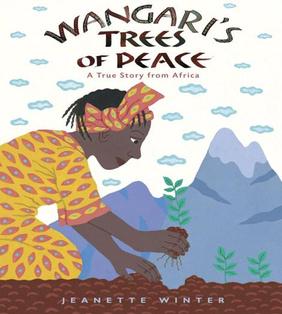
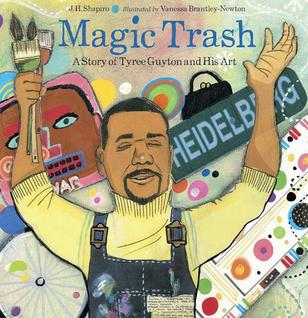
Discuss environmental issues and bridge to social justice issues. For example, rising heat and the impact on people living outside unsheltered and experiencing homelessness. Consider integrating a read-aloud of an illustrated children’s story reflecting cultural diversity and socialenvironmental connections to open the discussion up such as A Shelter in Our Car written by Monica Gunning and illustrated by Elaine Pedlar; or We Are Water Protectors written by Carole Lindstrom and illustrated by Michaela Goade; or Wangari’s Trees of Peace written and illustrated by Jeanette Winter; or Magic Trash: A Story of Tyree Guyton and His Art written by J H Shapiro and illustrated by Vanessa Brantley-Newton See Appendix B
Have students brainstorm social and environmental justice issues that impact their local community and lives using TIPS (Think, Ink, Pair, Share) and then display on a graffiti wall for the class to view and reference
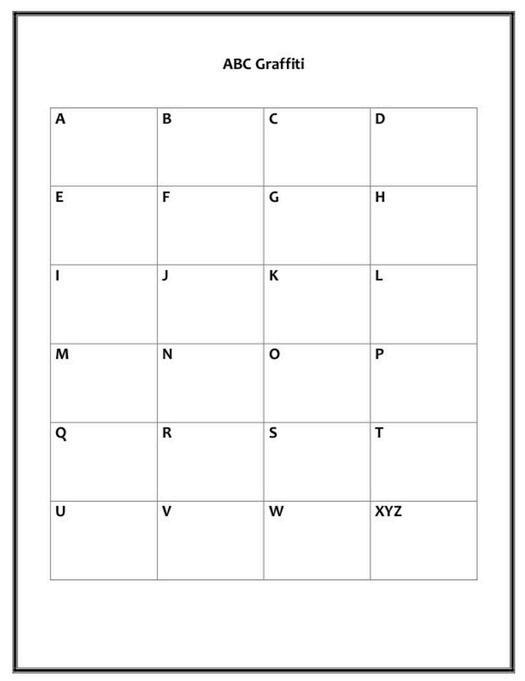
Consider using ABC graffiti and working to have students then place ideas alphabetically to systematically organize and discuss See Appendix C
Adaptation Note: If working with Pre-K and elementary level, keep it simple and focus on ABCs and big word/concept connections. For example, A for art, B for books, C for Clean Water…P for People…T for Trees, S for Shelter, etc. If working with middle, high, and college/university level students, encourage students to not only brainstorm larger issues but dig deeper by providing specific examples and identifying intersectional connections.
Have students create advocacy art around the issue they would like to lift – may be a painting, a collage, a sculpture, etc Provide students agency as they decide on how to create and articulate their message in a creative manner to educate and advocate the wider community – and have them write a brief reflection, along with sharing research and ideas to help promote needed social change and transformation Incorporate recycled or repurposed materials, including littered items collected from mother earth (prior lesson community/school clean up with gloves and safety measures), into their design Once complete, have students share in class and in a community-engaged format to reach a wider audience Also, bridge in the use of social media as appropriate to help disseminate advocacy messages and educate beyond the classroom!
Adaptation Note: If students are younger (PreK, elementary-level), consider a class project in which all students can contribute – for example, if working with Pre-K or Kindergarten students,
2. 3. 4
5.
51
consider having a pre-printed advocacy poster or mural for students to help color, paint, decorate or even glue and collage recycled items on. When working with secondary level or college/university-level students, provide students with option to work individually, in pairs, or small groups based on project ideas. In addition, consider having students connect with community nonprofits or advocacy organizations for additional information and resources to deepen the learning and expand growth of skillsets including communication, collaboration, creativity, cultural humility, critical thinking, and research skills.
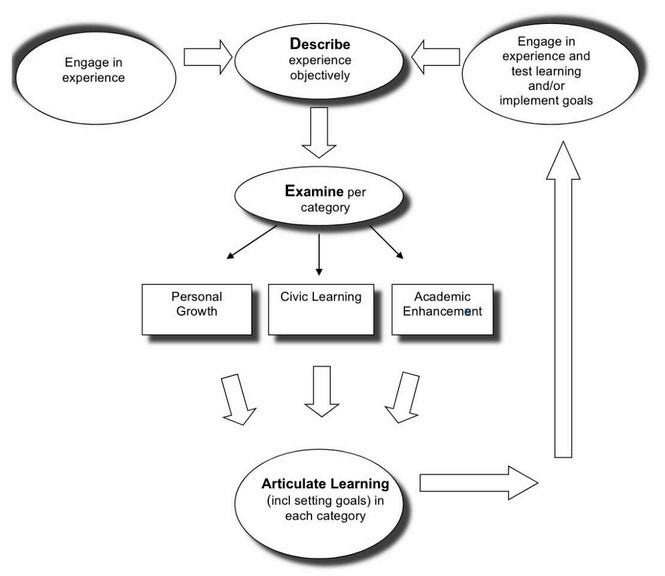
6. Have students do a brief reflection at the end using the DEAL Model – Describe, Examine, Articulate Learning
Adaptation Note: For older students (middle, high, and college/university), let them reflect orally with a partner(s) and then individually reflect in writing For younger students (Pre-K and elementary), simplify the process and facilitate the reflection as a whole class (circle time) or in a small group format See Appendix D
Outcome/Reflection:
This lesson was a joy to design and to teach The students’ creations fill(ed) my heart with hope I created this lesson using backwards design and I had numerous goals in mind/heart when designing this lesson Mainly, I hoped the lesson would result in positive student learning outcomes that encouraged social and civic responsibility and provided for structured and organic moments of transformative teaching and learning. I am grateful and excited to share that this certainly unfolded, and my lesson even exceeded certain expectations I had ... particularly as many of my students (PreK-12 and higher education) discovered deep passion for the social and environmental issue(s) they researched and have continued to educate, advocate, and even work on artistic activism around the issue(s) they selected (extending weeks beyond when I facilitated the lesson in discussions and actions; reflecting student agency and collective inspiration) See Appendix E
I facilitated this lesson for my undergraduate students over 2 classes with each class being a three-hour block of time (1 PM to 4:30 PM with a 30-minute stretch/snack break). In addition, I facilitated the lesson with K-12 public school students including with students of mixed ages in my Hatters University Scholars mentoring program (Dream Big, PreK-5; Junior Hatters 6-9; and Stetson Youth University 9-12). I adapted the lesson to meet diverse developmental needs and differentiate instruction to meet diverse learners including for English for Speakers of Other Languages (ESOL), Exceptional Student Education (ESE), and students with different literacy levels across grade levels – PreK to Adult I also lifted intersectional lenses and challenged students to consider intersectional equity connections, particularly secondary and college/university level students
Two challenges I had with this project included time and personal cost of art supplies. While the lesson was facilitated and adjusted to fit the allocated timeframe, upon reflection I would love for this lesson to expand to multiple lessons to allow more time for discussion, creation, and sharing. In addition, I purchased all supplies for the creative projects including paint, markers, glue, beads, etc. I may see if there is a mini-grant in the future to help with the cost of the supplies
52
I am already eager to facilitate this lesson again Since creating and implementing my lesson this spring, I have already generated more ideas to integrate in the future For example, I plan to extend the lesson into a mini-unit, add an outdoor gallery walk set to a musical playlist determined by students and based on their projects, and have elements of nature observed incorporated into the visual pieces of creations as a reflective honoring while focusing on creating for advocacy. In addition, my thought is that if we hold this outdoors in a public space on campus or in our community, this will also allow other students and community members to engage and learn and help to widen my students’ audience and their positive impact. Additionally, if time permits, I may integrate a video component.
Appendix A – Haiku Poem Examples
For PreK and elementary level students, here are some haiku examples.
Haiku Example A
“The Old Pond” by Matsuo Basho
An old silent pond
A frog jumps into the pond, splash! Silence again.
Haiku Example B
“A Poppy Blooms” by Katsushika Hokusai
I write, erase, rewrite Erase again, and then
A poppy bloom
53
For secondary and college/university level students, here are some additional haiku examples
Haiku Example A
“Haiku for Social Justice” by Joe Navarro
Oppression dies when people cry with tears of hope for social justice
Haiku Example B
“Masala Chai” by Rajni Shankar-Brown
Cardamom, Ginger, Ancestral wisdom brewing
I dream in spices
54
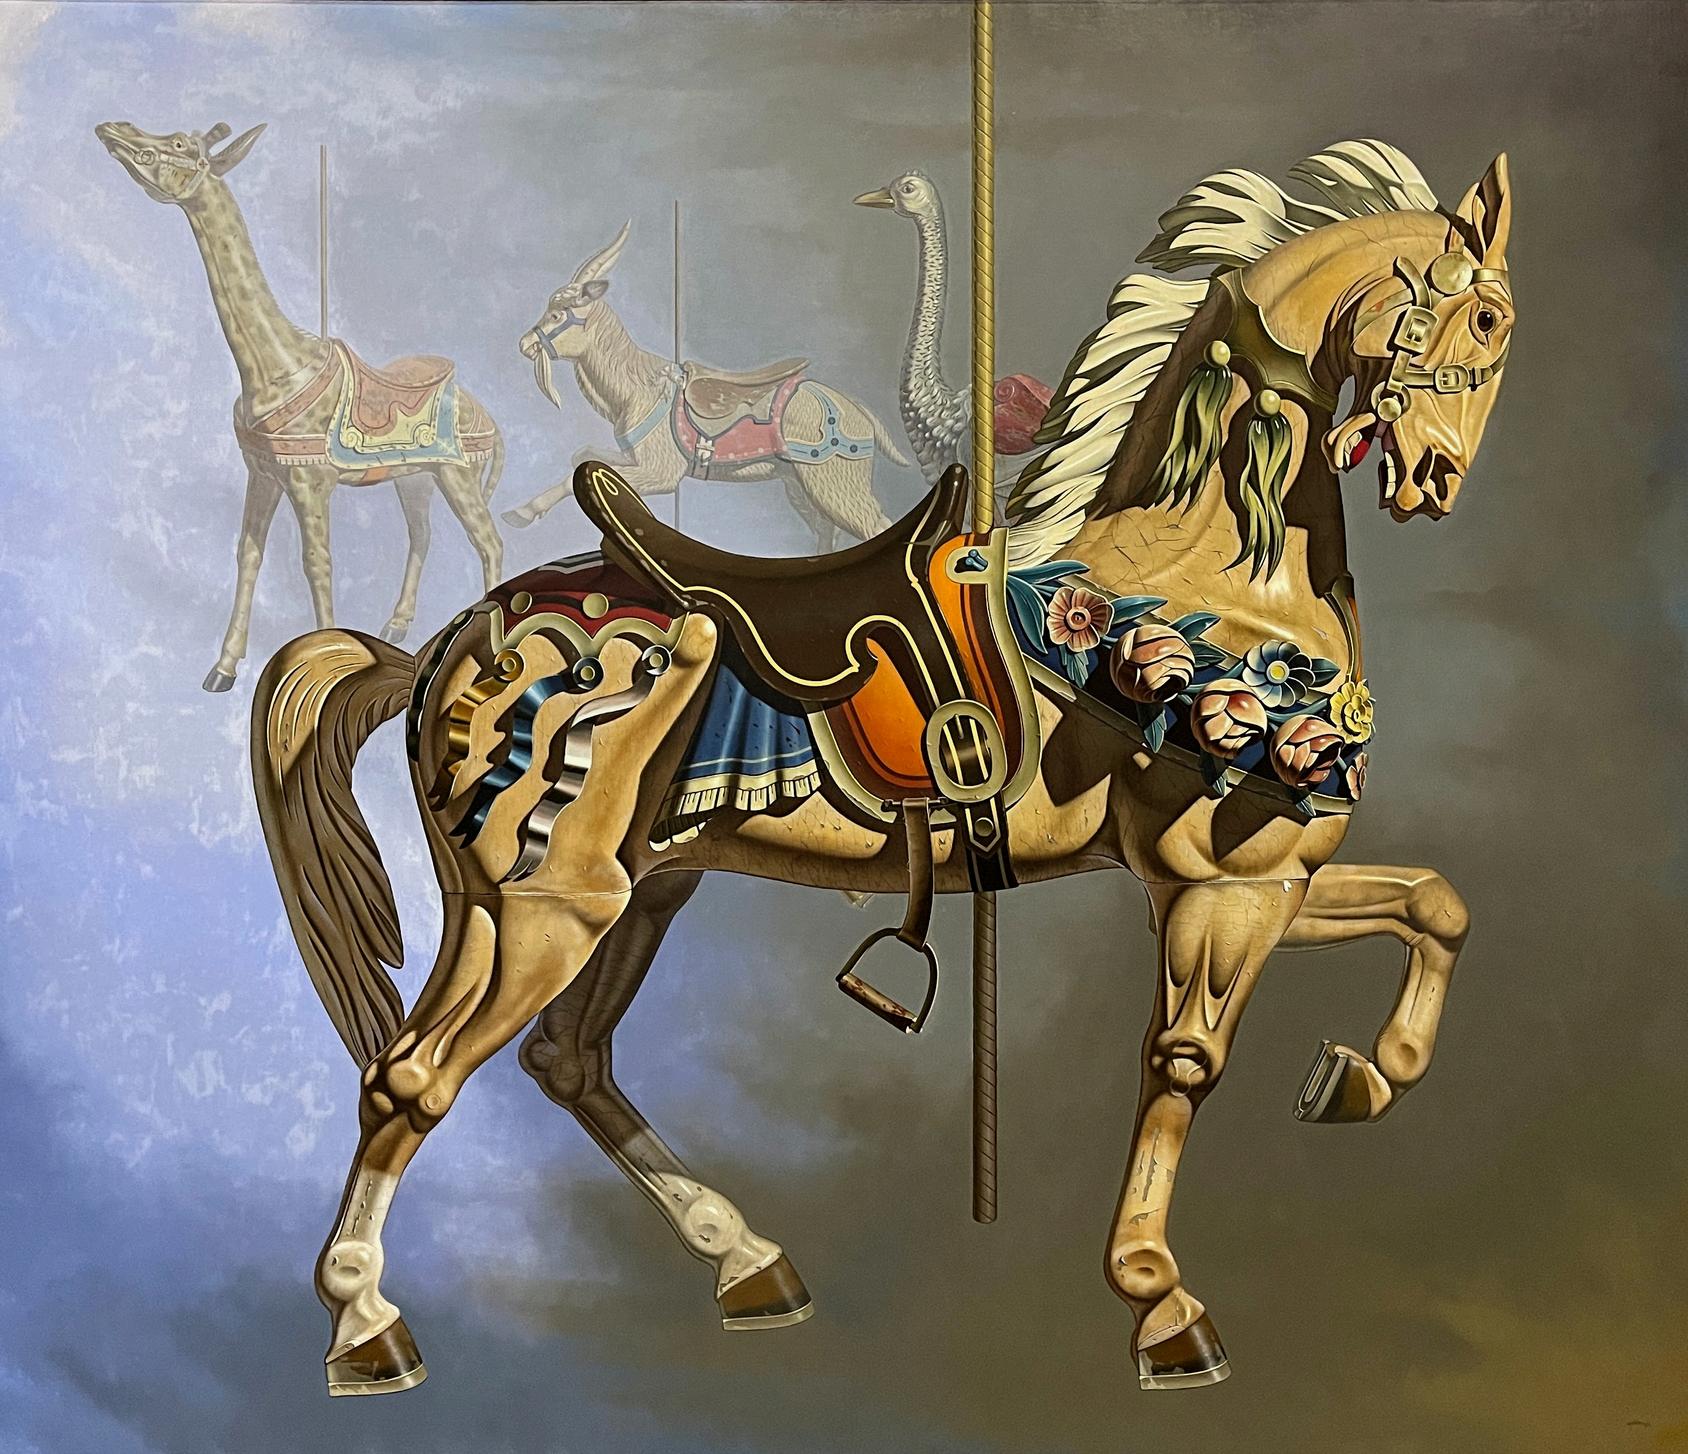


 Walk in My Shoes


