5 minute read
Wooden Box Sideboard


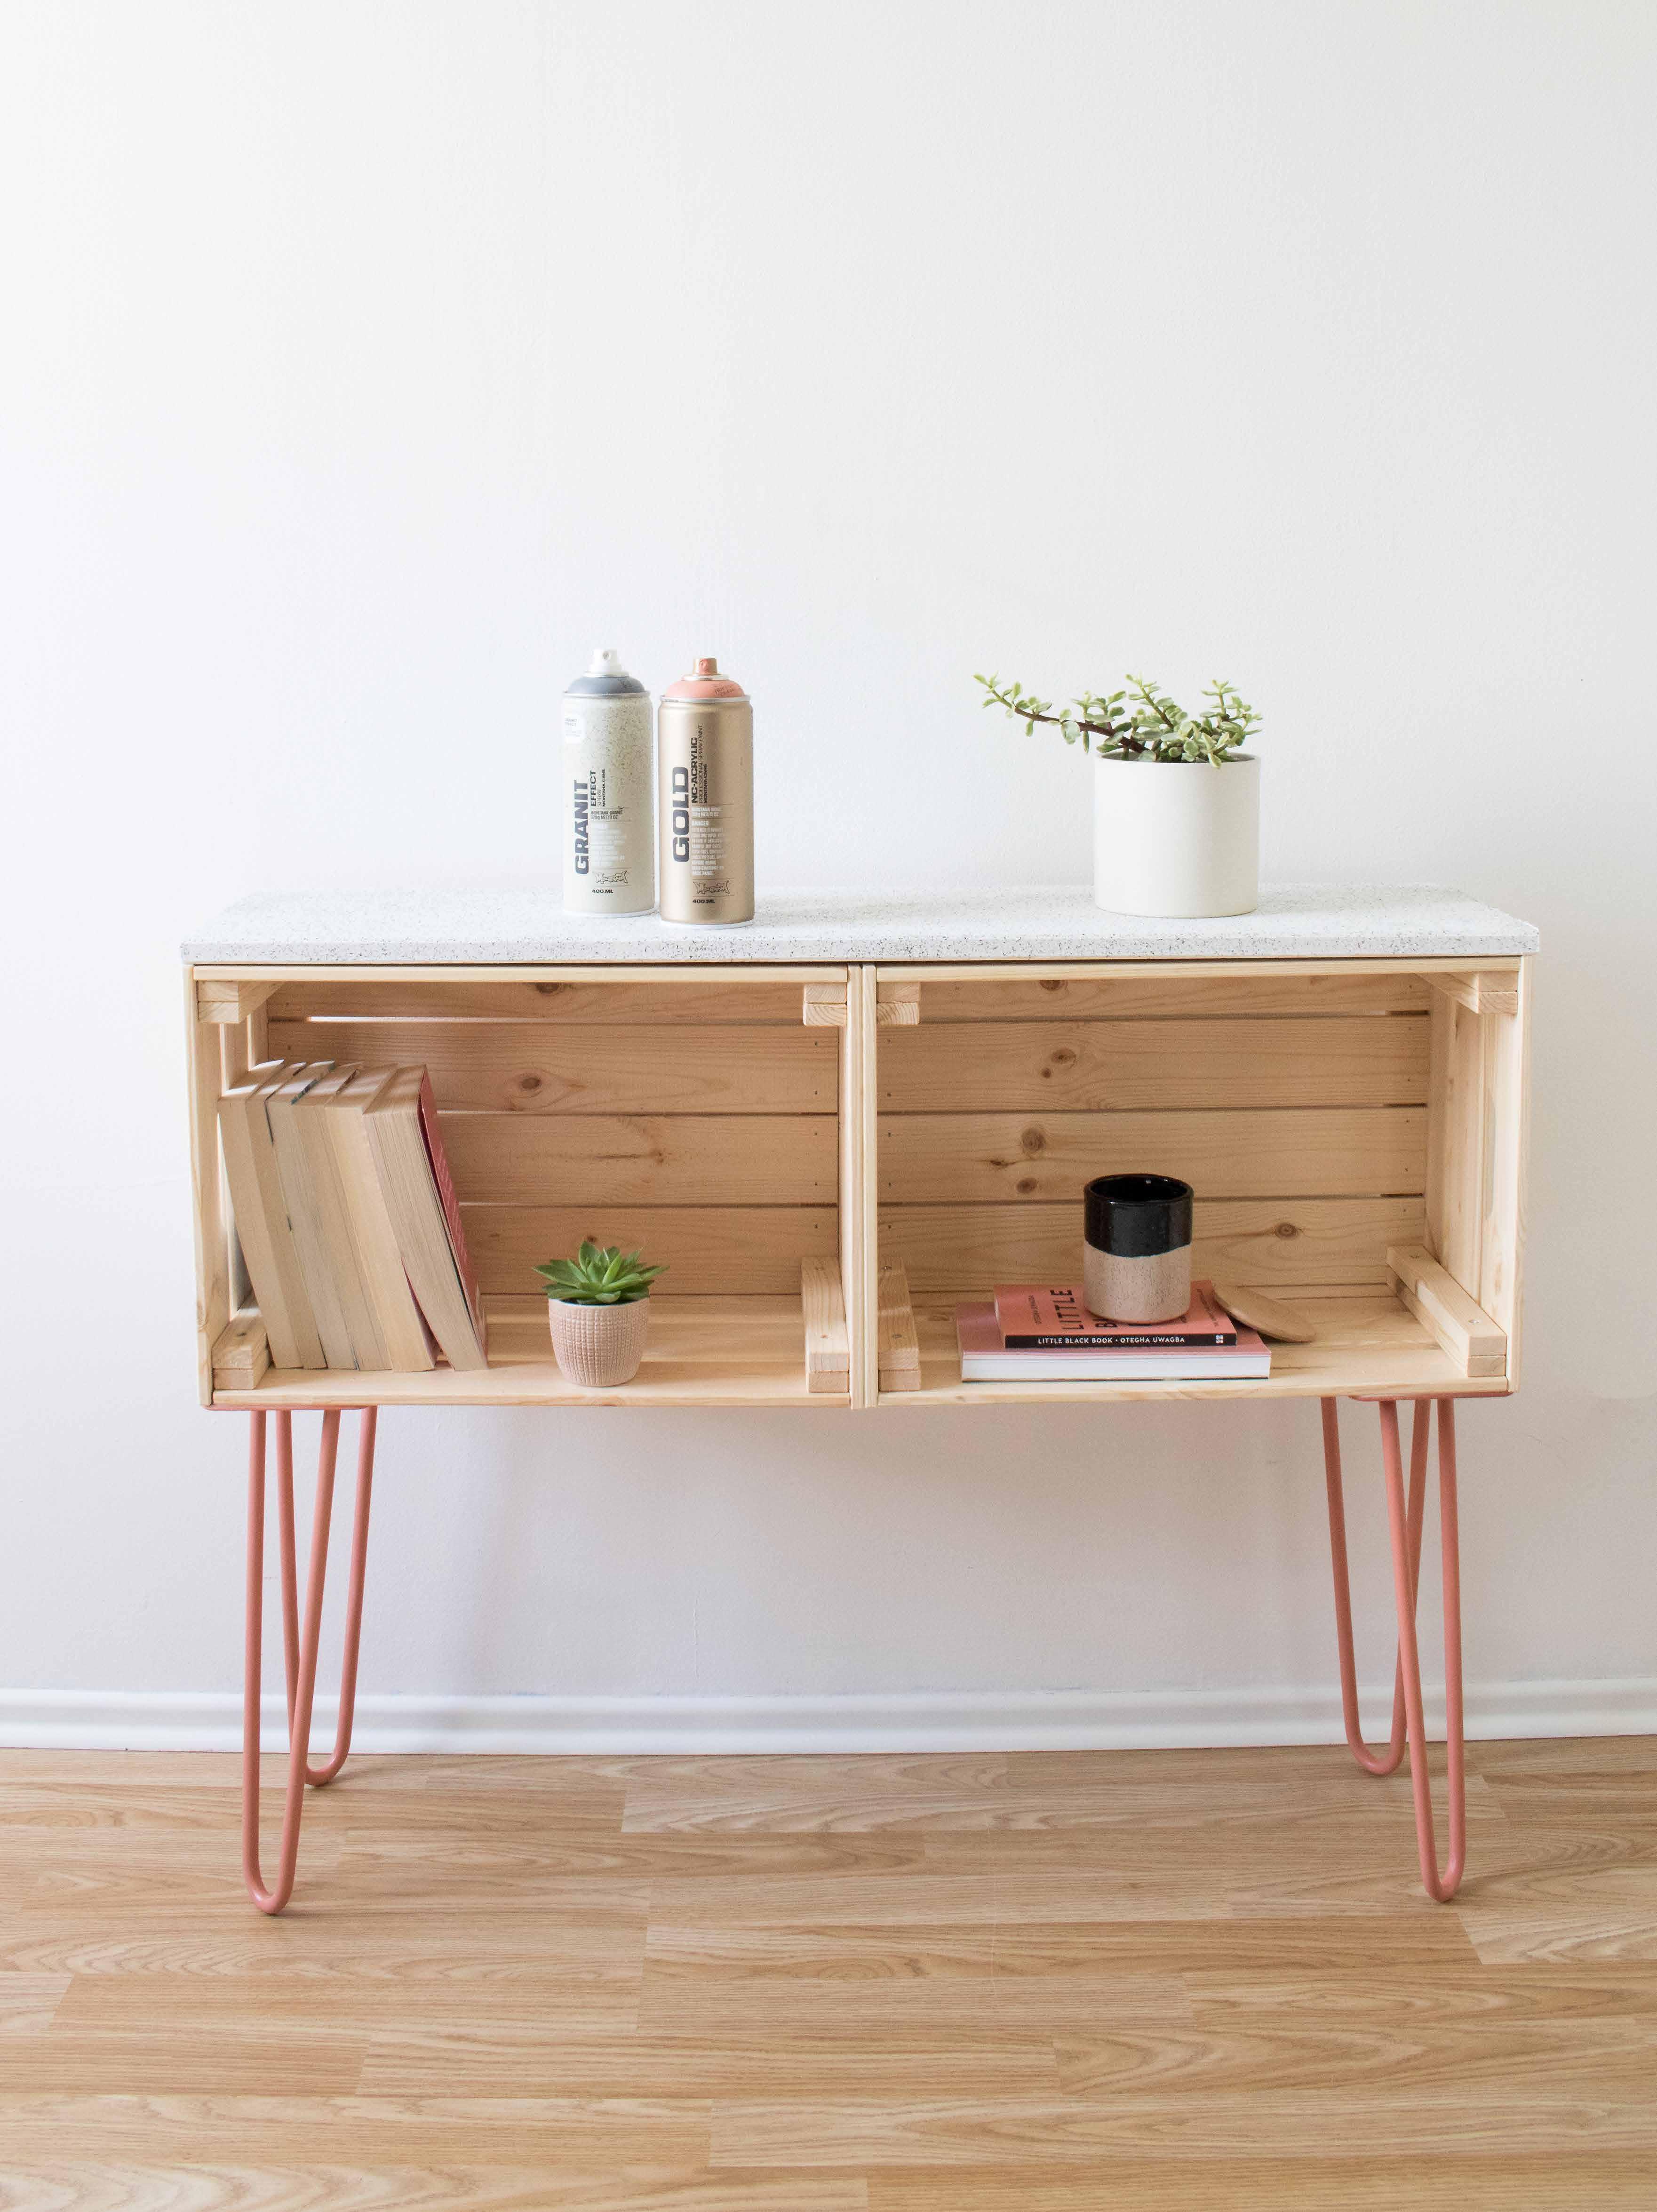
Finding the right balance between practical furniture and functional furniture is often harder than it sounds. Every home has those little spaces that are too small to store big furniture, and too big to not use for some sort of storage at all. So how do you find that balance? Simple, you create a sideboard from the materials you love. Big enough in a hallway or corridor to store some of those things you always reach for, like books and keys. Small enough to not invade your space and make your home feel crowded. Oh, and did we mention they look cool, too? Here is how we did the Wooden Box Sideboard.
MATERIALS USED
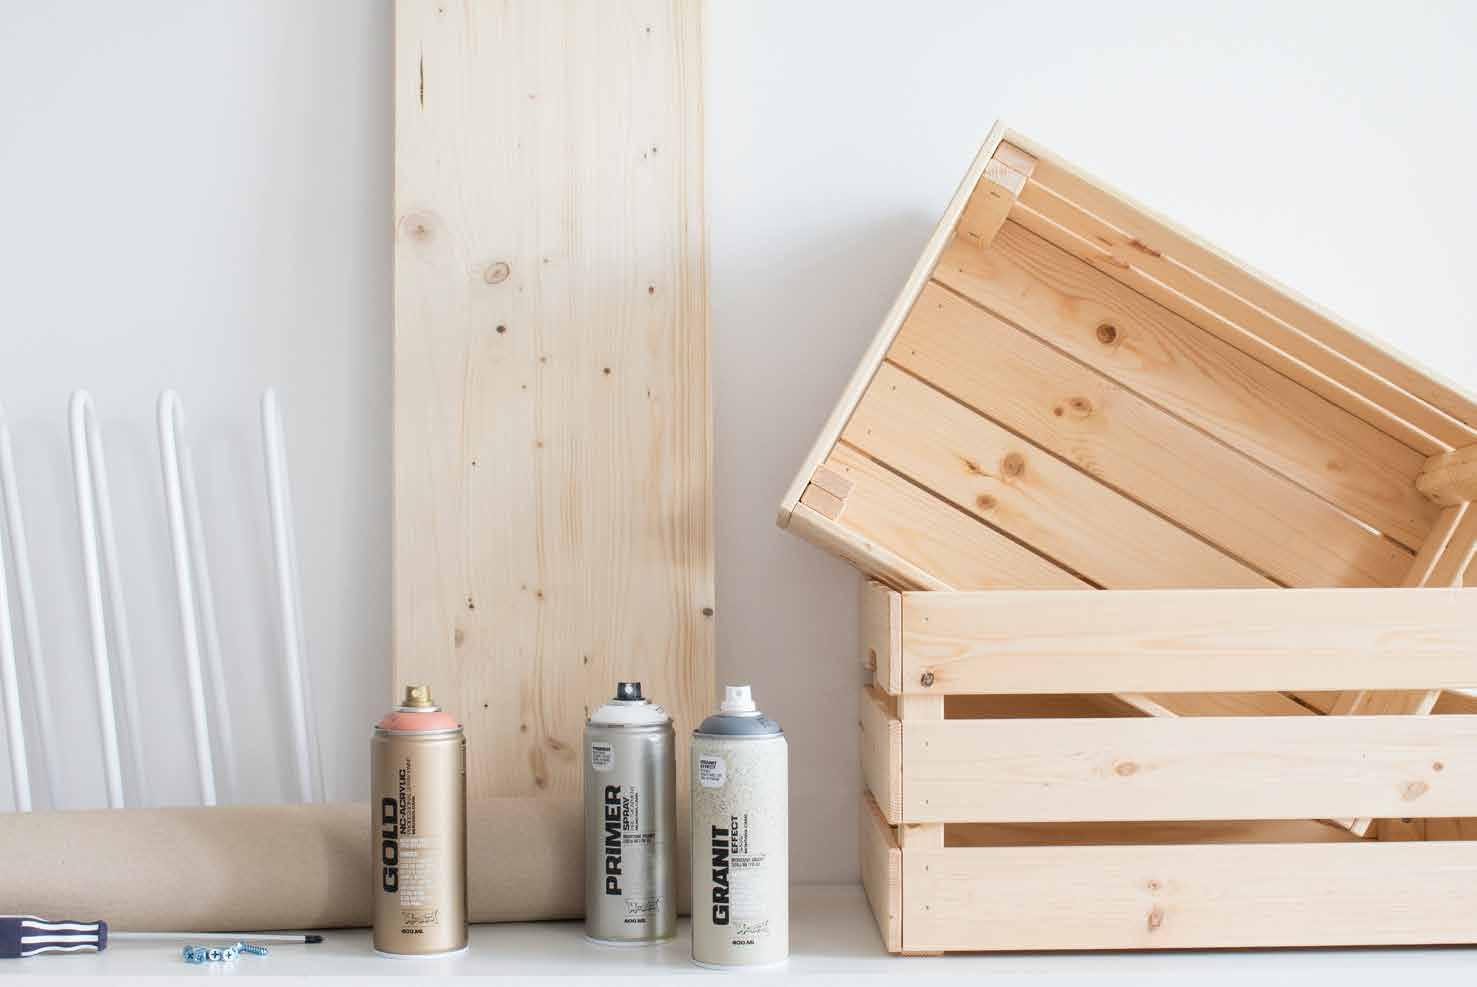
• Montana GOLD Shrimp • Montana GRANIT Grey • Montana Universal PRIMER • Montana VARNISH Semi-Gloss • Wooden plank (Your choice of size) • Wooden boxes (amount of your choice) • Steel pre-made table legs (or similar prefabricated legs • Sandpaper (optional) • Thin insolation material (optional) • Screwdriver or drill • Screws • Soft material of your choice (optional) • Covering material • Gloves • Mask • Drop Sheet

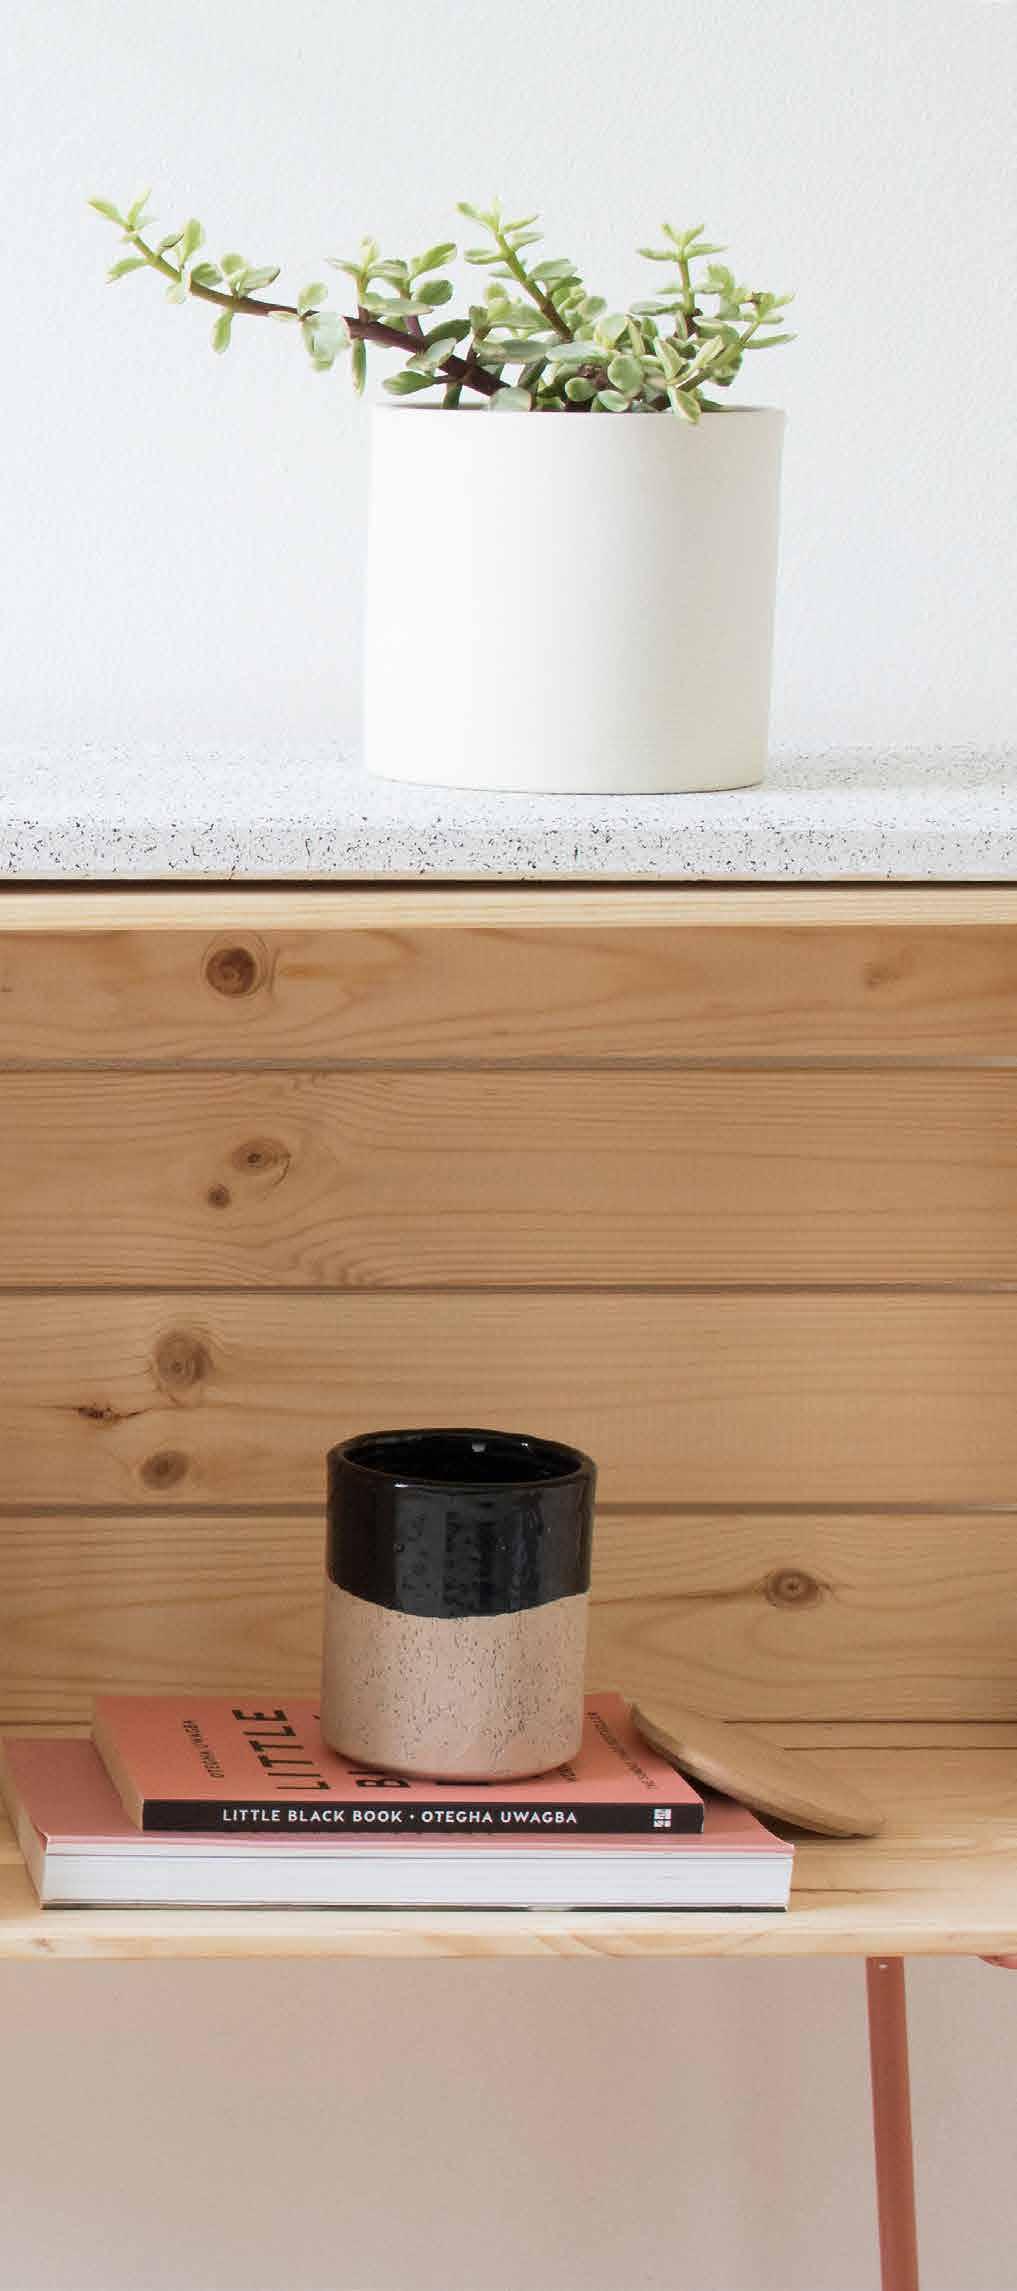
HOW IT WAS DONE There are three main steps to this project. The tabletop, the main body (wooden boxes), and the legs. We undertook them all in that order but you could work whichever order suited you? Our tabletop was a pre-cut piece of pine wood. A standard at any big-box hardware store, or timber store. We knew the measurements of our wooden boxes (in the next step), so when we bought ours, we asked them to cut it to size to cover two boxes. Sand the top lightly, paying attention to the edges of the wood to remove potential splinters. Remove all dust and place in your covered spraying area.
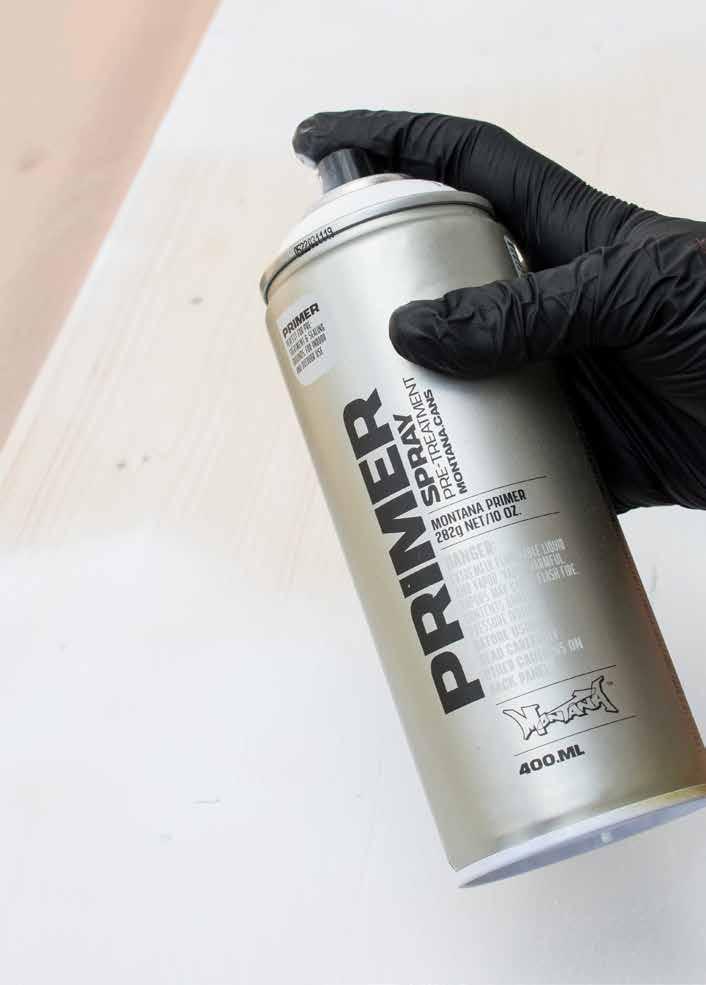
Remembering the magic steps, shake your cans for 2-3 minutes vigorously, ensuring that you can hear the mixing balls moving freely. Where applicable, take the nozzle off and turn the can upside down letting the black safety ring drop out. Starting with your Montana Universal PRIMER, spray your top in two coats on both sides.
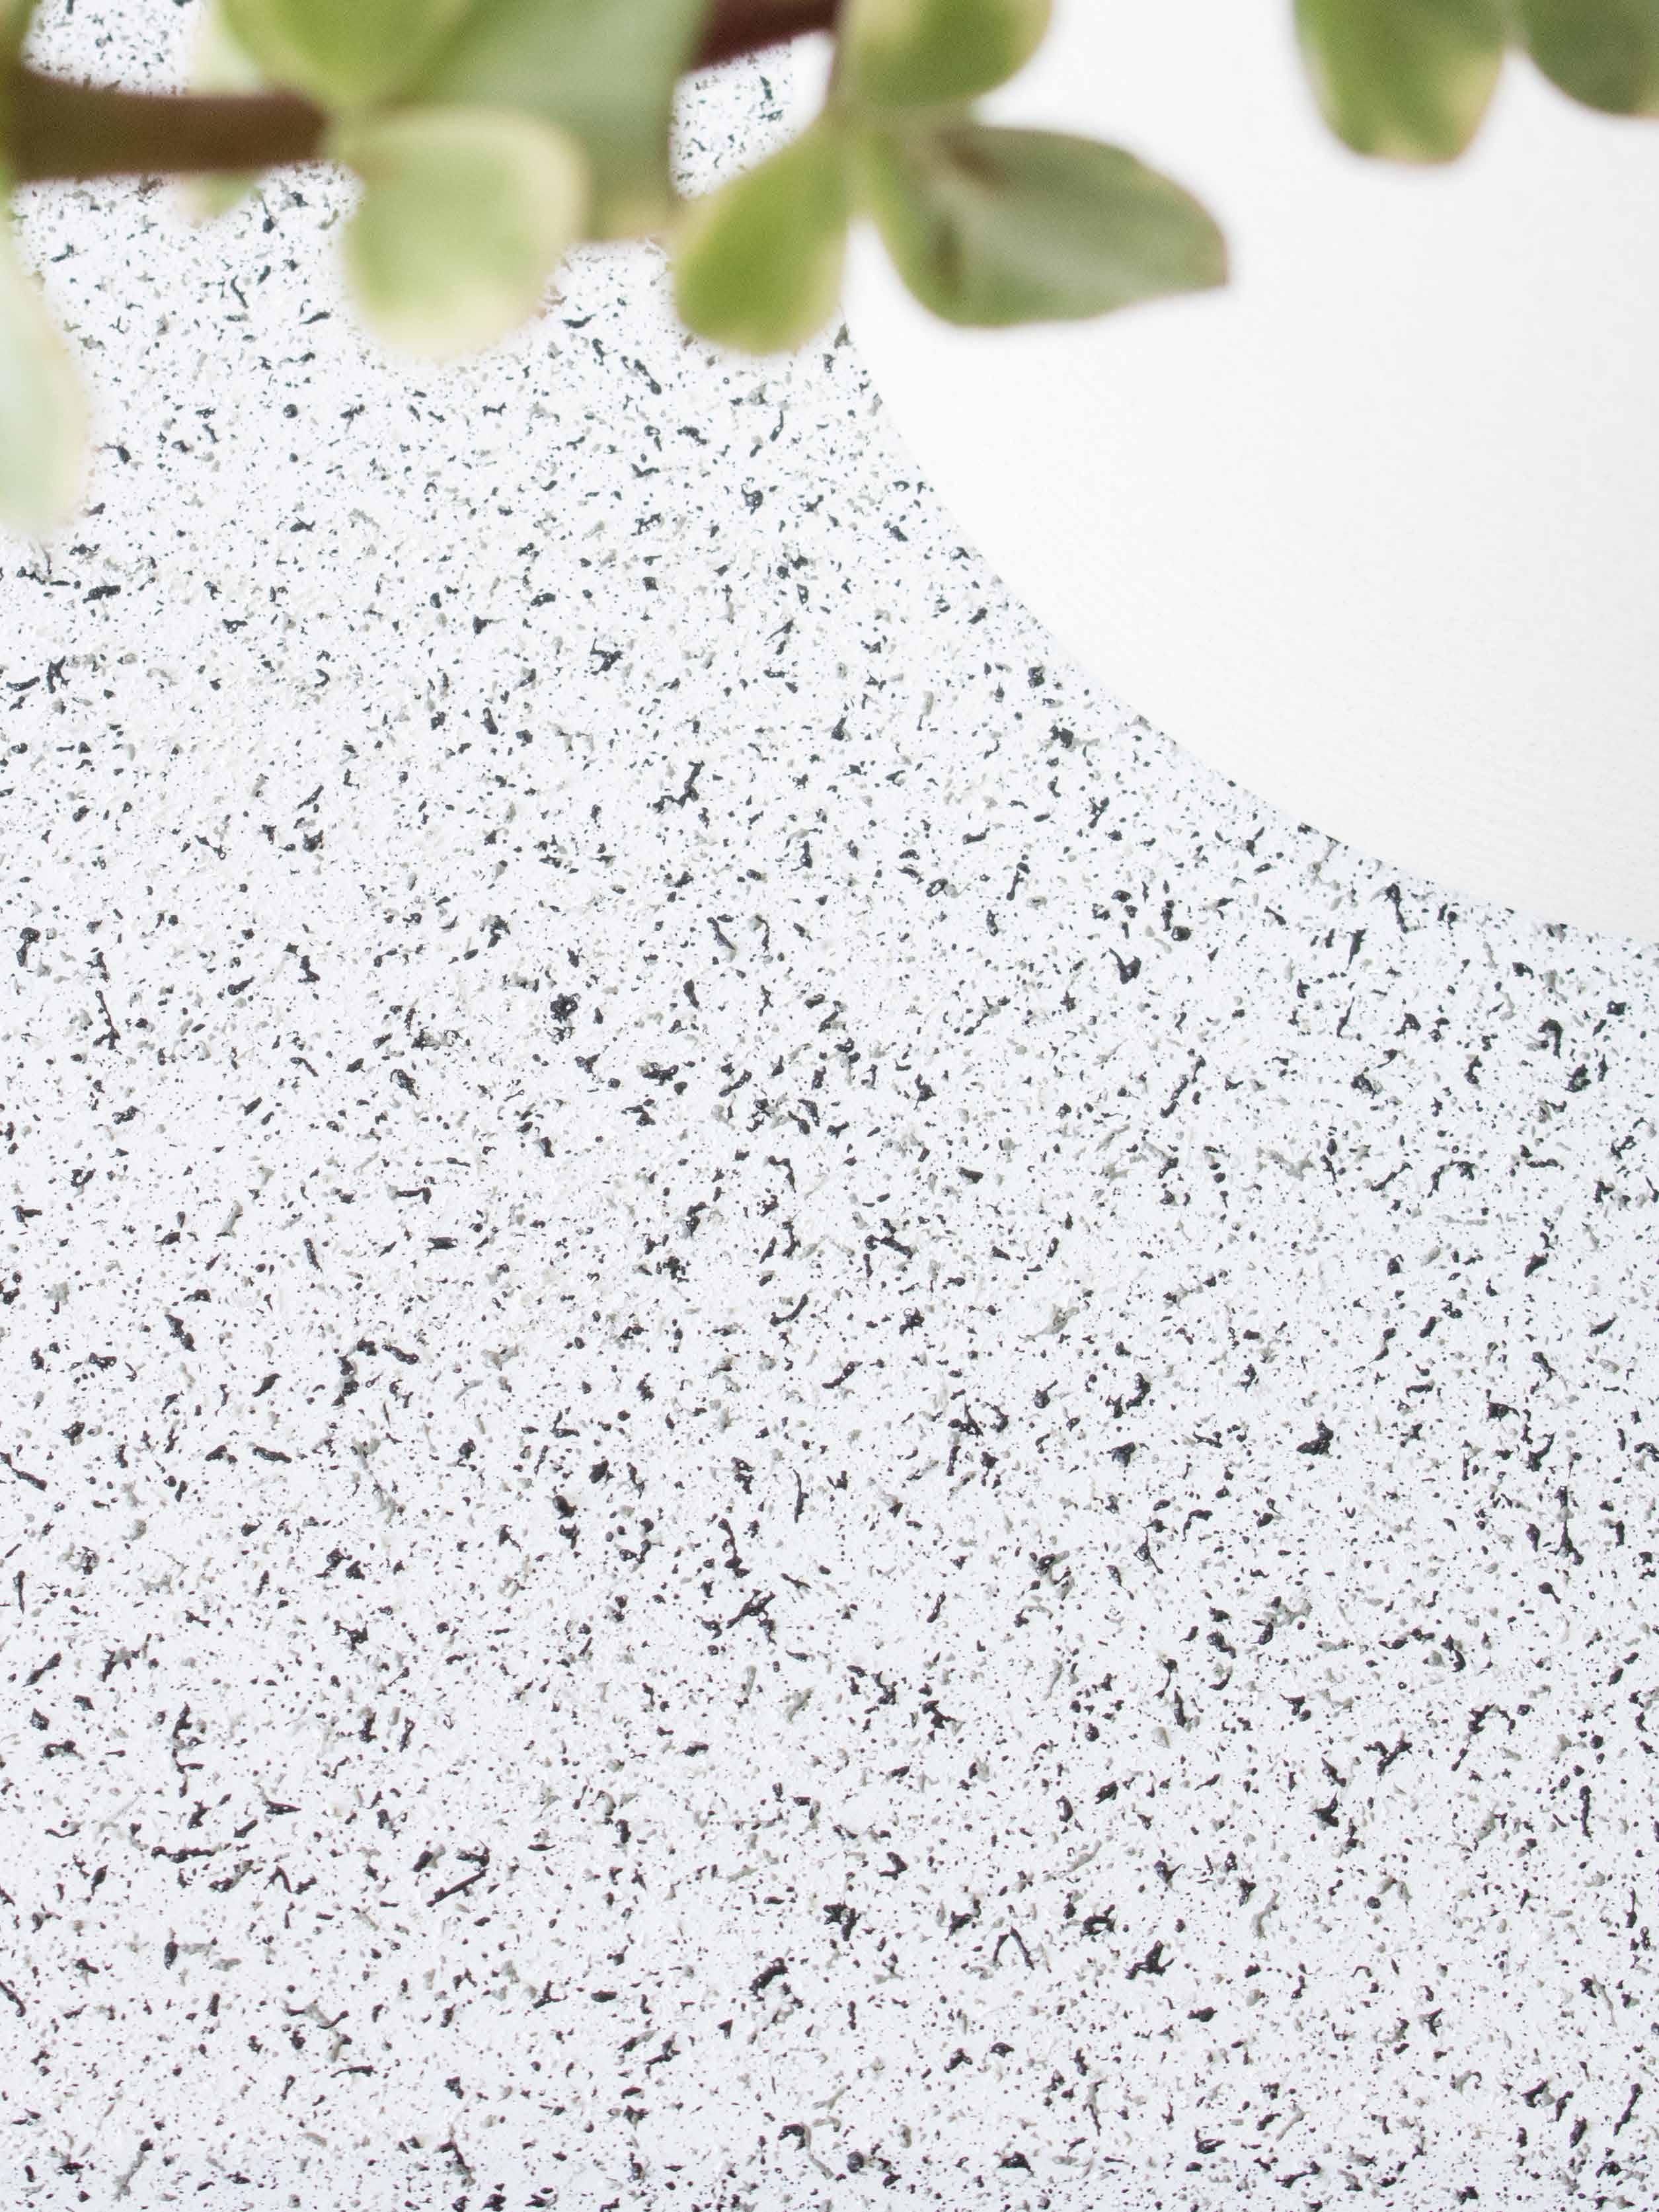
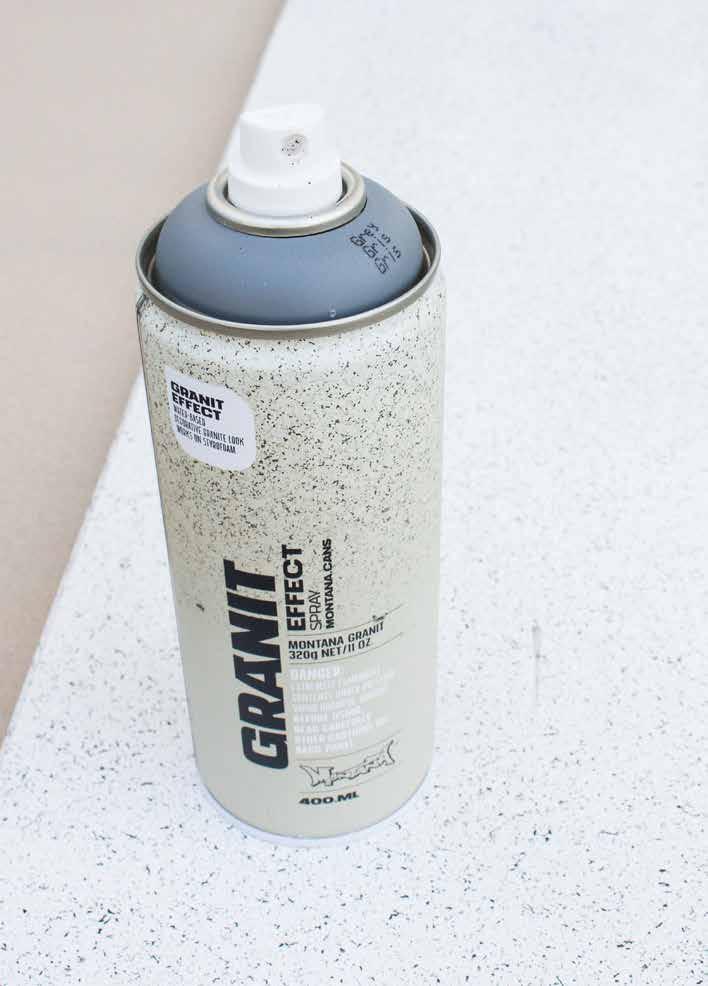
Thinly and evenly, allowing 10+ minutes between coats. You might ask, why both sides? Spraying just the top may result in the wood warping. After it has dried, take your pre-shaken Montana GRANIT Spray can, and apply from approximately 15-25 cm distance. Reapply if required and put aside to dry thoroughly. The second step is the body of the sideboard. The wooden boxes will form the body of your sideboard. You could source used boxes to up-cycle, but we chose new ones at the same place we bought our tabletop. Up-cycling may mean you need to lightly sand the boxes, but if you’re lucky, a quick clean may do the job. Depending on if you have a power drill or not, there are two options for you. The first is to pre-drill smaller holes (then the
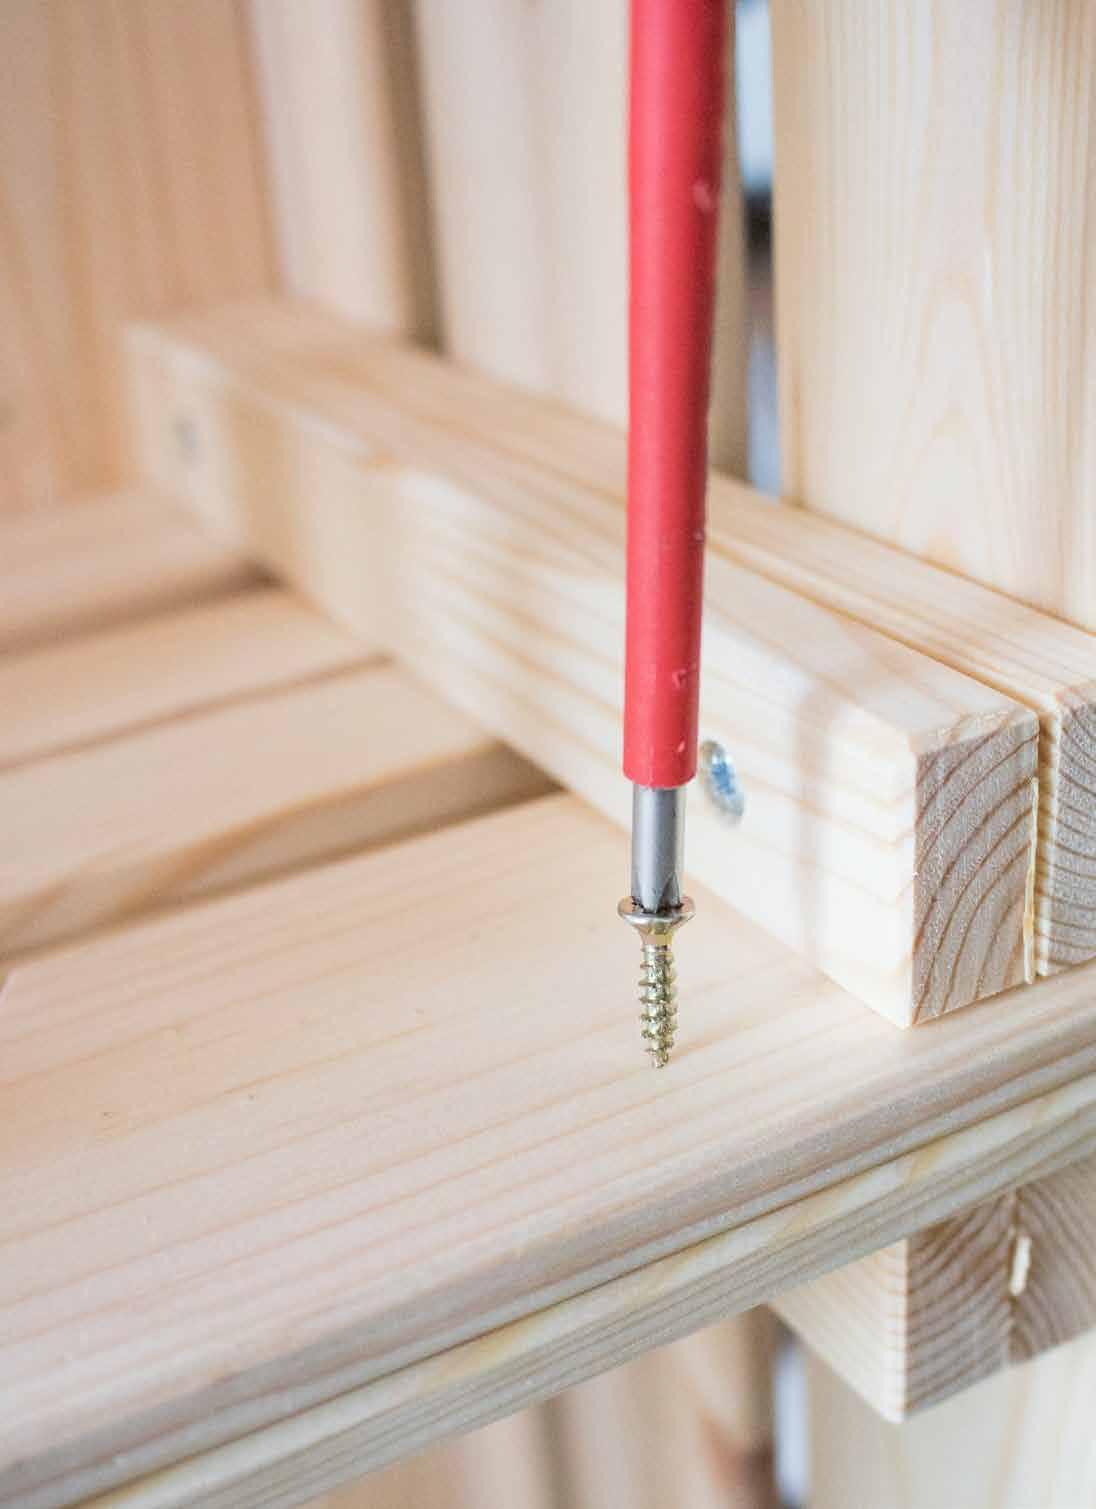
width of your screws) into the tops of your wooden boxes. This could prevent the wood from splitting. The second is just to drill through the wood with the screw on. Either way, you’ll need the correct screwdriver head for the screws you have. From inside the boxes, screw the lined-up tabletop to the boxes from underneath ensuring your screws are too short to come through the top.
This may be enough and with 8 or more screws your sideboard will take shape. If you need to, you can also put a couple of screws joining the two boxes together for extra strength. If you don’t have a drill, although harder, this is also possible to do by hand with a screwdriver if your wood is soft. Should the boxes not be so square, you may choose to lay some sort of thin insolation type material between the top and the boxes to balance everything out. Make sure the insolation material is cut smaller than the top so you will not see it out the sides and that it is not too thick! Cut it off afterward if any sticks out from under the tabletop. The final step towards your Wooden Box Sideboard is coloring and applying the legs. If your table legs are not the color you want them to be, you can easily change that. After vigorous shaking, apply your Montana Universal PRIMER in 1-2 even, thin, coats, to the clean dry legs and allow the primer to dry. If you wanted to go to the next level, you could even use Montana Me-
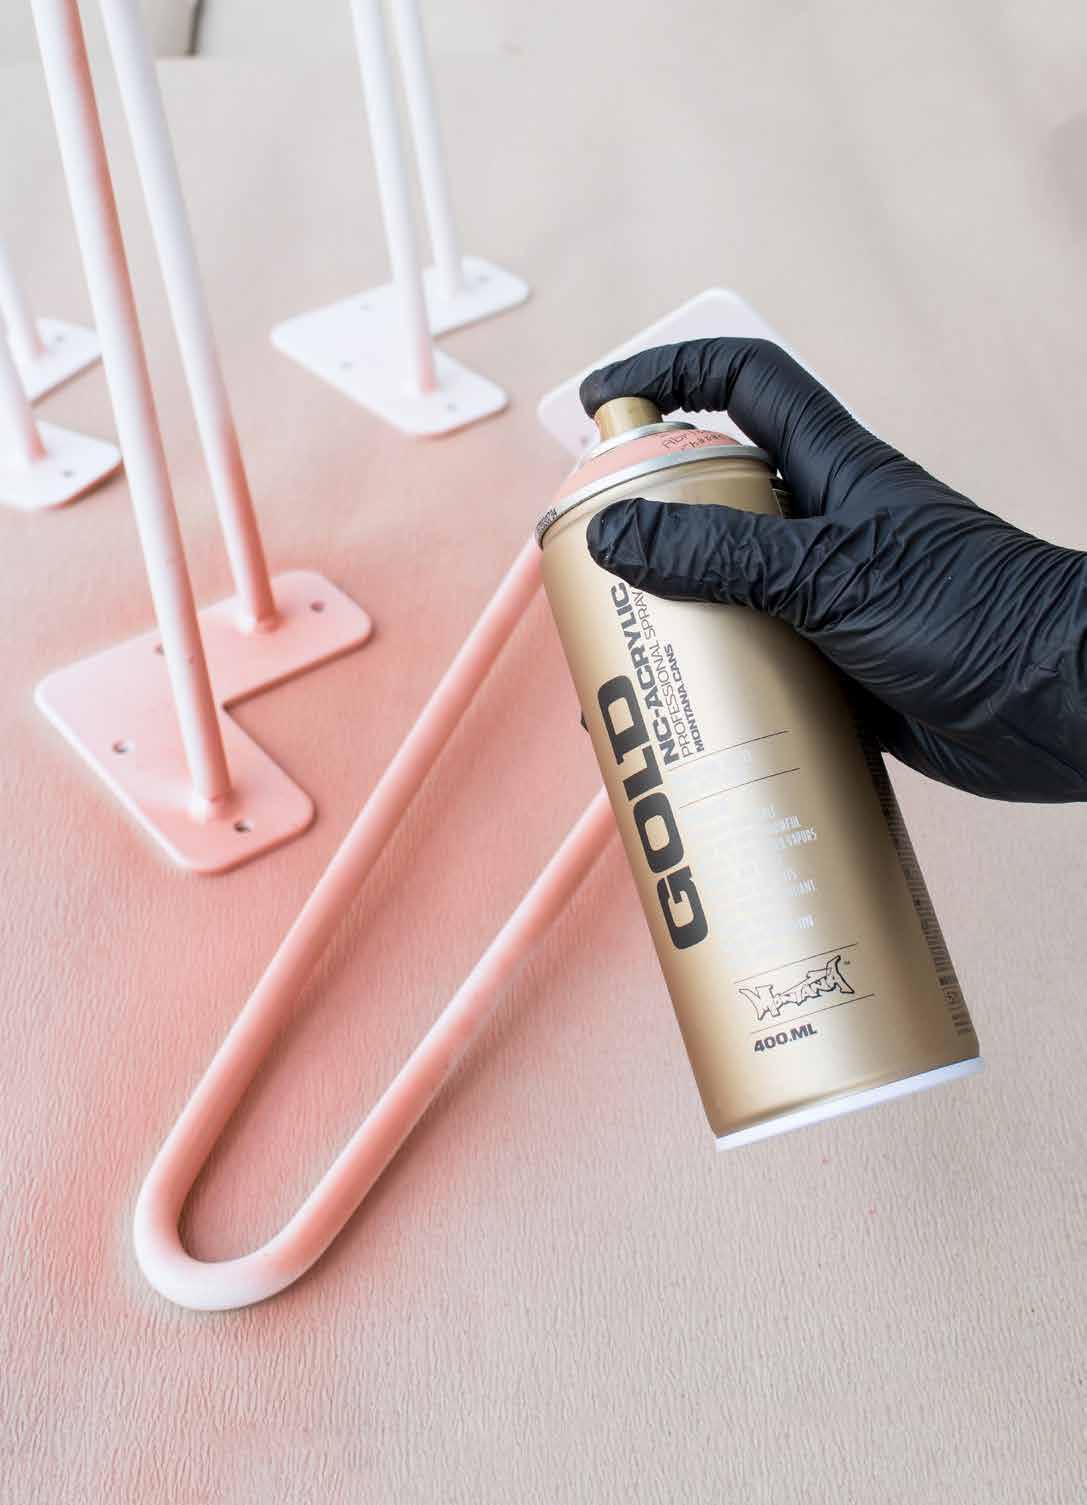

tal PRIMER which helps resist against rust. Using the Montana GOLD color of your choice, you can then apply 1-2 even coats as desired. We used a singular pastel color but may choose various colors of any orientation (bright, soft, pastel, monotone etc.) Once dry, with your sideboard body and top laid upside down, screw the legs in each corner ensuring you first calculated their equal positions. Flip the sideboard over carefully and then pat yourself on the back. You’re finished (possibly!). At this point, your funky new sideboard may be ready to place in its new home. We recommend giving one final coat of Montana VARNISH in the finish of your choice. This could add durability to the tabletop and legs as well or a different aesthetic to its finish. Alternatively, you could choose to varnish only the top, the body, or the legs, at the end of each of those stages in the construction of the sideboard. Either way, it will look GREAT! This is an intermediate project able to be completed by just about anyone. Of the 1-2 hours of actual working time, the hardest parts if you’re not familiar with it, are screwing the 3 parts (top/body/ legs) together. Don’t be worried about this, take your time and screw in non-visible areas. All that is left now is to enjoy your new, DIY Wooden Box Sideboard. Well done and Happy Crafting!