2 minute read
L N E R B 1 L o c o m o t i v e
P A R T 21 – M O R E O N C Y L I N D E R S
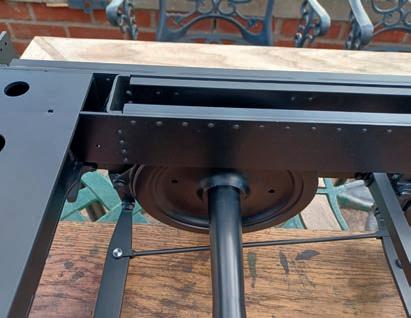
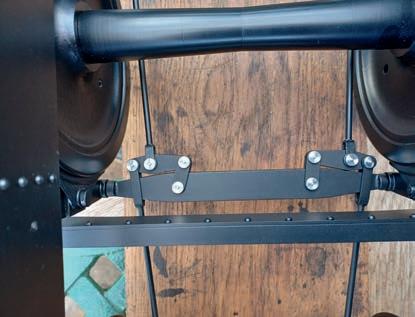
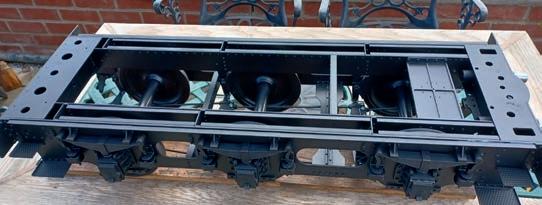
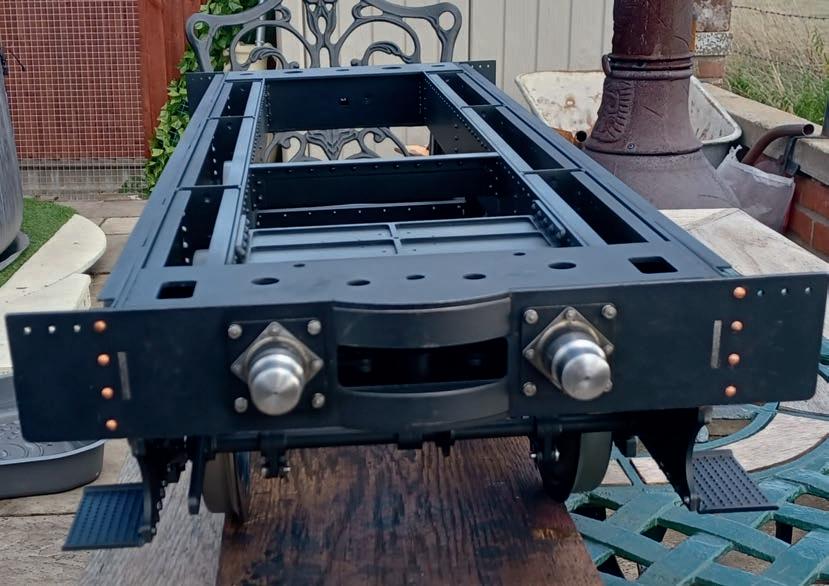
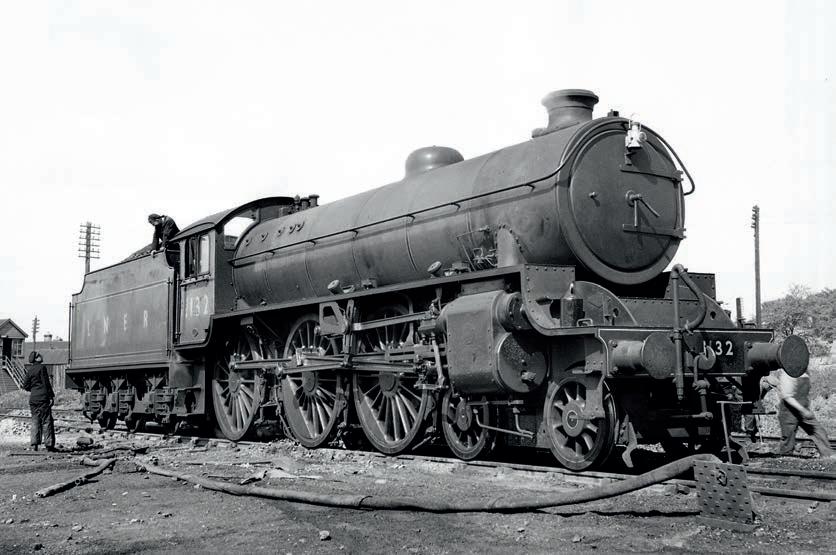
We will now make a star t on machining the cylinders. Obviously, I have not done this myself so the photos are all supplied by others The full size cylinders are blind bored from the front and, as I said in my last ar ticle, I am making mine bored straight through You can choose for yourself what you do with yours I have co-opted the assistance of Geoff Whittaker for the photos of the machining as his were much better than mine The B1 would just like to illustrate the tender which John Bruce is building for his B1 The first four photos photos 129, 130, 131 and 132) are of his completed tender underframe Photograph 133 is a nice photo of a green B1 photographed at Elgin East shed in hen as ust fi e years old his is a with single plate sides and no visible rivet s around either end of the smoke box and neither are there any rivets visible on the front buffer beam I just hope that the lads preparing the engine remembered to remove that gallon tin of oil from the front buffer beam! I thought I would include this photo to give you a little inspiration
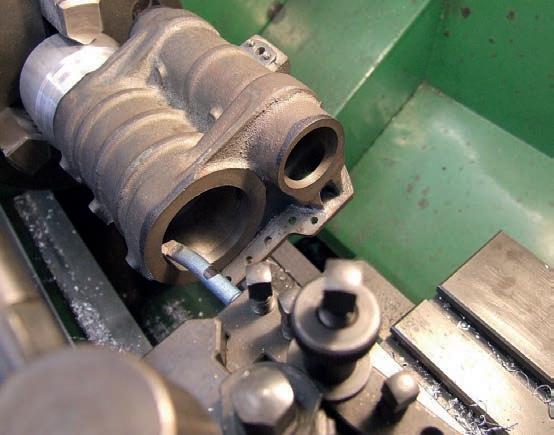
On to the cylinders, then he first stage in machining the cylinders is shown in photo 134 where Geoff was machining with a slab cutter on the milling machine and, as you will see, the ports emerge d on the machining
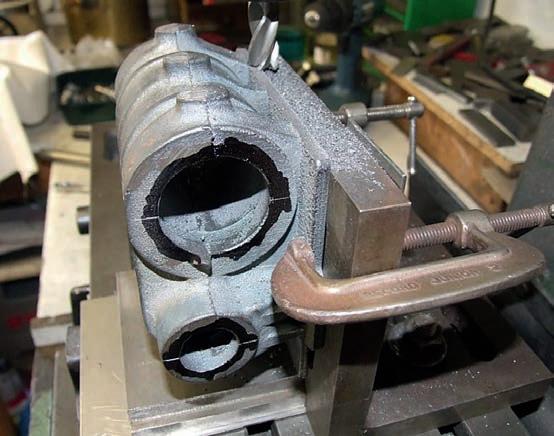
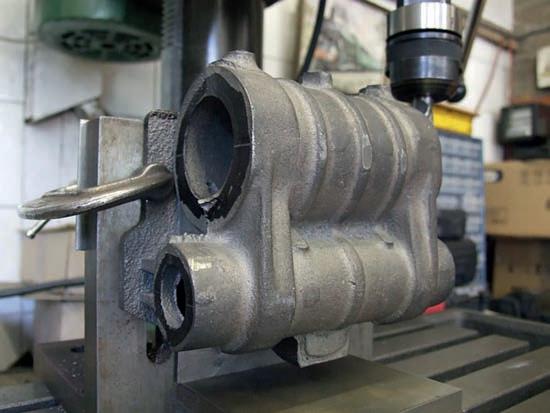

Note that these cylinders are ¾ inch longer than mine were but I hope you will get the idea Once the back plate was machined the cylinder was clamped horizontally on the milling machine on a substantial angle plate and then the top of the back plate could be machined photo 135) Note the centrelines which Geoff has scribed on the faces of the cylinder Now we come to the boring of the cylinders and photo 136 shows the set-up used for this job Once t he boring has been done the cylinder was then mounted on a mandrel to face the opposite end
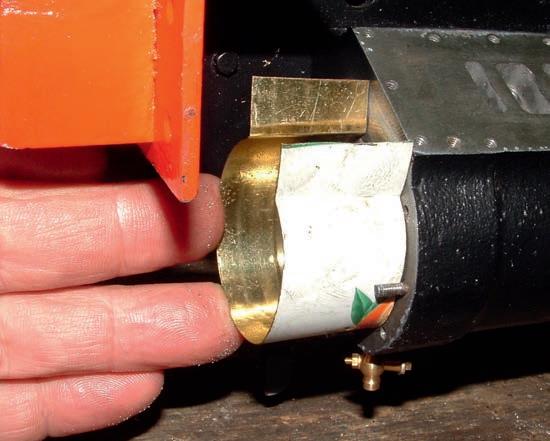
Before you remove the cylinder from the mandrel there is another little job that you should do and that is to bore a little bit more out at each end photo 137) It needs boring out by an extra 40 thou x 3/16 inch at each end I have never heard of anyone needing to rebore their cylinders out during the lifetime of their engine but that is the correct way to do the job, just in case you should ever need to. However, there is another very good reason why you should do this and that is that you can then make a sleeve from tinplate, about an inch long, and use this to insert your piston; oil it well and then the rings will slide in very nicely without anything snagging
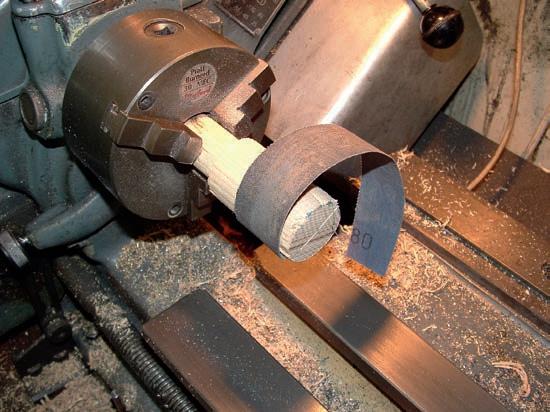
You can now hone the cylinders To do this I did not use any fancy rig but I just used a wooden plug, long enough to reach through the cylinder, and left it about ¼ inch under the bore size I put a saw cut down the centre, wrapped a piece of medium Emery tape round the plug, and then held it by hand and pushed it backwards and forwards through the bore until it was nice and shiny inside
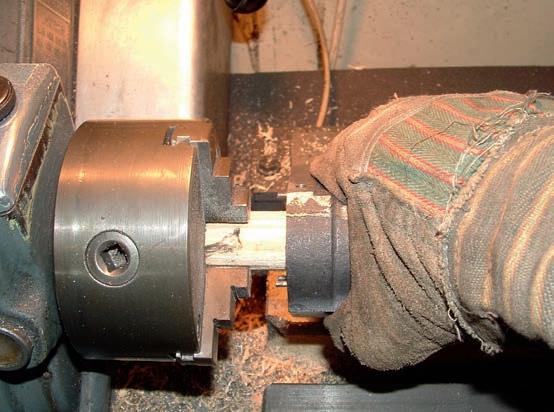
Job done Photograph 138 shows the plug which I made for honing my Y4 cylinders
Photograph 139 shows the hone in use. I would also recommend using a good glo e on your hand Ed’s note: please take great care if using this method. Use of a proper honing tool held securely might be a safer option!)
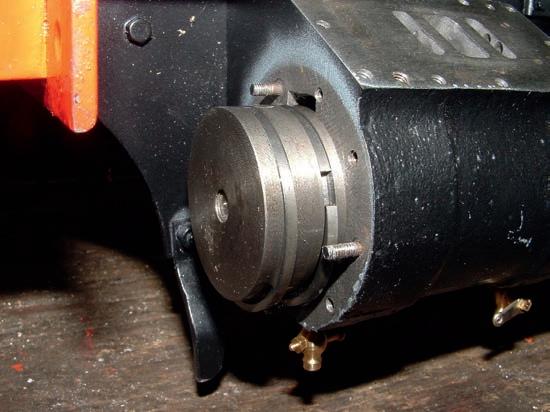
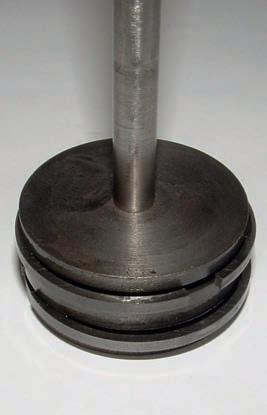
Photograph 140 shows my Y4 piston with rings on it ready for going into the cylinder and photo 141 shows the piston pushed in as far as it will go
Photograph 142 shows the sleeve which I made from a tin to push the piston home ready for drilling the crosshead To
NEXT TIME
