3 minute read
Hand Embellishing


Hand Embellishing Giclee Prints by James Hurley
As with most creatives simply printing your work and adding it to a gallery frame isn’t the end of the story, it gives me immense satisfaction to hand embellish some images to give them that extra special something and create artwork with added wow factor. Don’t get me wrong, I love most of my art, but some of it screams out for that extra flourish. Thats where hand embellishments come in.
Advertisement
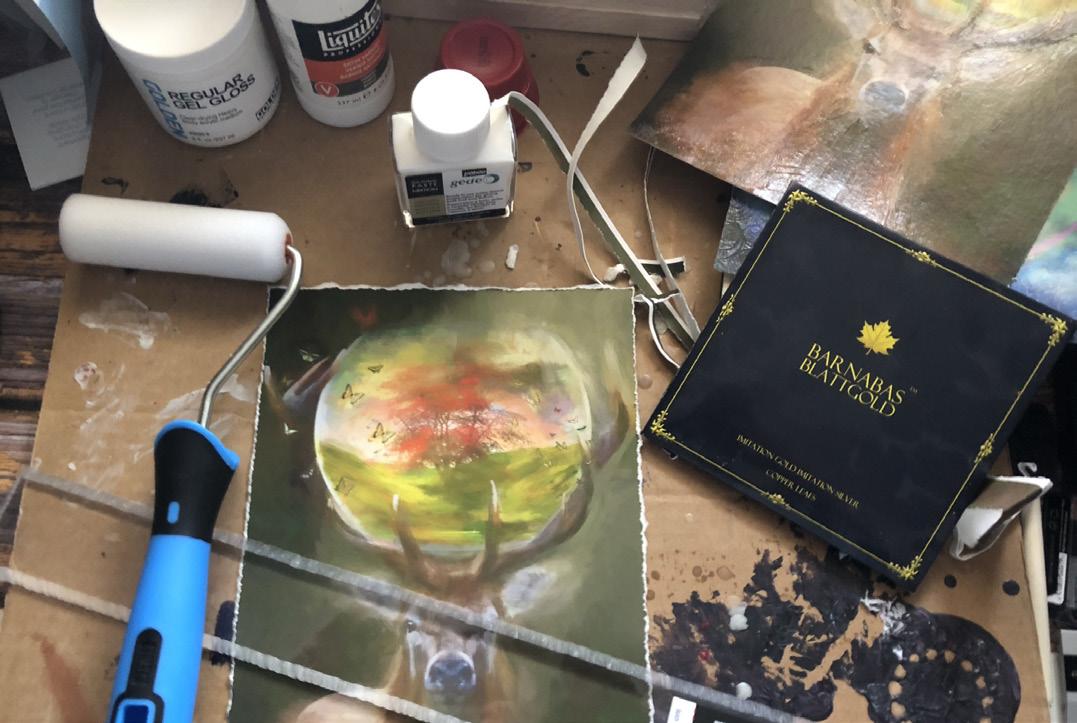
This obsession started with choosing a suitable paper, something that can be printed on a Canon 100 pro ink jet (or similar ink jet printer, such as the iP8750) that would allow me to apply paints, wax, faux gilding sheets and varnish.
I tinkered with various brands, including Canon matte paper and Marrutt Matte. After many prints and varnish tests I settled on the Marrutt Fine Art paper, as it offered the right texture with good colour enhancements after a few thin coats of varnish or wax.
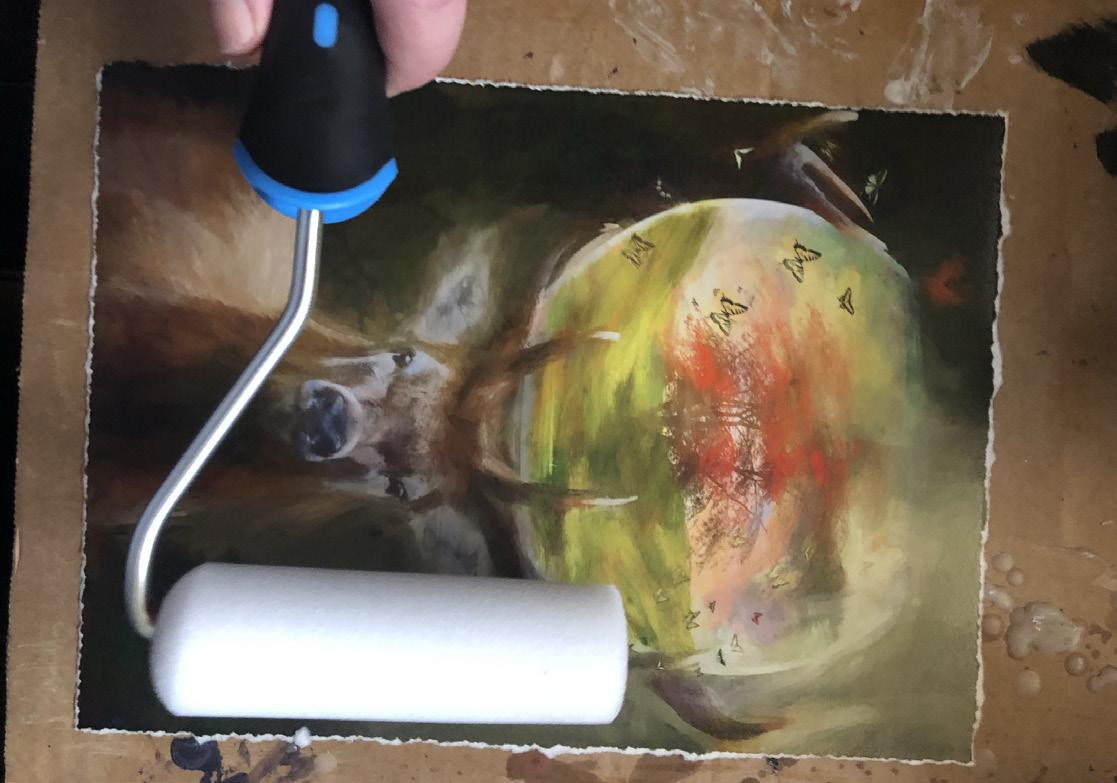
Obviously matte paper gives a totally different result to a satin or gloss paper. The colours are muted and dull, but this is where the varnish comes into play. By applying a couple of layers of varnish with a roller or soft brush you increase the depth of colour and bring out the details and textures of the photo-art. It needs practice and patience to apply the varnish, such as this Liquitex Professional Satin Varnish for example if you pour the varnish onto the print you will leave marks on your image. Using a roller or a foam brush and carefully applying very thin layers you can create a smooth fine layer of varnish.
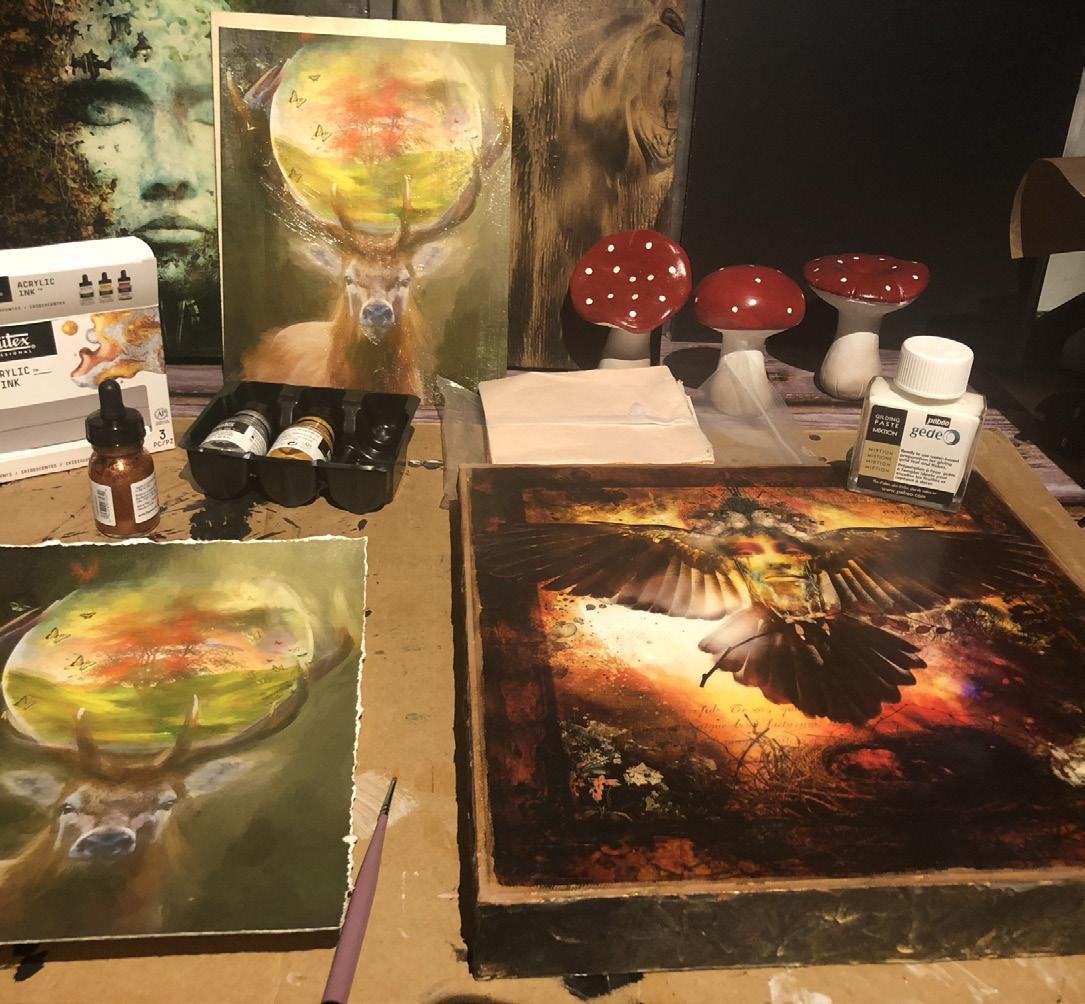
Obviously there are endless extra embellishments that you can apply to a print, such as creating a Deckle Edge which you then decorate with paint such as Liqutex Acrylic Ink and then applying the finished work on a mount board which can then be framed.
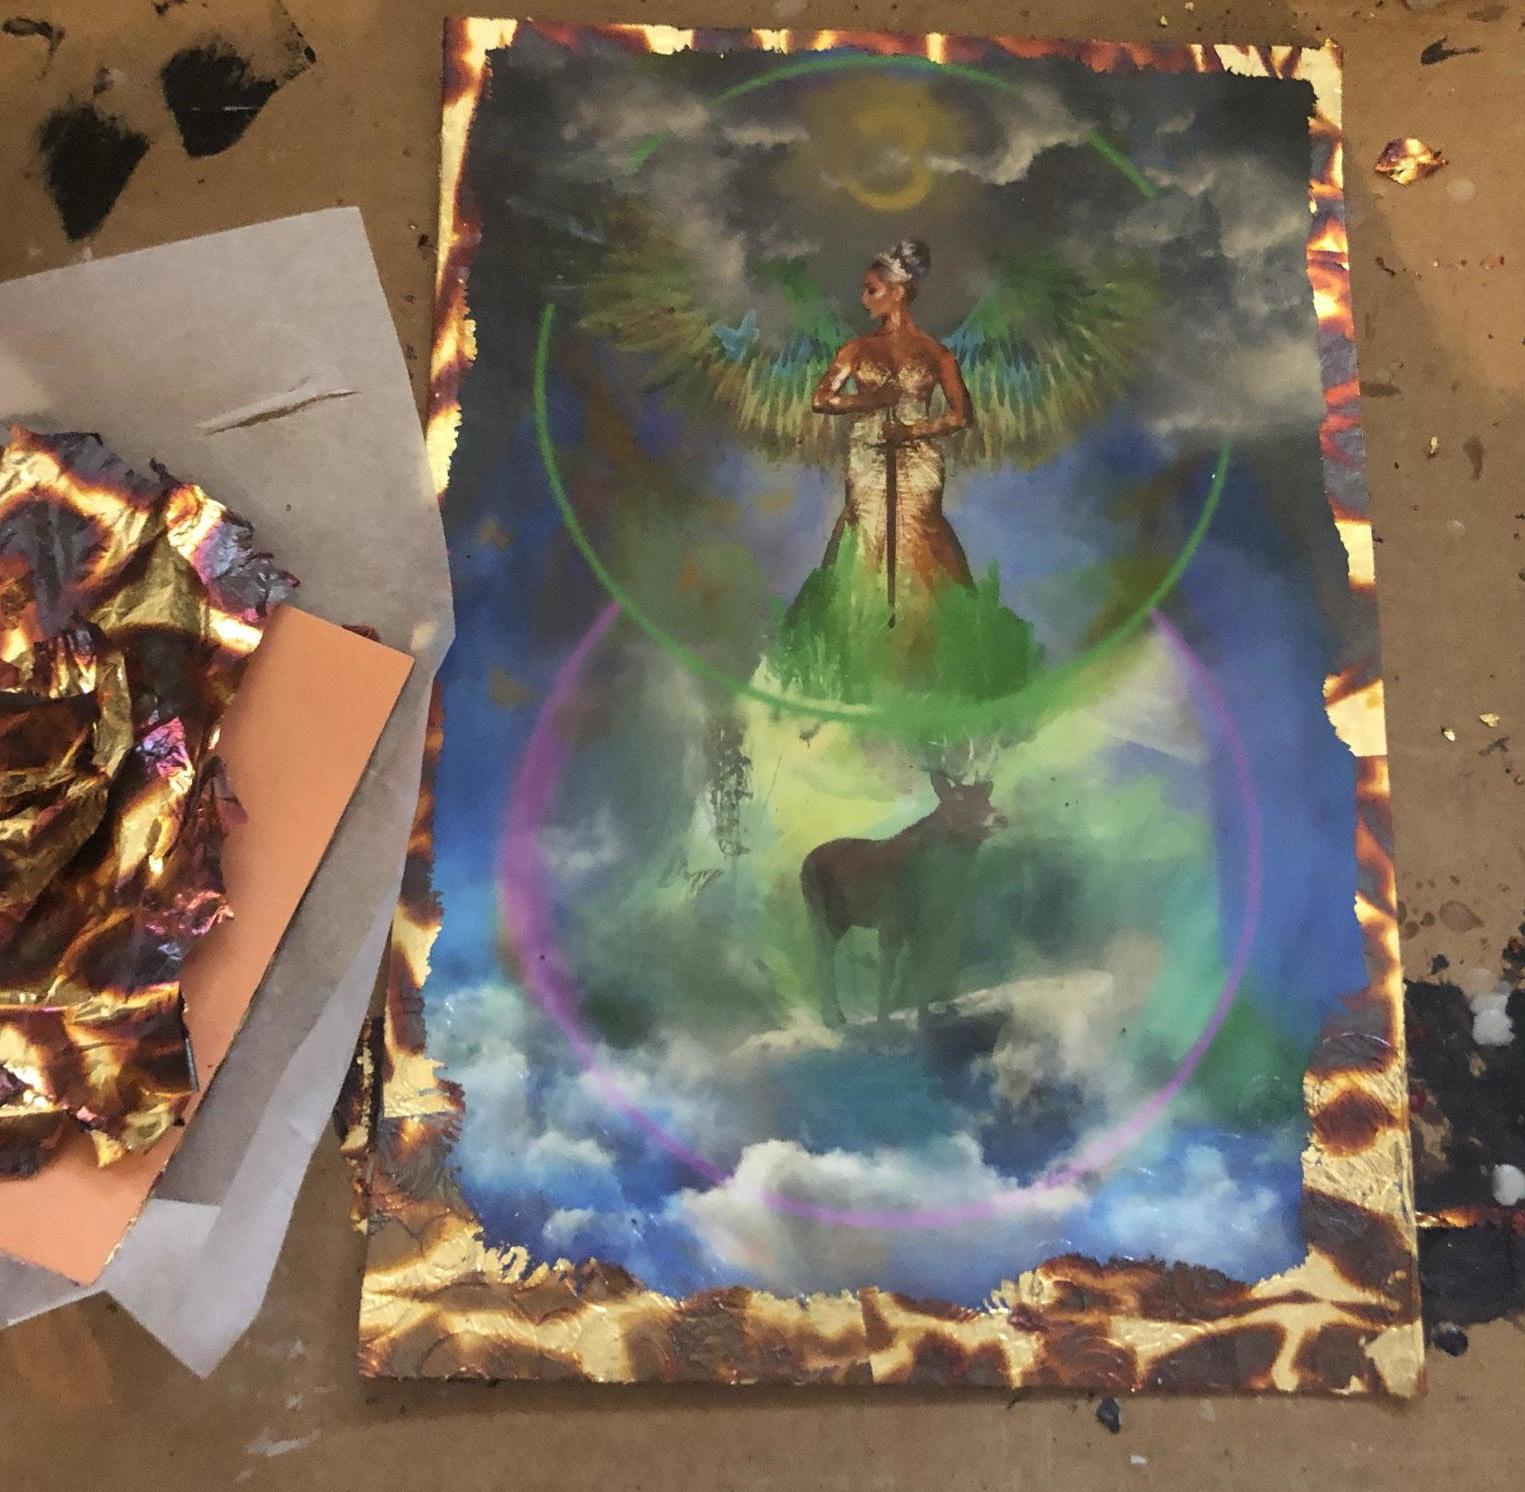
Taking it further, I am experimenting with adding texture using a gloss medium , simple brush strokes on areas with heavy texturing in the image, texture stencils and hand embellishing with an oil paint knife to create a border or frame around the image.
I have also tried applying a burnt faux gold leaf to areas of the print, initially to create frames around the image but also to pick out specific elements of the artwork. To do this you need an adhesive to apply the gold leaf and patience and boy oh boy the residue of the gilding doesn’t half get all over the place! Based on my first attempts, which look absolutely awful I think I need to practice more with this option. I can see the potential, I can see using smooth areas of pure gold on areas of some prints will add some stunning effects, but I need to master these techniques before I offer it on a finished piece......practice, practice, practice........
Next up I will combine these techniques with encaustic wax.
With art the sky is the limit and the joy of creating is incredibly addictive and relaxing and I hope you enjoyed finding out a little about the extra creative processes that go into my artwork.
Images from my small and messy workspace, excuse the mushrooms they are for another project!
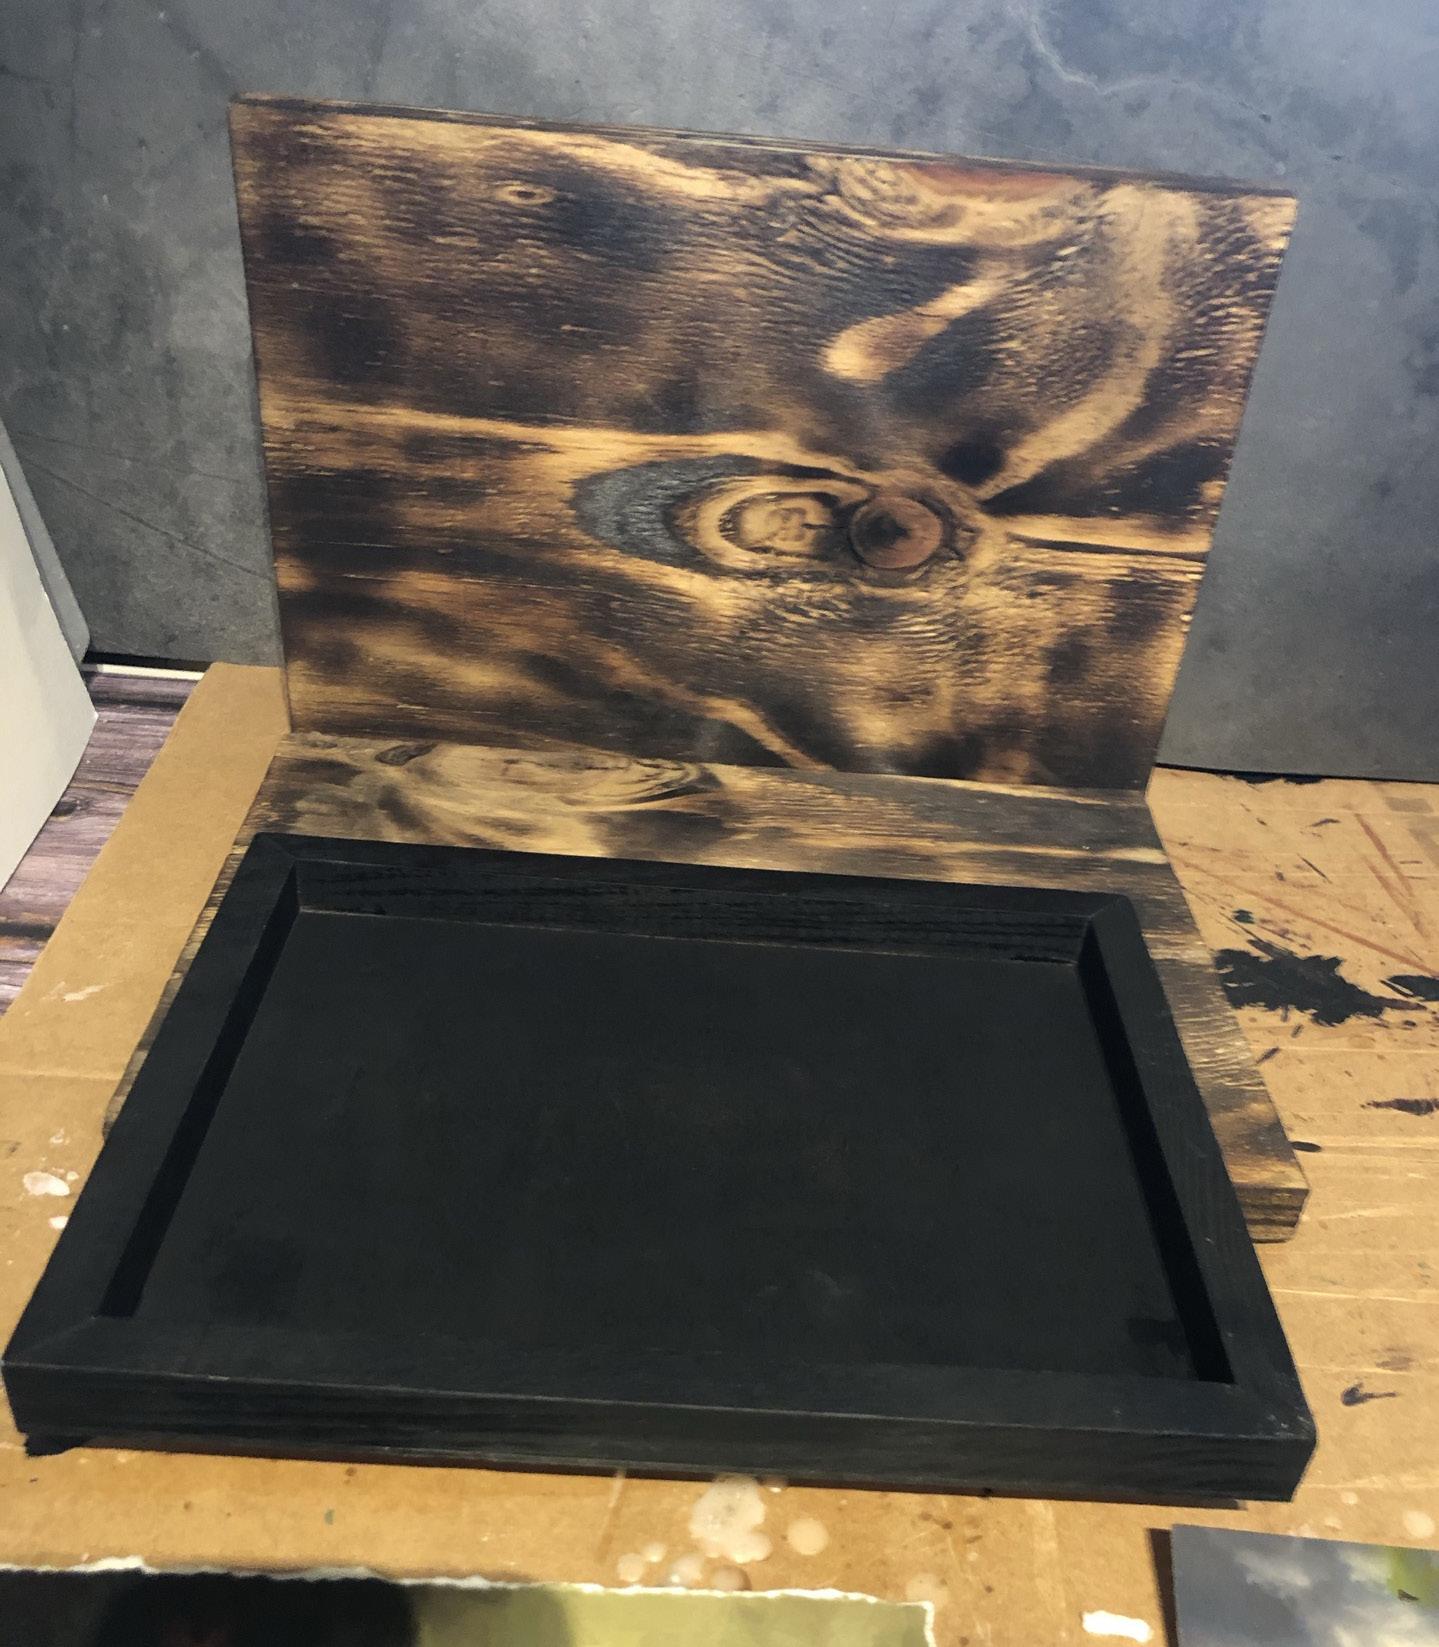
Painted cradle boards and burnt hand cut ply Faux gilt leaf - messy first attempts proving that I need more practice
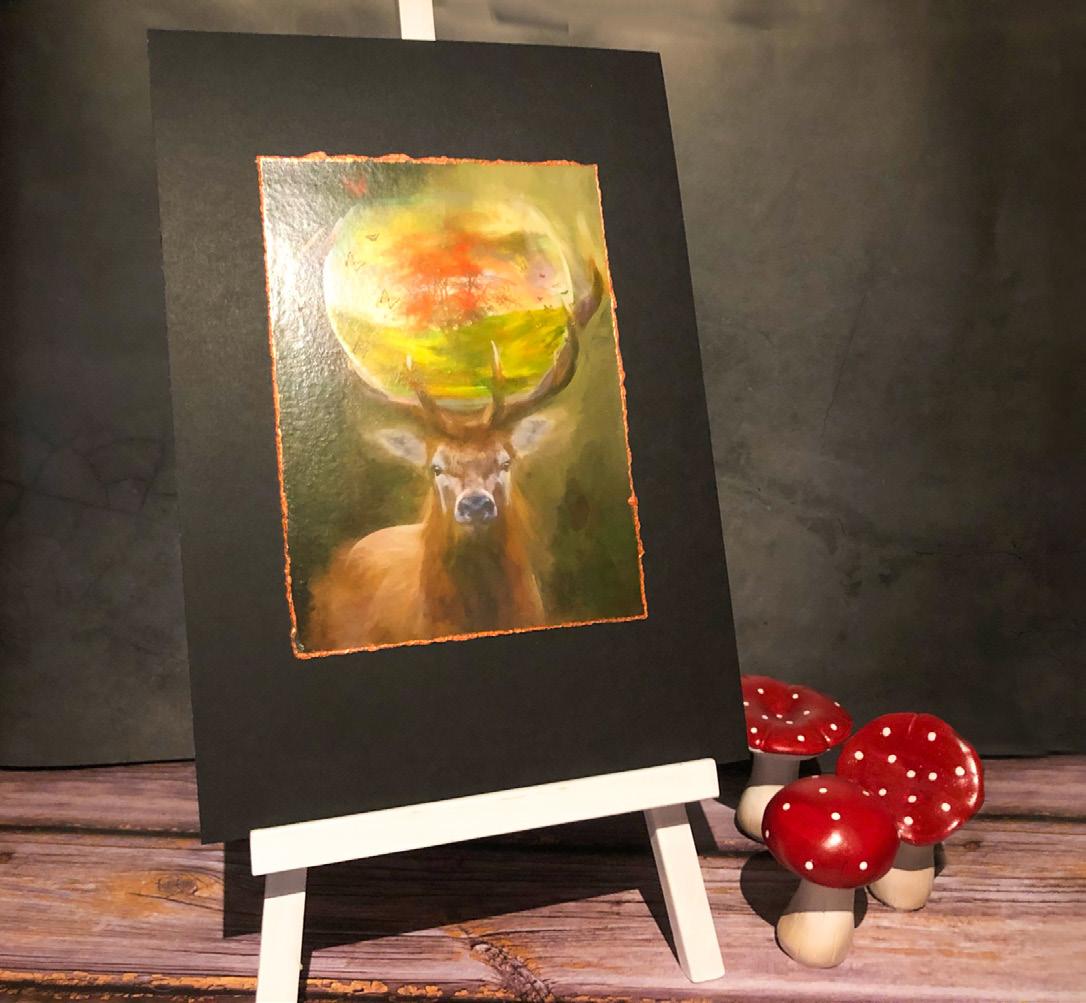
My small workspace with some items that I’m experimenting with 4 layers of matte varnish, a painted deckle edge hand mounted on a black card photo board ready to frame or display on an easel.


