
5 minute read
Edge profiling f large format tiles
4 Edge Profiling f Tiles
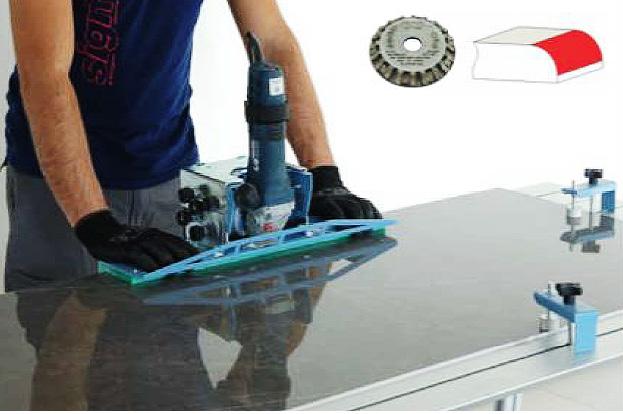
For aesthetic or functional reasons, you can achieve finishes such as mi er, bevels or half bullnose. These are easily achieve with the Sigma machines JOLLY-EDGE or SIMPLEBEVEL that slides along on the edge of the tile and guarantee the uniformity of the place the tile on the Sigma WORKBENCH and fix it with the special clamps making it p otude 1/2cm from the edge of the bench. 3. For the half bullnosing, move the machine
JOLLY-EDGE (in “bullnose” configu ation with the shape grinding wheel) from left to right, keeping it well pressed on the edge of the tile. cut/bevel along its length (even if this last is slightly curved), by to the vacuum cleaner pipe they do not generate dust.
1. For the correct execution of the edge profiling, Use the individual protective devices:
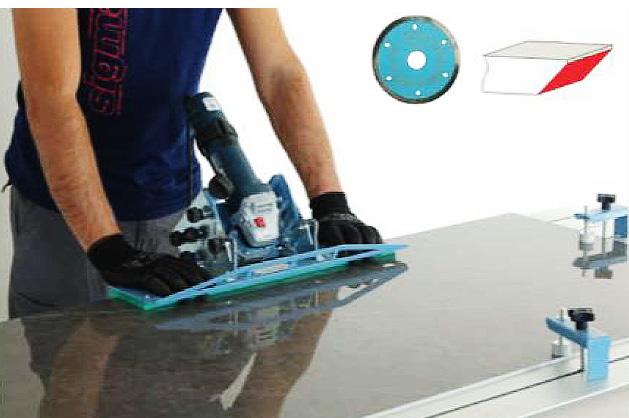
2. For the mitering, move the machine JOLLY-EDGE (in cutting configu ation) from right to the left, keeping it well pressed on the edge of the tile. It can work thicknesses from 5 to 20mm. Thickness 5/7mm with continuous crown disk. 8/20mm thickness
with turbo disc.

4. To achieve bevels/miters on 3.5mm thicknesses, move the SIMPLE-BEVEL machine sideways, keeping it well pressed on the edge of the tile. It is possible to carry out several steps on depth and/or di erent angles.
5 Laying of Large Format Tiles
In addition to the substrate control as described in chapter 1, the choice of the adhesive depends on the type of support, the tile size and place of installation.
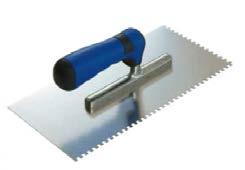
The UNI EN 12004 standard shows how for the tiles with side equal to or bigger than 60cm is necessary to use an adhesive of class C2, with classof deformability S1 in case the tile has a side equal to or less than 120cm, and with class S2 if bigger than 120cm. For thinset coverage on the back of the tile is recommended the use of 4x4mm notch trowel. The application of the adhesive on the tile must take place with direction parallel to its short side, to facilitate the air outfl w. Depending on the temperature, it is possible to use Classified adhesi es “E” (extended open time) in case of hot climates or ventilated environments, or “F” class adhesives (quick drying) in cold environments.During the wall laying it is recommended to use stickers with limited vertical slip “T” class.
For tiles with side equal to or bigger than 60cm it is necessary to use the double thinnest coverage technique for guarantee no air between support
and tile.


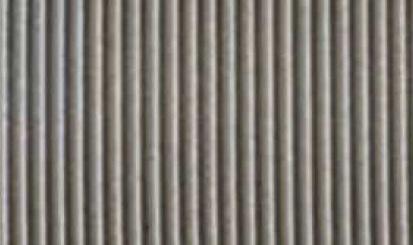
For thinset coverage on the back of the support is recommended the use of “NOAIR” trowel that is
specifi ally designed.
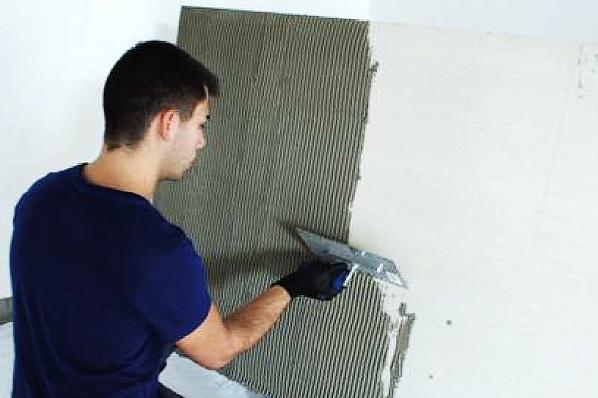
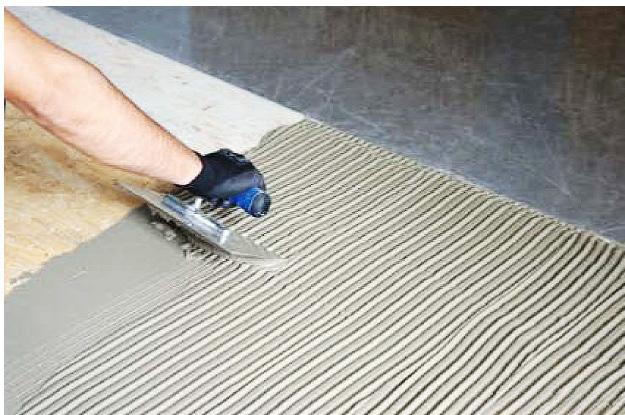
The application of the adhesive on the substrate must have the same direction of the adhesive on the tile.
To faciliate the installation of thet ile it is necessary to use the KERA-LIFT handling frame and the following personal protective equipment: frame KERA-LIFT. 3. Distribute the levelers and manually hammer the tile using the special “BEAT TILE
TROWEL” to ensure complete discharge of air, starting from the center to the sides in the same direction of the thinset. 5. Tighten the levellers and remove them only after the adhesive has completely cured or set. The width of the joints between the slabs is in function of the support, the dimensions of the tile, the laying destination, etc., but in any case it must not be less than 2mm. It is necessary to use
1. Tiling the floor with the handlin leveling system, positioning about 1 every 50cm.
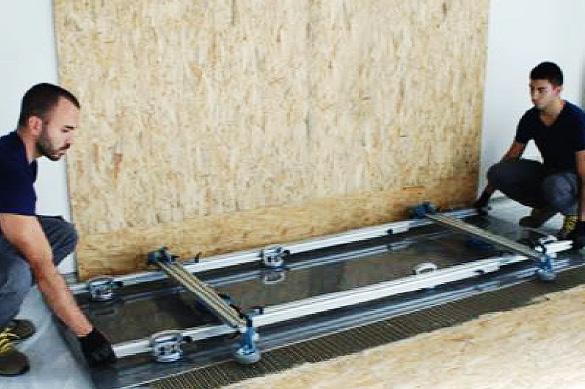
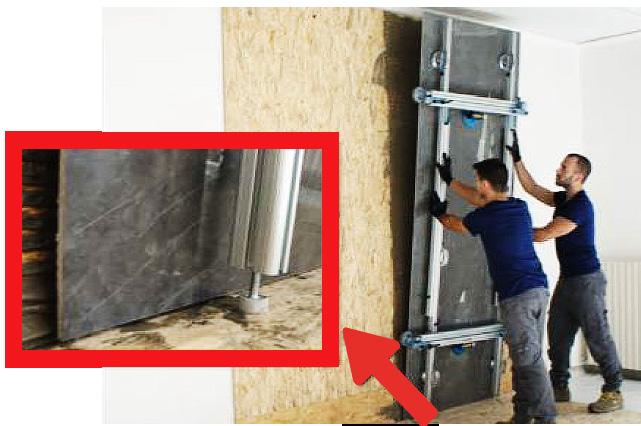
2. During the fixing on the all the support feet of the KERA-LIFT will avoid damage to
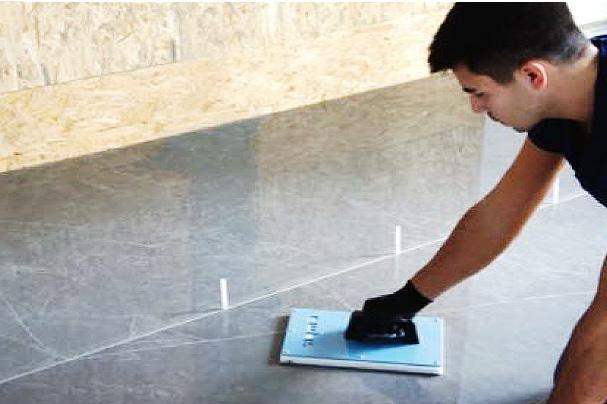
4. Use the “MOVE” to adjust any joint
the tile. di erence between the tiles.

6 Kera-Lift
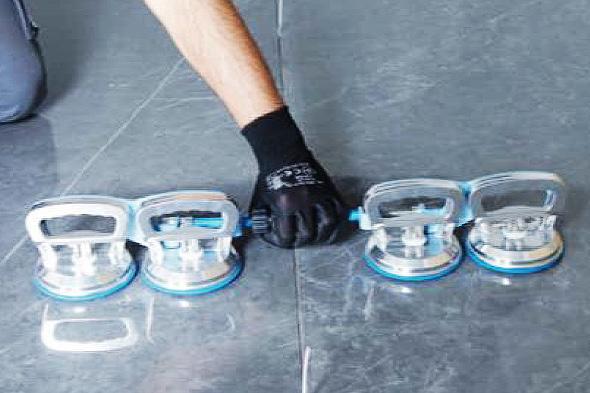
“KERA-LIFT” frame with suction cups for lifting, handling and laying of large format tiles.
Freely adjustable without the use of tools, it is composed from sliding guides to each other to adapt to any shape of the tile.
The usction cups can slide along the profil to adapt to any need.
All models are CE certified
Sliding guides Feet support

Connection crosspieces
Feet support

The feet support of the KERA-LIFT avoid damage to the tile. Safety fall brackets
Pump suction cups
The safety fall brackets can be positioned both on the long side and the short side of the KERA-LIFT, and they are indispensable for working safely in all situations.
The pump suction cups, stain free and tilting with fl w indicator, also for rough materials. Maximum load 90kg (45kg according to CE standard)
STAIN FREE SUCTION CUPS
6 Carriage Kit
The KERA-LIFT can be equipped with accessories, completely removable, which extend the functionality. The “CARRIAGE KIT” consists of two wheels, two tile supports to be used during the transport, and two openable pedestral for the thinest of the tile.

Stain free wheels
Openable pedestral
Tile supports
The CARRIAGE-KIT is fi ted before the lifting of the tile.

Transport with the CARRIAGE KIT Applying the thinset with the CARRIAGE KIT


