
4 minute read
“How to Make Electronic Music”...............Hayward


How to Make Electronic Music:
By Cisco Hayward So, you’ve been on Beatport and you have decided that you want some of that sweet EDM $$$$$. Who doesn’t? In this article, I’ll teach you the basic tools of the EDM trade, and then you too will become like Skrillex, or Deadmau5, or Avicii, or Bauuer, or whichever EDM idol you aspire to copy.
Advertisement
STEP 1: GET FL STUDIO
FL Studio is the premiere live electronic music production software. Now, as of writing, thepiratebay.se is down, so what you are gonna want to do is go to google, type in “the pirate bay”, and then hit enter. Click the link that says “oldpiratebay.org”, and type in “FL Studio 11” in the search bar. Make sure to arrange the list by seeders (by clicking the “S”), so that your download will be quickest. In my experience, the [ChingLiu] version is the best.
Figure 1: a quick search for “fl studio” on oldpiratebay.org should reveal this!
STEP 2: SELECT TEMPO

Now that you have got your DAW installed, the next step is to select the tempo. This is very important and not at all arbitrary. You are gonna want to make your tempo a familiar and accessible number so that it is easy for people who are more talented than you to remix it. I recommend 136 BPM, which is the tempo of the song “Darude – Sandstorm” by the band “Darude – Sandstorm.”
STEP 3: MAKE THE SONG
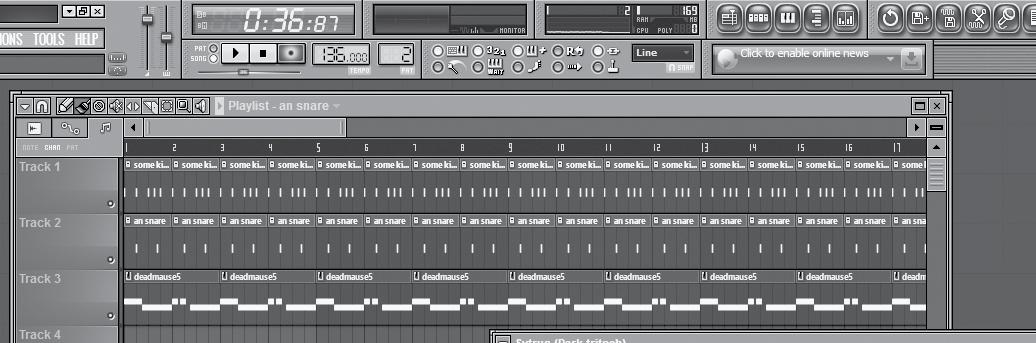
Just like, put some kicks in there, its fine, don’t worry about it.
Figure 2: The completed song. This is sure to get the club pumpin’!
STEP 4: MASTERING
Once your song is done, you can start mastering. Mastering is a complicated process that can’t really be boiled down into a single list of actions. Each song is unique, and what you do in the mastering process is heavily tied to what has happened during the mixing and recording phase. However, since we are working within EDM, there are a couple of general rules that we can follow.
The first rule is to remember your audience. Who is going to be listening to your tracks? EDM is a genre known for its emphasis on bass. Thus, we are going to want to make the low end really *pop*. In FL Studio, go to your Master Channel, and put a “Parametric EQ 2” on the first FX insert. Next you are gonna want to go to band 4, and slowly drag it all of the way to the bottom. Do this for bands 5, 6, and 7 as well. This will take away some of the harshness in the high frequencies, and really allow the low end to ~pop~.
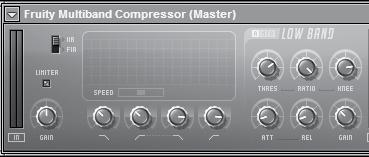
Figure 4: This is what your multiband compressor should like!
Now you might be saying “why did my mix get so quiet?” Don’t worry, that’s all part of the plan. But before we fix that, let’s introduce the third rule. The third rule is to think about the sonic space. The master channel is a canvas, and you want to fill it with all sorts of colorful sonic textures and colors. You want to create a world for the listener to envelope themselves in. In the industry, there is an effect called “Reverb.” Place a “Fruity Reverb 2” on effects inserts 3-7, and turn the decay time up on each one. This will give the music a real sense of sonic depth and sonic space, and really allow the mix to breathe.
Finally, we arrive at the Limiter. Limiters are the most important part of music, because they prevent clipping (and we certainly wouldn’t want that!) If you don’t already have a “Fruity Limiter” on the 8th effects insert, please place one there now. Make sure the “ceiling” parameter is set to 0dB. Then, take the gain parameter and max it out. Now we have regained all the volume we originally lost during the compression, and our mix is loud, phat, and really in your face.
STEP 5: UPLOAD!
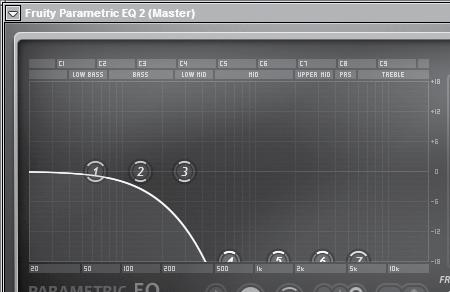
Figure 3: This is what your Parametric EQ 2 should look like!
The second rule is to remember the feeling. What is the most important part of the song? What do you really want audiences to feel? You want the audience to really hear the thump of the kick and hiss of the snare and the pulse of the synths. On the second effects insert, place a “Multiband Compressor.” In each section, find the knob that says “ratio” and turn it all the way full, to the “20:1” setting. This will really allow each instrument to punch its way through the mix, and really take the spotlight.

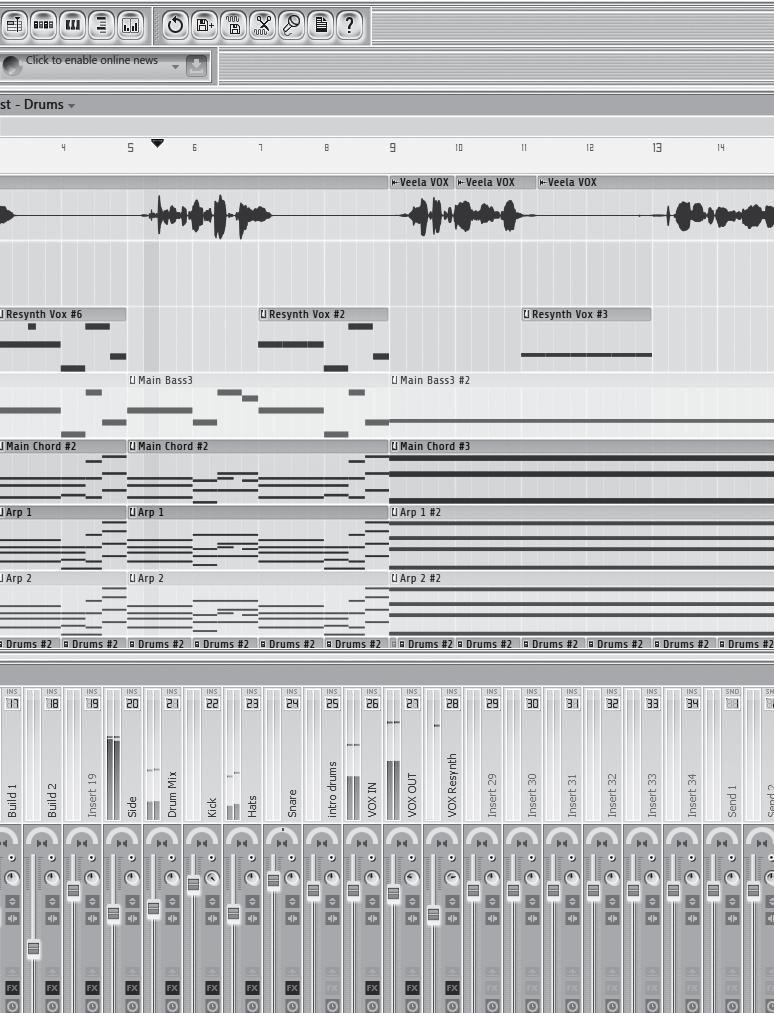
Figure 5: This is what your effects chain on the master channel should be.
Congratulations! You have now become Deadmaymay5! If this guide wasn’t enough to get you started, you should probably just give up. Happy producing!


