


Autobooks
Go to the Business Banking menu and click on “Autobooks Invoicing.”

Select where you would like payments deposited Accept Terms and Continue

Click “Next.”

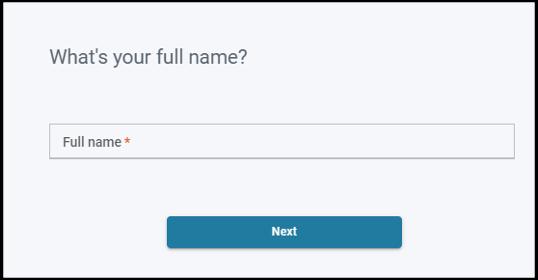
Enter your full name and click “Next.”
Enter your date of birth and click “Next.”

Enter the year your business was formed and click “Next ”

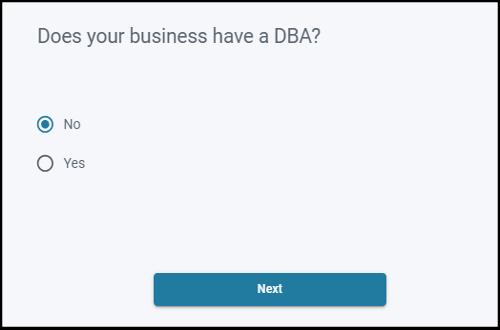
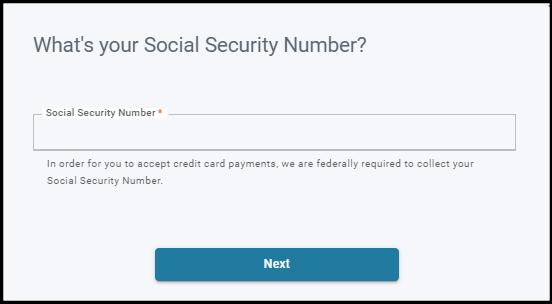
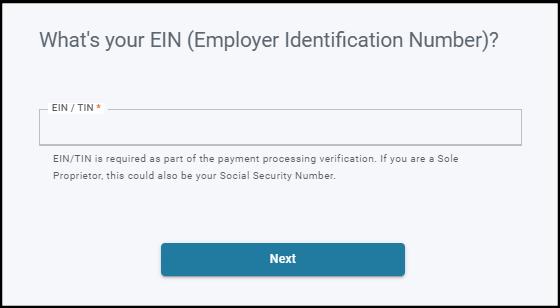
Answer the following questions. Please note, you may be required to answer follow-up questions based on your answers.




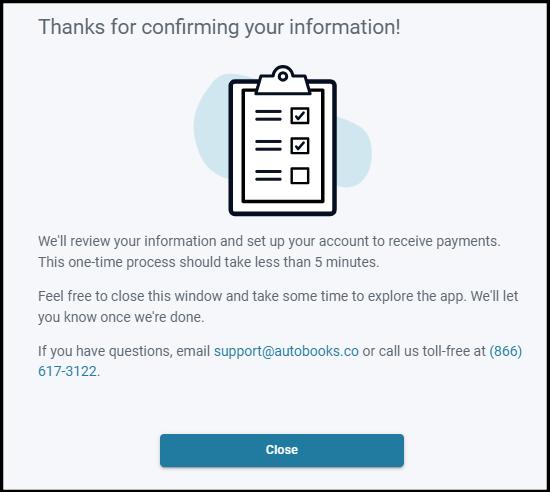

Choose how you would like to ask for your first payment, Invoice or Payment Link
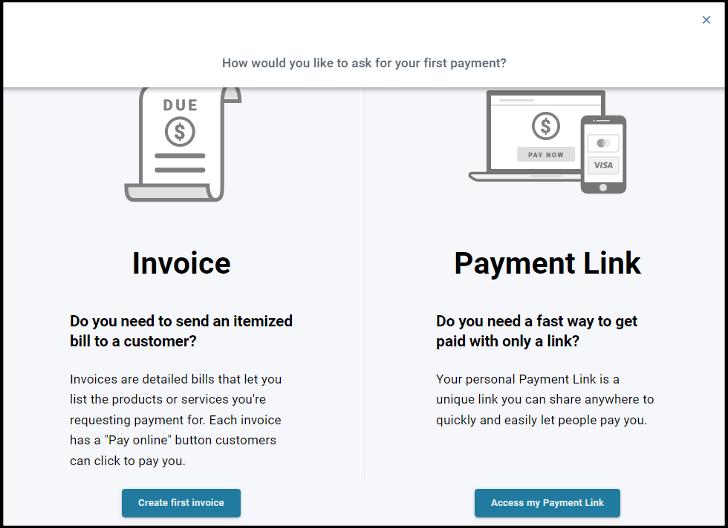
Create an Invoice
Complete the necessary fields to add your customer’s information. Click “Add
Billable Items ”
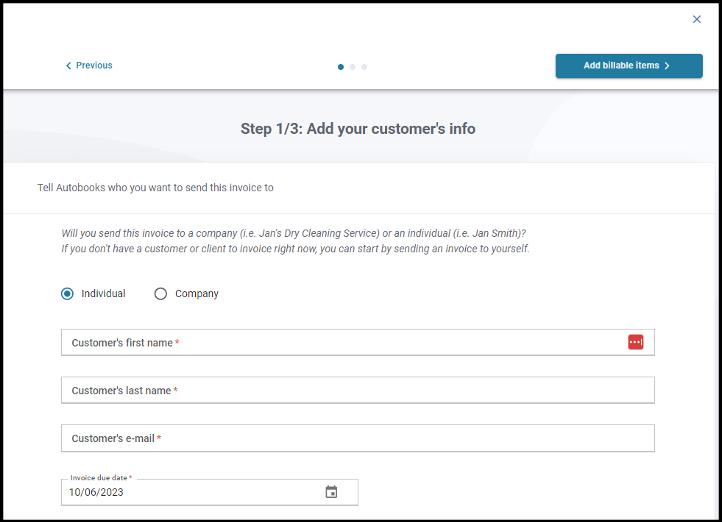
Enter the necessary fields. Utilize the Add Another feature to bill for additional items or use the Turn on sales tax feature to calculate sales tax.

Use the slider to turn sales tax on and enter the tax rate Click “Save changes ”
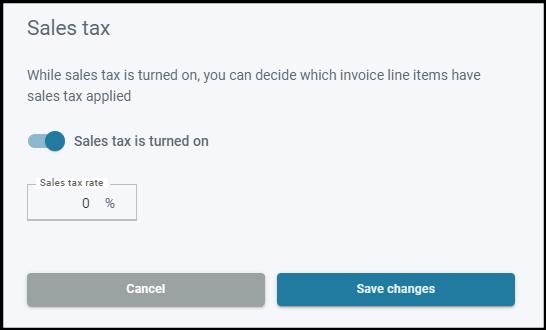
You will now see a check box to Apply Sales Tax
Click “Review invoice.”

Click on “Edit Business Information” to update your information or to add a logo
Save changes.

Click “Looks good, send invoice.”

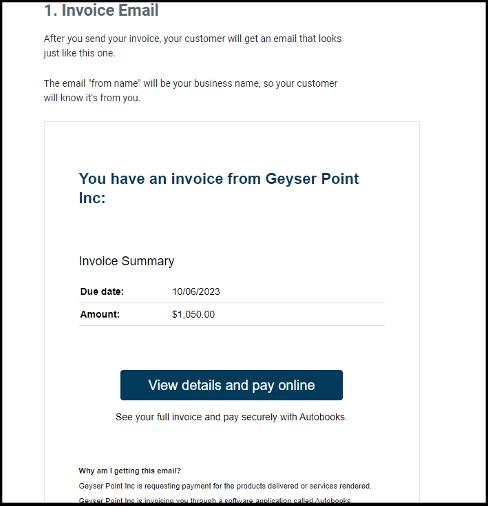
Your customer will receive an email similar to this.
Payment Link

Click “Access my Payment Link ”

You will see a preview of your payment link.
Click on “Edit Business Information” to make any necessary edits

Click “Save changes.”

When you email the payment link, it will be sent with your business name as the “From Name ”
Before you send, you will need to enter the customer’s email address and paste the link into the body of the email
You have the option of sending yourself a copy as well.

Click “Looks good, email my Payment Link” when complete.


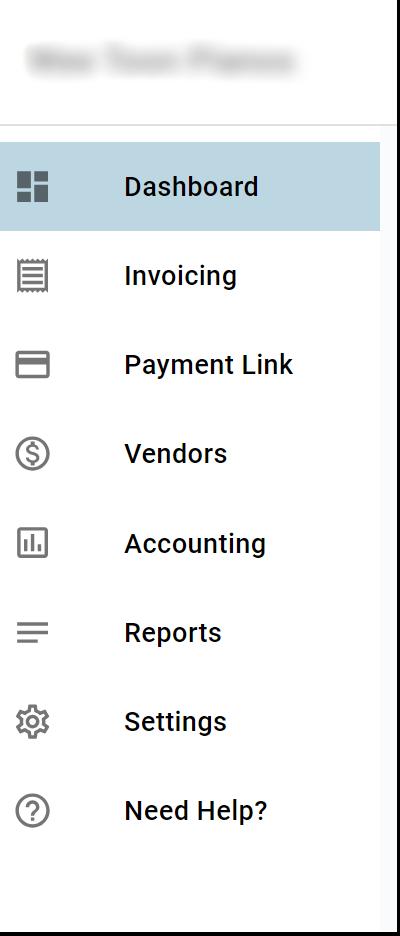
Now that you are all set up, in the future you can access Autobooks via the Dashboard.
