
First, the administrator should grant Remote Deposit Access for the sub user’s permissions.
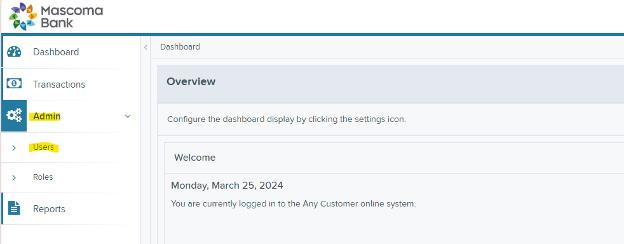
Go to Cash Management Business Admin.

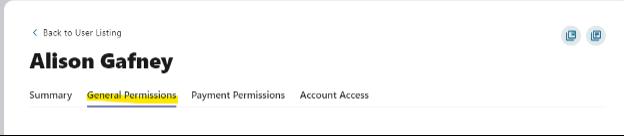
Click on “Users” and then select the name of the user you wish to edit.

Under the user’s permissions, choose “General Permissions.”
Scroll down to the bottom of the page to “Receivables” and click “Manage Permissions.”

In the pop-out window, toggle on “Remote Deposit Capture” then click “Save.”

Next, go back to “Cash Management” and click on “Remote Deposit”.

This will load you to the SmartPay scanning website. From the menu on the left, click on “Admin” then click “Users”.
On the following page, click “Add User” then “Business User” from the right-hand side of the screen.

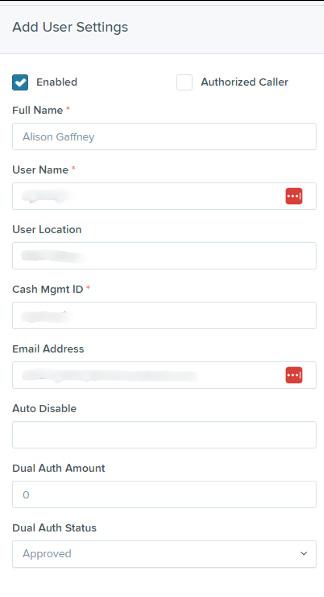
Fill out the following information:
■ Full Name
■ Username: Must match your sub user’s Mascoma Bank username
■ User Location: Optional
■ Cash Mgmt ID: Must match your sub user’s Mascoma Bank username
■ Email: User’s email address
Leave the remaining fields blank
Under ‘Privileges for this User,” check off “customer service” and “reports” then click add.

This will reload the page with more access settings. Click the dropdown arrow for “Roles within the Customer Services Privilege.” Check off options.
Note: User must have “RDC Admin” and “RDC User” checked off to be able to open and submit deposits.

Next, click the dropdown arrow for “Locations for this User” and check off any accounts you wish the user to be able to deposit into.

Click “Update.”
