
7 minute read
HOME, FARM, & GARDEN p.8 OUT & ABOUT p.16 SIMPLY DELICIOUS
with Rynn Hennings thehouseofelynryn.com
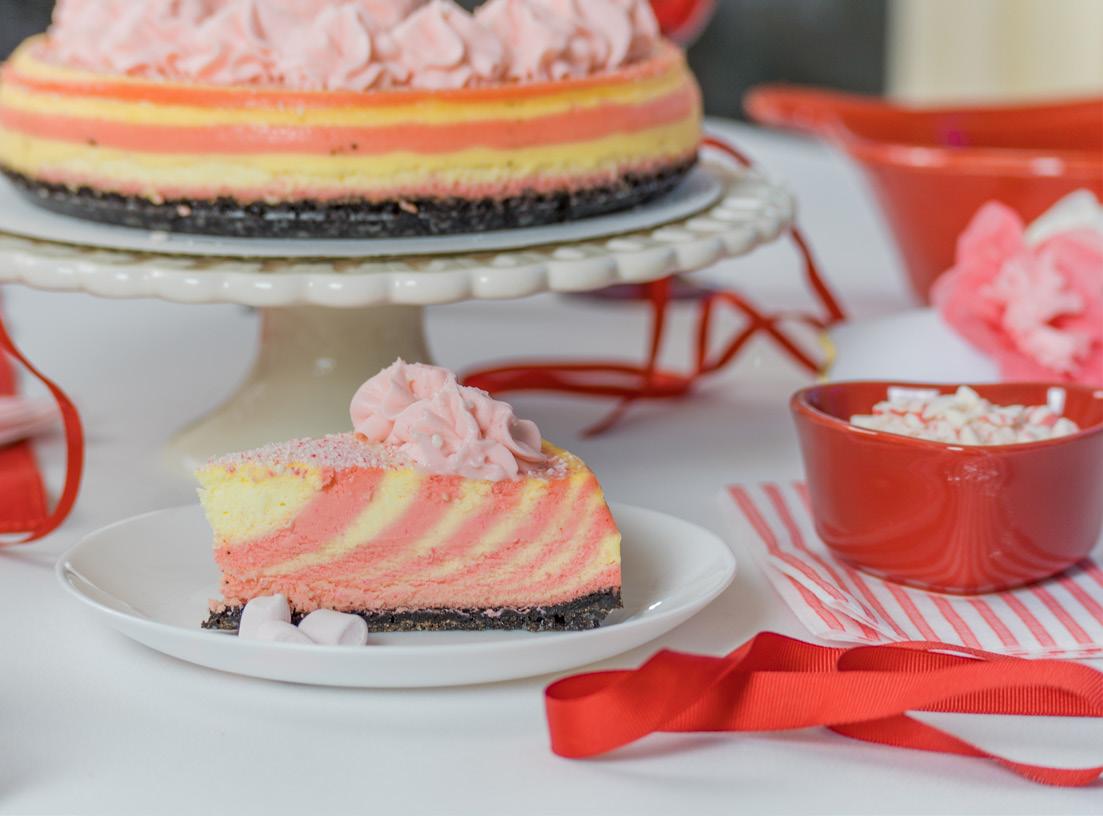
Ilove to make I love to make desserts with decorative stripes! This peppermint cheesecake lends itself to this look called zebra stripes. Although it is a beautiful dessert to serve at Christmas, it gets a chance for an encore on Valentine’s Day. The stripes are easy to execute and only require measurement of the batter to achieve this effect. If you are not quite into zebra stripes like me, you can opt to make an all-pink or white cheesecake instead. This recipe not only makes a pretty, pink dessert but also is a great way to use up leftover Christmas candy canes!
Advertisement
STRIPED PEPPERMINT CHEESECAKE
Servings: 8-10 Prep Time: 30 minutes Cook Time: 92 minutes Passive Time: 10 hours
Ingredients for Crust
• 2 cups Oreos or dark chocolate cookies, crushed (measure after crushing cookies) • 4 tablespoons butter, melted • Cooking spray
Ingredients for Cheesecake
• (4) 8-ounce blocks full fat cream cheese, room temperature • 1 cup + 2 tablespoons granulated sugar • 1 1/4 teaspoons peppermint extract • 4 eggs + 2 egg yolks, room temperature and lightly beaten • 1/2 cup cream, room temperature • 6-10 drops red gel food coloring
Equipment
• (1) 9-inch springform pan (3 inches deep) • 1 large pan for water (see Sweet Tips below) • Parchment paper • 2 medium-sized mixing bowls
Directions for Crust
1. P1. Preheat the oven to 350 degrees F. Spray the springform pan with cooking spray. Cut a round out of parchment paper that is the size of the inside bottom of the pan. Add the parchment paper to the bottom of the sprayed pan. 2. Crush the cookies in a food processor or chopper until finely crushed. 3. Stir in the melted butter until well combined. Press the mixture into the bottom of the springform pan until smooth. Use a flat-bottomed cup to tamp down the cookie crumbs. 4. Bake for 12 minutes. Let cool.

Directions for Cheesecake
1. Reduce the oven temperature to 300 degrees F. 2. In a mixing bowl, beat the cream cheese and sugar until smooth. Scrape the bowl on the sides and bottom 2 or 3 times, and then beat any cream cheese lumps until they dissolve.
3. Add the peppermint and beat. 4. Add the eggs and yolks, one at a time, beating just until blended. 5. Stir in the cream until mixed. 6. Divide the batter between two bowls, using a measuring cup to evenly divide the batter. 7. To one bowl of batter, add 6-10 drops of red food coloring.
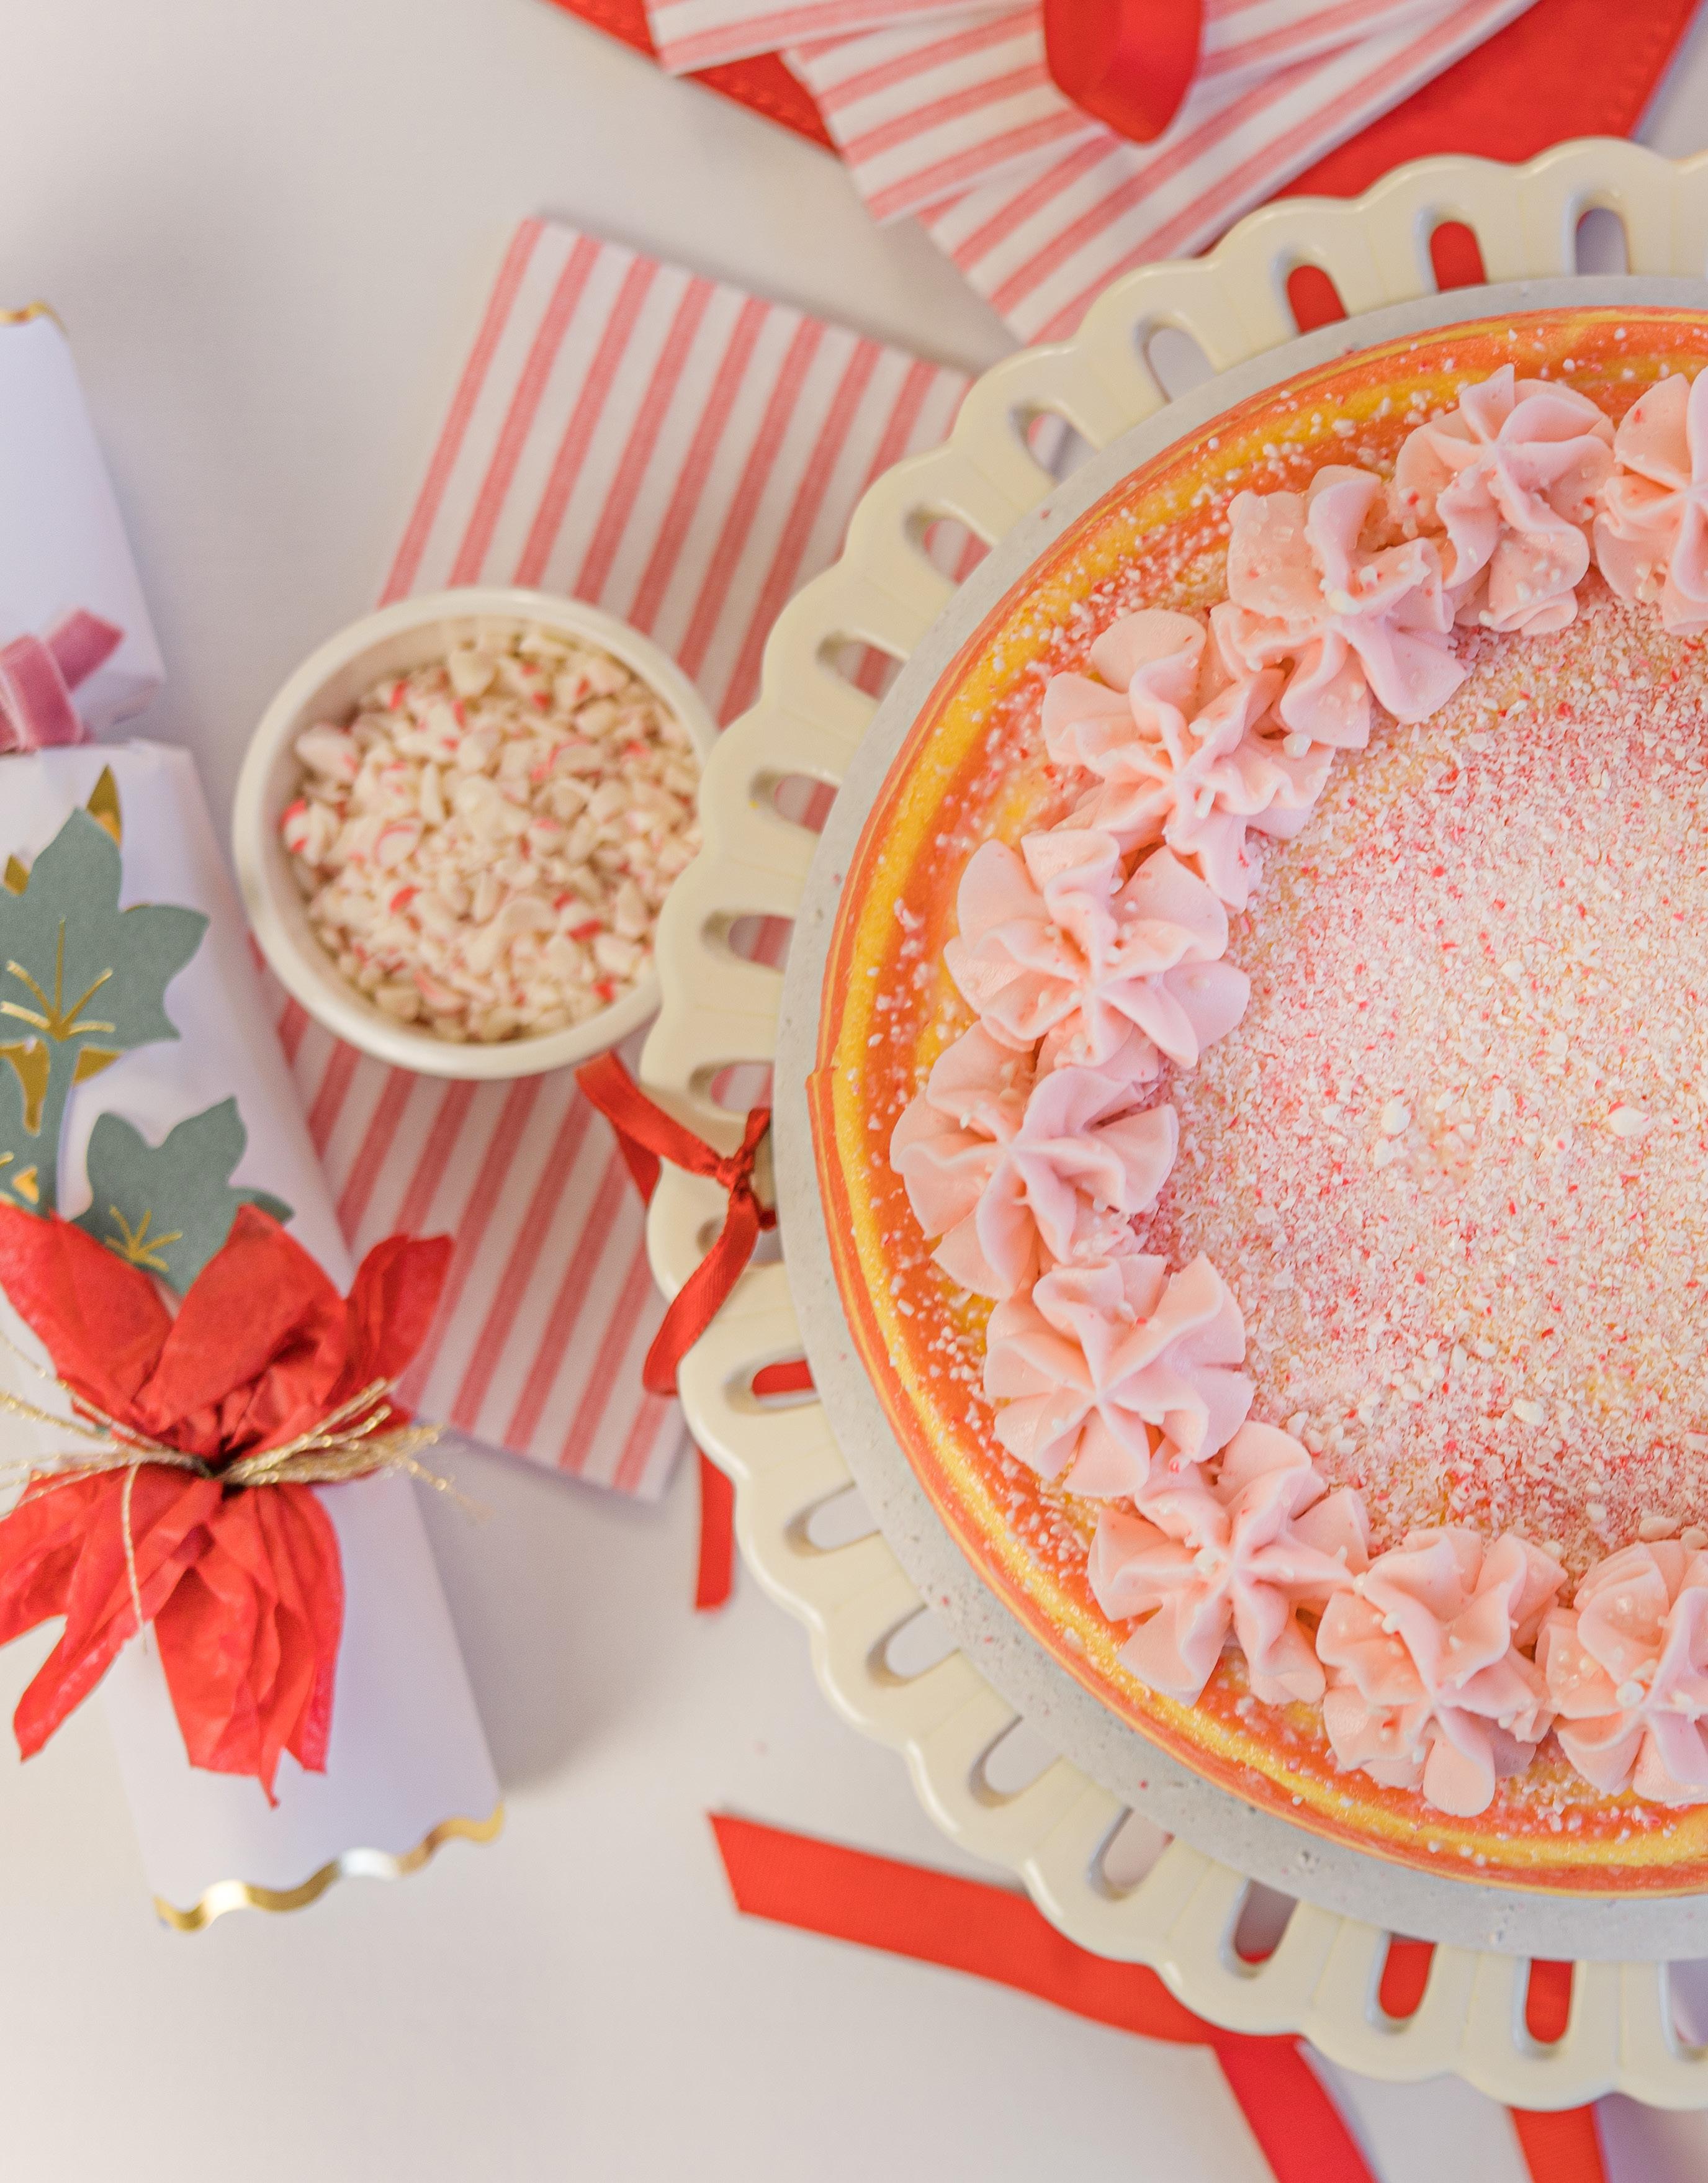
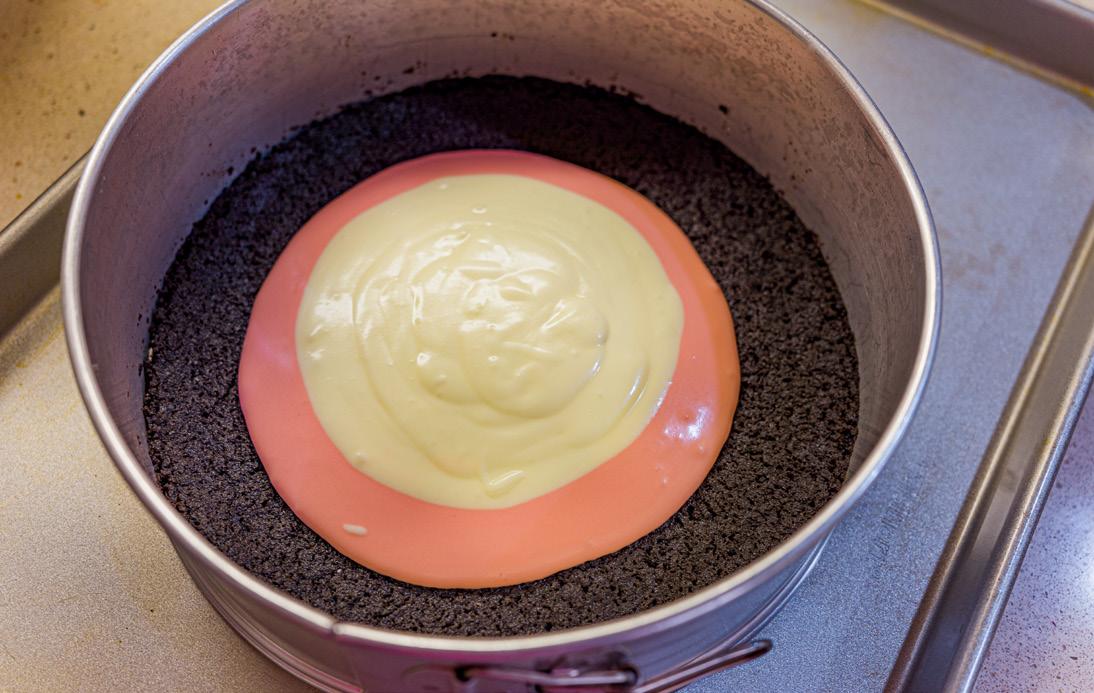
Use fewer drops to make a pink batter and more for a red batter. Stir to mix well. 8. Measure 1/2 cup of white batter and pour it into the center of the cooled crust. Measure the batter carefully so that the stripes are pleasingly proportioned. 9. Use another measuring cup and pour ½ cup of the pink batter into the center of the crust on top of the white batter. 10. Measure ½ cup white batter again and pour it over the pink batter. Continue alternating colors until all the batter is used, pouring the batter into the center of the pan each time. 11. Fill a large flat pan with hot water and place it into the preheated oven on the lowest rack. 12. Place the cheesecake on the rack above the hot water. Bake for 1 hour and 20 minutes. If the cheesecake should start browning on top before the cooking time is over, spray a piece of aluminum foil with cooking spray and place it gently on top of the cheesecake. 13. At the end of the cooking time, remove the cheesecake from the oven. It will jiggle slightly in the middle when you move it. If it seems liquid in the middle, bake it for an additional 10-15 minutes. 14. Let the cheesecake cool for 2 hours. Then refrigerate it for 6-8 hours. 15. Decorate the cake with finely crushed peppermint candies and whipped cream if desired. To serve, remove the pan ring and slice.

Sweet Tips
Cold ingredients can affect the baking time of the cheesecake. Have all cold ingredients at room temperature. This can take at least 1 hour out of the refrigerator. A pan of hot water helps keep the cheesecake from drying out and cracking on top. Freezing the cheesecake helps with slicing later. For smooth slices, cut the cheesecake while it is still partially frozen. Heat a large knife in a glass of hot water or under hot tap water. Wipe off the water and slice. After cutting each cheesecake slice, clean the knife, heat it in hot water, and repeat. For more photos and tips, go to Houseofelynryn.com Great Deals for a Great Cause!


BAKE-UP SOME FAMILY FUN
Looking for ideas for inexpensive, family fun on cool, winter days? Head to the kitchen. The Home Baking Association has declared February as Bake for Family Fun Month. The kitchen is a perfect place for young children to older adults to make some memories while spending quality together time cooking.
Some of my favorite memories of my childhood and when our kids were young happened in the kitchen. I love smelling baked goods in the oven, peeking in to see them turning golden brown, anticipating the timer ringing, and then impatiently waiting until they are cool enough to eat. Two of my favorite things to make are cookies and muffins. Both have quick bake times, so they don’t require as much patience or willpower while waiting on the finished product.
Muffins and cookies are good recipes for beginning bakers. Children of all ages can learn many life skills through reading recipes, measuring, mixing, chopping, etc.
The Home Baking Association has a great fact sheet that breaks down appropriate tasks for children aged two and up and highlights ways for the whole family to be involved. Some suggestions include:
Two-year-olds can move pre-measured ingredients from one place to another and add ingredients to a bowl. A three-yearold can pour cool liquids into a mixture, mix dry ingredients with a wire whisk or spoon (in an extra-large bowl to keep from whisking it out) and place things in trash. Older children can help measure dry ingredients (stir, spoon, level), cut with a blunt knife (plastic or tableware), use a handheld eggbeater or whisk, grease pans, and set the timer.
www.homebaking.org/wp-content/uploads/2019/07/thrill_ten_ steps-2.pdf
Banana Chocolate Chip muffins are family favorite and a great way to use over ripe bananas. This recipe uses mayonnaise instead of the milk, eggs, and oil called for in most recipes. The mini chocolate chips disperse throughout the batter more than regular size chips, ensuring chocolate in most every bite. I have made these as a Valentine treat for many years, often using a heartshaped muffin pan.
Select a recipe, get out the ingredients and supplies, turn on the oven and start creating some delicious treats today.
BANANA CHOCOLATE CHIP MUFFINS Ingredients:
• 1 ½ cup all-purpose flour • 1 cup sugar • ½ cup mini semi-sweet chocolate chips • ½ cup nuts (optional) • 1 teaspoon baking soda • ½ teaspoon salt • ½ cup regular mayonnaise – not reduced fat • 3 medium ripe bananas mashed
Directions:
1. In a bowl, combine flour, sugar, chocolate chips, nuts, baking soda and salt. 2. Mix until well blended.
3. In another bowl combine bananas and mayonnaise. 4. Stir wet ingredients into dry ingredients just until moistened.
5. Fill greased or paper lined muffin cups ¾ full. 6. Bake at 375 degrees for 20-25 minutes until a wooden toothpick inserted into the muffin comes out clean. 7. Cool for 5 minutes before removing from the pan and place on a wire rack to cool. Makes 12 muffins.


N.C. Department of Insurance Mike Causey, Commissioner 855-408-1212 (toll free) • www.ncdoi.com
FEBRUARY IS
AMERICAN HEART MONTH
Heart disease is the leading cause of death for men and women in the United States. Every year, 1 in 4 deaths are caused by heart disease.
Heart disease can often be prevented when people make healthy choices and manage their health conditions. Cardiovascular screening blood tests assist in early detection of heart disease. Medicare covers screening tests for cholesterol, lipid and triglyceride levels once every 5 years.
Ask your SHIIP counselor for more information.
FOR MORE INFORMATION CONTACT: NC COOP. EXTENSION, SURRY CO. @ 336-401-8025


