1 minute read
PHOTOSHOP TIP: Black and White Image Conversions with Sarah McGregor
Sarah McGregor is an NZIPP Accredited professional Portrait Photographer and NZIPP Master of Photography (with Distinction) III. See more of Sarah’s work: www.minimephotos.co.nz https://www.facebook.com/minimephotography https://www.instagram.com/minimephotos/
Photoshop offers countless ways to achieve the same result, but some methods are simpler and more efficient than others. When it comes to black-and-white conversions, my process is designed to be quick, easy, and effective, leaving you with crisp, high-contrast images while maintaining flexibility in your workflow. Here’s how to do it:
Advertisement
Step 1: Prepare Your Image
Begin with a fully edited colour image. The better your base image, the sharper and more dynamic your black-and-white conversion will be.
Starting with colour allows you to easily create both colour and black-and-white versions, providing more options for client galleries.

Colour edited image ready for conversion
Step 2: Reset Your Brushes to Black and White
Press the D key on your keyboard. This resets your brushes to their default colors—pure black and white.
TIP: Even if your brush looks black, press D to ensure it’s set to pure black, not an off-black colour.
Step 3: Set the Foreground and Background Colors
Ensure black is your foreground colour and white is your background colour. You can toggle between the two by pressing the X key on your keyboard.

Once set, open the Adjustments Panel and select a Gradient Map Adjustment Layer.

Step 4: Choose the Right Gradient Option
If you’re using a newer version of Photoshop, you’ll see a dropdown menu with gradient options.
The default setting is “Smooth,” but for a cleaner, brighter look, I recommend choosing “Classic.”
Toggle through the gradient variations to find the one that best suits your image.

Step 5: Add a Levels Adjustment Layer
This step is crucial for achieving striking contrast.
Open a Levels Adjustment Layer, and adjust the histogram:
Drag the left triangle inward until it touches the start of the histogram on the left (shadows).
Drag the right triangle inward until it touches the start of the histogram on the right (highlights).
This ensures your blacks are deep and your whites are bright, making your image pop.

Make It Automatic with an Action
To save time, create a Photoshop action that automates this entire process.
That’s it! Whether you’re working on individual photos or batch processing an entire gallery, this streamlined method will help you achieve beautiful results with ease.

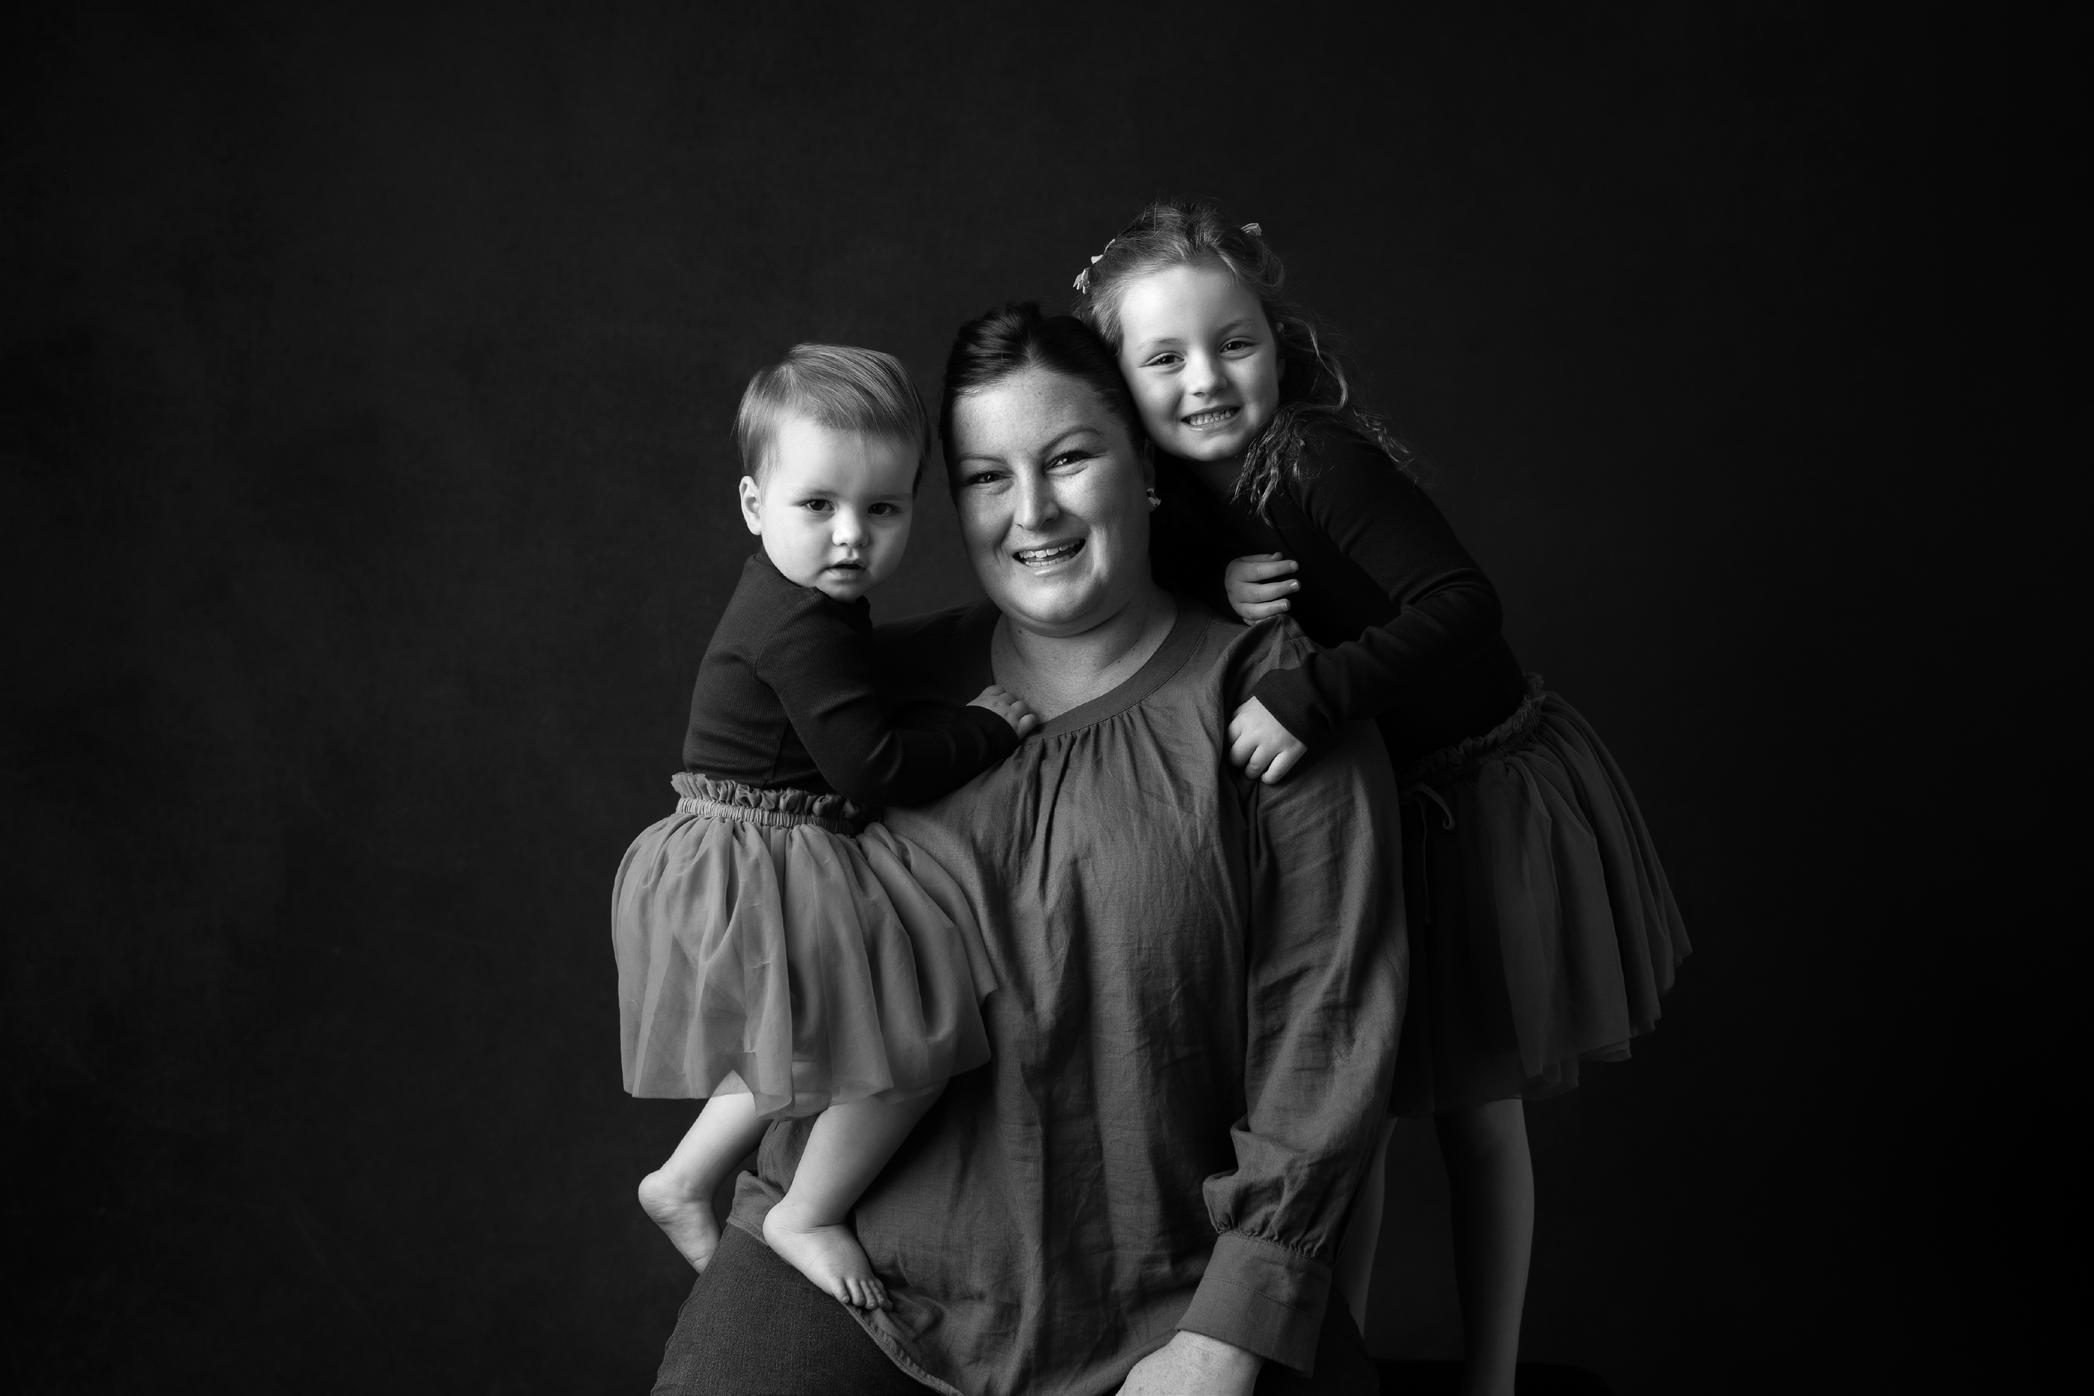
Final image following the black and white conversion method used above.


