

learning to use electricity when the sun shines, and designing your life and systems to be simpler and lower-tech. It doesn’t necessarily mean buying land and moving to the country. You can start living off-grid right now, wherever you live. Just start!
When the power goes out or when camping, people shift their minds to an off-grid mentality. Of course, this is living off-grid to the max without conveniences, learning to not waste anything so we don’t have to make the energy (electricity, fuel, etc.) to run things in the first place.
For me, this mentality goes beyond just electricity; it encompasses my entire life. As such, I am going to provide you with a series of stories on how I grew up, how I now help people design off-grid systems, and ways we can all work to simplify our lives.
Why Do You Want to Live Off-Grid, Really?
Why do you want to take control and simplify your life?
Modern society teaches us to avoid problems and focus on quick and easy fixes.
Why do you want a fulfilling life?
Why do you want to commit to a long journey of hard work to a better life?
Can we really work less and be more content?
Who said life is the journey, not the destination?
Are you ready to start the first steps to be more in control of your life?
Living truly off-grid is about choosing what necessities of life you can control. It’s an attitude of simplification. It’s a way to find inner contentment with less external input.
How can we disconnect from a society that tells us we can’t be a whole person without consuming more and more?
Do we control our things or do they control us?
When was the last time we just spent time to reflect and plan?
Let’s work on taking time to ourselves to enjoy life!
Let’s start the journey right!
So You Want to Live Off-Grid
In recent years, we have seen, with increasing frequency, the plight of millions of families as they struggle to cope with a failed power grid. What would your life be like without access to the power company?
We are dependent on electricity … almost everything at your home (and mine) would quit without power.
Look around your home. Your landline phone (unless you have an old one that doesn’t plug in to a power line), gas fireplace, and pilot lights (even on gas stoves and hot water heaters) are likely nonoperational when the power fails. Our reliance on electrical power has increased significantly over the past 20 years. So in a power outage, we have no heat,
no hot water, and no means of communication. Our electricityintensive society needs backup power more than ever.
As a professional, I’ve been installing home battery off-grid or backup power systems for more than 24 years, and I played around with it for 10 years before that.
Consider what happens when you are without power:
• Does your city have a backup power system for the watertreatment plant? Wells are great, but again, “no power, no water” (for drinking, sanitation, irrigating your garden, etc.). You can’t live without water!
• Is your garden’s harvest in the freezer? How much food is in the refrigerator? Say goodbye to it all. Ouch!
• Do you use an electric heater? Even modern woodstoves and gas or propane furnaces require electricity to operate. Power outages in winter can spell disaster.
• What happens to everything else? From your coffee maker to your microwave to your phones to the lights, almost everything needs power.

4. Will I be able to cool my home in summer and heat it in winter?
Cool, yes, as there is plenty of sunshine in summer. Heating with electricity is more difficult to do with less sunlight during winter. However, even a gas furnace or wood furnace needs air circulation and controls, which can be powered with solar energy. My recommendation is a multifuel (gas, solar thermal, wood), outdoor furnace or a superefficient mini split system.
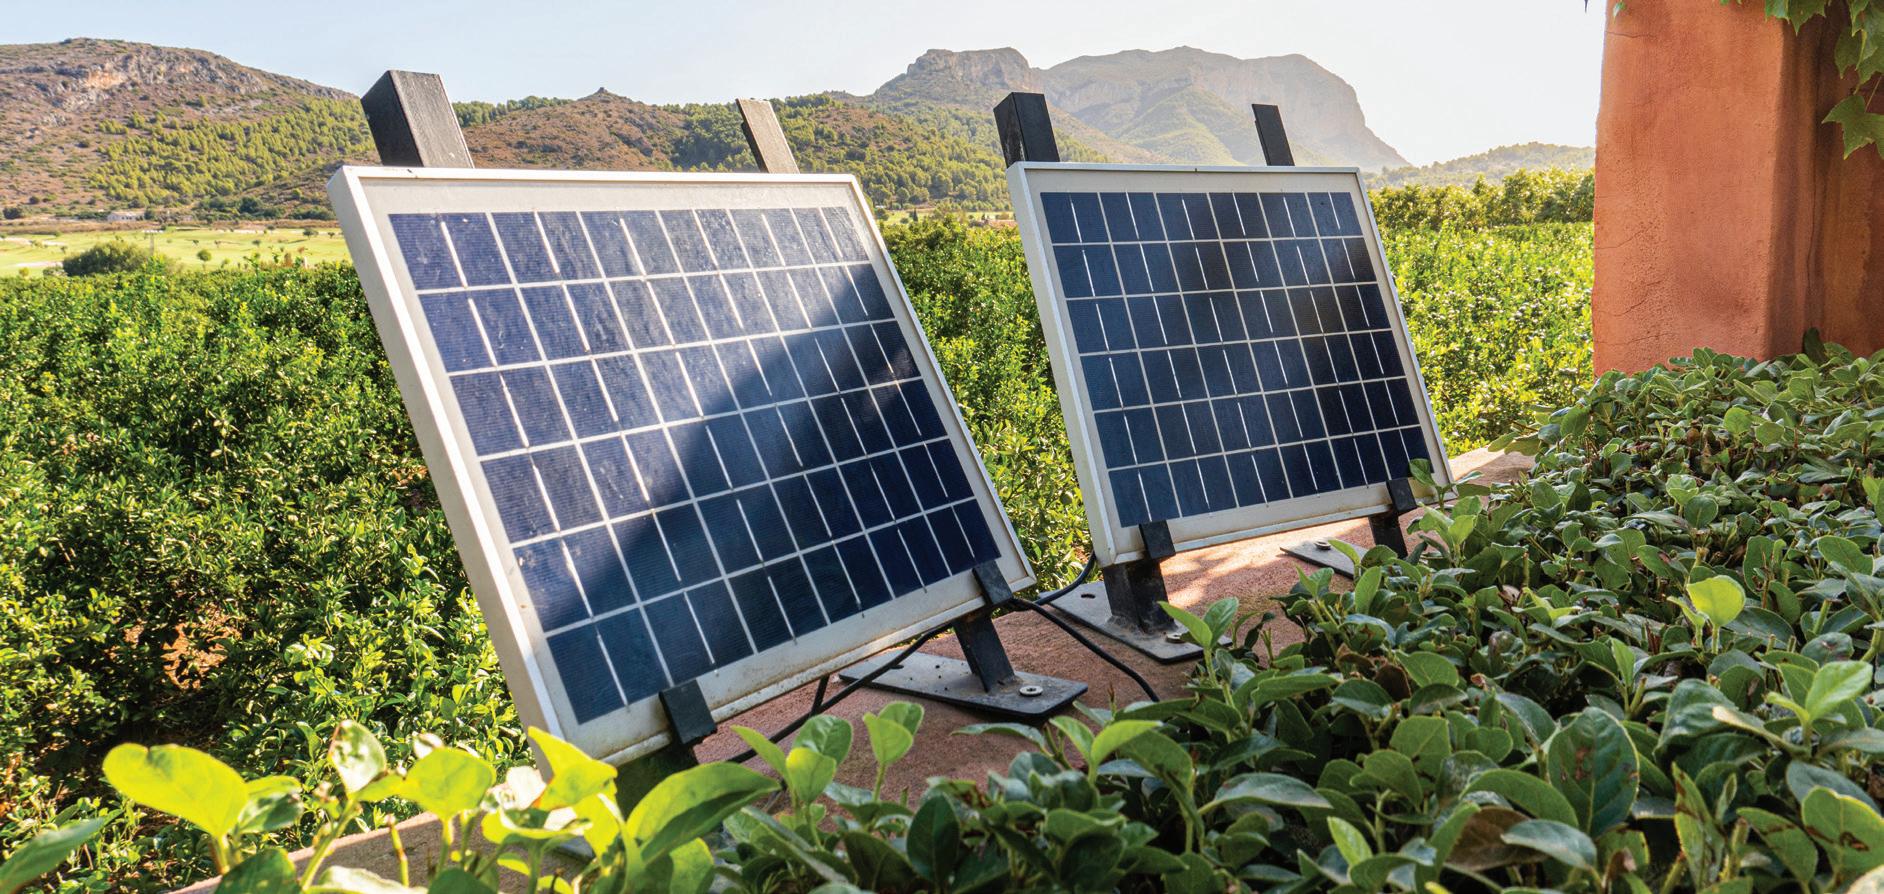
5. How much room will the solar modules take?
Each typical solar module is about 39 inches wide and about 66 inches tall. How many you need will be determined by the energy needs of your lifestyle. It’s important to place solar modules facing the equator (south in the Northern Hemisphere and north in the Southern Hemisphere) in a sunny location that ideally is unshaded from 9 a.m. to 3 p.m.—peak sunlight hours.
A roof-mounted system is the least expensive because you don’t have to build a structure, but it’s not always the best choice. A groundmounted system will always produce more energy because it can be mounted pointing in exactly the right direction and at the right angle. The solar modules will also
operate more efficiently when they stay cool, and a ground mount has natural cooling with airflow around the modules.

IF WE DON’T FEEL GRATEFUL FOR WHAT WE ALREADY HAVE, WHAT MAKES US THINK WE WILL BE HAPPY WITH MORE?


Aur talks with Alison and Aaron about their off-grid journey in Oklahoma.
• Wear weather-appropriate clothes and pay attention to your body. I tend to get sick in summer when I’m working with less sleep and pushing myself too hard. I have even seen EMTs get hyperthermia because they were ignoring themselves to help others.
• Remain calm: I know a parent who nearly died when trying to save a child who fell; the child was fine. Before rushing to the rescue, make sure you don’t become a statistic yourself.
• Carry the tools: Have a firstaid kits in your bag, house, and car, and know how to use it.
• Keep studying: Folks who call themselves experts can only continue to be one if they keep learning and practicing skills. A variety of wilderness firstaid books are on the market. The American Red Cross offers two: Wilderness and Remote First Aid Emergency Reference Guide and Wilderness and Remote First Aid Instructor Manual. For EMT or WFR books and training, check out:
• NOLS Wilderness Medicine, National Outdoor Leadership School (NOLS)
• Emergency Care and Transportation of the Sick and Injured, American Academy of Orthopaedic Surgeons (AAOS)
• Wilderness and Remote First Aid Emergency Reference Guide, American Red Cross
• Where There Is No Doctor, published by Hesperian Health Guides
• Where There Is No Dentist, published by Hesperian Health Guides
• Handbooks by Girl Scouts of America and Boy Scouts of America (I think the older ones are the best; search online)

DIY FIRST-aid kit
Recommended contents for a personal first-aid kit.
• Powdered energy drink mix
• Small sugar pills or candy (in a pill bottle to protect from bugs) or granola bars
• Pill bottle full of rubbing alcohol with a few cotton balls (most kits say alcohol swabs but I find I use cotton balls more)
• Stuff extra exam gloves into one glove; these will be used a lot
• Roll of 1-inch medical tape
• Tube of antibiotic cream
• Container of 2% tincture of iodine
• Small bar of soap or small container of liquid soap (though that might freeze in winter)
• Small pocketknife with built-in tweezers
• Hand-crank emergency flashlight or good quality LED flashlight (check the batteries regularly)
• Fine tweezers
• #11 scalpel blade
• Razor blade
• Lighter and waterproof matches
• Cotton-tipped applicators
• Low-reading clinical thermometer, ideally not electronic, as the battery could be dead when you need it in an emergency
• 6 blanket pins (several types on the market; research which one will work best for you)
• 3-by-6-inch blister pad or moleskin
• 12 or so latex or fabric bandages (Band-Aids)
• 4-inch elastic bandage
• 3-inch gauze roll
• Four 4-by-4-inch gauze pads
• One 8-by-8 inch bulk dressing
• Packet of charcoal
• Nonprescription medications (routinely check for expiration dates)
• Small bottle of aspirin or ibuprofen
• Small bottle of dental analgesic
• Cough and cold medicine as desired
• Antacid and antidiarrhea tablets
• Non-liquid laxatives
• Stool softener
How to Be a Food-Waste Champ Food for thought when living offgrid: Reduce waste, protect the environment, and help others.
April 28 is Stop Food Waste Day (www.StopFoodWasteDay .com), but every day is a good opportunity to reduce waste.
We have all done it—purchased fresh food only to find we already had that particular food in the pantry or refrigerator. When was the last time you or I cleaned out the fridge completely and cooked just what we have? According to Feeding America, as much as 40% of food in the United States of American is thrown away. That’s a lot of good food and money being thrown away.
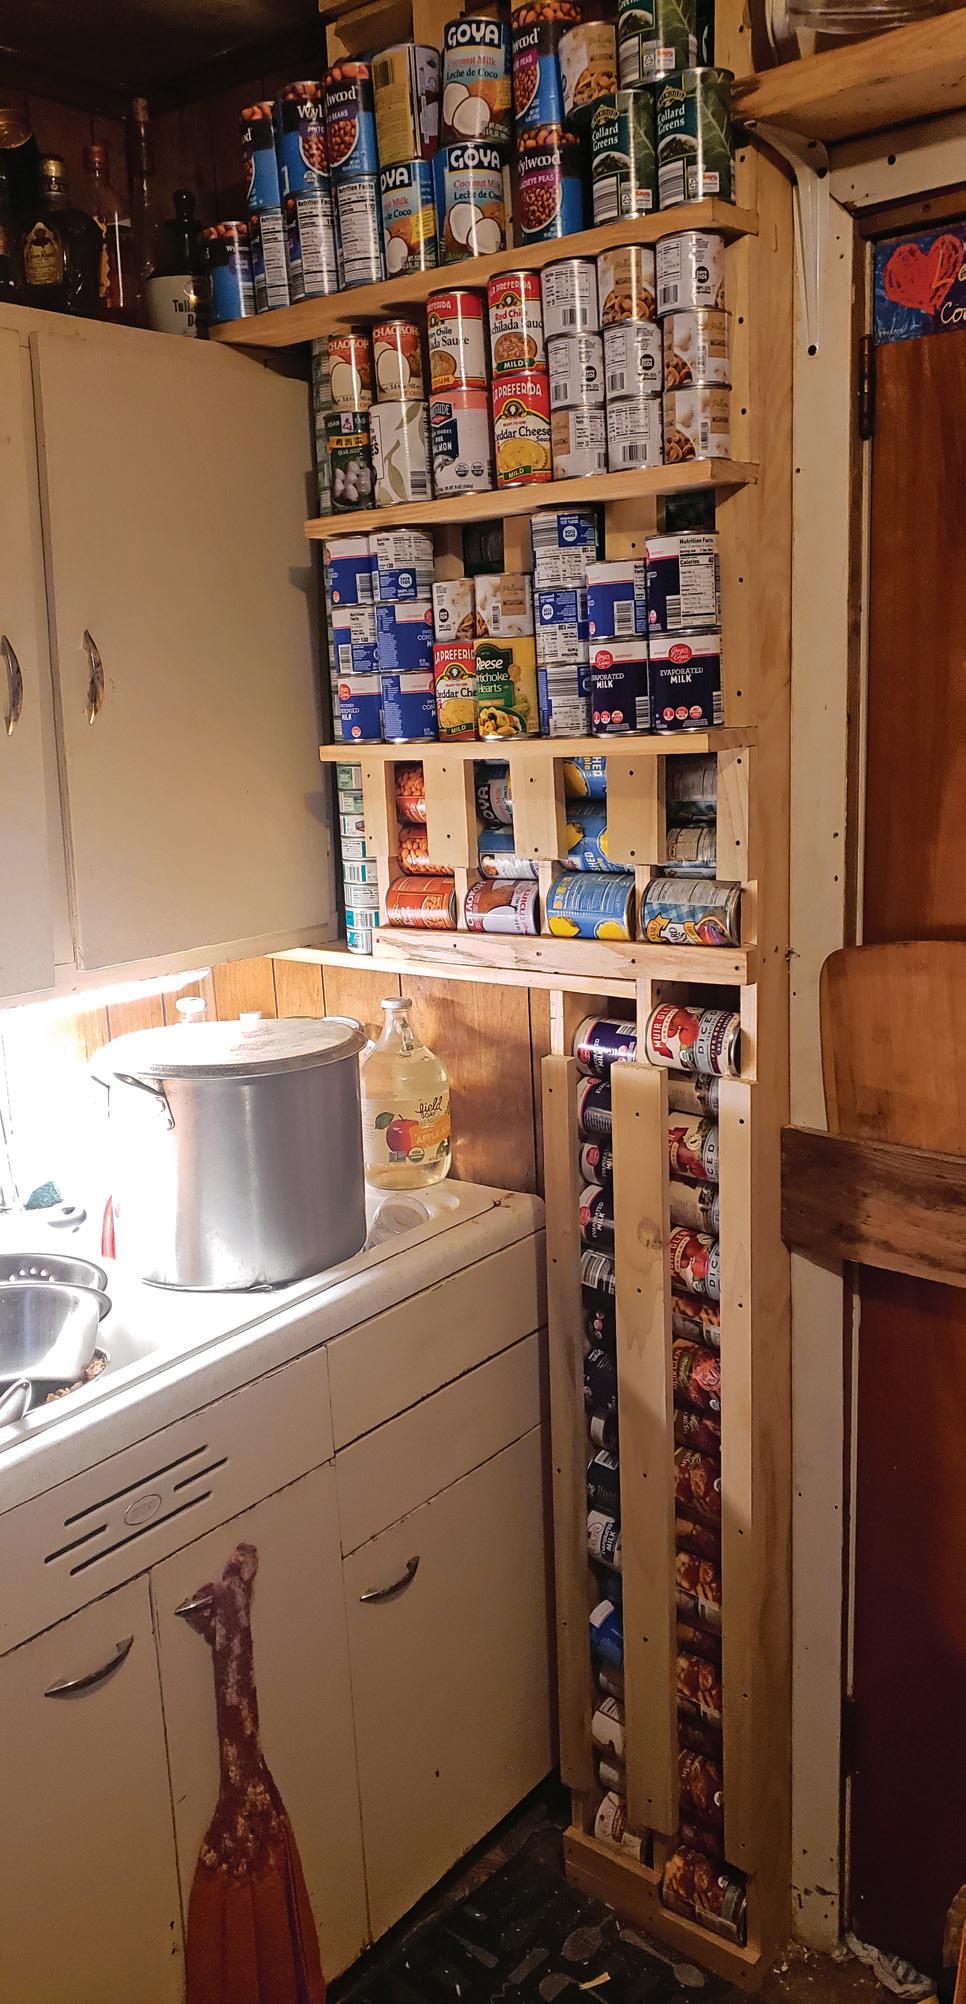
I do tend to forget what I have in the pantry. My kitchen has no doors on the shelves, so I can more easily see what I have in stock, but I still have issues about knowing what I have in my fridge and freezer. I’ve been challenging myself to cook with only what I already have in my pantry, what is in season, and what is grown locally. We have become spoiled by our full access to any and all fresh food, even if it’s out of season.

I can a lot of tomatoes and green beans to have them yearround, and I do that in season to get bushels of produce at a lower cost. What is something you eat regularly? Are there ways you can obtain or make that item more cheaply? I have found it takes fewer veggies—when eaten in season because of their high flavor and nutrition—to satisfy my body.
I enjoy bargaining with local farmers to take away the weirdly shaped or spotted seconds for a
low rate. The farmers like that they don’t have to throw away their hard work, and I get lots of local and organic produce for less. A drawback is that the produce needs to be eaten or processed quickly. I go to the farmers market on Saturdays, or a farmer will call me to pick up the produce. On Sunday (during my notechnology time), I clean the produce—cutting off any bad spots—and place it into freezer bags to be put away for cooking

A place for everything