1 minute read
Make What You Love, Love What You Make
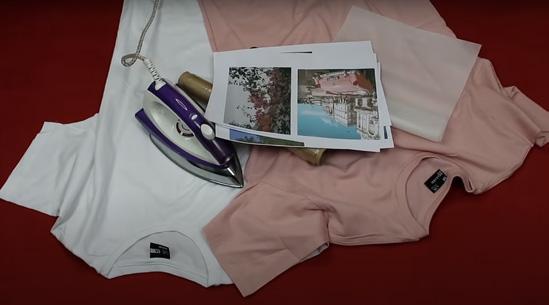
BY MOLLY WILSON PHOTOS BY PROVIDED Graphic tee shirts are a staple in everyone's wardrobe in college. They are generally cheap and are ideal to wear to class or when working out. However, they do not always come with the best designs, making DIY graphic tees a college student’s best friend. DIY T-shirts are an easy way to personalize your wardrobe with literally any cute design or photo you find on the internet. All you need is a T-shirt, an iron, scissors, iron-on transfer paper, and a printer.
MATERIALS:
• T-shirt, possibly from the thrift store or your closet • An iron • Scissors • Iron-on transfer paper • Printer
INSTRUCTIONS:
STEP ONE:
Find an image you want to print on the shirt online and save it. If you are familiar with photo editing software, try photoshopping some pictures together for an even more personalized design.
STEP TWO:
Size the image to fit the shirt in the way you desire.
STEP THREE:
Print the image onto the transfer paper.
STEP FOUR:
Cut the image how you want it to appear on your shirt.
STEP FIVE:
Grab your T-shirt and iron it until it is wrinkle-free prior to placing your design. STEP SIX:
Place the transfer paper on the shirt where you want the design. Make sure you read the directions for your transfer paper. You may need to lay it face up or down depending on the brand of paper and the type of shirt you are using.

STEP SEVEN:
Iron on the design. Make sure to iron the design for the specified amount of time according to the directions.
STEP EIGHT:
Allow the shirt to cool and then remove the transfer paper.
Now you are ready to rock your new custom T-shirt or make another one, and beware: these get super addicting to make super fast.


