3 minute read
Pocket Gardens
by Dales Life
Bright and beautiful summer projects to help you make the most of your outdoor space
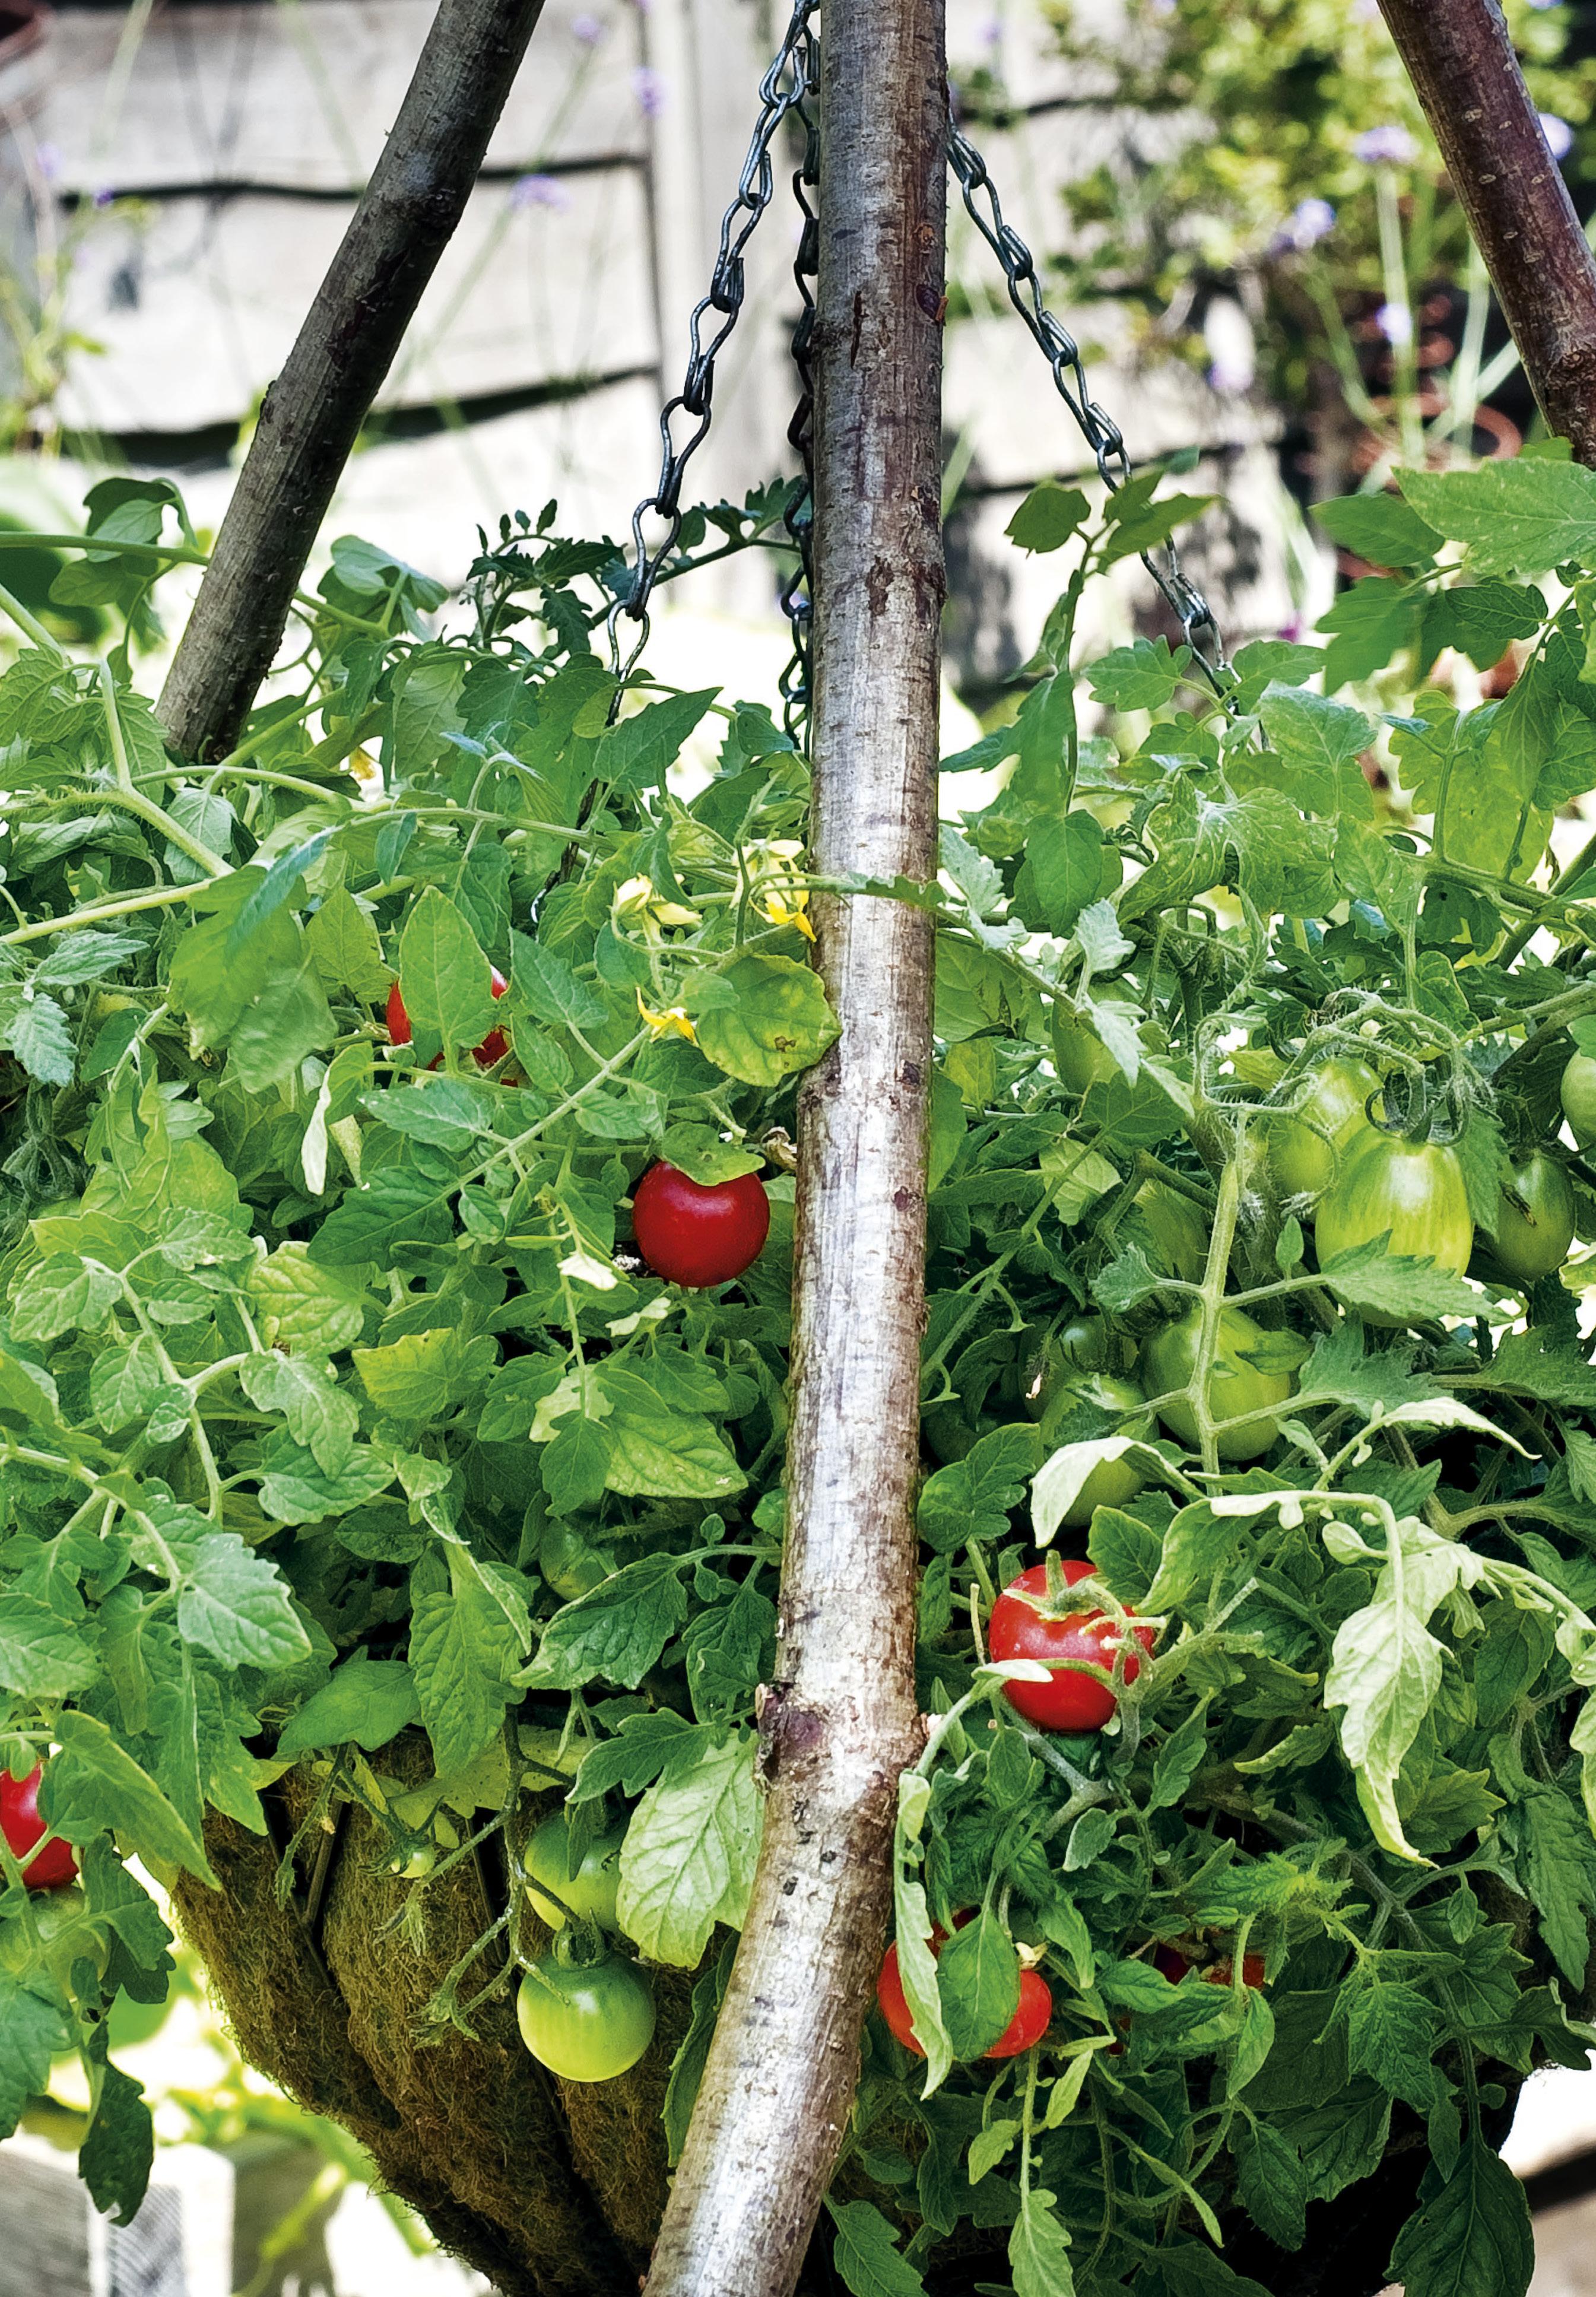
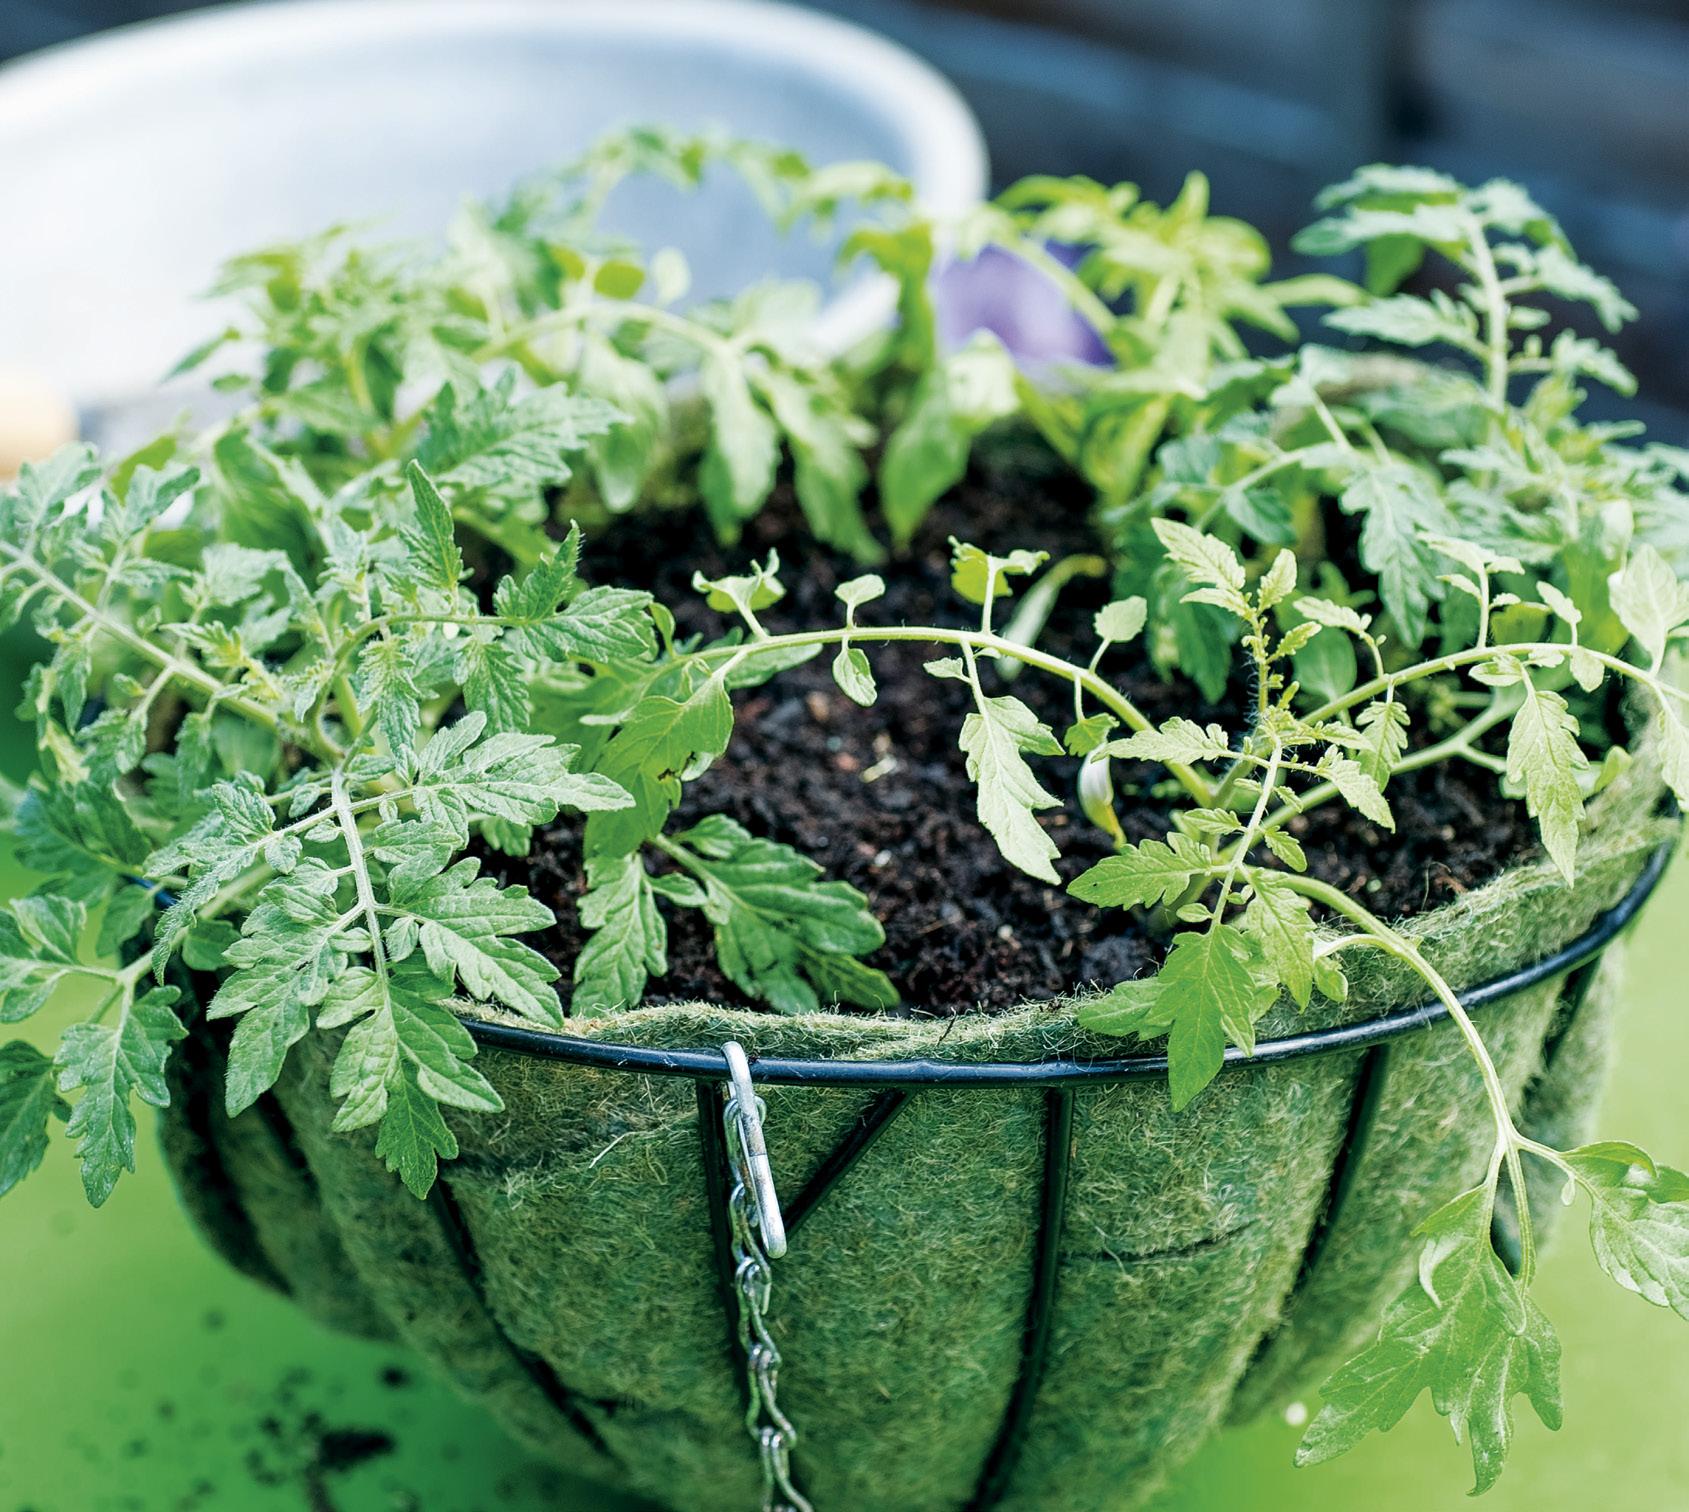
hanging basket with CHERRY TOMATOES
Advertisement
you will need
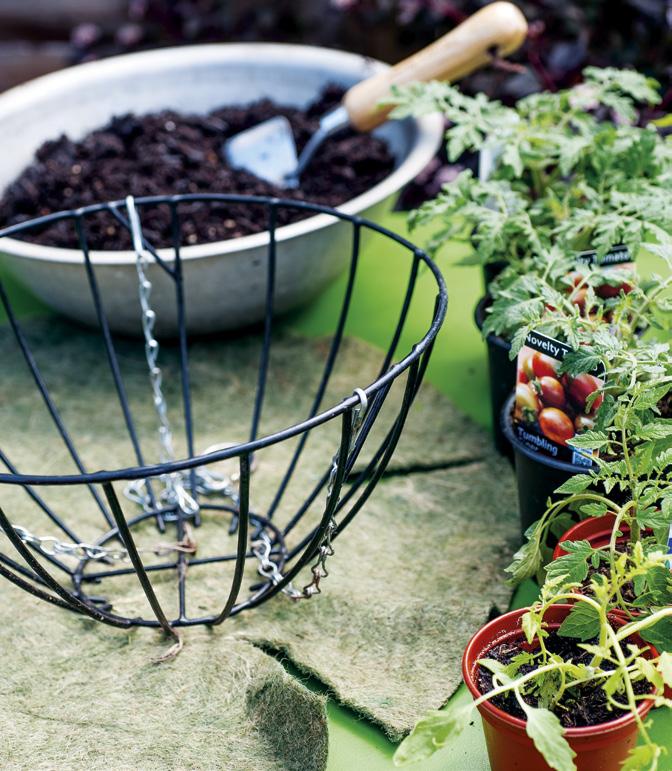
Hanging basket and liner
Potting mix
Moisture-retaining granules (optional)
Metal wall bracket or hook, for suspending the basket (optional)
3 sturdy branches and garden twine, to make a supporting tripod (optional)
Metal butcher’s hook, for suspending the basket from the tripod (optional)
plants
6 Solanum lycopersicum (tomato plant), such as ‘Losetto’, ‘Tumbling Tiger’, and ‘Tumbling Tom Red’
Tropaeolum majus (nasturtium) seeds (optional)
This is a great summer container if you are short of outdoor space. Suspend the basket using a metal wall bracket or hook by your door for a handy supply of tomatoes throughout the summer. Alternatively, make a tripod like the one shown here, firmly securing the ends of the branches in the ground, as the basket will become quite heavy, especially when it is watered.

1 Soak the rootballs of all the tomato plants in water for about 10 minutes, or until they are wet through. Place the liner in the hangingbasket and press it firmly into place.

2 Fill the basket with potting mix. If you wish, add some moisture retaining granules, following the manufacturer’s instructions. Level off the surface.
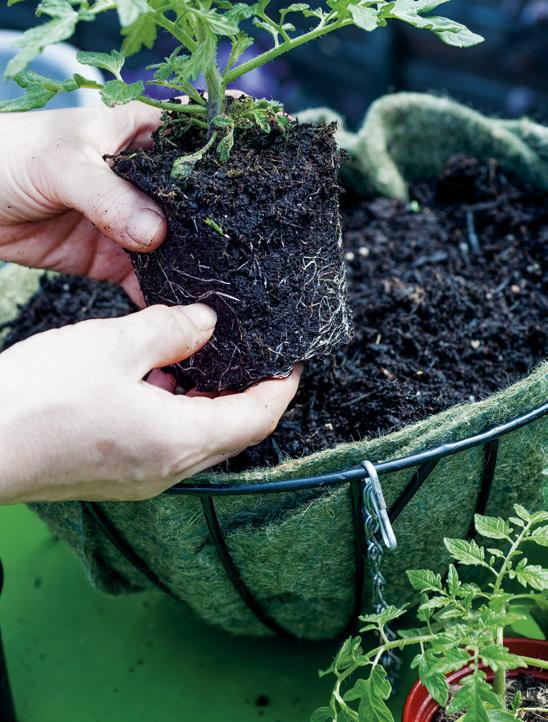
3 Remove a tomato plant from its plastic pot, scoop out a little of the potting mix from the basket, and plant the tomato in the hole. Make surethe top of the plant’s rootball is level with the surface of thepotting mix.
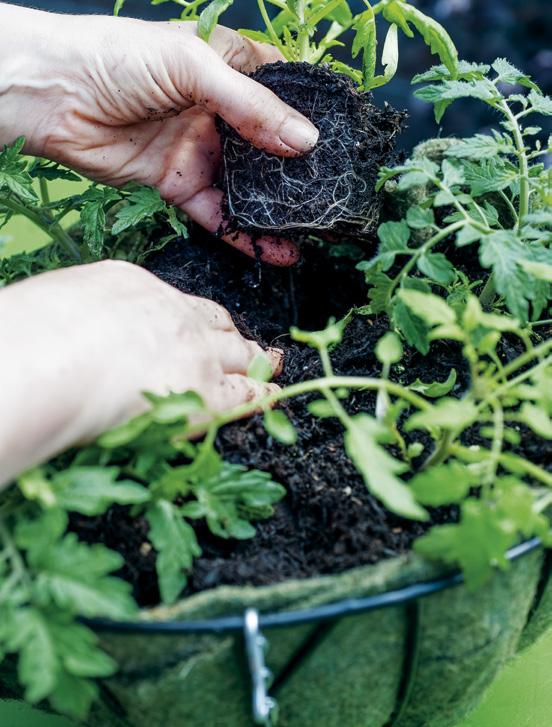
4 Continue to plant the remaining tomatoes in the basket, using five or six plants in one hanging basket. If necessary, fill any gaps between the plants with a little more potting mix and firm in.
4 Continue to plant the remaining tomatoes in the basket, using five or six plants in one hanging basket. If necessary, fill any gaps between the plants with a little more potting mix and firm in.
5 If you wish, plant three nasturtium seeds in the basket; they will add further colour to the display when they flower.
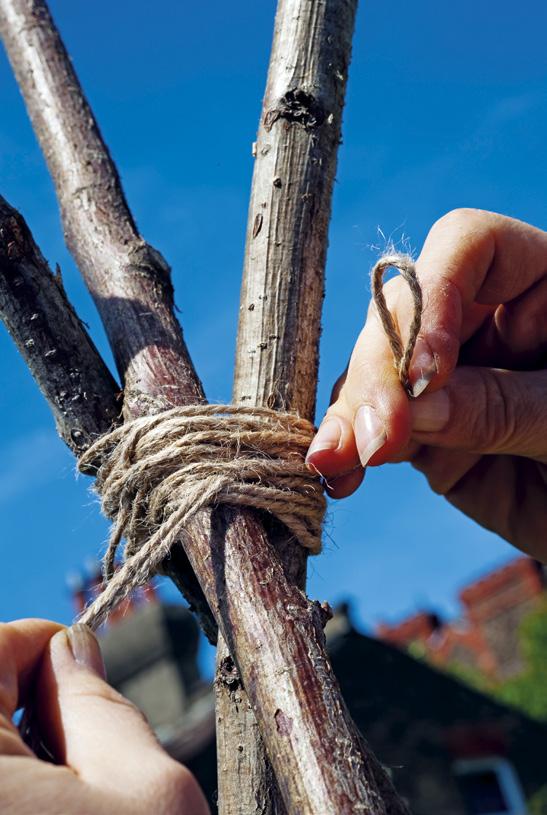
6 Hang the basket in a warm, sunny spot, either against a wall, using a metal bracket or hook, or from a simple tripod, as I have here. To makeone, tie three sturdy branches together securely with garden twine, thensuspend the basket from the tripod by hooking a butcher’s hook over thetwine and branches. Water the basket and let drain.
Aftercare
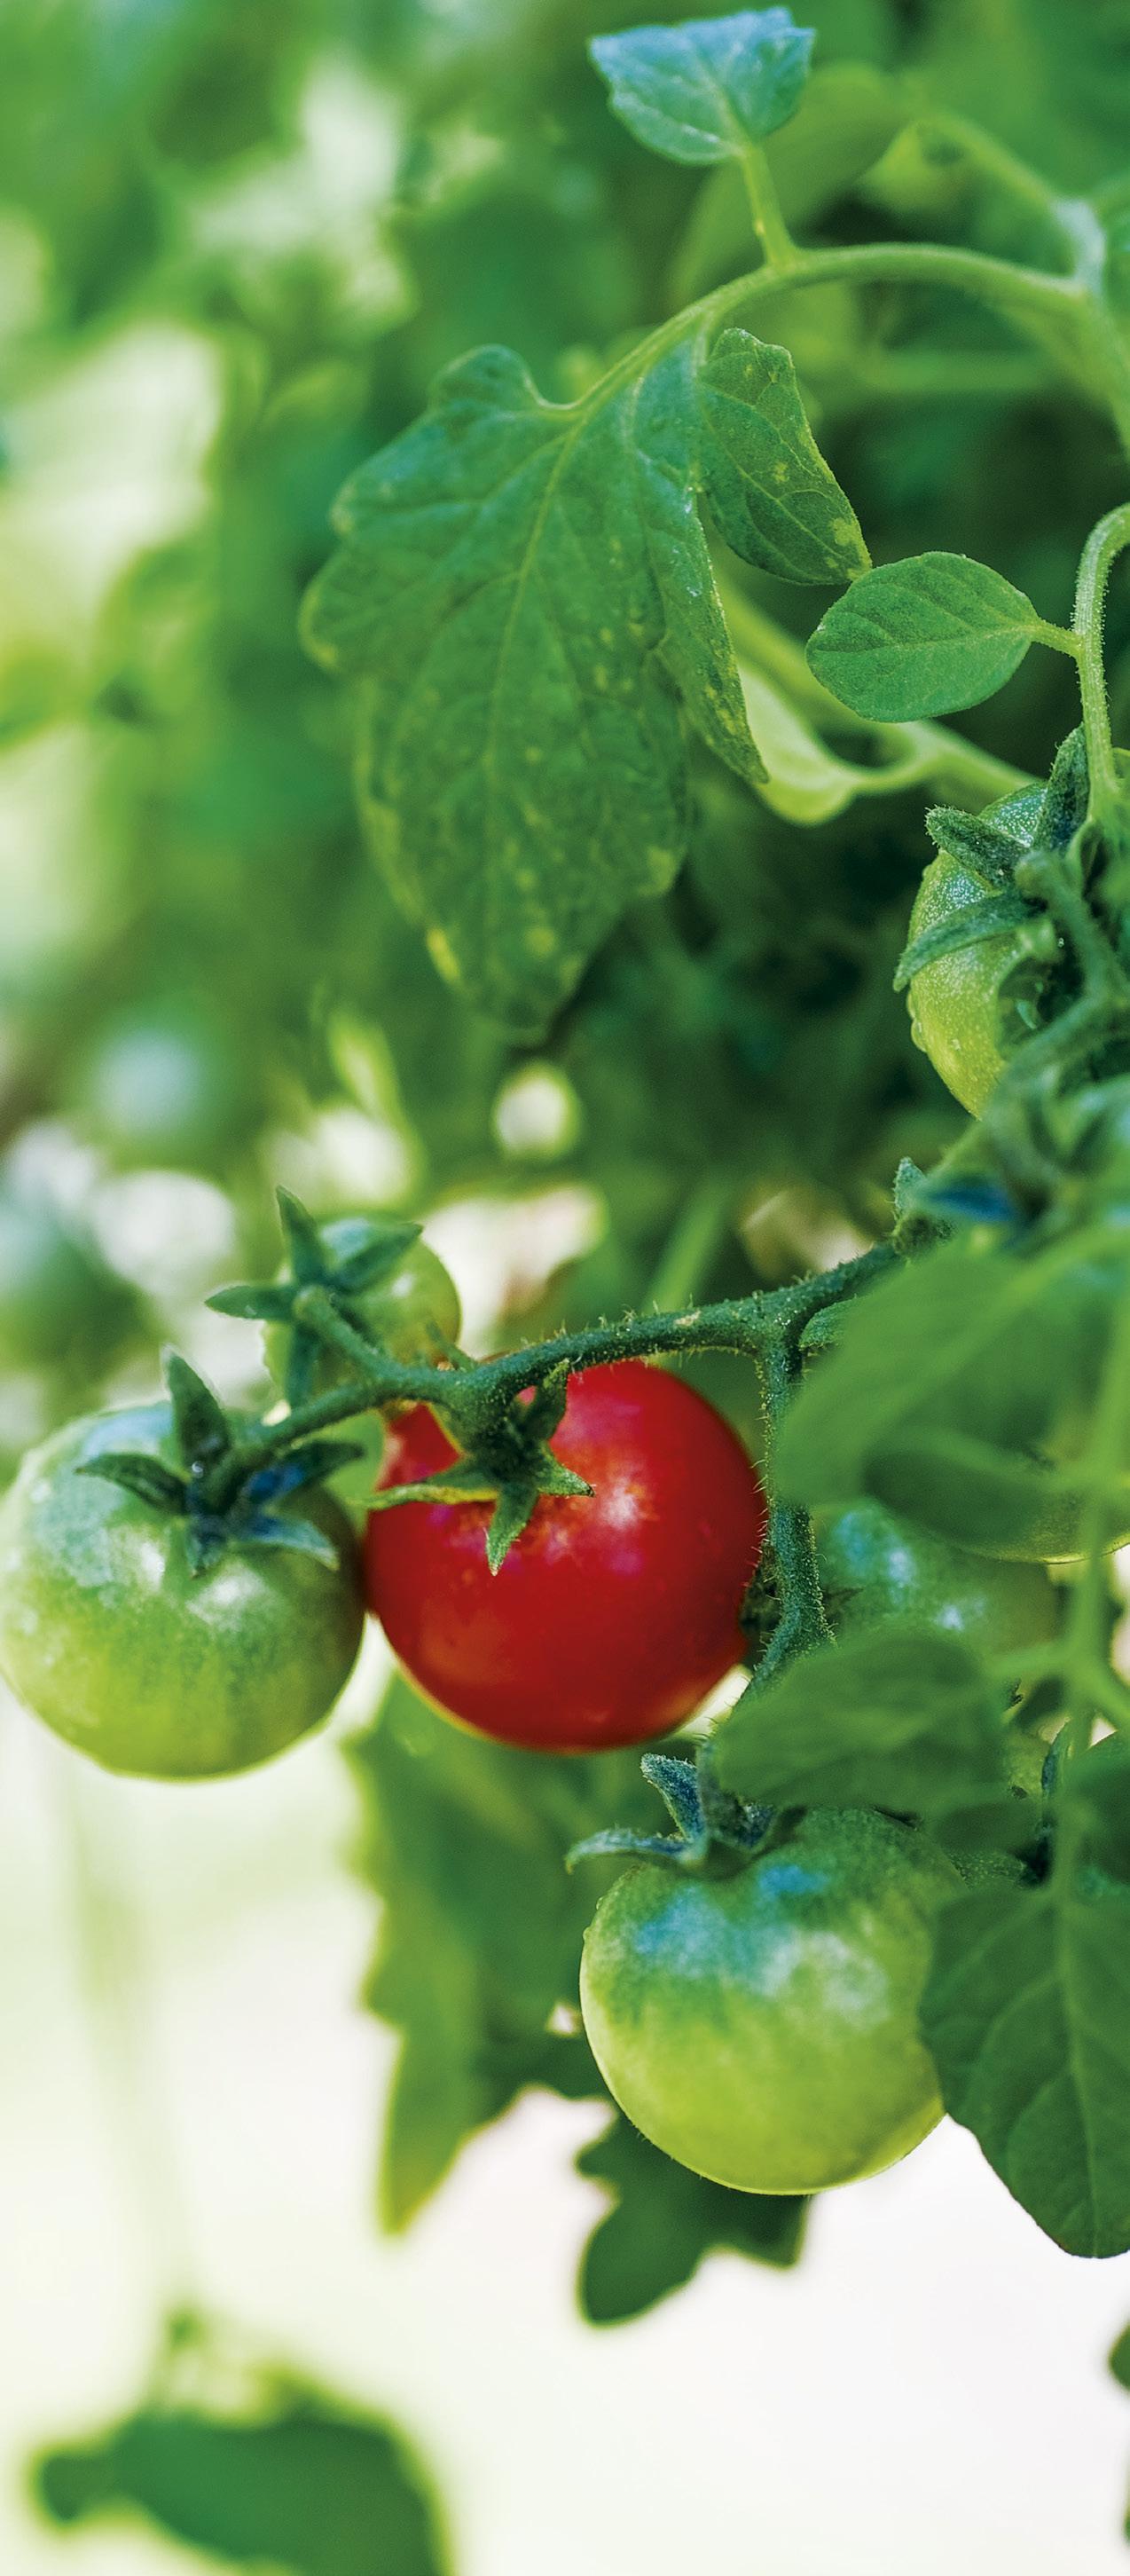
Keep the potting mix in the hanging basket moist, but not too wet. When flowers begin appearing on the tomato plants, start feeding them weekly with a tomato fertiliser to encourage fruiting.
PLANTED ladder pots
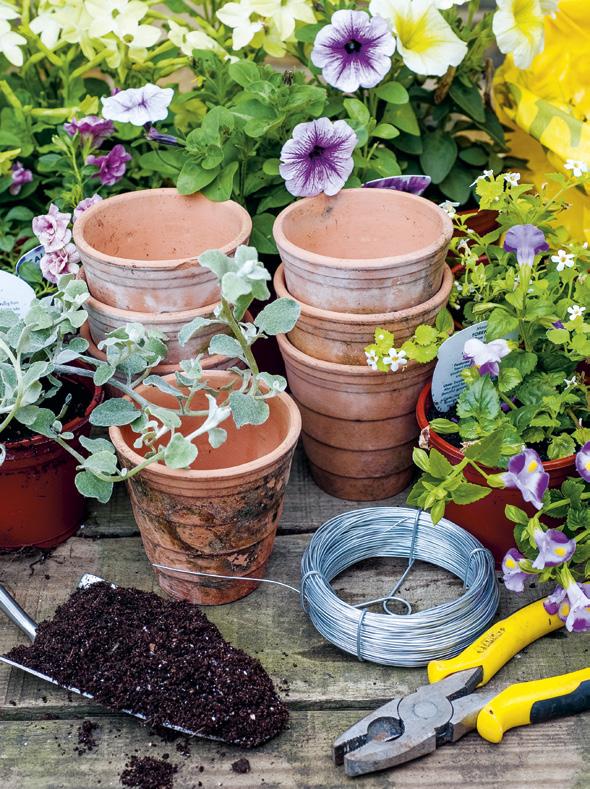
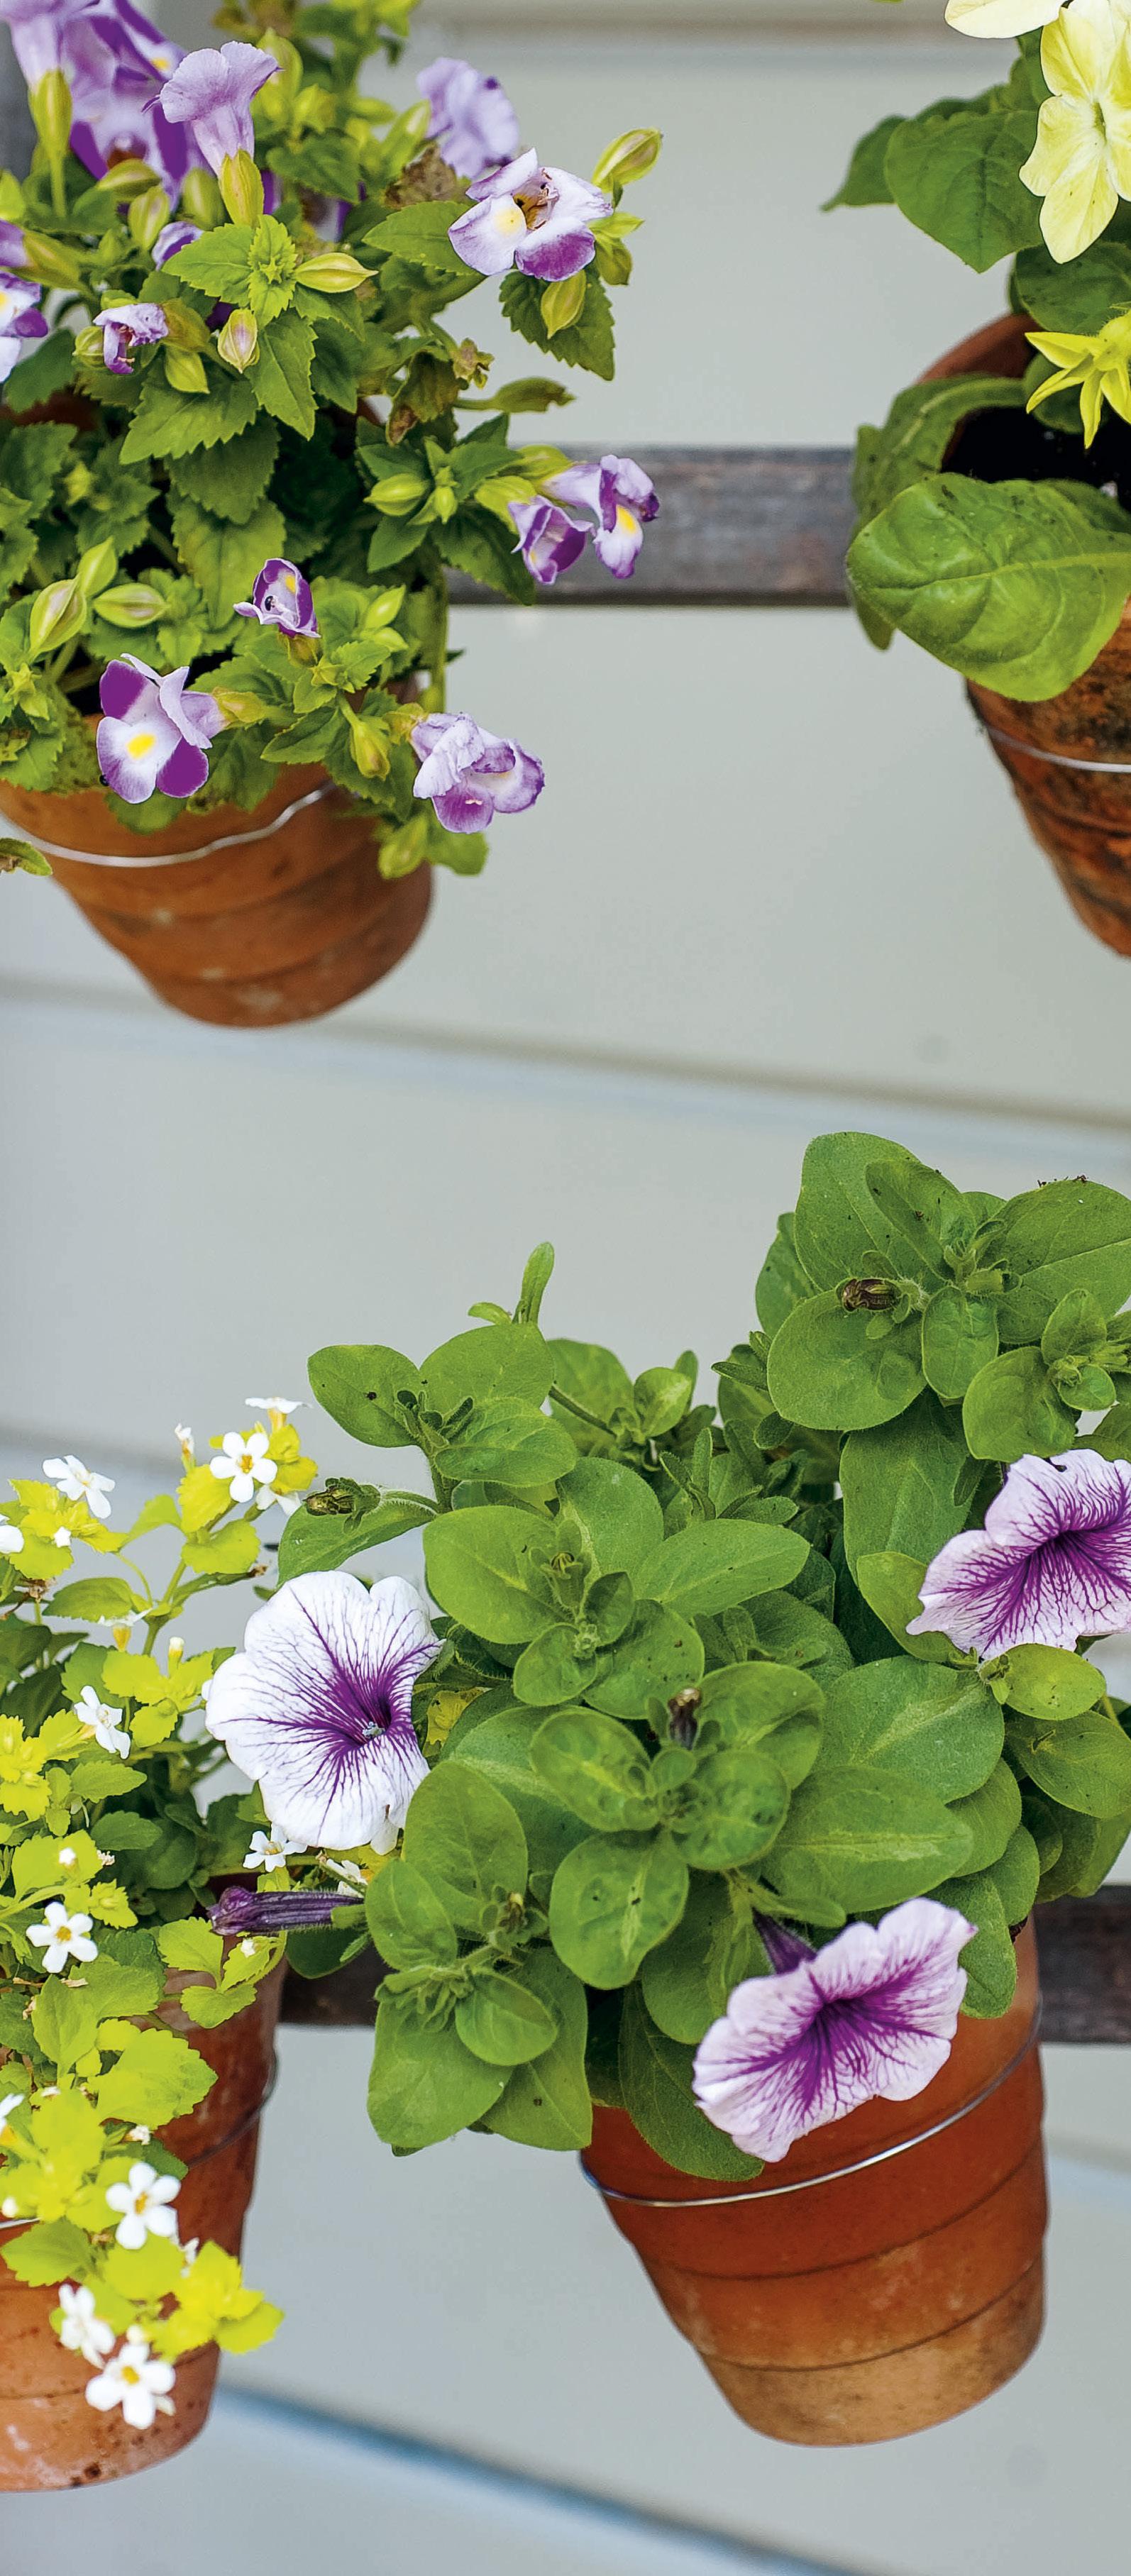
To hide an unsightly area of the garden or a bare wall outside your home, it’s fun to attach pots to a ladder and fill them with pretty flowering plants. The display will act as a planting screen and create a charming focal point. As these pots are small, they will need watering regularly – every day in warm weather – but they should stay in flower throughout the season.
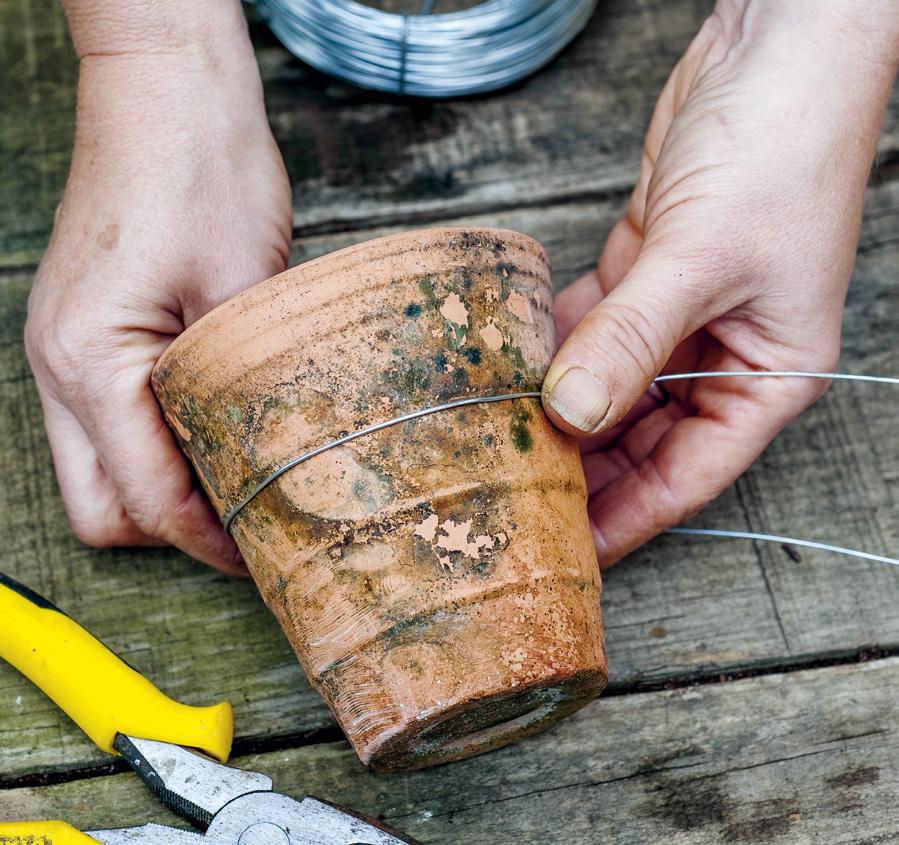
1 Soak the rootballs of all the plants in water for about 10 minutes, or until they are thoroughly wet. Cut a length of wire, about 50cm long, and wrap it around one of the terracotta pots.
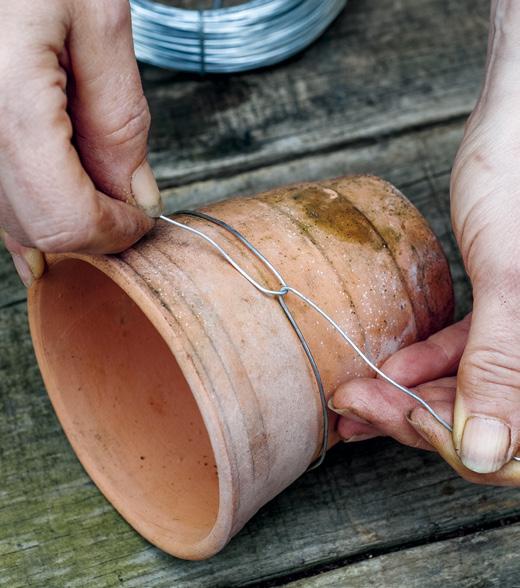
2 Twist the wire around itself so that it is held firmly in place around the pot.
you will need
Selection of small terracotta pots, with a lip or large rim
Galvanized metal wire, 1mm in diameter
Wire cutters
Ladder
Potting mix
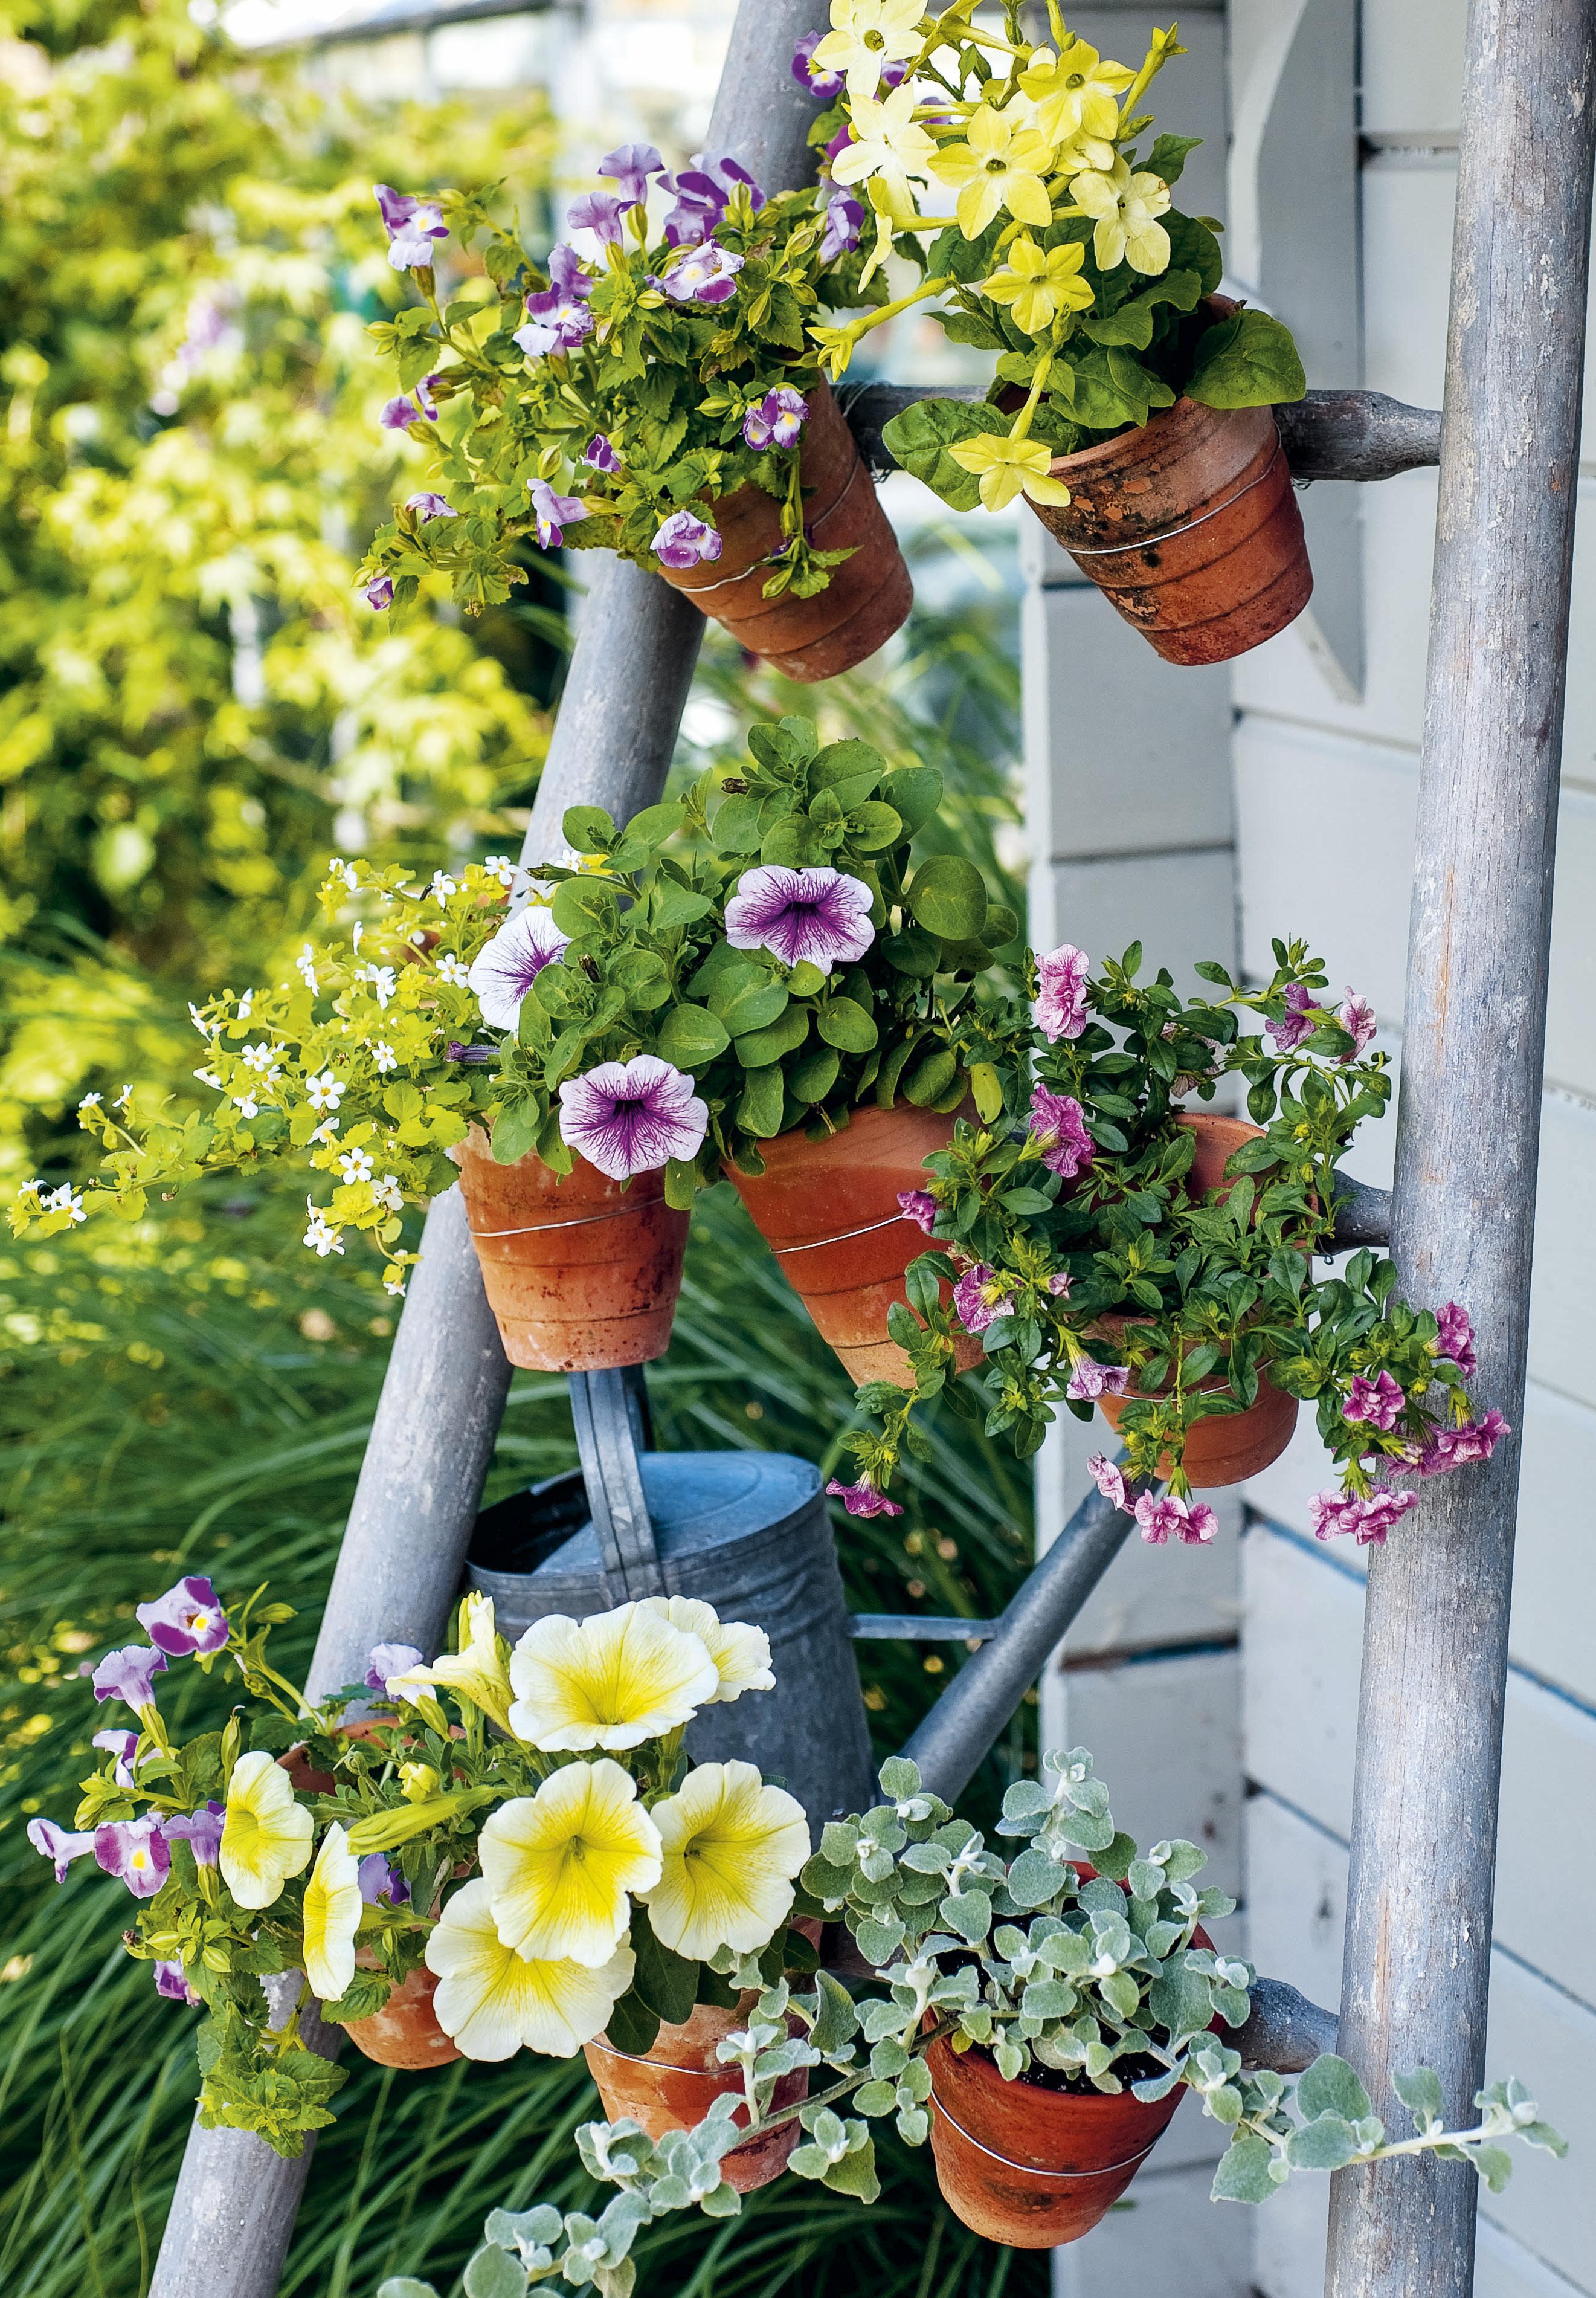
plants
Bacopa Scopia Series ‘Golden Leaves White’
Calibrachoa MiniFamous Series ‘Double Pink Vein’ (mini petunia)
Helichrysum petiolare ‘Goring Silver’ (everlasting flower)
Nicotiana x sanderae Cuba Series ‘Cuba Deep Lime’ (tobacco plant)
Petunia Potunia Series, ‘Piccola Purple Ice’ and P. Potunia Series ‘Plus Yellow’ (mounding petunia)
Torenia Moon Series ‘Rose Moon’ (wishbone flower)
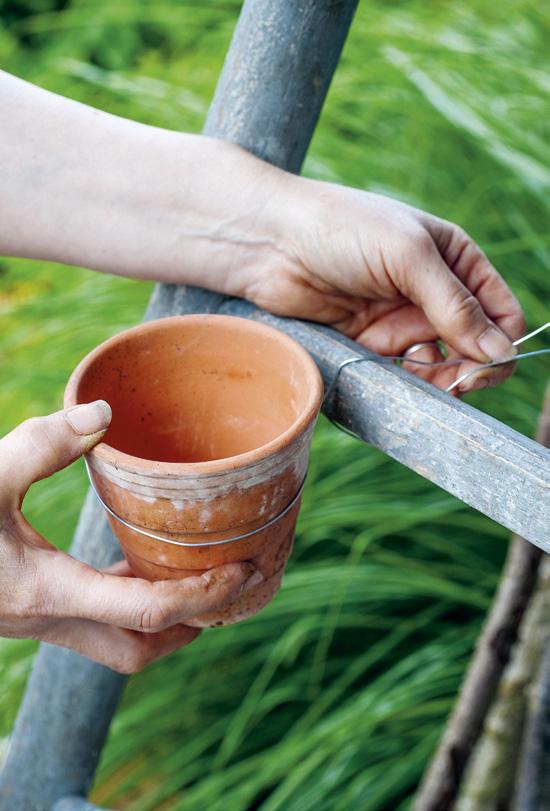
3 Fasten the wire around a rung of the ladder, twisting it securely to hold the pot in place. If necessary, trim the ends of the wire. Attach the other pots to the rungs of the ladder in the same way, spacing them out evenly and creating a pleasing arrangement.
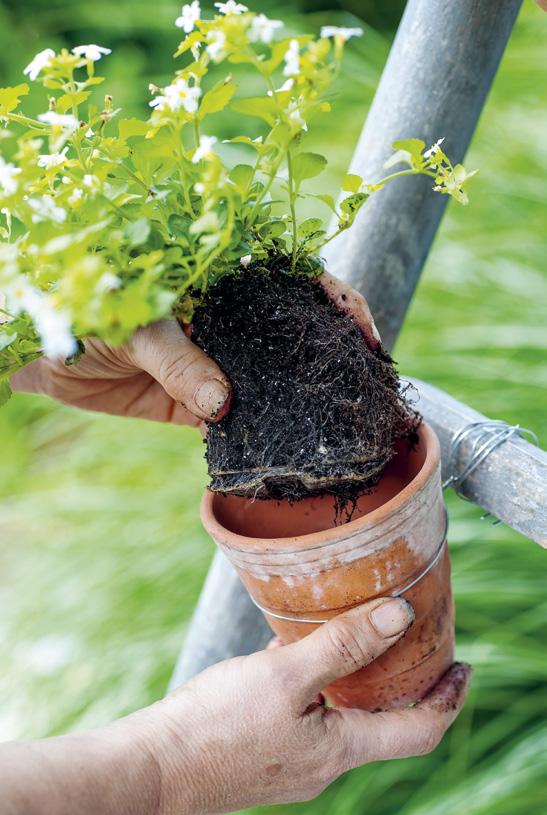
4 Take the first plant from its plastic pot and place it in one of the suspended pots. Push the plant down well into its new pot. Add a little potting mix to the bottom of the pot, if required. Top up with more potting mix and firm in.
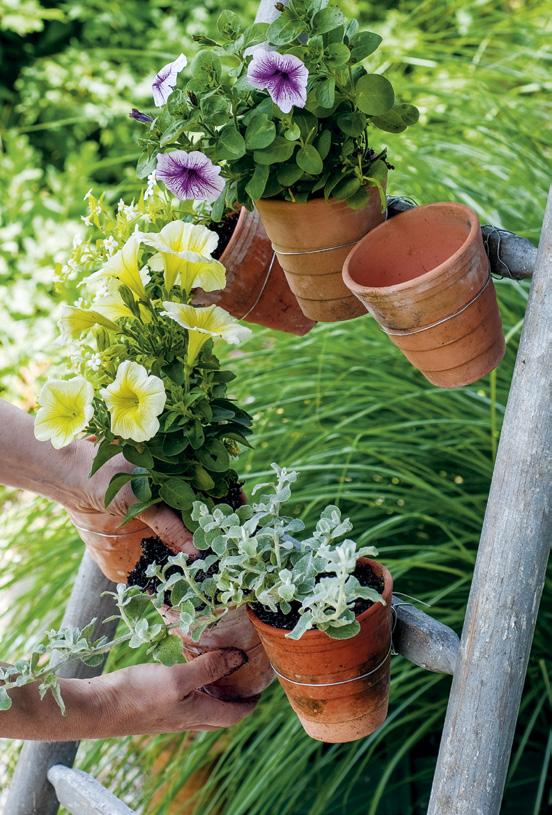
5 Continue planting the rest of the terracotta pots in the same way until the display is finished. Water the pots well and let drain.
Aftercare

Keep the potting mix moist at all times and deadhead the flowers regularly to guarantee further flushes of flowers through the season.
Extracted from Small Summer Gardens by Emma Hardy, with photography by Debbie Patterson. Published by CICO Books, RRP £12.99.


