9 minute read
Improving Your Photos is the Easiest Way to Bring New Glampers to Your Park


BY MIKE GAST / ‘IMI OLA GROUP
It’s amazing how many times a wonderful new glamping facility will discount the value that comes from the imagery it provides to potential customers.
More than 40 years in the newspaper and camping industries showed me the power of telling your glamping story through quality photography. Customer surveys continue to show that potential guests are swayed the most by the photographs they see during their glamping vacation planning period. No matter how much time, effort, and funding you put into your facility, it can all be undone in a second by poor photography.
It’s impossible to provide high-quality content for your marketing channels without quality visual imagery. According to Microsoft, the average human attention span has dropped to just eight seconds, and Facebook posts that include good images see more than double the engagement than those without images. In fact, according to the website eMarketer.com, 62% of consumers say that seeing photos attached to online content significantly influences their buying decisions. Consumers rely on visual input when making purchasing decisions. That’s led to a nearly 40% increase in photography creation budgets for U.S. businesses.
Does that mean you have to invest thousands of dollars into a professional photo shoot? Sure, if that’s part of you overall marketing plan and your budget can take the financial hit. But it doesn’t have to be your starting point. The only mistake you can make is to “settle” for sub-par images for your website, social channels, and emails. Original photography for your glamping business allows you to tell your own story. It visually sets you apart from the competition and is your best “window” for telling potential guests exactly what you have to offer.
YES, YOU CAN DO THIS
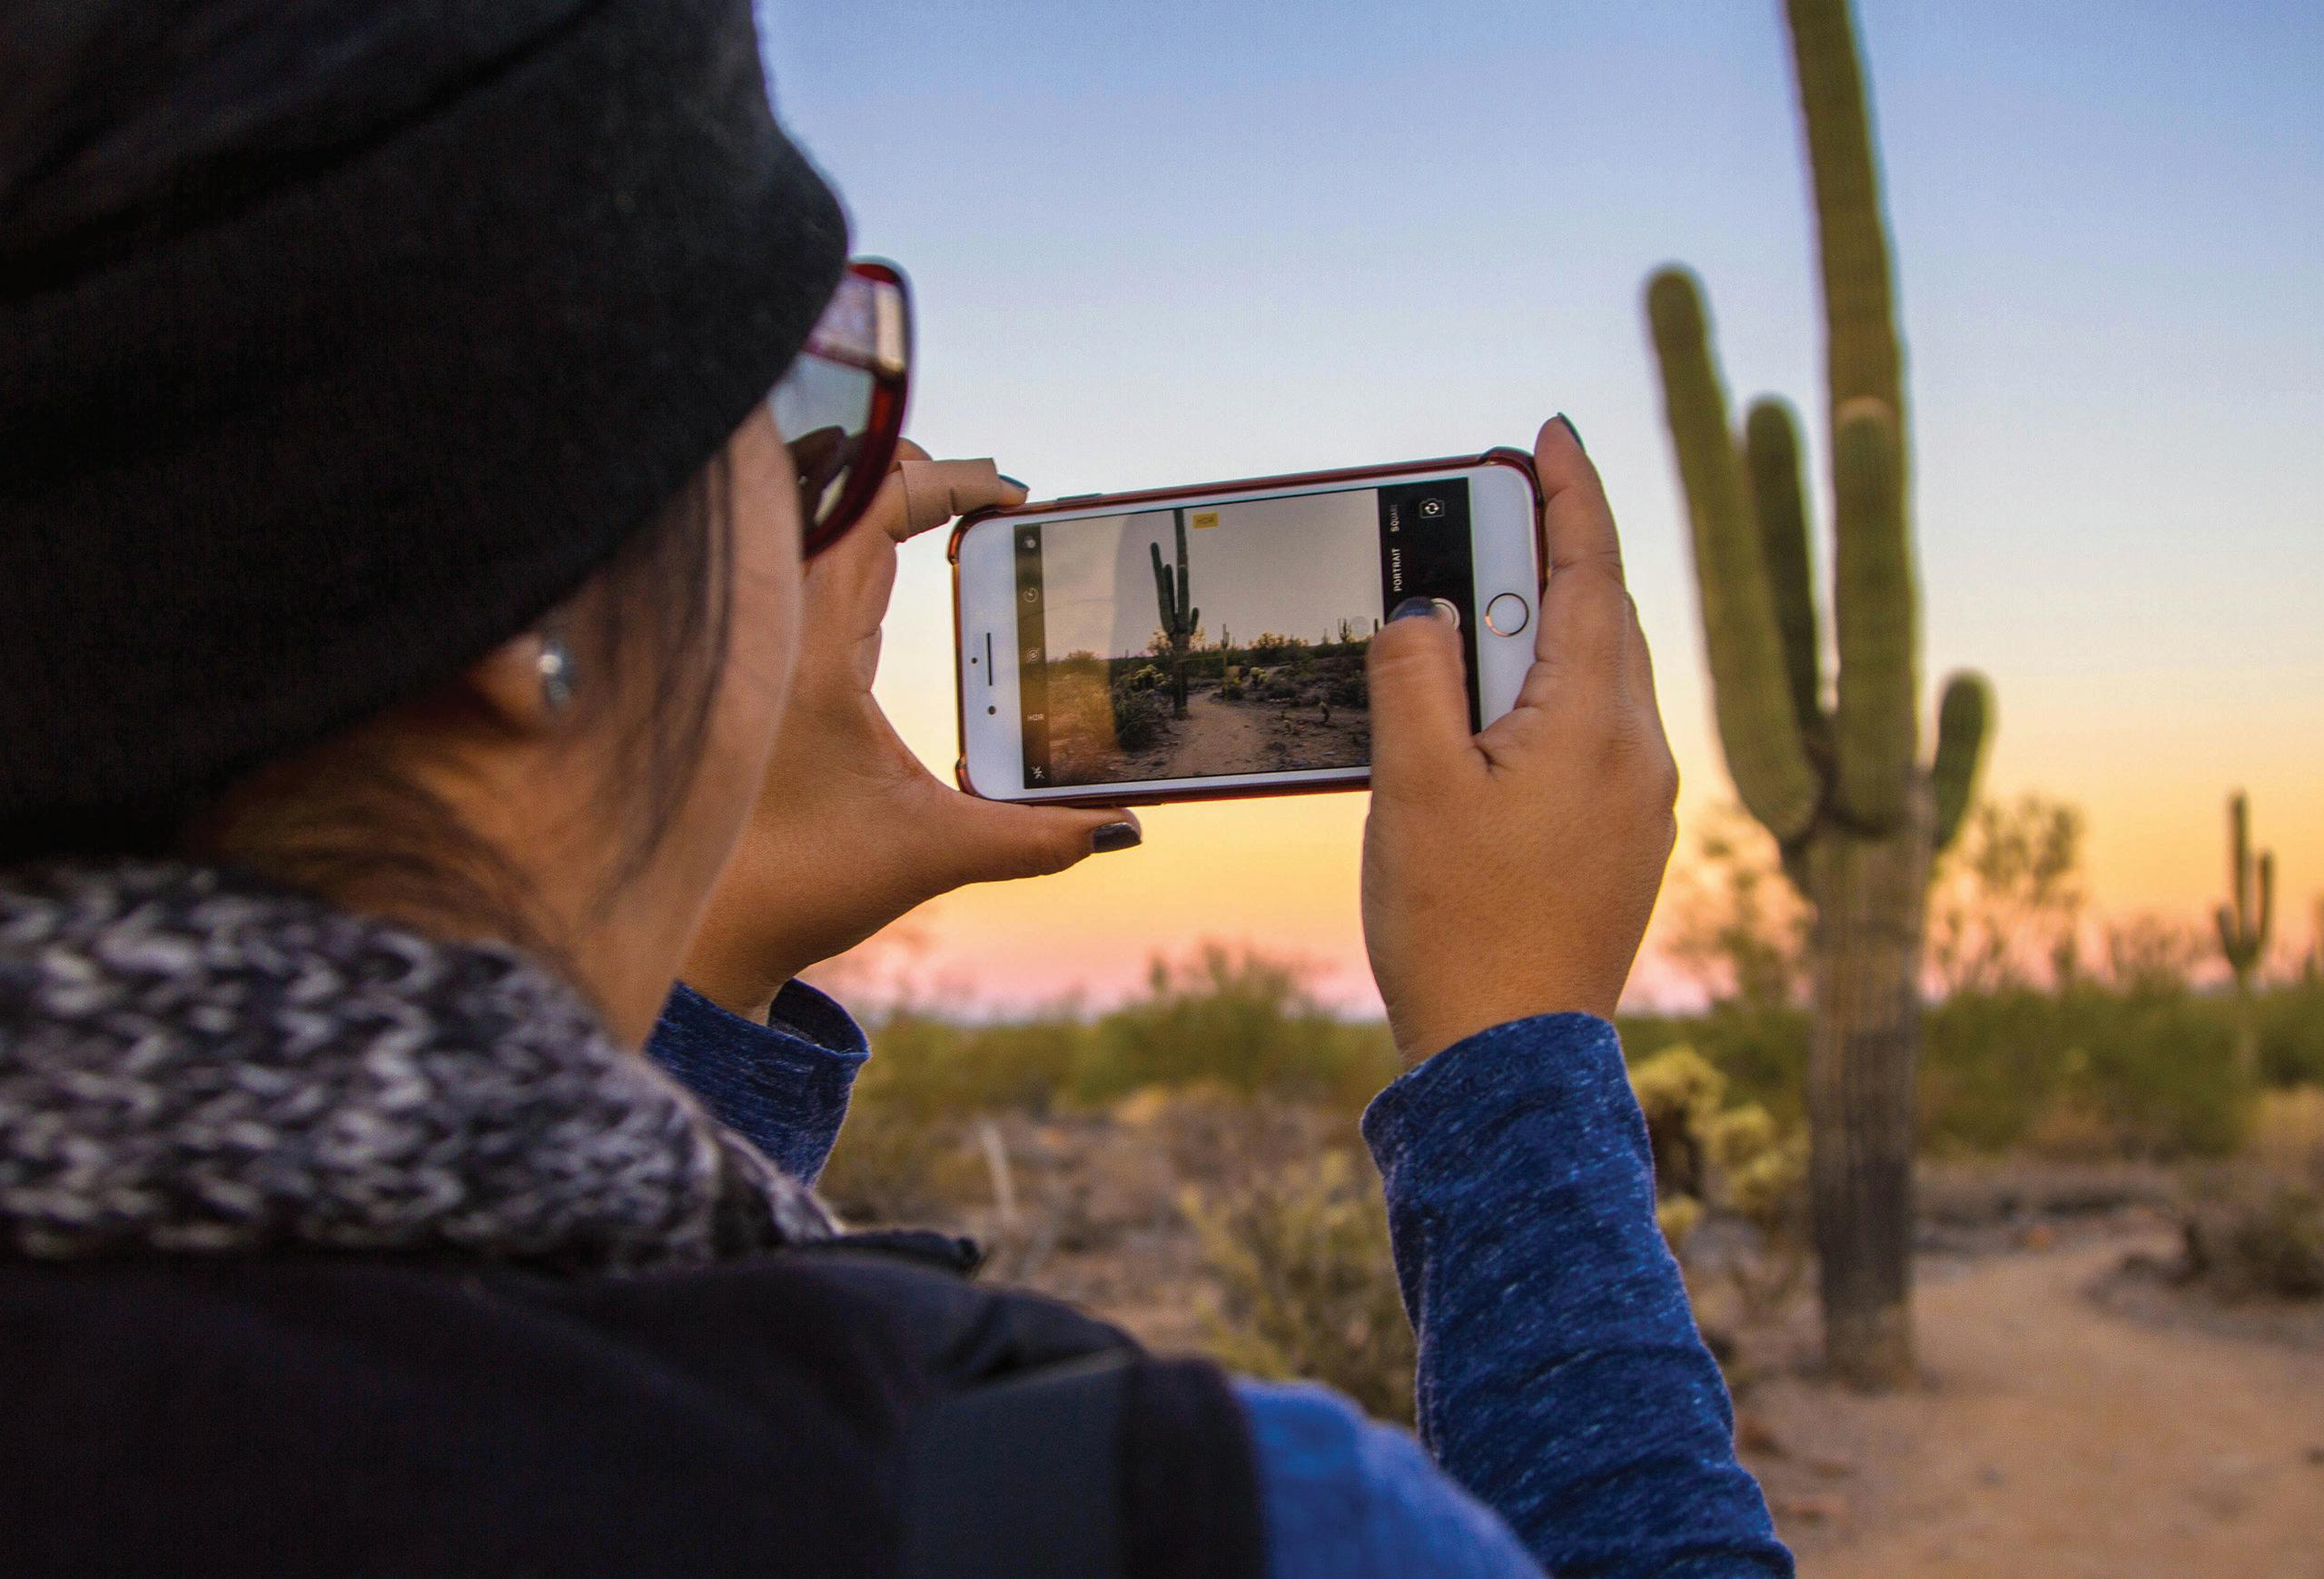
The advent of the smartphone was both the worst and the best thing to ever happen to photography. On the one hand, smartphones put a pretty fair quality digital camera in the hands of virtually everyone. On the other hand, it made it very easy to “settle” for the quick-and-dirty snapshot that the camera automatically provides, without regard to simple photographic rules for lighting, exposure, focus, and composition. Creating your own original photography for your business just takes a bit of thought and planning and can actually be fun! Here are 10 simple tips to keep in mind that will bring new life to your glamping photography, and put you on the road to providing the visual input your customers need to point themselves in your direction. Keep in mind that I use an Apple iPhone, but most tips apply to any brand of smartphone:
Tip 1: Clean your lens. This one sounds too simple, but more than one great shot has been wrecked by the fuzz that accumulates in your pocket and gets transferred to your smartphone lens. The glass that covers the camera lens is extremely tough, and the corner of a clean shirt can suffice for a cleaning cloth.

Tip 2: Turn the phone horizontal. The most visually pleasing photos are those taken horizontally. On iPhones, you can also use the volume up button on the side of the phone as a shutter release so that you don’t have to reach back and touch the screen to shoot.

Tip 3: Use the ‘Rule of Thirds’. Your smartphone will have a feature imbedded in the photo app that adds a nine-square grid to your screen. This allows you to easily position to main subject of your photo at the intersection of two lines. Keeping your subject away from “dead center” adds visual interest and correct composition.

Tip 4: Crop with your feet. This tip is intended to make your subject the star of the show. Just get physically closer to your subject and fill the frame on your smartphone. The zoom feature of your smartphone is to be avoided. Zooming in will likely degrade the quality of your digital photo.

Tip 5: It’s all about the light. All photography is about the use of light. Be aware of where your light source is coming from. If you’re shooting inside, stay away from bright background windows. Your smartphone will try to compensate for the most brightly lit area, and you’ll be left with a very dark foreground for your subject. If you’re outside, get you and your subject into the shade to avoid harsh shadows.


Tip 6: Turn off the flash. First of all, the flash on your smartphone really isn’t a flash. It’s a flashlight. Use of the flash tends to bring harsh light to photos. Secondly, you’ve likely taken a few shots of people and pets that include the dreaded “red eye.” The red is actually caused by your camera’s flash reflecting off the retinas of your subject. Turn off the flash and look for another light source like a sunny window.

Tip 7: Get creative & change your viewpoint. This can be as easy as climbing up on a chair or ladder to shoot or sitting on the ground to get a different angle and perspective. Also be aware of using “leading lines” and curves that visually guide your viewer through your photo.


Tip 8: Keep it steady. Your smartphone is capable of some incredible low-light night shots. But like any other camera, those shots will take a few seconds. Invest in a simple clamp tripod that will attach to your smartphone and avoid the motion that will ruin a three-second shot.
Tip 9: Use all of the tools. Your smartphone has the ability to help you lock in your focus and your exposure. For focus, simply tap the subject of your photo on the phone screen before you shoot to lock the focus at that point. For controlling the exposure, tape the screen until a yellow box and sun graphic appear, then slide your finger up or down the screen until things look right.

Tip 10: Experiment with editing apps. It’s OK to try to enhance your photos by using some of the great apps available. Just be careful you aren’t altering reality too much, or your guests will notice and call you on it. Adobe Photoshop even allows you to change the sky from grey to blue with fluffy clouds. A few to consider are Adobe Lightroom, Adobe Photoshop Express, Snapseed, Afterlight, and PicsArt Photo Studio, to name just a few.
OTHER THINGS TO CONSIDER
Now that we’ve given you the tips to get you started on your quality photography journey, make a plan to continually improve the quality of your imagery. That might include things like:

• Staging your own internal photo shoot: Enlist your employees or invite friends to help by being models for different scenes you set on your glamping facility. Show them enjoying your park’s features, and shoot away until you get the picture you’re after. You might even consider staging your own special event with the intent to shoot new photos. Remember to have model releases handy.
• Partner with a local professional photographer: Do some research to find a local professional photographer who will work with you to improve your images. Often, these local pros are open to a bit of bartering to achieve a mutually beneficial arrangement that won’t necessarily involve a lot of your cash. It might be as simple as an exchange for a few free glamping nights. Or, if your facility has the right outdoorsy look, the pro might be willing to trade his time and skills for future photo shoot access for his other customers. Either way, you might find an affordable way to raise your photography bar.
• Ask your guests to help: Customer testimonials are, without question, one of the best ways to garner attention. Make it easy for guests to post reviews of their experience and include their own photos showing what they thought were your best features. It’s also OK for you to ask a good-looking bunch of guests if you can take their photos having fun. Just be sure to let them know that you intend to use the photo in your marketing, and it’s a good idea to have them sign a simple model release so there are no issues later.
• Make it easy for guests to take shots: Create a few “selfie spots” on your facility that are both fun, and easily show off your best features to anyone they share their photos with.
• Avoid stock photography: Some owners opt to use stock photos they find for sale at a plethora of online sites. Customers can easily tell when a shot isn’t genuine and isn’t part of your facility. This is a lazy way to go and should be avoided.
• Take A LOT of photos: The cost of film hasn’t been an issue for decades. Digital photos are free, so be sure you have a bunch of photos to choose from.
BONUS TIP!
If you’ve got a stream, river or waterfall on your property with moving water, try this trick: Place your phone on your new little tripod. Open the iPhone photo app and turn on the LIVE feature in the upper right corner of the screen. Take a photo of your moving water feature. Then, open the photo and go to the dropdown menu just above the left corner of the photo. Touch the dropdown and select “Long Exposure.” You should see a great shot with the moving water now softly blurred. It’s a fun way to add interest in your picture. Now, get out there and start shooting!
Mike Gast is a journalist and public relations professional with a career spent in media newsrooms as well as 20 years as the Vice President of Communications for Kampgrounds of America Inc. He now puts his decades of experience to work for glamping and camping operators as the President of the ‘Imi Ola Group, a public relations, marketing and content production firm located in the heart of America in Omaha, Nebraska. You can reach him at mike.imiolagroup@gmail.com.
