4 minute read
Club news
1. Faded old image
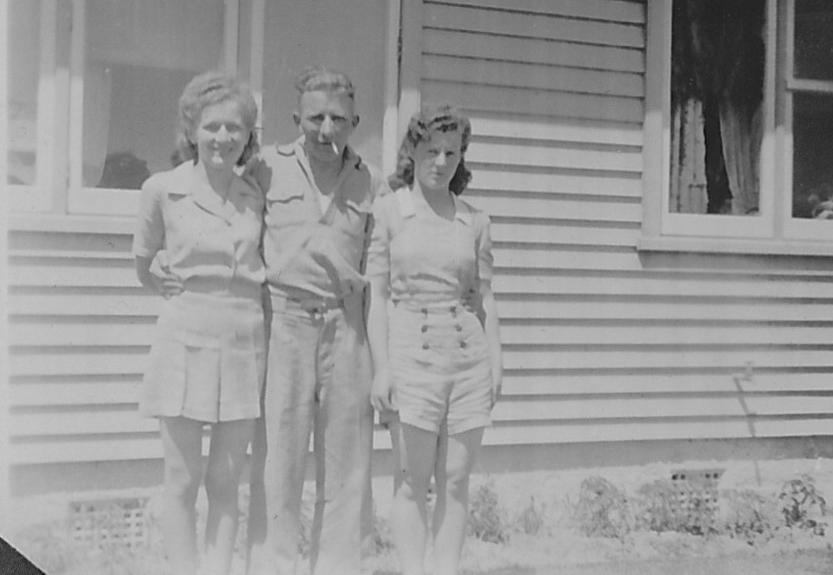
One of the biggest issues with old photos is that they fade over time. Several techniques can be used to bring these images back, but this is one of the simplest I have found.
1. Open the original image in Photoshop.
2. Duplicate the layer.
3. Change the blending mode to “Multiply”.
This mode multiplies the colours of the blending layer and the base layers, resulting in a darker colour.
The original image
4. In all likelihood the resulting image will be too dark, in which case you can reduce the overall effect by lowering the opacity of the layer.
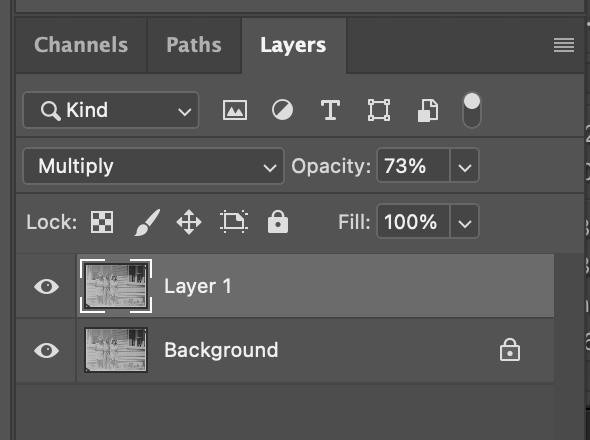
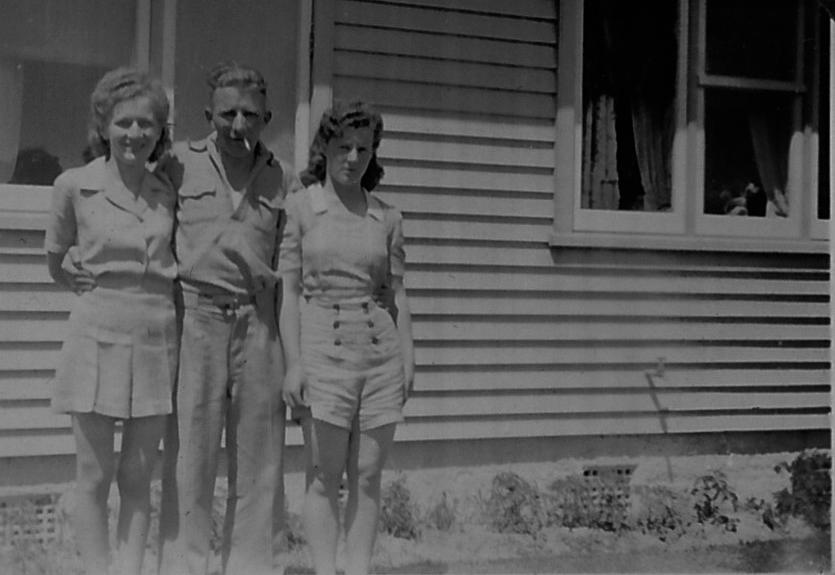
Image after Layer mode changed to Mulitply
Final image after Opacity lowered to 73%
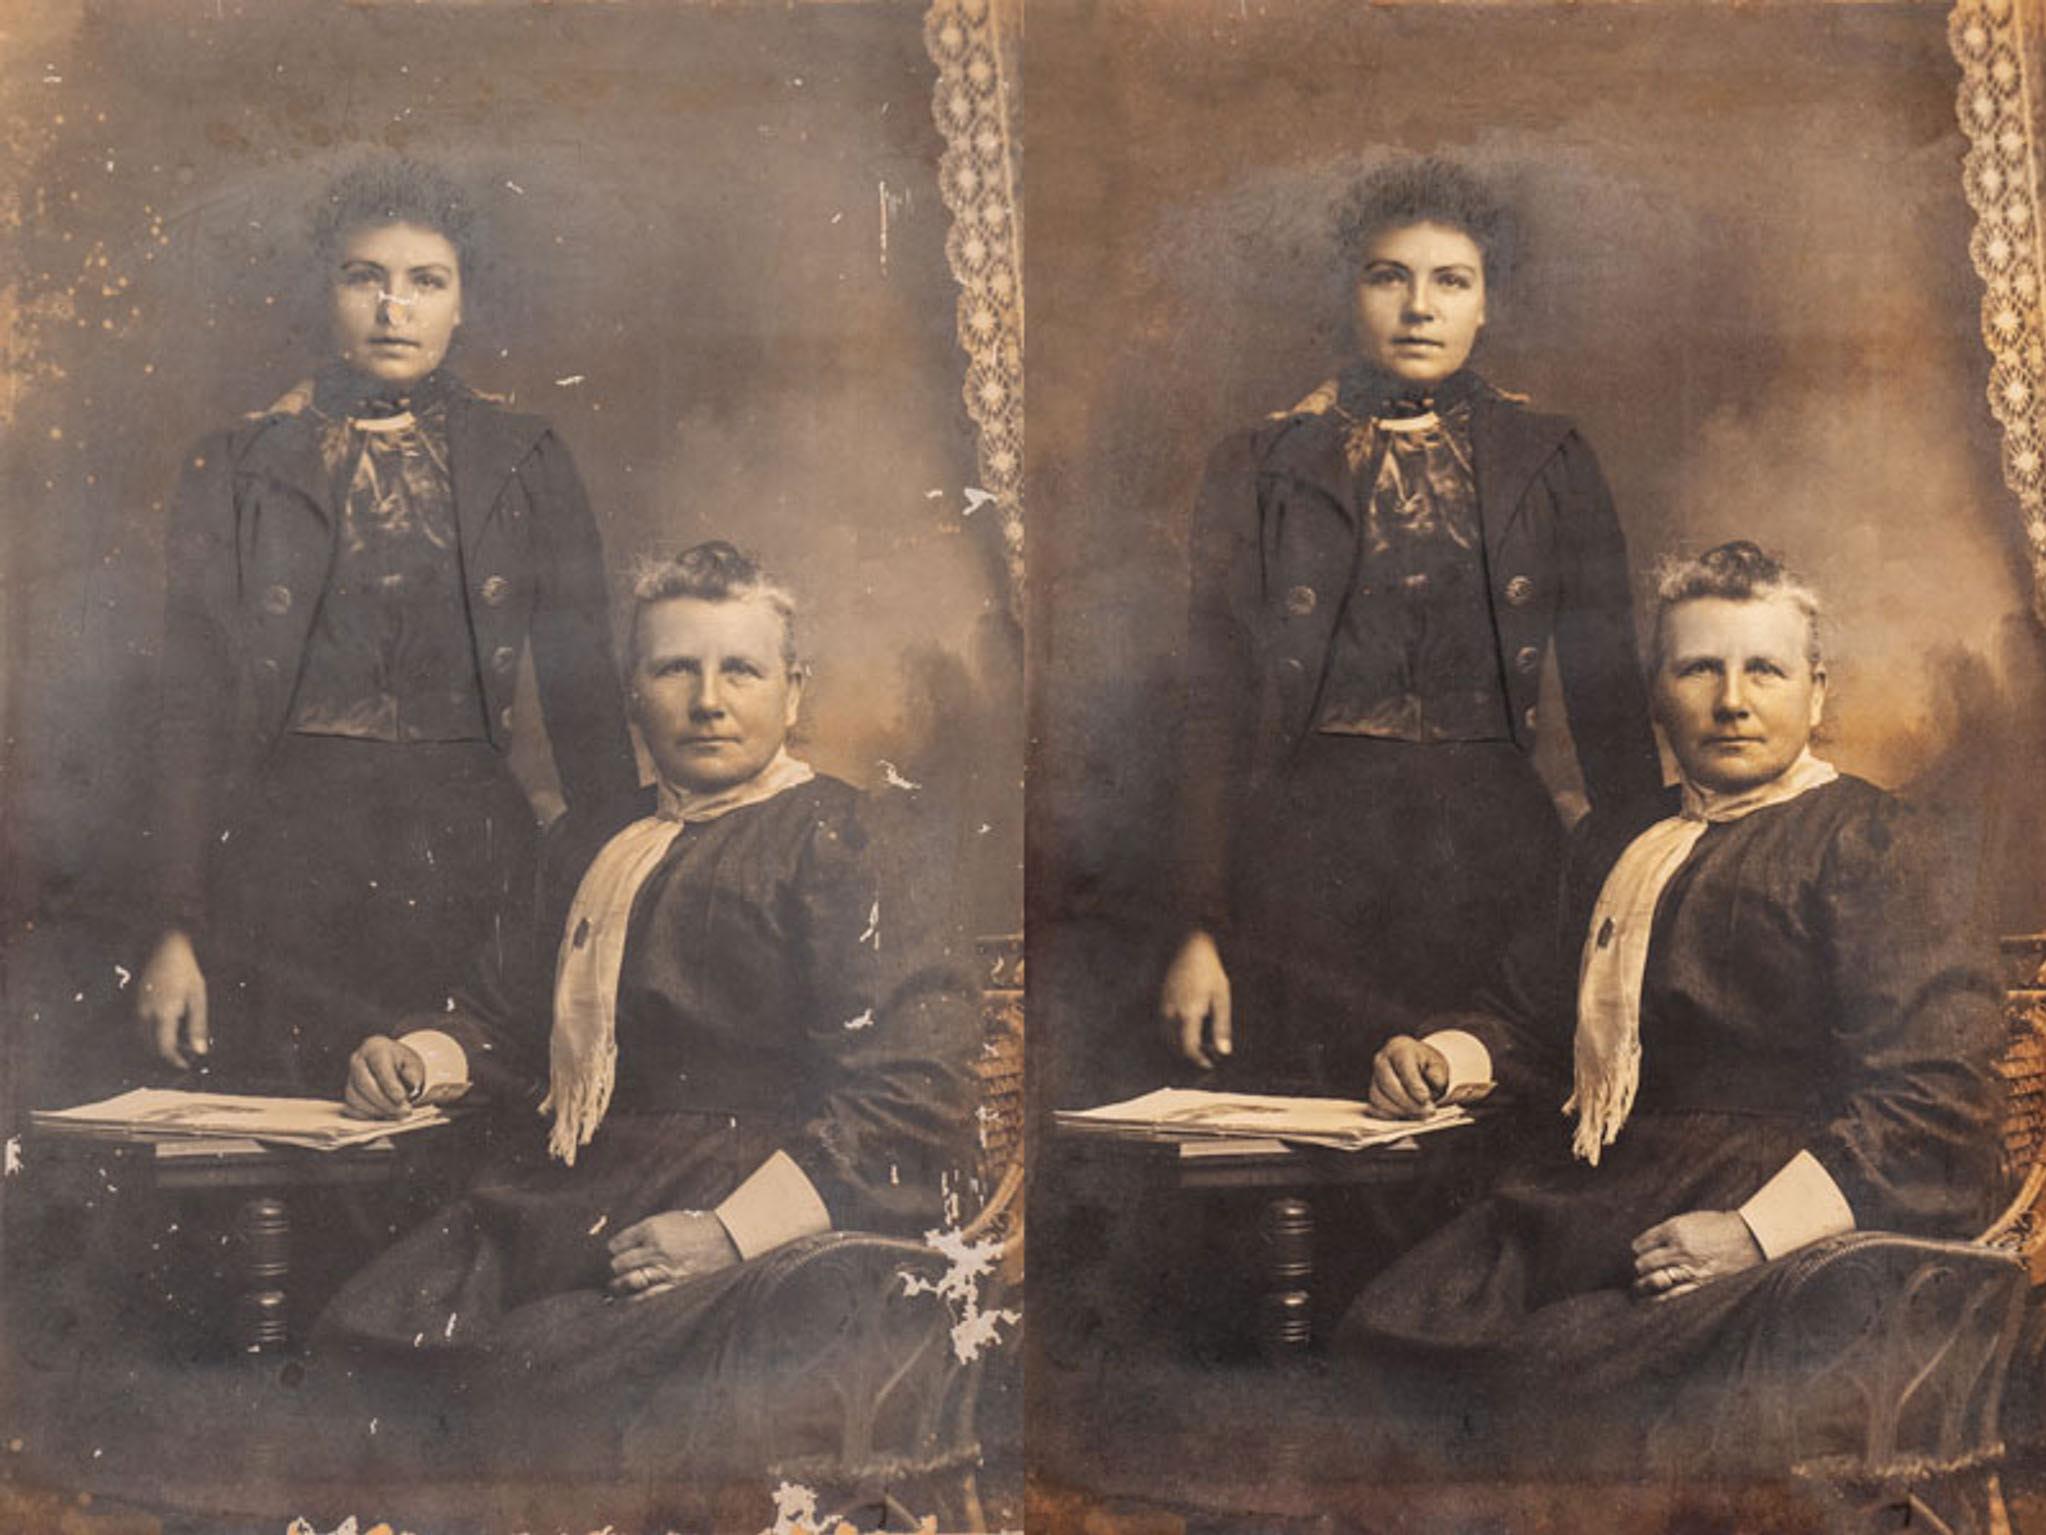
2. Damaged image
This is a more complicated restoration as the image was a lot older and had suffered physical damage. It was a photo taken of my wife’s maternal great grandmother Hannah (standing) and great-great-grandmother Ann (seated). We believe that this image was made between 1900 and 1910.
As the original image was quite large, I decided to photograph it rather than attempt to put it on the scanner and then have to assemble multiple images. In an attempt to gain as much detail as I could from the original, I shot three images at slightly different exposures and then merged them as a single HDR file.
There were two major areas of damage that I knew would need special attention and could not be done using the simple tools. The most significant was that a good chunk of Hannah’s nose was missing. I knew that getting this right was crucial to the whole image, so it was the first thing I tackled.
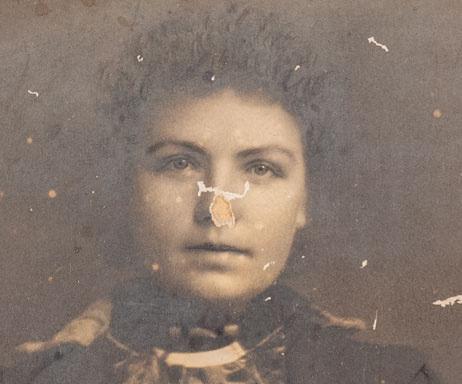
I decided that the simplest way to deal with this was to assume that there were sufficient similarities with her mother; I copied Ann’s nose and then placed it on Hannah. I used the existing part of her nose to warp the replacement into a similar shape.
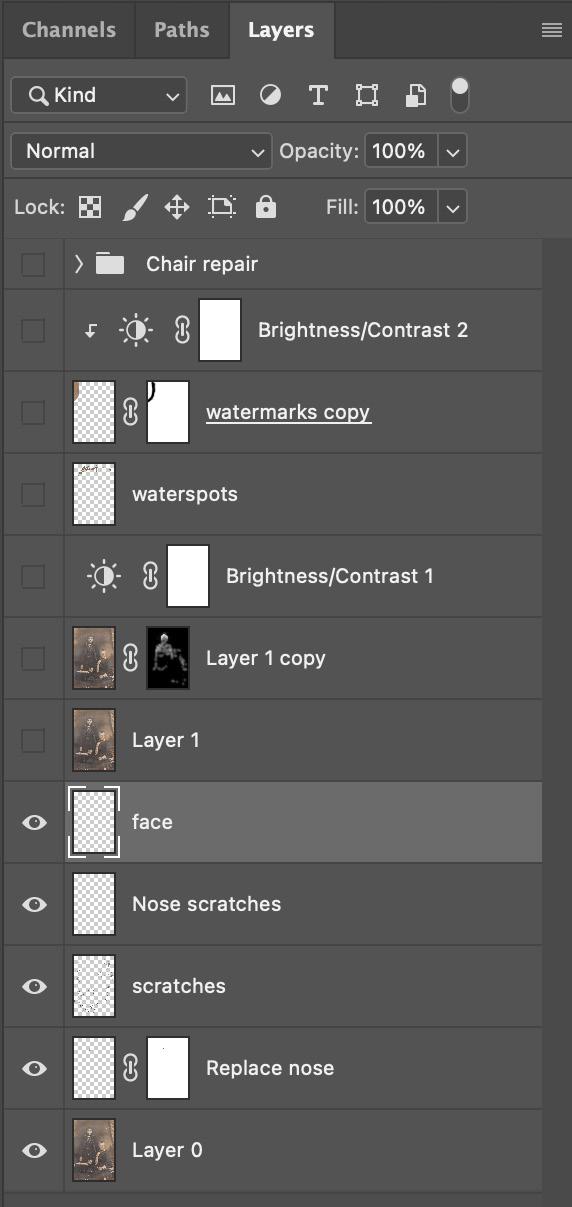
I then moved on and worked around the image, using a variety of tools to fix the problems.
I tend to create a layer for each of the areas being fixed as this makes the file more understandable. The layer stack is shown here.
Working from the bottom, three layers were used to remove the defects around the image and on Hannah’s face. In most cases the Healing brush was sufficient to handle these areas, although the Patch tool was used on some of the larger ones.
I then created a “stamp visible layer” (Layer 1) which essentially merges all of the layers below it. This was then duplicated and the Multiply mode set on the duplicate layer. The overall effect was too strong, so a layer mask was applied so that I could tone the effect down.
Next, I applied a Brightness/Contrast adjustment to push up the overall contrast. The Waterspots layer then used both the healing brush and patch tool on the areas of damage at the top. For the large area in the top corner I used a brush to paint over the area, and then above it brought the brightness down so that it matched the rest of the scene.
What is hidden was the repair to the chair arm which was made as a group of nine layers on its own. For the wicker work on the side of the chair I used the Pen tool to define the shape, turned this into a selection and then used the Clone stamp to copy content from another area of the chair. The advantage of creating a selection first is that you don’t have to be precise with the clone tool, as it will not affect any areas outside of the selection.
3. Vicky & Paul
And now for the image that I posted on the Facebook group, with a lot of positive feedback. To be honest, I am somewhat embarrassed by the attention, as in many ways it was not that difficult a restoration.
The image is really damaged, especially in the hair, and to repair from scratch would have involved creating the hair using the Brush tool.
As it turned out I was able to use a much simpler approach, as the damaged image was one from a set that was photographed at the same time. It was also an image that had been hand coloured.
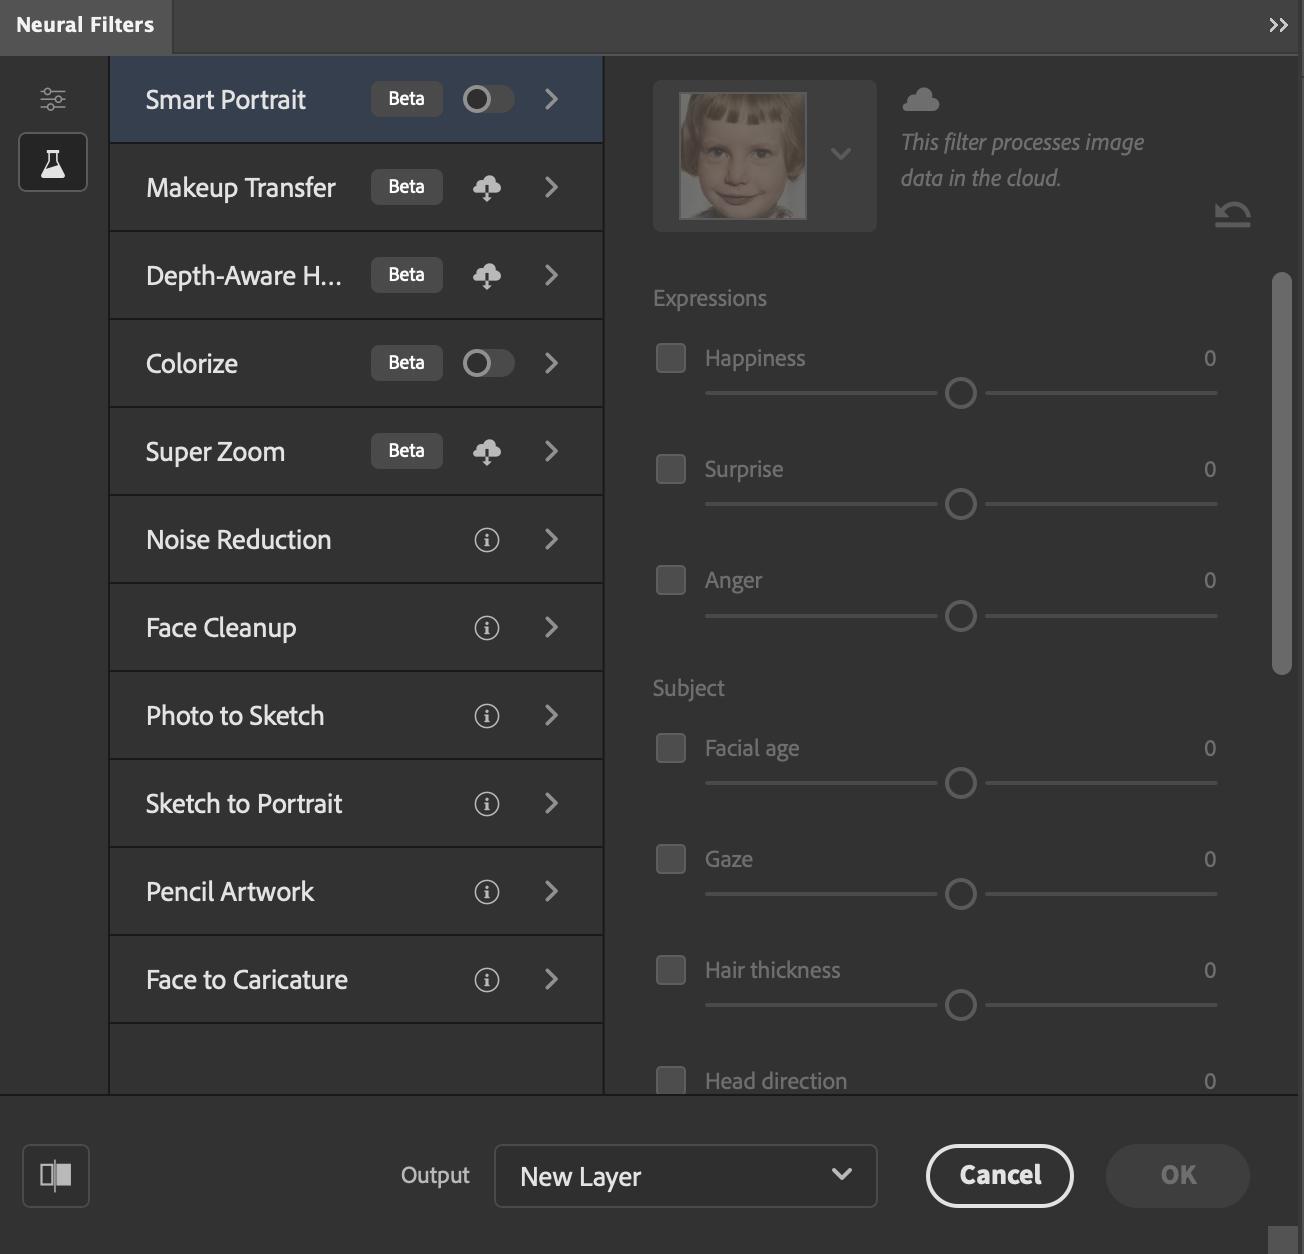
We were able to find a smaller version of the image that was in black and white. In the October 2020 update to Photoshop, Adobe introduced what they call Neural Filters, and one of the beta options available colourises black and white images. It made a pretty good job of the face and hair but of course had no idea what colour the eyes or clothes were.
I copied the colourised image into the damaged file on a separate layer and was then able to use the Warp tool to match the heads with the existing image. As the two images were taken very close together there was not a lot of difference between them.
It was then a simple task of putting colour into the eyes and using the Healing brush tools to fix any damaged spots on the clothes. There was little point in trying to repair the background and I simply painted a neutral colour over it.

