

Welcome to Pink Light Studio's Online Gallery!

Below, you will find a screenshot of our home page. From this home page, you can access our entire available portfolio of designs!
Click Here to go to our gallery home page and follow along with this packet!
Pink Light Studio's gallery home pageThe Navigation Bar
At the top of the home page, you will see a navigation bar. Using this bar, you can choose to browse our gallery by artist, theme, collection preview, hot off the presses, and by promo.


Navigation Bar
By Artist By Theme By Collection Preview By Hot Off the PressesQuick Note:
Our Hot Off the Presses gallery is regularly updated with new, fresh designs submitted by our artists!


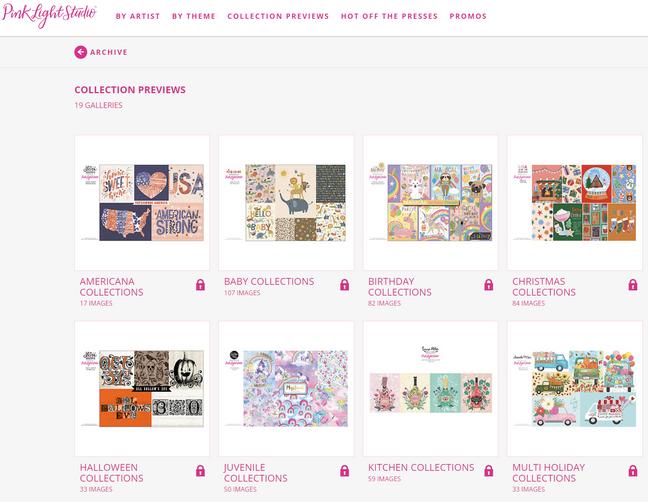 By Artist Promo
Creating a Photoshelter Account
Underneath the navigation bar, you should see an option called "Client Area." After clicking this, you will be taken to a page where you can log in OR create your free Photoshelter account.

Client Area

Quick Note:
Your account can either be a personal account for yourself OR shared with your team.

Using Your Photoshelter Account
Once you create an account and sign in, you will see a Client Home Page similar to the one below. Here is where you can manage your account, different gallery invitations, purchases, and downloads.
You can also create a LIGHTBOX to group together designs that you are interested in!
To do so, click the Lightbox tab in the upper left. Then, select "Create New Lightbox"
Client Home Page
Lightbox Home Page


From here, you can name your lightbox and beginning adding artworks from the gallery!
For the purpose of this example, we will be adding designs from the "Hot Off the Presses Gallery" -- see images below for reference.
Select the image you would like to add
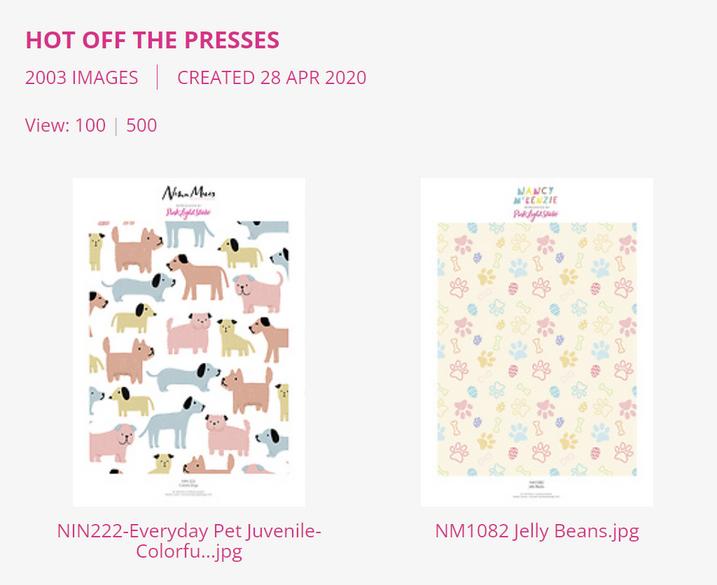
A menu will appear: from here you can select the lightbox you created

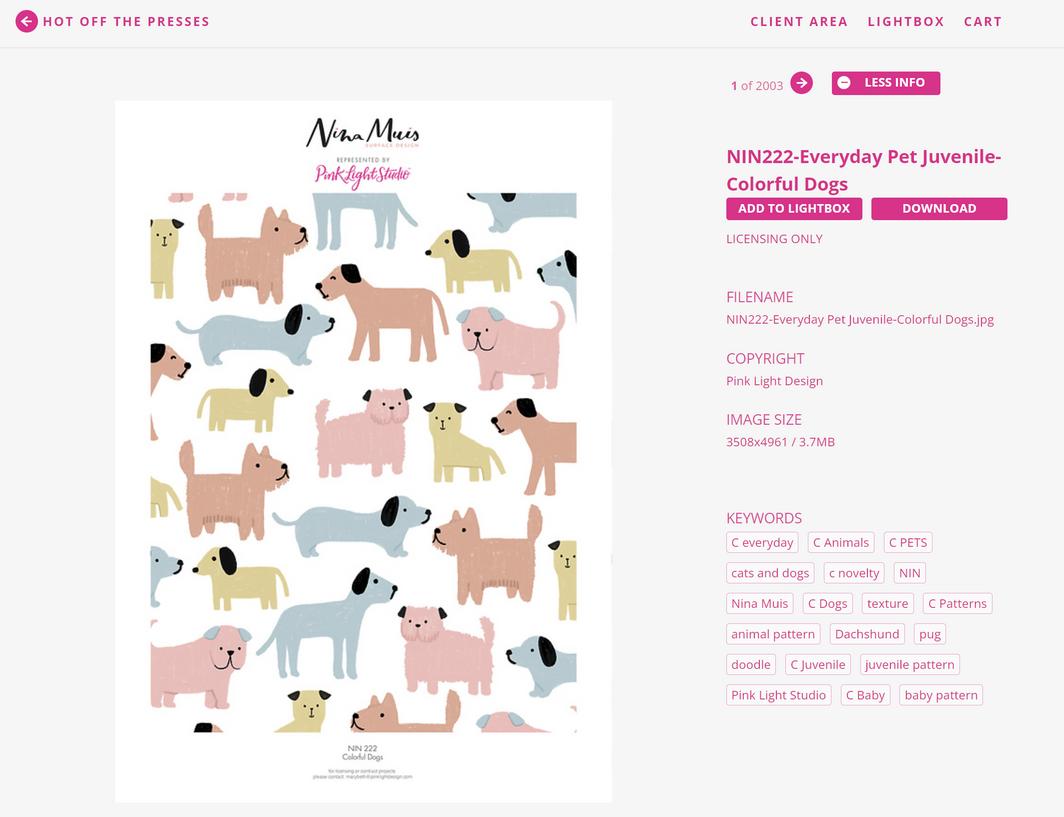
Repeat the process until you have collected all the designs you would like in your lightbox.
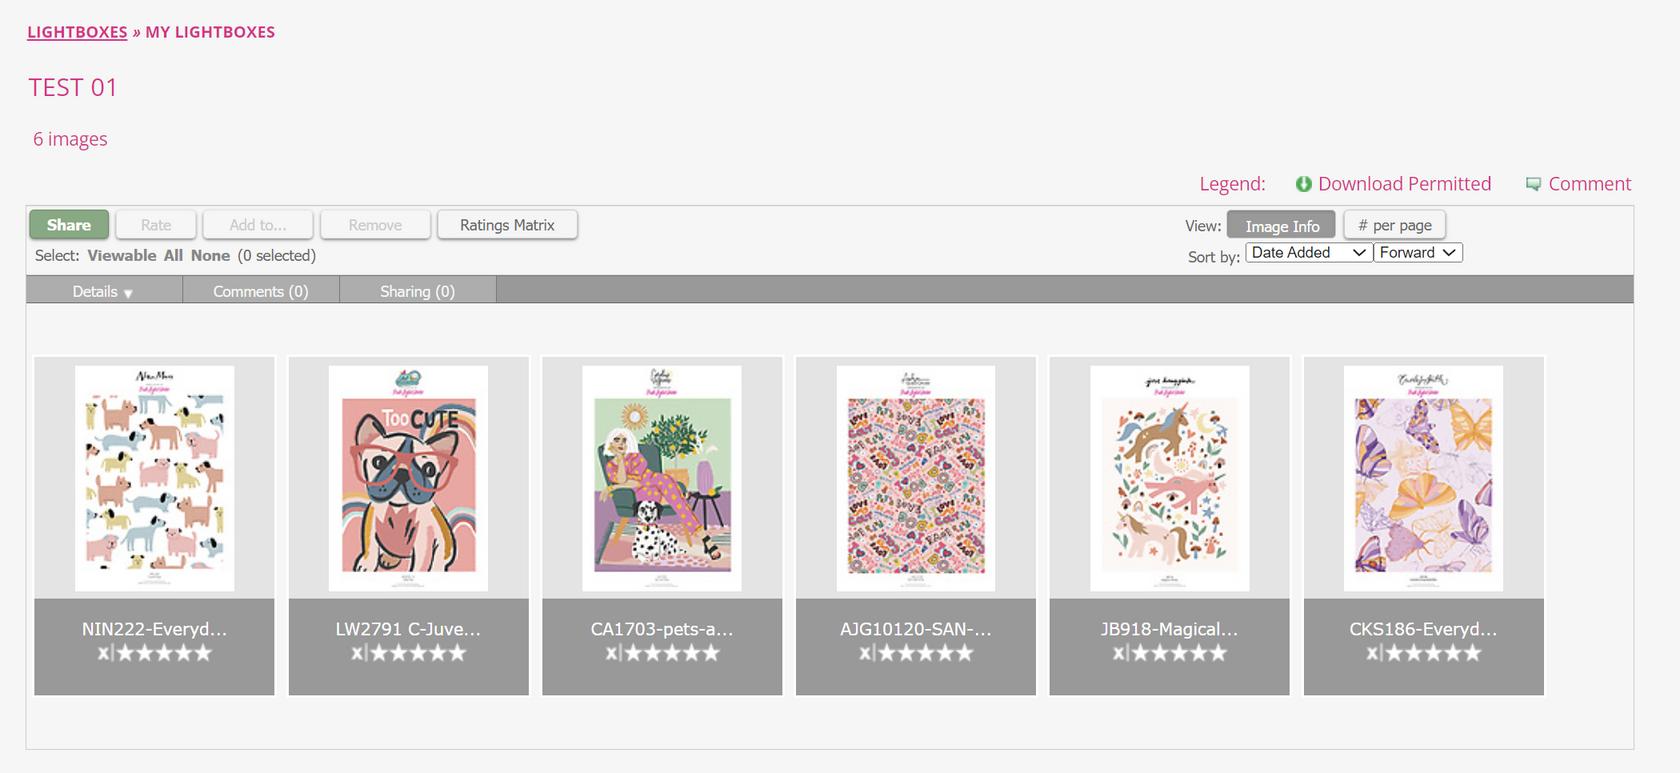
You can also share the lightbox once you have created it! See the images below for step-by-step instruction on sharing a lightbox with our team.

A menu will appear.
Please enter design@pinklightdesign.com
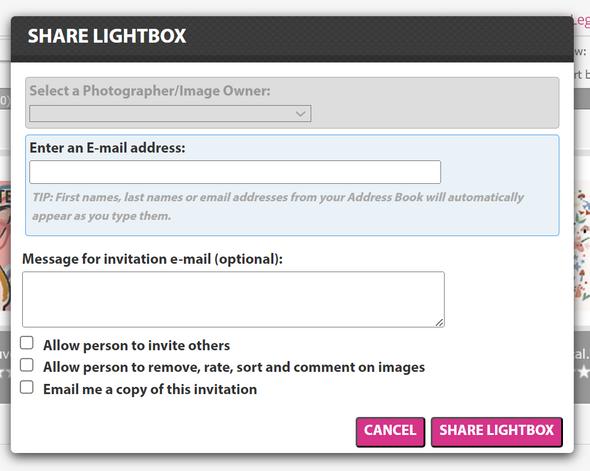
You can also enter any messages as well.
Once finished, click share lightbox.

Lastly, you can add comments to your lightbox. This will help us know what you would like to use these designs for and we can check for availability on our end.

See the images below for a step-by-step walkthrough.

Click the "Comments" button
Select "Add a Comment"
A menu will appear where you can write your comment. Once finished, click "Add Comment"
Now, your comment will appear under the "Comments" tab of your lightbox.
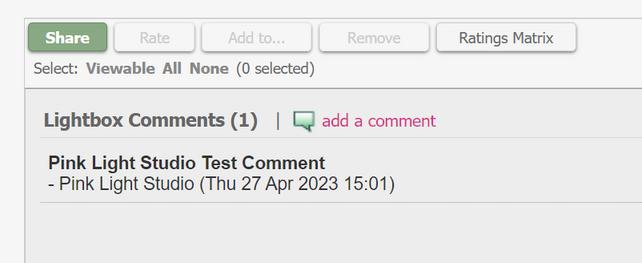

Thank you!
Thank you for taking the time to read this walkthrough of Pink Light Studio's Online Gallery!
Below you will find useful links to our website and online gallery.
Please reach out to design@pinklightdesign.com for the password to our gallery if you have not already done so.

We look forward to working with you! As always, remember to let your light shine!
Pink Light Studio Website
Pink Light Studio Online Gallery
