5 minute read
INITIAL KIT BAG Back to school craft project
from Ggvghghbgh
VICTORIAN TERRACE Love it
CREATIVE OUTLET’
Advertisement
Buy it Shop Lara’s industrial eclectic style PAGE 56
On the hunt for a project, Lara took a chance on a run-down Victorian terrace to create her one-of-a-kind home
fter renovating our previous
Ahome and learning lots of skills and lessons along the way, my husband Stuart and I wanted another challenge,’ says Lara. ‘We came across this property – an unloved, Victorian end-of-terrace in really sad shape – and, in spite of its condition, we could see endless potential.
The mortgage company, however, didn’t have quite the same vision that we did. It was a real battle securing the money to proceed with the house, as it had so many structural issues to sort out. It needed support work, a new roof and a damp proof course. Having, eventually, completed the external work and satisfied the mortgage company that the house wouldn’t likely be falling to the ground anytime soon, we were finally able to begin updating the interior.
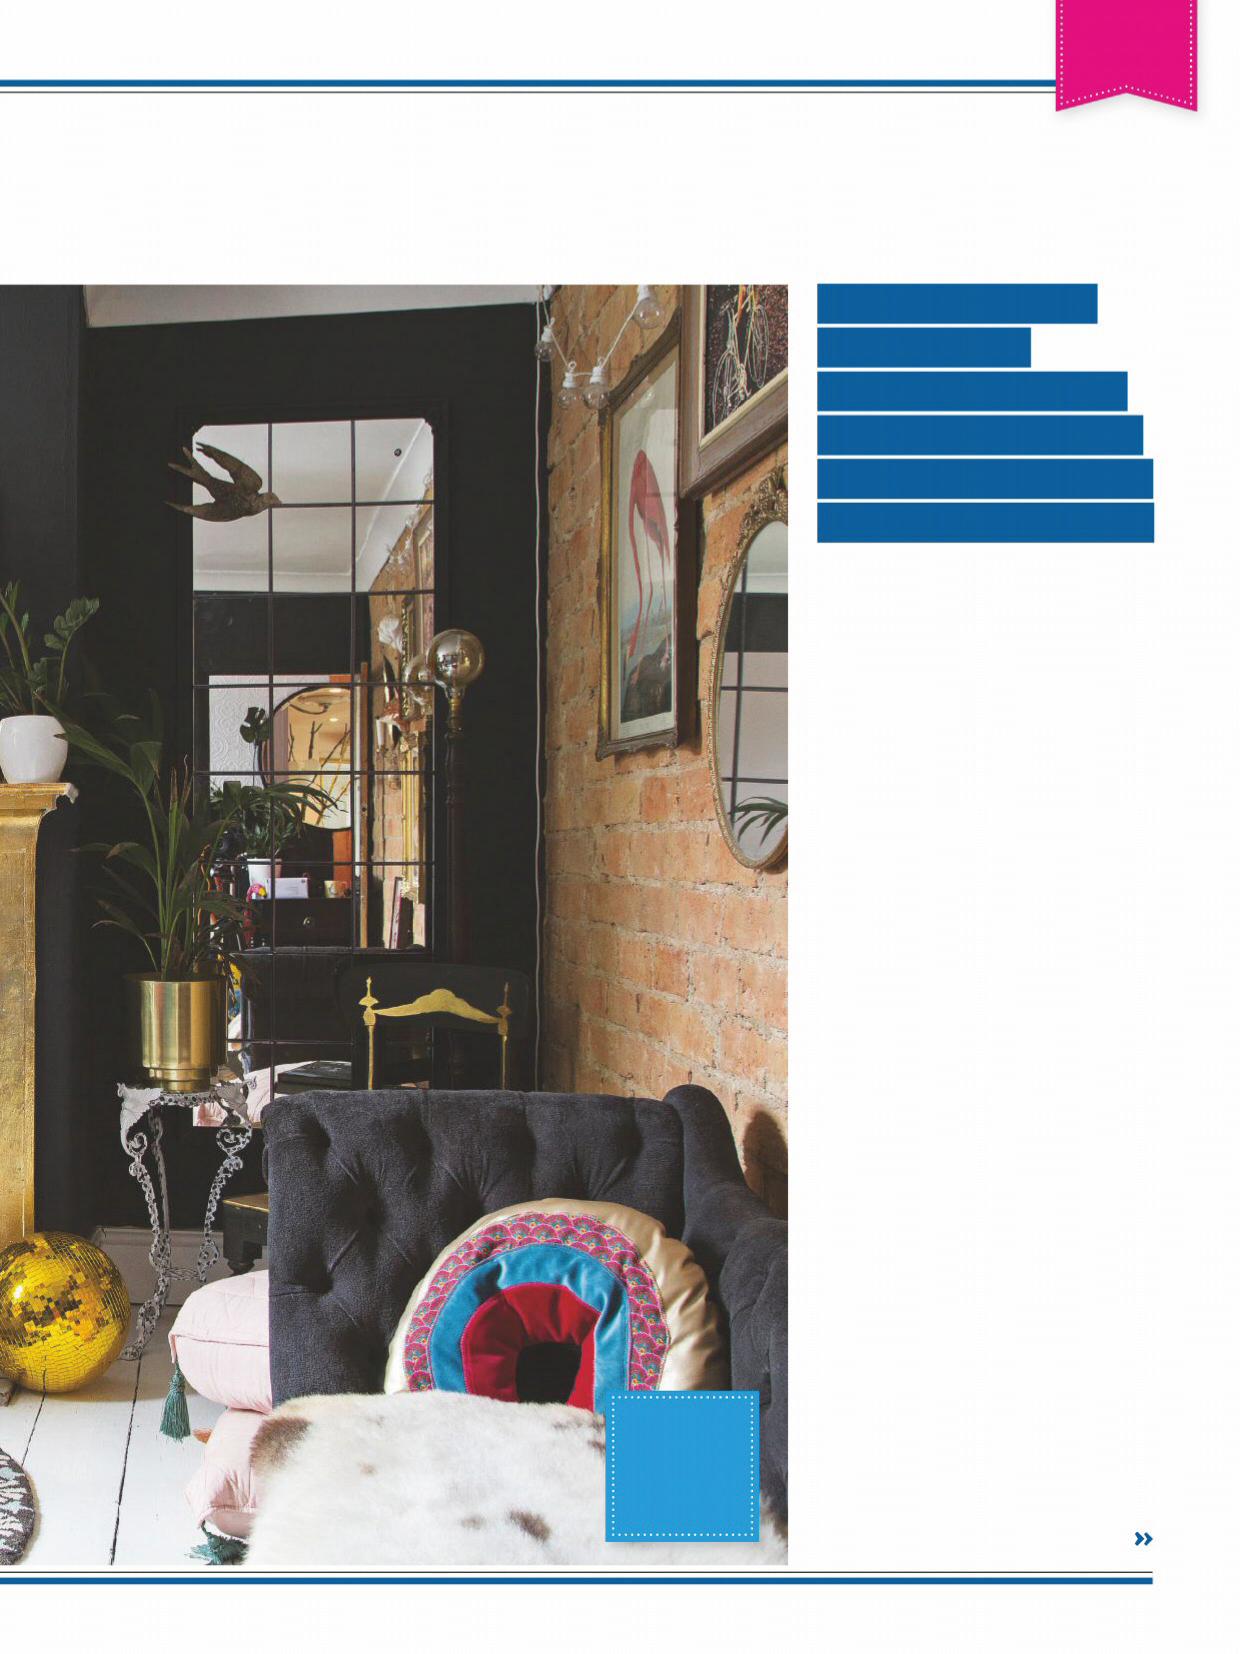
Seventies throwback Every inch of the interior needed attention. I remember a friend popping by on moving day, and being stunned by the amount of work we had to do. Honestly, I think we were shocked too – the task seemed even bigger, and more daunting than it had before. It was dark and gloomy throughout, with an unsightly mix of orange, yellow and dark wood all over the place. There were dark green and blue carpets in every room, and net curtains at every window. It was a 1970s time-warp with ’90s accents thrown in for good measure. All the original features had either been covered up or removed altogether and, most unusually, there was a large shower cubicle in the main bedroom. Somewhere along the line it had lost its identity, but we had big ideas to restore it to its former glory.
Love it
VICTORIAN TERRACE
DREAM TEAM
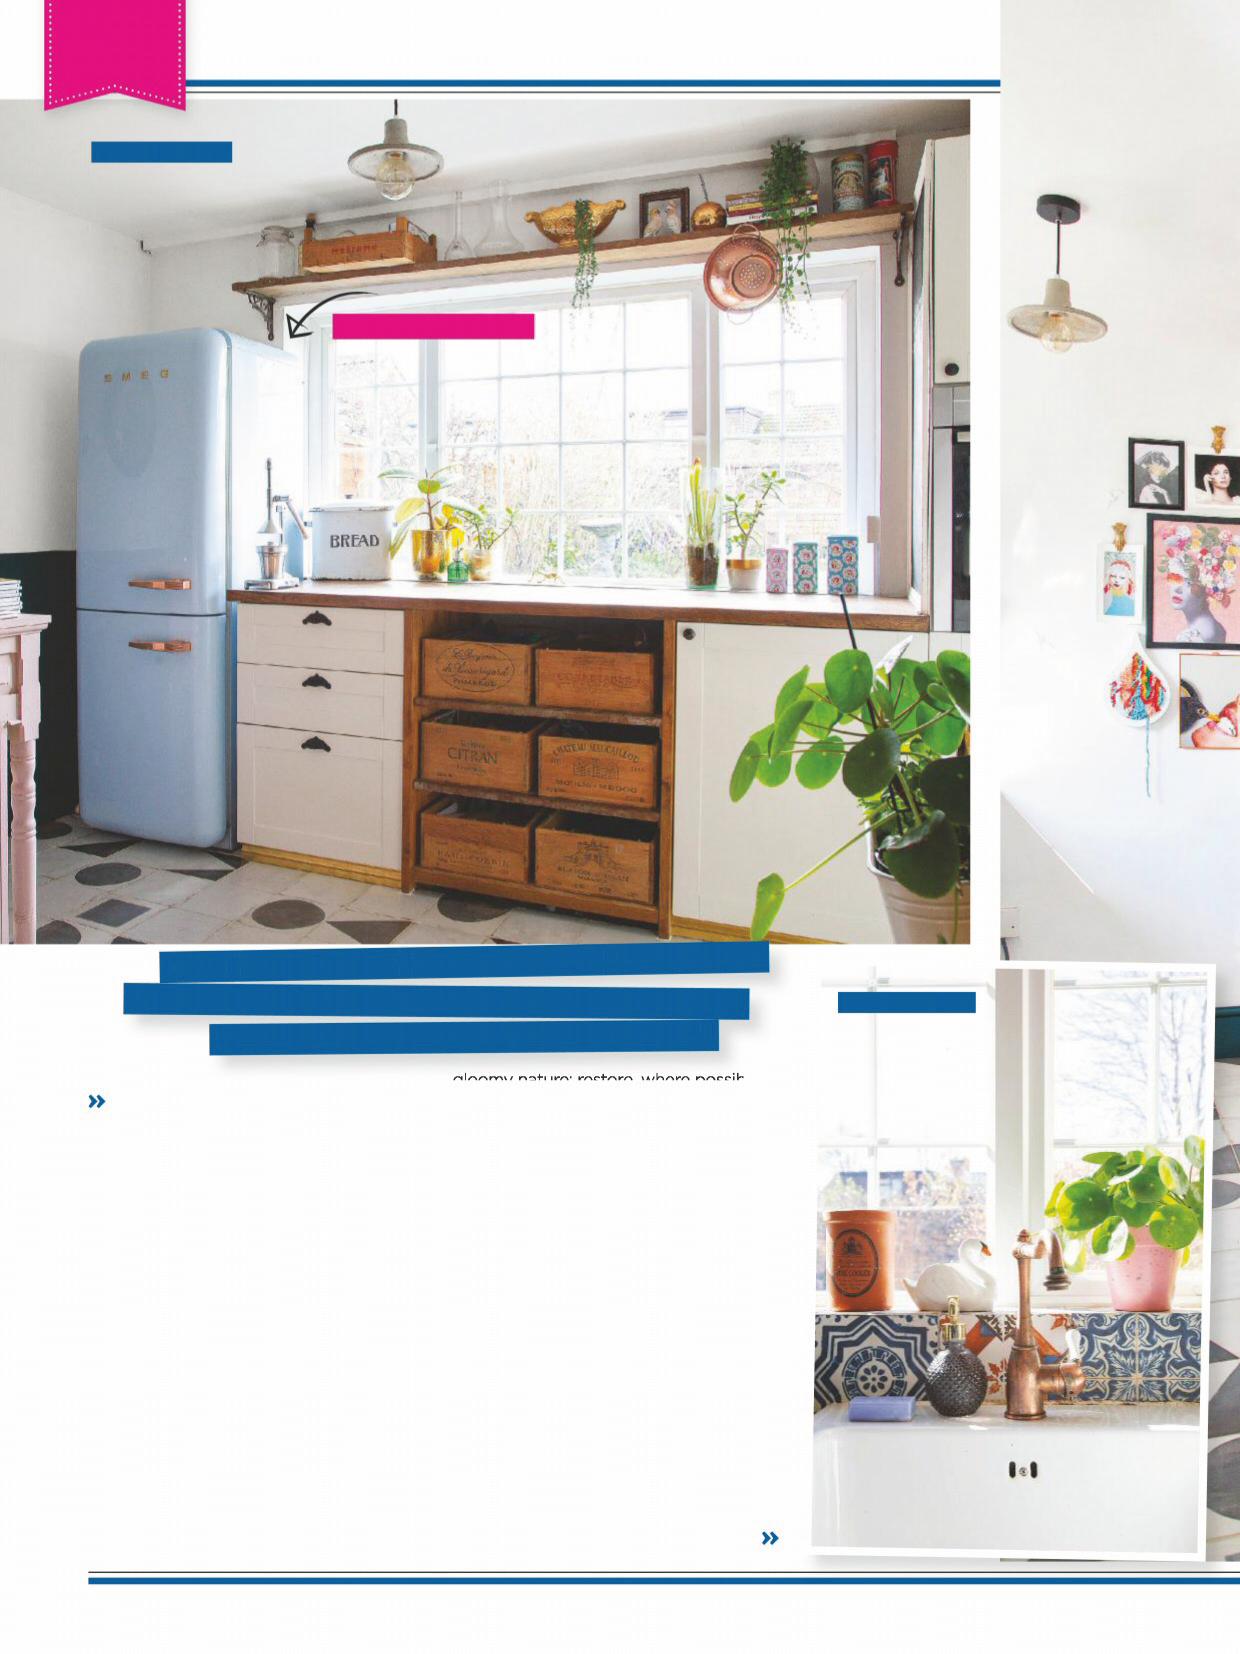
‘We fitted Ikea flat-pack units and did the tiling ourselves’
IDEA TO STEAL ‘Search refurb companies online to find affordable appliances’

to begin with, we didn’t have a generous budget to play with. When it came to renovating the interior, we took on many of the jobs ourselves, only hiring professionals for tasks we didn’t have the skill set for (and couldn’t easily learn), such as plumbing, plastering and electrics. This meant that Stuart and I spent hours stripping multiple layers of paper and paint off walls and ceilings (the toughest and most boring job, in my book), chipping off old tiles and plaster to expose brick, and sanding ancient floorboards into shape. We did, however, uncover an old open fireplace in the living room with a beautiful, original surround. We also learnt new skills, some of which (the gilding in particular) have become little side hustle businesses. gloomy nature; restore, where possible, and replace original features to give the place its character back, and of course make it liveable for us. Tearing down the wall between the kitchen and diner to create one spacious room, which is now double the size the kitchen was when we moved in, helped us on our way to ticking those boxes. We also removed the dark, drab furnishings which were casting a shadow over the entire property, making do with barely functional living conditions (including a two-ring, plug-in hob to cook on, and the aforementioned main bedroom shower) for the six or so months it took to turn the core rooms around, but it was well worth the discomfort. We lightened rooms by incorporating pastel hues into our schemes and using reflective surfaces, without compromising on or sacrificing the dark decor I love. We fitted coving, skirting and ceiling roses to restore its
ON THE TILES
‘We kept the tiles to a minimum, just tiling the floor and a small area around the sink’
Love it
VICTORIAN TERRACE
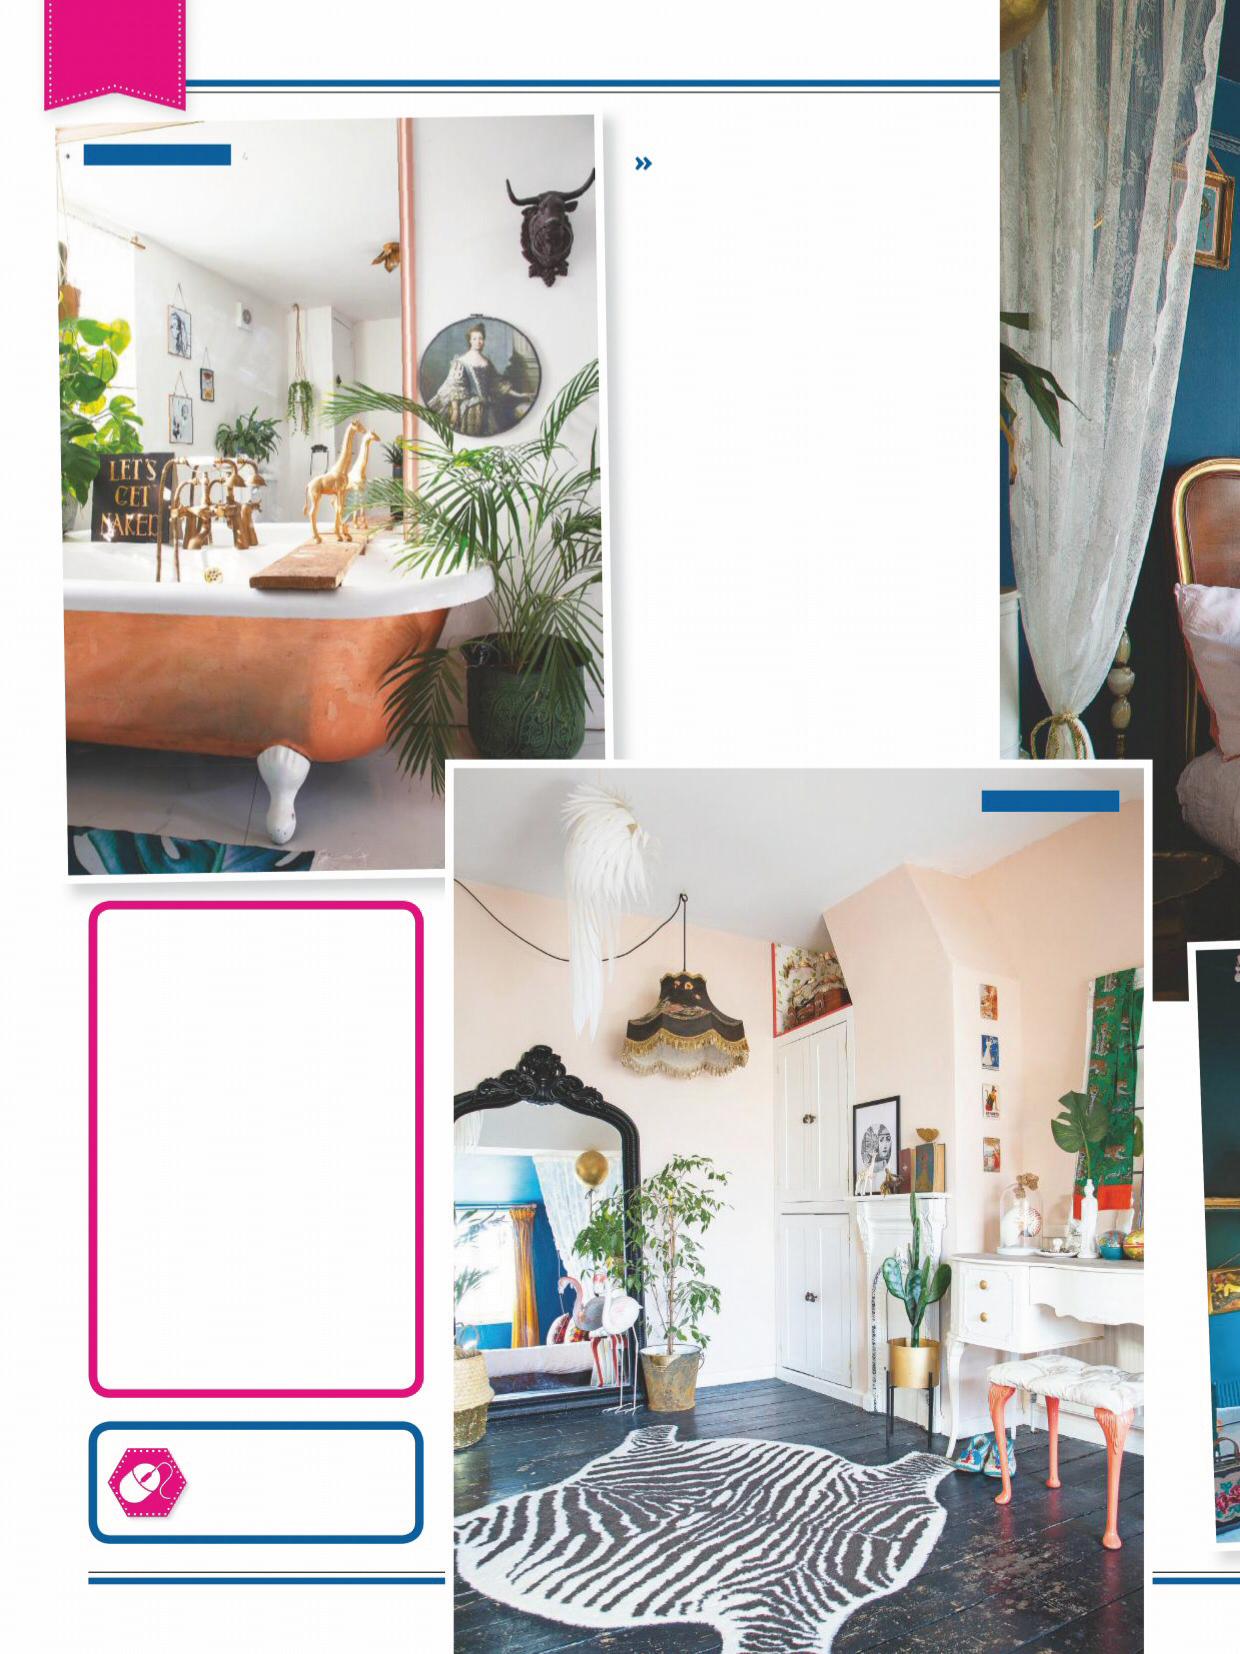
TUB TRICKERY
‘I gilded the bath to give it a copper effect. I’d love a real copper bath one day, but this will do for now’
Do it!
GILDED FURNITURE
1Using a paintbrush, apply metal leaf adhesive to your chosen surface (we suggest starting with something flat and smooth if you’re new to the game) in the areas you wish to gild.
2Leave the adhesive to get tacky, then gently apply the gold leaf sheets (you may wish to use tweezers to make it easier).
3Once finished, use a gilding brush to buff the gilding in small, gentle circular motions to remove excess gold leaf. You can collect and store what’s left for future projects.
Find more clever ideas to style up your home by going to pinterest.com/
styleathomemag
places. I also use Instagram as a tool for sourcing fun and unusual styling ideas. In fact, engaging with the interiors community on Instagram and sharing my own interior successes @lara.bezzina encouraged me to launch my own website, larabezzina.co.uk, where I share my love for design and gold leaf everything, and host creative workshops to teach people new skills. Creative satisfaction It has taken a fair while to transform this place into the home we wanted, but I couldn’t be more proud of the outcome, and all that Stuart and I achieved to make it happen. My family and friends love it, although I get the occasional funny look when I divulge that I’m about to do something unusual, such as put a tree in the middle of the dining room! They think I’m crazy for decorating and painting over and over again. There aren’t any major upheavals on the cards just yet, however I have a few small updates on my list of things to do. What can I say? My home is my creative outlet, my passion.’
ROOM DIVIDE

‘The main bedroom runs over two levels. On the lower level we have our bed, and on the upper level is the wardrobe and dressing table’
FEATURE ABBI HENDERSON PHOTOGRAPHS GEORGIA BURNS


