
3 minute read
ESPRESSO YOURSELF


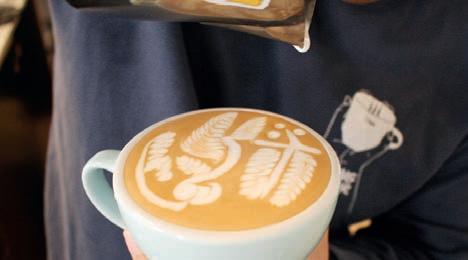
Victor Vu of Ona Coffee Melbourne is the 2020 ASCA Australian Pauls Professional Latte Art Champion.


Polly want a cracker?
Reigning Australian Latte Art Victor Vu shares a refined take on his classic parrot design with a little more detail, and a lot more character.
The parrot was one of the first latte art patterns that I mastered, and this edition, I’ve stepped it up a notch.
I presented my original parrot design at the 2019 Australian Latte Art Championship, but it didn’t contain quite as much complexity as this version, which I developed after being inspired by 2018 World Latte Art Champion Irvine Quek and his Sleeping Parrot design.
One of the techniques I use in this design is the ‘cunning eye’ made popular by Arnon Thitiprasert at the 2017 World Latte Art Championship. Rather than using a drop of foam as the eye, you build the eye into the design of the face, really helping to add character and realism to the pattern.
Beyond that, you see a greater level of detail, with much more texture added to the parrot itself, as well as the background set up within the rest of the cup.
To perfect this design, you will need a good understanding of basic latte art techniques and how your elements will interact with each other in the cup. This is not an easy design to master but that makes it all the more worthwhile when you do.

1.
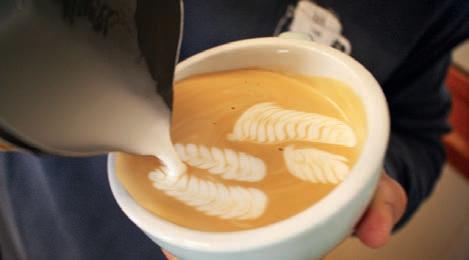
With the handle at 12 o’clock, pour a nine-leaf rosetta from the centre of the cup to the right, then a smaller seven-leaf rosetta underneath.
2.
Turn the cup so the handle faces you. Pour two parallel eight-leaf rosettas along the top half of the cup. For the bottom one, pull through between the two rosettas to create a branch between the rosetta leaves.
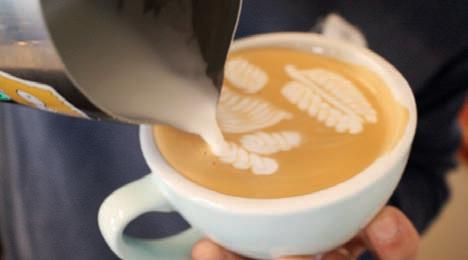
3.

Turn the handle to three o’clock. Above your first rosetta, pour a small three-leaf rosetta to form the parrot’s neck. Then, pour two small rosettas in one continuous motion to create the parrot’s feathers.

4.
At the bottom of the most recently-poured rosetta, pour a seven-leaf rosetta. Pull through along the rim of the cup up to 11 o’clock. Drag a short, curved line from you end point to form the top of the beak.

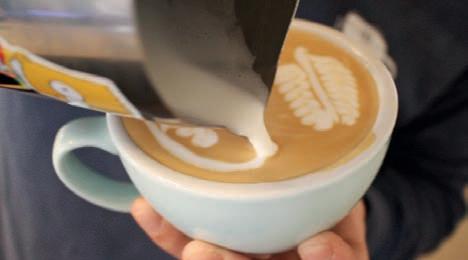
5.
At the bottom of the cup, drag a short line beneath the rosettas to complete the tree branch.
6.
With the handle still at three o’clock, place your pitcher at the top of your small rosetta at the bottom of the cup and drag a line upwards, curving around your larger rosetta to form the parrot’s body.

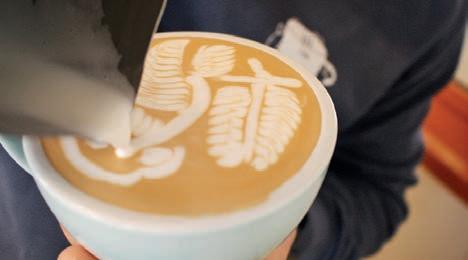
7.
In the same motion, pour a small circle at the top of the curve, connecting to the beak and leaving a hole in the middle for the eye.
8.
Finish your design with a few small drops of foam beneath the tree. There you have it. My refined parrot.


