2 minute read
Part 2: building your cabinet
Measure your laptop and make sure you know the dimensions of the total surface when opened, as well as the screen portion
Use those measurements (fig. 2) to make a paper template that you can use throughout the rest of the project.
Figure out how your laptop will be situated inside your cardboard arcade cabinet shell Does the laptop open all the way to 180°? You can try pushing it flat against the wall of a large box and secure it directly to the side Does it only open to around 150°? You may need to plan for your screen to be at a bit of an angle or for your arcade cabinet to have a shelf to contain the lower portion.
Use your computer’s measurements to draw a few possible designs for your cabinet. Don’t forget to leave room for your controller buttons and all the wires that attach to them
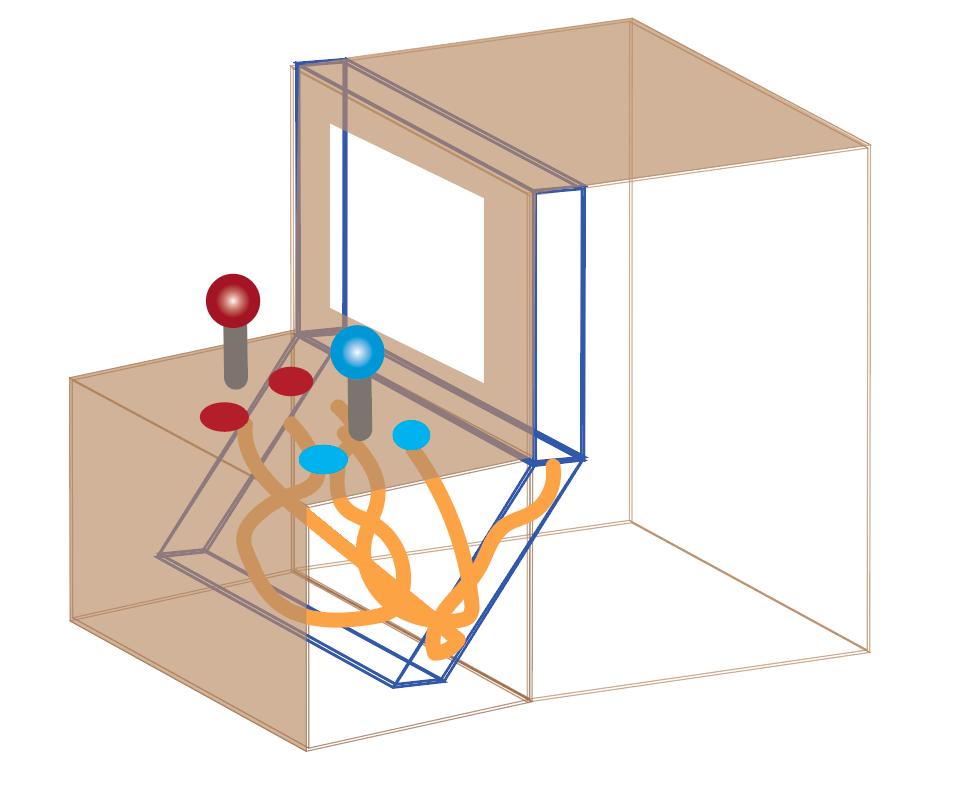
You’ll also need to figure out the support structure that will hold your computer (fig. 3). Will it be taped inside? Propped up by a box? Will you build handles and slats into the inside of your cabinet to keep it steady?

Start building! Use your template to help you measure your cardboard pieces and start cutting and folding to get the cabinet you designed You will probably need a good amount of heavy-duty tape to keep it all together
Make sure you test fit your laptop along the way to be certain that everything is going to come together in the end.

4 5 6
Add the buttons (fig 4) For this activity, we used the Hikig 2-player LED buttons for Raspberry Pi and Windows (aka.ms/buttonsUsed) but you can select whatever set of buttons works with your computer. You can even use USB or Bluetooth handheld controllers, or a normal keyboard.
The controllers you select will likely come with clear instructions about how to hook the buttons into the circuit board and how to plug them into your machine

If you ’ re using a keyboard, no additional steps should be necessary in that area, but keep these key codes (fig. 5) in mind so two players can play on the same machine.

7
Perfect and decorate! Now is the time to wrap your cabinet in contact paper to keep it looking all clean and tidy. Feel free to draw designs, add stickers, or just trim it out with a bit of tape!
Once you ’ re done, show off what you made with family and friends.
Put it all together! Now that you have the shell of your arcade cabinet and your buttons are wired, it’s time to put everything together.
Insert the buttons into your cardboard cabinet, plug them into your laptop, and slide your laptop into the box
Test it out! How does it work? Can you navigate the kiosk using your controller buttons? How does everything look?

It’s perfectly normal to require some debugging at this stage. Make sure to read through the controller instructions again or ask a friend for help if you get stuck
If you decide to share on social media, don’t forget to tag Microsoft MakeCode @MSMakeCode. We might just feature one of your designs!


