7 minute read
DIY


Furniture Renaissance
By definition, renaissance means rebirth, revival or restoration. So to me, the act of reviving and restoring a useful object is also helping to revive the Earth and to rebuild the damage we humans have done over the past few generations.
Advertisement
One of my personal missions is to live more sustainably. I try as much as possible to carry that over into all aspects of life, but for the purpose of this article, we will concentrate on reusing. Instead of discarding older furniture (in this case a bench) and getting something newly made, we are going to take an existing piece and give it new life. Every time we reuse and repurpose, we are basically helping to reduce the landfill (discarded furniture can take up to 50 years to breakdown); reduce deforestation (by building less new furniture); and, overall, reduce our carbon footprint while restoring a little piece of history. Nice!
Sounds more complicated than it is, but it is definitely more fun than it sounds. So choose your piece and let’s get started!
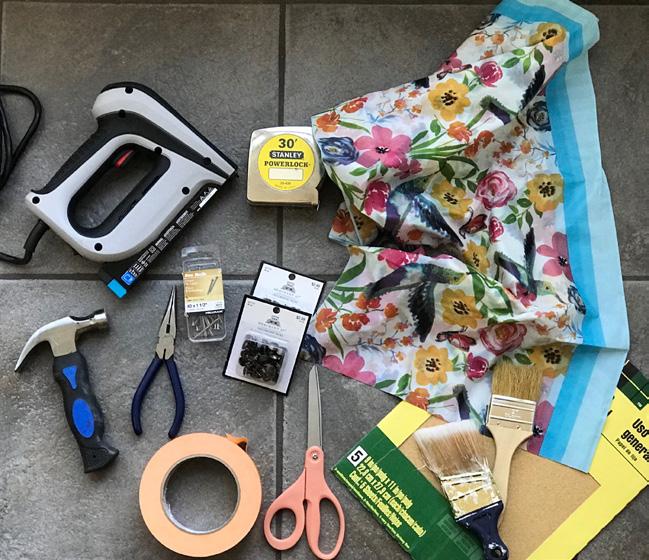
The Stuff
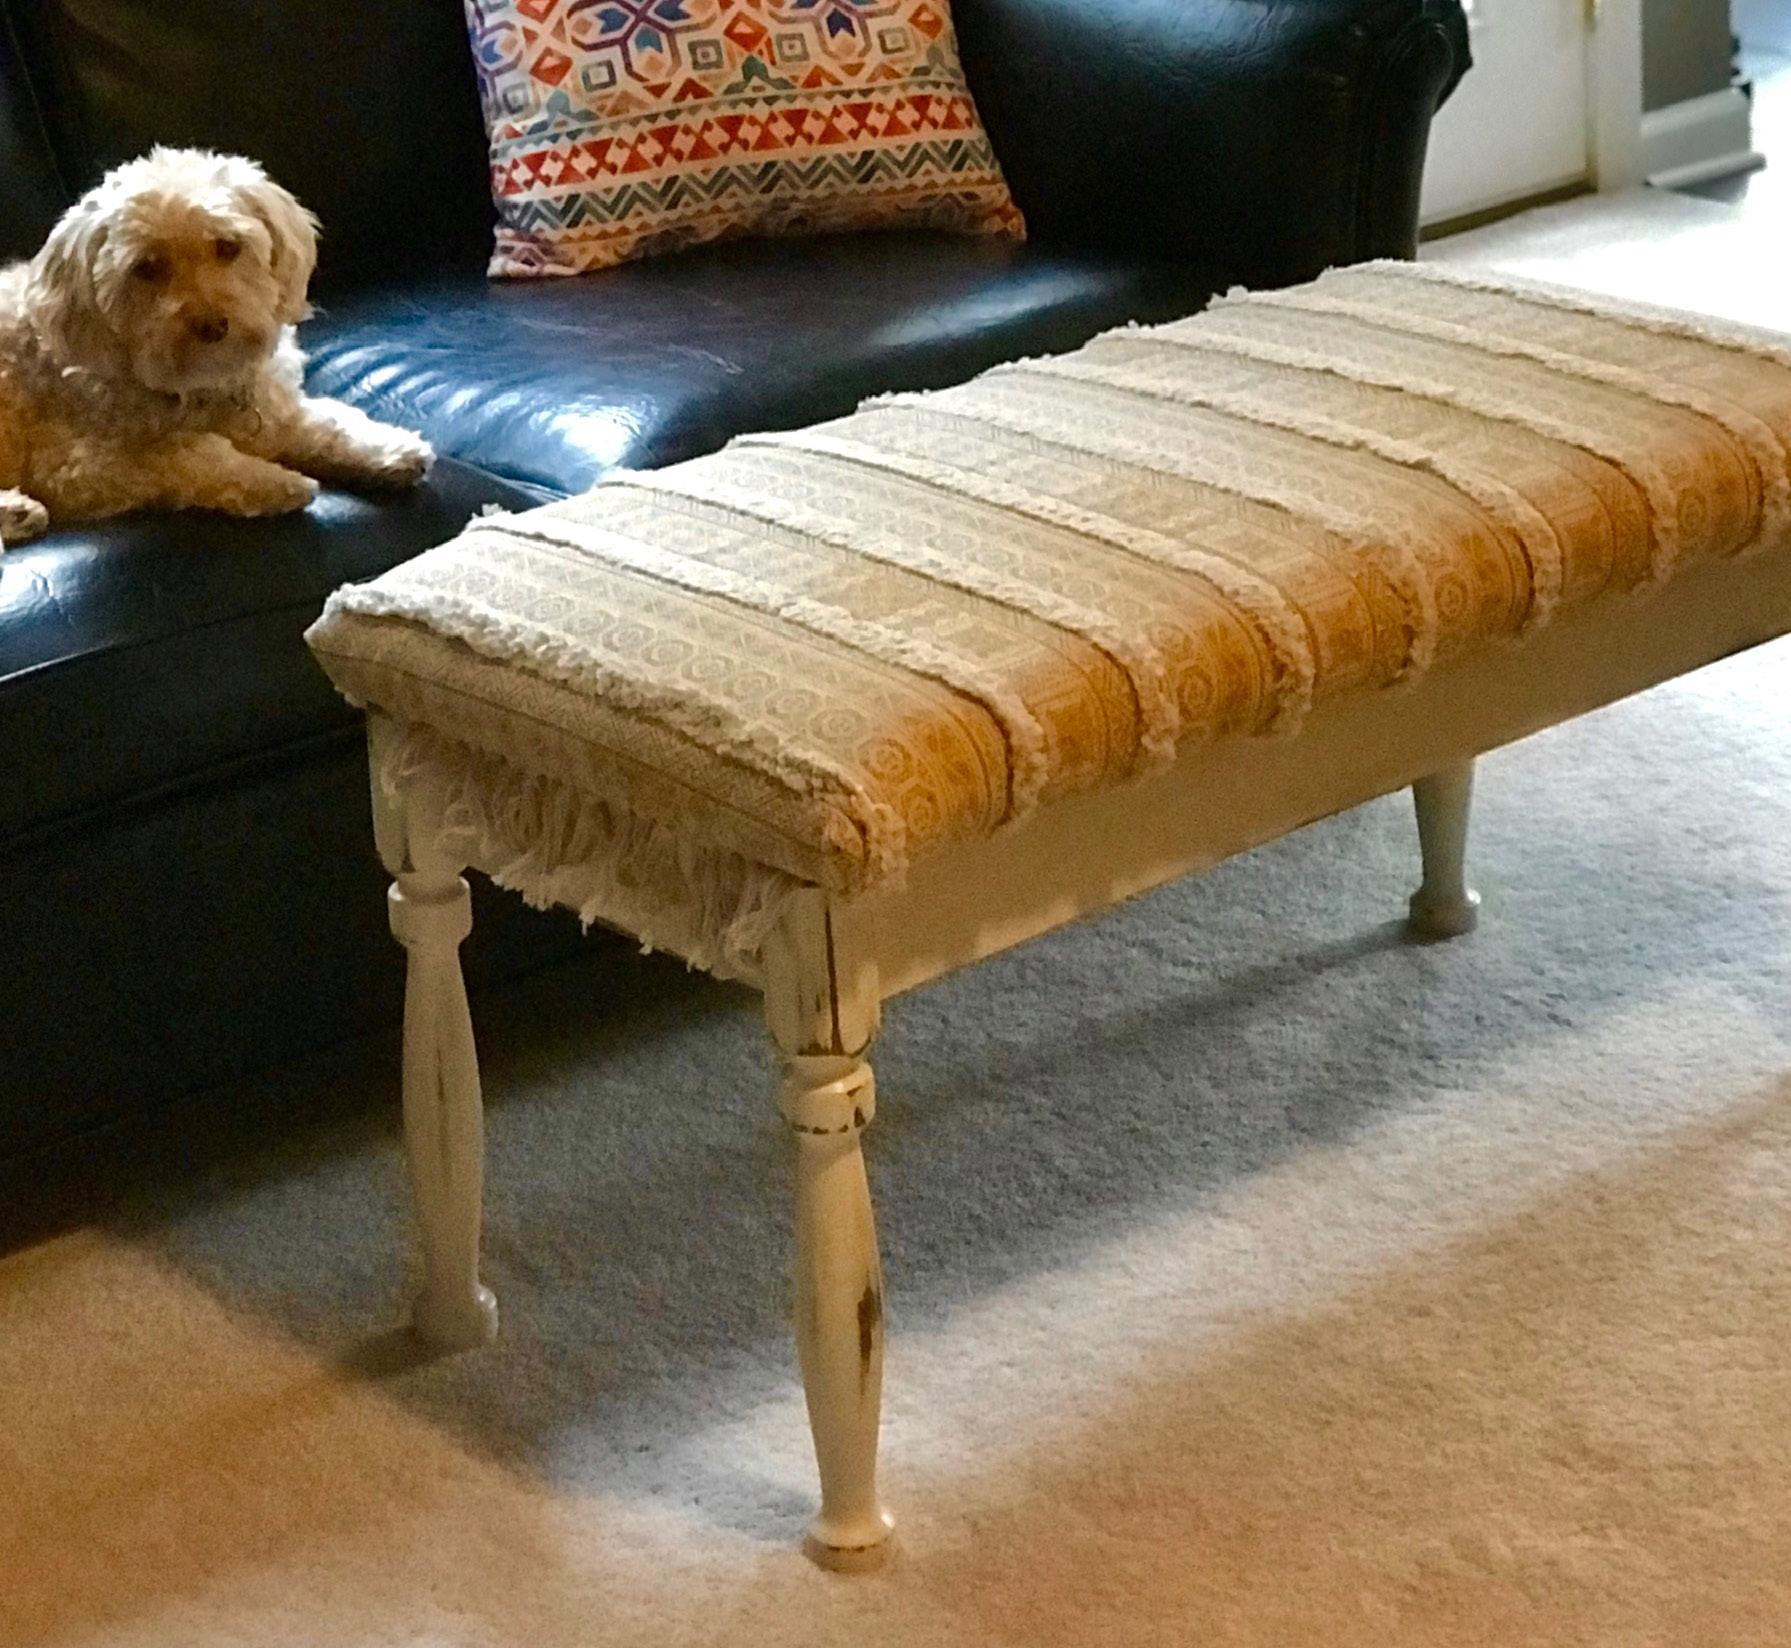
• An old piece of furniture with good bones. I chose an upholstered bench, but this tutorial can also be applied to a wooden chair with a simple upholstered seat—a good beginners project. • Drop cloth. I like to use old stained tablecloths, but any drop cloth will do. • Depending on the age of your piece, a mask to protect your lungs from the dusty old, crumbling foam. Mine was disintegrating in my hands … very messy and probably not good to breathe in. • Heavy weight or upholstery type fabric of your choice. Think about reusing here too. I find thick draperies are a good choice for projects like this, or even a little woven throw rug like I used.
Just be sure to wash the fabric thoroughly first. • High density foam at least 2 inches thick.
You can find eco-friendly latex and recycled upholstery foams, but unfortunately, you’ll most likely have to purchase online as I could not find any sold in our immediate area. • Cotton batting. Yes, you can find natural
100 percent unbleached cotton batting in our local hobby store! Yay! • Phillips head screw driver or drill with appropriate bit. • Flathead screw driver. • Stapler remover. • Needle-nose pliers. • Claw hammer. • Marker. • Tape measure. • Scissors. • Bread knife or electric knife (optional). This will make your life infinitely easier when cutting the thick foam, but if you didn’t already own one you can certainly make do with the scissors, but it’s a bit hard on the hands and you can’t get as even a cut. I used scissors, because that’s what I had on hand, and it worked fine. By the time you
layer the batting and fabric no one will see that your foam wasn’t exactly perfect. • Craft glue. Be sure to check the label as there are several eco-friendly versions out there available at the local craft store. • Cheap chip brush or an old paint brush that has seen better days. This will work perfectly for spreading the glue. • Paint color of your choice. Opt for only those labeled No VOC (Volatile Organic Compounds)
These paints are available at almost every hardware store in almost any color or finish. • Fine grit sandpaper (optional). This is only if you would like your piece to have that
“distressed” look. • Heavy duty staple gun. Mine is electric, which made the stapling a little easier as the old wood is typically quite dense and hard. • Upholstery tacks (optional).
The Doing
1. First, flip over the bench and unscrew the top from the base/legs. Typically this the top is attached either with L-brackets or the screws are tucked inside the corners. Be sure to put the screws in a safe place in a labeled envelope or bag. Sometimes these old screws don’t match up with today’s standard sizes.
Not losing them saves you a lot of time and aggravation searching the hardware store for matching screws. This may or may not have happened—oops.
2. Typically the old fabric is stapled on. You can lift the staple a bit away from the wood using either the stapler remover or the flat head a screwdriver, then pull out the rest of the way with the pliers. If nails were used, remove with the claw hammer. 3. Put your mask on for this next part, just in case the foam is crumbling. Remove the old layers of fabric, foam and batting. Unfortunately, most likely these materials cannot be recycled, so please dispose of properly.
4. You will reuse the plywood base. Give this a bit of a cleanup and set aside while you work on the base.
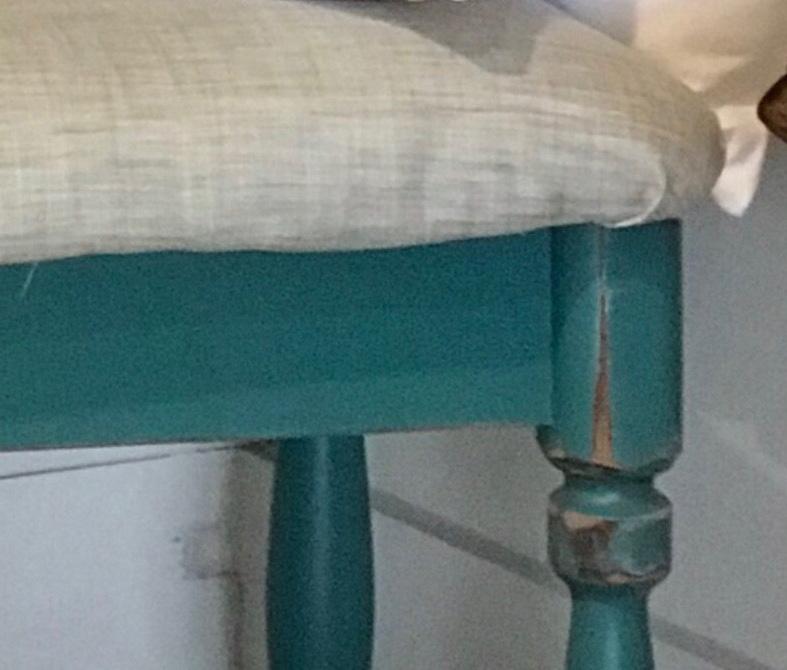
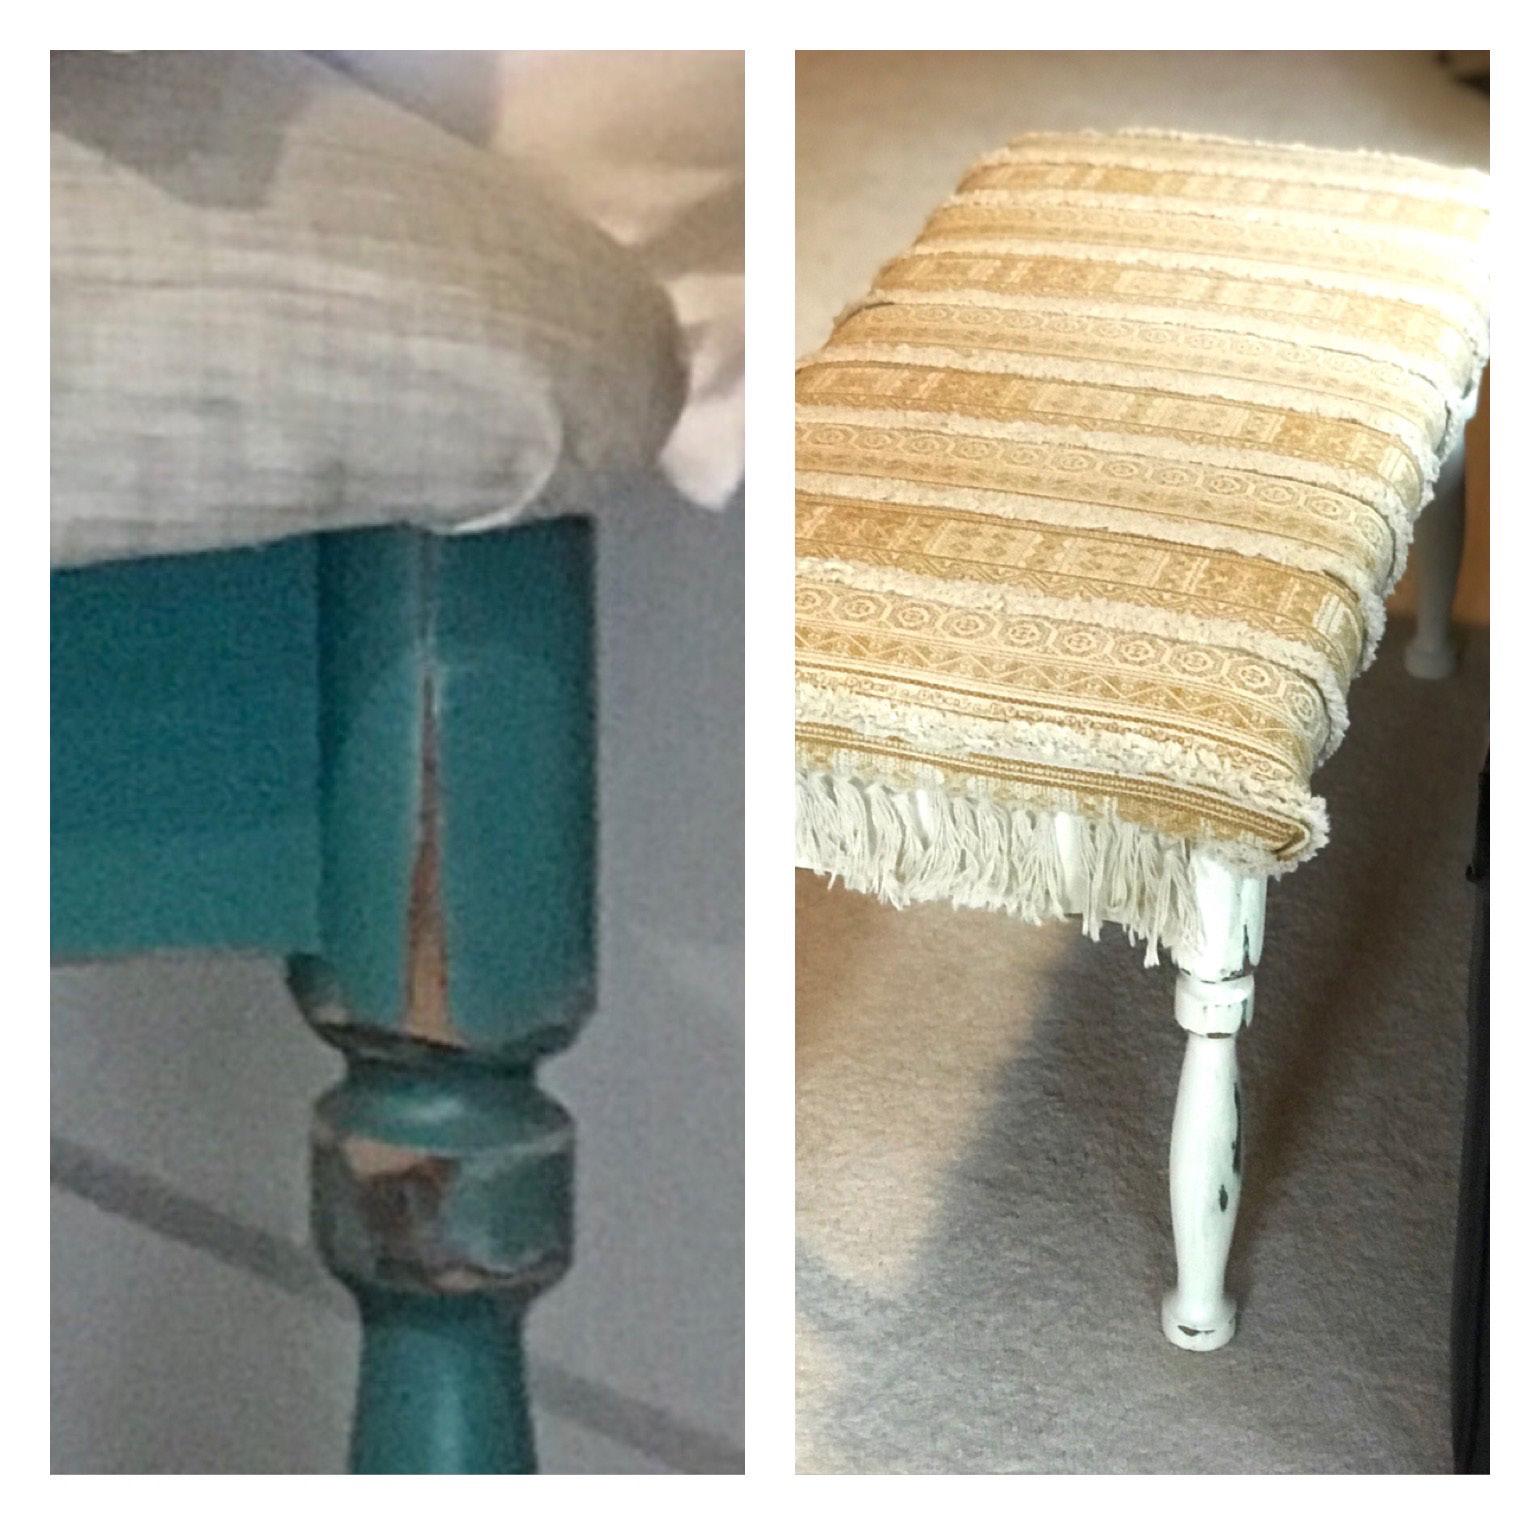
5. I do not strip or sand off the old paint or stain and I do not recommend doing it. You can’t be sure what type of paint was used, so it is safest to just cover over it. I usually use a primer/paint combo and I have never had an issue with it not adhering over the old finish. OK, grab your brush and get to painting! It took me 3 coats to get complete
coverage over the bright teal that had been used previously, might you might get it ion 2 coats. I like to let each coat dry for 12–24 hours, especially if we are having really humid weather, as my “workshop” is my garage—the climate will affect your paint somewhat. After all the coats are completely dry, if you’d like a bit of the distressed look, now is the time. Take your fine grit sand paper and simple rough up the areas that would normally show signs of wear, such as corners and outer edges. There is no right or wrong with this process. Just sand lightly here and there until you are happy with the look.
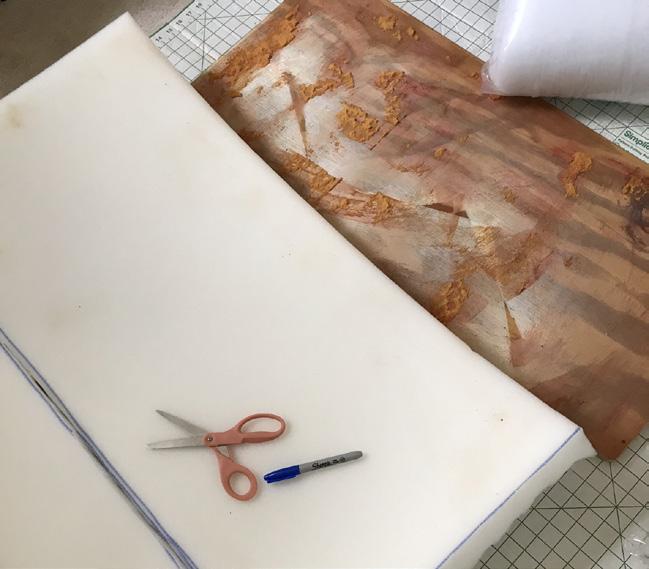
6. Now, back to the base/seat. Lay out your foam on the floor putting the plywood base on top to use as a template. Using your marker trace the outline onto the foam.
7. I actually like to cut just outside the line for a bit of added width. Use either your bread knife (with short, light, careful strokes) or electric knife or scissors to cut the foam rectangle.
8. Measure the plywood base add about 6 inches on each side. Use this measurement to cut the batting and the fabric. Remember, this will not only have to be long enough to wrap around the plywood on all sides, but also the width of the foam. Always better to have too much than not enough. You can always trim off any excess fabric later. brush, spread all over, especially in the corners and at the edges. Press the foam firmly all over the glued board and allow to dry. I put some heavy books on top of the foam while it dried to be sure it was firmly attached. Let dry completely.
10. On your workspace, lay the fabric first, right side facing down, then the batting over that.
Then place the plywood base foam side down in the center of the fabric/batting. Now, pulling taut from the center of one side, put your first staple about ½ inch from the edge. Do the same on all the sides, pulling taut and stapling in the center. Then, continue pulling taut and stapling from centers out to each corner.
11. For the corners, pinch the fabric together and hold straight up and cut off a triangle shape of the excess fabric to get rid of some of the bulk before stapling. You have 2 options here for finishing: you can either make “hospital corners” much like the way you fold your sheets when making the bed, or you can slow gather the fabric bit by bit, which has will give you more of a rounded corner. Pull very tightly before stapling. The fabric I used was very, very thick, so to be sure it was extra secure I also hammered in upholstery tacks all the way around. (If you feel yours will hold firmly in place with just the staples, then this step is not needed.)
9. Time for gluing. This may seem like an extra step, but it really does help with possible shifting of the foam during use later. It’s good to make a strong foundation from the beginning than to maybe have an issue later.
Pour out quite a bit of the glue onto the plywood, right side up, and using your chip 12. Now flip the base with the legs over on top and screw it back together. Turn your bench right side up and you have helped save something from the landfill while adding a “new/old,” awesome, one-of-a-kind piece of décor to your home! Be proud! You’re on your way to a more sustainable life. Good job! SP