

Tackling spring cleaning without first decluttering a few rooms, drawers, or cupboards can be futile. Is this task worth the effort? The answer is a resounding yes. Getting rid of unnecessary things gives you, among other things, an incredible feeling of lightness and well-being. Here are a few tips on how to make this chore go smoothly.

Many find that sorting through their belongings brings up various emotions. Can you relate? To lighten the emotional load, start with items with little or no sentimental value, such as leftover renovation materials or take-out containers that can go in the recycling bin.
Once you’ve done this, sort through other items. When deciding if you should keep something, ask yourself if it’s useful. If you haven’t used it in over a year, it’s not essential. If you’re reluctant to part with an expensive item, remember that you can sell it to someone else who can give it a new life.
If you have several duplicates of nearly identical items, keep only one or two (the least worn, for example). If you’ve been hoarding clothes that no longer fit, be realistic. Sell them if they’re in good shape or donate them to an organization that helps needy people.
After decluttering, reward yourself with a relaxing massage or meal out.
Clean mirrors, windows and glass furniture add instant sparkle to your decor. In your haste to get the shine, you may make mistakes that cause you to double your efforts. Avoid these five habits to get the best results the first time.
1. Cleaning when the weather or lighting is bad, like freezing rain or glaring sun

2. Neglecting to dust surrounding spaces, like mirror frames, before cleaning
3. Using a poor-quality cleaning solution
4. Drying surfaces with a non-absorbent, dirty or lintcovered cloth
5. Forgetting to wipe the squeegee after each pass
Purchase the best cleaning products and accessories at your local stores. You could also try hiring a cleaning pro for dazzling results.
5 mistakes to avoid when cleaning your windows and mirrors


Have you carefully sorted your belongings down to the essentials, but your home is still a mess? Don’t worry! Here are a few tips to help you tidy up.
1. Take advantage of space. Go around your home and look for unused spaces underneath staircases and beds, over cupboards and behind doors. Make the most of this space with hooks, shelves and storage bins.
2. Store seasonal items. For
instance, put your camping gear and Christmas decorations in marked bins or bags and store them in your basement or shed. Make sure these items are easily accessible when you need them.
3. Keep frequently used items at hand. It doesn’t make sense to stow away items you use several times a day or week. Instead, place them within easy reach or on attractive displays. Keep rarely used products
out of sight unless they’re particularly decorative.
4. Invest in multifunctional furniture. Convertible furniture, multi-purpose shelving and storage benches or ottomans are perfect for stowing away things in style. Visit your local stores to explore your options.
Consult a specialist in your area for personalized advice on organizing your home.
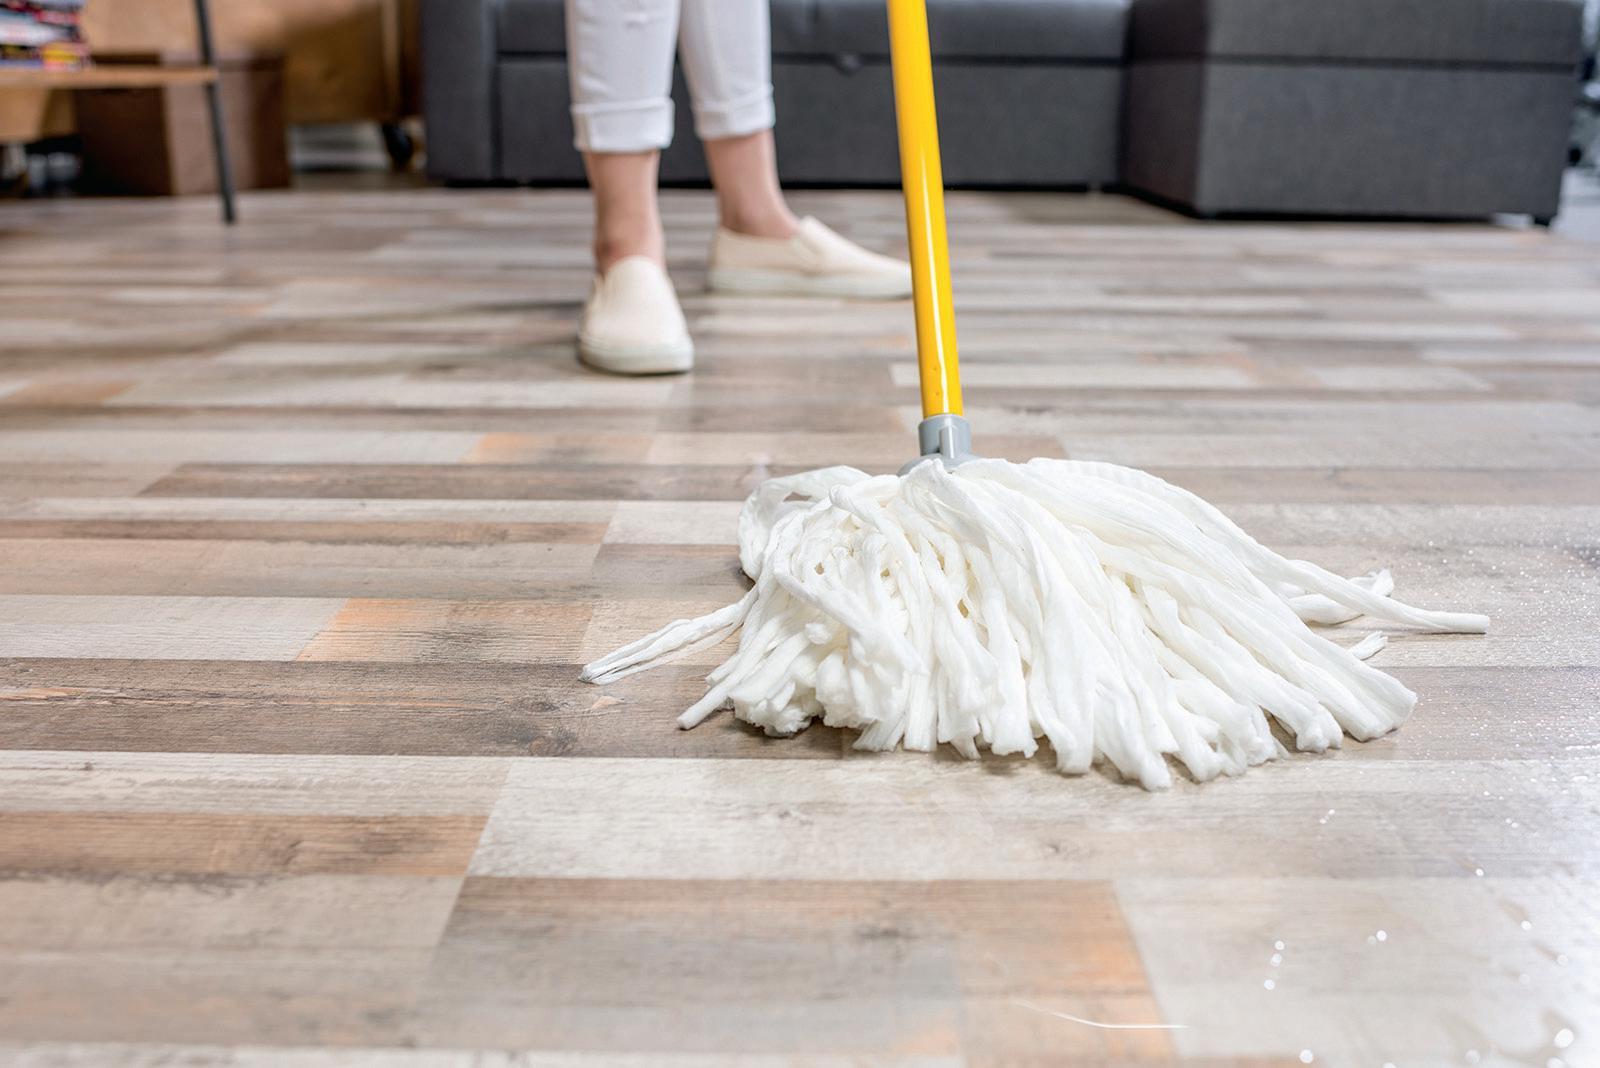
Have you finished most of your spring cleaning but haven’t washed your floors? Here are a few tips for maintaining your flooring without damaging it.
• Ceramic tiles. Clean the grout lines with a product specifically designed for this purpose. After letting the product soak in, scrub the grout with a clean brush or cloth and rinse. You can easily clean the surface of the tiles with a mixture of water and white vinegar.
No matter what type of flooring you have, remove debris, crumbs and dust with a broom, vacuum or cloth before you start cleaning.

• Vinyl. This popular material is easy to care for and will look new for years. Gently mop the floor with a vinyl cleaner to remove grime. Then, rinse with clean water and let dry.
• Floating floor. This type of flooring is practical and attractive but vulnerable to moisture. Therefore, avoid soaking it with water when washing it. Purchase a product designed for floating floors. Follow the instructions to restore your floor to its
former glory.
• Hardwood. Restore the shine of this elegant material with an environmentally friendly, no-rinse cleaner. That way, you won’t leave behind streaks or residue. Avoid using scouring pads and other aggressive tools to remove stains. These items could damage the floor’s finish.
Visit local stores to find products and accessories to make your floors shine.
Washing painted walls can be tricky and requires special care. Follow these steps to avoid marring the paint or leaving unsightly scuffs.
1. Gently remove dust and cobwebs with a vacuum cleaner or duster.

2. Place old towels along the baseboards to absorb excess water.


3. Wash the walls with a sponge or mop, working from top to bottom. Gently scrub away stains as needed. Water alone is usually sufficient for surface dirt, but you may need to use a mild detergent for stubborn stains.


4. Dry the cleaned and rinsed surfaces with a fresh cloth as you go.


Psst! The darker the paint color and the more matte the finish, the less scrubbing you should do.


Do you have high walls that are nearly impossible to reach? Use a telescopic mop or hire a professional cleaner.
While spring cleaning your home, don’t forget about textiles. Here are a few tips for cleaning your quilts, bedspreads, curtains, cushions, duvet covers and more.


1. Before putting any textiles in the washing machine, shake out all the dust and debris or vacuum them. This will make cleaning more effective.

2. Metal accessories such as zippers can damage delicate fabrics. Don’t take any chances! Wash your delicates in a separate load. Also, place particularly fragile fabrics, like lace, in a mesh laundry bag.
3. Use a mild detergent, and don’t use bleach which can discolor your fabrics.
4. Wash your fabrics in cold water on the delicate or normal cycle. Follow the care instructions on the label whenever possible.

5. The drying method you use depends on the fabric type. You can generally use the dryer for heavy-duty textiles. However, hang other materials to air dry before steaming or ironing them.
If you have any items with special cleaning needs, bring them to your local dry cleaner.

Sometimes, it’s not that you have a black thumb. Maybe you’ve been buying the wrong plants for your USDA growing zone. The growing zones are a temperature minimums for your area, ranging from the coldest — 1a, or -60 to -55 degrees Fahrenheit — to 13b, or 65 to 70 degrees Fahrenheit.

Each zone represents the mean extreme minimum temperature — meaning it’s the average coldest temperature. It does not mean that that’s the coldest it’s ever been or ever will be. You should still prepare for somewhat colder temperatures than what is shown on the map.
info@burklandgardens.com (360) 228-5400
burklandgardens.com


You can find your USDA growing zone by going to the interactive GIS map at planthardiness.ars.usda.gov and entering your ZIP code. If you don’t
have a broadband Internet connection, you can also find static images that will load better on your connection. Experts at your local garden center or agricultural extension office will also be able to tell you your hardiness zone.


This is the first time the USDA has offered the upgraded GIS map, and it’s been updated with data from 1976-2005. GIS technology has a higher level of resolution and can show smaller areas of zone definition than previous iterations of the map. It may show, for example, a warmer zone around a larger city because cities tend to hold more heat than rural areas or a cool spot around a hill and valley.


The new map also has new zones. Zones 12 and 13 have annual extreme minimum temperatures above 50 and 60 degrees, respectively. You can find these zones in Hawaii and Puerto Rico.
Even though these zones do not include a freeze, they will enable gardeners in these areas to plan for conditions to suit tropical and semitropical plants.

What you shouldn’t use the zones map
for is any evidence of climate change. Climate changes usually show up in records for 50 years or more. Because the zone map uses 30 years of data, it shouldn’t be considered reliable evidence of whether or not there is global warming.
After a winter running the furnace, call an HVAC professional to have your air ducts professionally cleaned out. Clear ducts means the cool air from your HVAC moves more efficiently around your house and without spreading dust, dander, mold, mildew, fungi or anything else.
You should also change your air filters at least every 30 days for most filtration systems (check your HVAC owners manual or the instructions on the filter). Dirty filters will overwork your HVAC and shorten the life of your system. It also won’t work as well, meaning you’ll be paying higher utility bills. While you’re cleaning out, you want to check your outdoor components as
well. Clear out leaves, branches and sticks from the equipment before kicking it on for the year. You may even find some small creatures have made their home inside your HVAC unit. Be careful when clearing out debris not to bend or break any of the metal fins on your condenser unit.

Check around the inside and outside parts of your HVAC and look for any leaks or cracks. Also keep an eye out for any unusual corrosion. If you see anything suspicious, have the HVAC technician out before turning on your system.
Finally, if it’s passed every other test, turn on your A/C and make sure it’s blowing an accurate temperature out of the air ducts in every room. Make sure the registers are all open, even if you rarely use that room, and look for any abnormalities inside and out.
You can also have a technician come out for a routine check of your system before turning it on for the year. Some companies even offer service plans that make this more cost effective and repairs less stressful.
As the mercury starts to creep up after winter’s chill, you might start to be tempted to kick on the air conditioner to cool down the inside of your home. But before you reach for the thermostat, there’s some maintenance you need to do to ensure a summer free of HVAC catastrophes.
Wipe off winter’s gloom by sweeping off the patio and clearing it of debris and grime. Sweep off the surfaces and the furniture, then spray everything down with a cleaner appropriate to the surface. If you have a stone patio, pay special attention to the grout. For wooden decks, make sure you remove any slippery moss or mold that may have accumulated.

If your furniture was stored for the winter, take off the covers and launder them according to the care tags. Wipe down your patio furniture and check if it needs any repairs or freshening — perhaps new cushions or throw pillows — for the season. Open umbrellas and look for holes, tears or other signs of wear. Make sure light fixtures work.

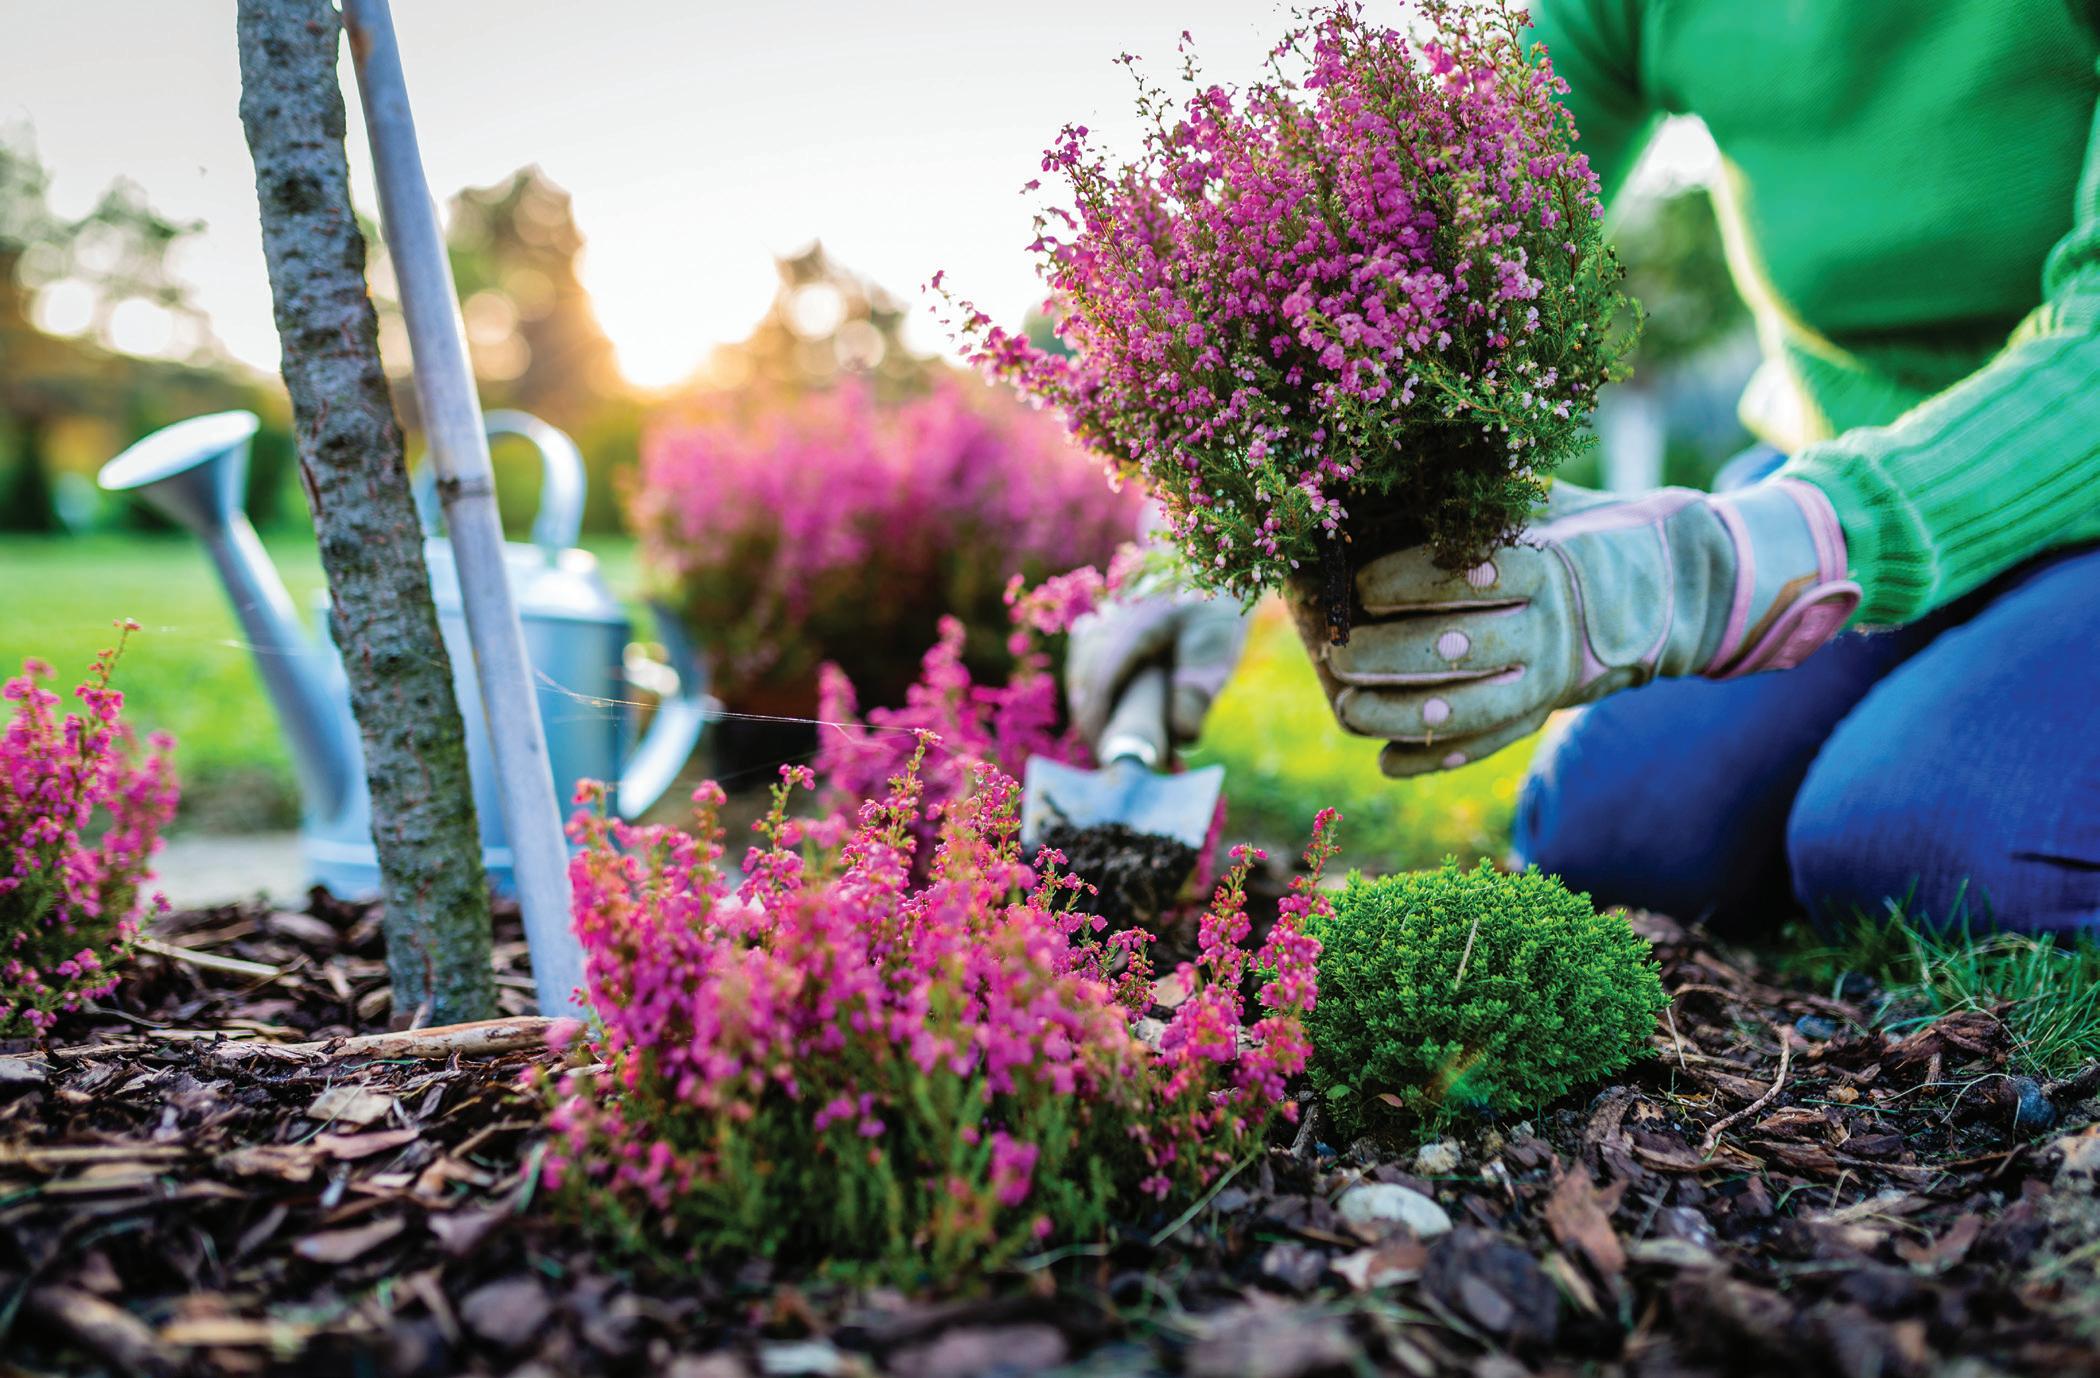
Take out your old planters and clear out last year’s debris. If you’ve got perennials in, top them off with a fresh layer of soil and water them to get them growing again. If you’re planting annuals, add dirt as needed and put in your fresh pops of color. For flower beds, remove any leftover leaves and debris, then put down fresh soil and mulch as needed. Make sure to clean up
the edges and replace broken or peeling edging.
Look over your patio lighting and make sure it’s in working order. Replace bulbs that need replacing. Consider adding more lighting for seating areas, conversation spots or to highlight new plants in the garden.
If you’re tired of your patio furniture’s
look or if winter left it a little shabby, whip out the spray paint and give it fresh life with a new coat of paint. Top it off with weatherproof throw pillows and cushions to make your outdoor space sing.
Lastly, look over your space and see if you can make any additions. Garden centers are adding their spring looks right now and a fire pit, string of twinkle lights or a fresh new hammock may be just the touch your patio needs.
With spring in the air, it’s time to dust off your patio and get ready to enjoy the great outdoors again. Before you start planning the cookout, here’s what you need to do to get your outdoor spaces picture perfect.
This helps plants reproduce (meaning flower and fruit). Not only are the flowers and fruits pretty and tasty, but pollinators at work also help prevent soil erosion and shrink carbon footprints.

Help pollinators by creating space in

your garden for them. Here are some pollinator favorites from the gardeners an Monrovia.
Stonecrop, or sedum: Rich foliage and clusters of flowers are the hallmark of this perennial. It’s available in a variety of colors and heights, including a groundcover variety that’s popular with bees.
Milkweed: It’s not just a source of food for monarch butterfly larvae. Milkweed nectar is also good for a whole host of butterflies and bees. There are many varieties, but choose one that’s native to your area to support your local pollinator population.
Coneflower, or echinacea: Traditionally petaled in bright pink, there are now varieties of coneflower in every color of the rainbow. No matter what color you pick, these tall, showy blooms look great in the garden.
Lavender: It smells great and attracts hordes of pollinators. Gardeners in warm, humid climates may find lavender
tougher to grow, but there are varieties that work.
Cape fuchsia: This hardy perennial is a favorite treat for hummingbirds. The plant boasts tubular flowers that are perfect for the tiny birds to sip from. Hardy from zones 6-10.
Yarrow: Beautiful yellow flowers and ferny foliage aren’t the only treat these plants pack. Yarrow also attracts hoverflies, lacewings and ladybugs which, in turn, will eat up aphids, mealybugs and mites.
Goldenrod: Fluffy orange flowers are an important food for migrating monarchs and also benefit bees, the good kinds of wasps and helpful flies. Look for an easy care variety that brings beauty to the garden without a lot of work.
Bluebeard: Deep blue flowers appear in the late summer and go into fall, when pollinators need the nectar most. Add bluebeard to prairie and wildlife gardens to extend the pollinator feast into autumn.
are what make the gardening world go ’round. Birds, bats, bees, butterflies, beetles and small mammals work to pollinate plants just by going about their busy lives in our garden.

For this job, you want to look for an exterior painter. They will handle all the surfaces on the outside of your home. Some painters only do interior work; save them for when the kitchen needs updating. Before you start making calls, familiarize yourself with the surfaces on the outside of your home. Look around home stores and decorating magazines to get an idea of the look you want. You can even go so far as to get sample paints to give yourself a good idea of what colors you might like.
HomeAdvisor says that exterior painting can cost upwards of $4,000, so it pays to do your research here. Always get three to five estimates for any work to be done on your home. Before you call painters out to look at your home, see if you can go look at work they have done in your area.

Before giving you a price, a reputable painter will come out to look at your home. They will walk around and look at your current paint and evaluate any obstacles you have around the house. The more thorough the inspection that they do, the more accurate your quote
will be.
Show each painter the looks and colors you have in mind and get their opinion. They may suggest that walls that get an extreme amount of sun be painted a lighter color or they may know that a certain product or finish doesn’t work well in your weather conditions. Listen to their expertise, but beware of getting pushed into using something you don’t want.
The painter will then give you an itemized quote. Compare the quotes that you got and note the differences in each one. Get references and call them to check.
HomeAdvisor suggests these questions to ask a paint contractor:
1. How long have you been in business?
2. Are you licensed and insured?
3. Do you belong to any professional organizations?
4. How long will the job take?
5. How many people are in your crew?
6. Will I be in the way if I’m at home while you work?
7. Do you guarantee your work?
8. What type of paint do you use and how long is it rated to last?
If spring has you thinking about an exterior refresh, you might be looking to hire a house painter to give your home a new look, follow these hints to make sure you get a pro.
up to 3,000 pounds per square inch of pressure. Make sure you match the material you’re washing to the power of your equipment. Home Depot says that vinyl siding can take up to 3,000 psi while aluminum, stucco or soft-grain woods should get no more than 1,500 psi. There are also a variety of wands and attachments to make your job easier.

But
Power washers are either electric or gas. The gas units tend to be more powerful than electric ones, delivering
Many home stores will rent the power washing gear that you need so that you don’t have to buy equipment of your own. This is an ideal situation if you’re going to do projects like your home, driveway and deck, say, once a year. If you’re going to wash your vehicles
often or need to do several jobs a year, consider buying either an electric or gas washer to meet your needs.
Before you start washing, cover items such as light fixtures and air conditioner compressors on the exterior of a home. Also cover any plants that are close to whatever you’re going to power wash. Make sure to note the locations of windows and electrical outlets. Cover the sockets with tape and avoid them while washing. Pre-scrub the exterior with a scrub brush or spray it down with a garden hose to remove dirt, debris and mildew.
You also want to don your safety gear before turning on your power washer. Use safety goggles and work gloves. Never use a ladder while power washing because the pressure could cause you to lose your balance. Keep the power washer wand at least six feet away from wires. Don’t spray into outlets, cracks and holes. Do not point the power washer at people or pets.
Mix the detergent and water according to manufacturer directions. Attach the washer to your garden hose. Then, attach the wand you want to use to your sprayer. Step back three feet and test the power washer against your surface, adjusting the pressure until you can remove dirt without damaging the surface.
Once you’re done, turn off the washer and disconnect it from the hose. Follow the manufacturer’s directions for proper storage and use the garden hose to rinse any excess soap. Remove any protective tarps and leave your item to dry.
Few things are more satisfying than washing off a coat of winter grime with a power washer. You can use them on windows, walls, pools, driveways, walkways, grills, outdoor furniture, fences, vehicles, decks and more.
there are some safety rules you should keep in mind. Let’s get started.

Spring is a great time to get growing again, and that includes laying a strong foundation in your garden. Mulch is probably part of your gardening plan and, if it isn’t, it should be. Mulch helps control weeds, enriches soil, improves moisture retention and adds visual appeal to your gardens and flower beds.
You should lay your mulch in the spring after you’ve gotten your spring plants in. It’s the icing on your gardening cake. In autumn and winter, you lay mulch to keep plants from shifting and to protect tender plants from colder temperatures. You can also mulch around trees or other things in your yard to add visual appeal. When the mulch has fully decomposed into the ground, it’s time to replenish and refresh.
There are many types of mulch to use in your gardens, including wood bark, wood chips, plastic sheeting, rubber mulch compounds, colored woods, pine straw, grass clippings, manure and newspaper. You want to choose a mulch that works well in your environment and in a color that compliments your landscaping and your home. Dyed mulches should be kept dry for at least 24 to 48 hours to keep from staining hard surfaces around them.
Wear gardening gloves to protect your hands from dyes and splinters.You should also wear old, comfortable clothes that you won’t mind getting dirty. You might also choose to wear a face mask if you’re prone to allergies. Move the mulch with a wheelbarrow or cart and a shovel, making sure to lift with your knees and not with your back. Rake the mulch into an even layer.
If you see mold on your mulch, turn it gently and spread it evenly again. All the surfaces should be exposed to air and light. As the mulch dries, the mold should go away. If you see weeds sprouting through the mulch, remove them by hand or use a weed and grass killer for large patches. Sun and rain will fade and deteriorate your mulch — that’s partially what organic mulches are meant to do to enrich the soil. Turn it gently to keep it looking fresher longer.


