6 minute read
How it’s Made


by Kim Walker
Most pool players have seen the many different pool cues used by players everywhere. Pool cues are different length, different weight, different diameters, and are mostly made from wood but, many other materials have been used.
Advertisement
I intend to build a pool cue and show exactly how it is done, by me. I say “by me”, because there are many ways to build a pool cue. Some ways are better than others. I will show you my way. I will show you with pictures and explanations exactly how it is done, from start to finish.
Before we begin, I will tell you a little about myself. I retired a few years ago after a long career of electronic repair, mechanical repair, and technical training. I play pool and I thought that I could build a pool cue. What did I know? I was like many other pool players. I thought that you throw a piece of wood in a lathe and you whip out a pool cue in no time. After all, how hard could it be, it’s just round wood? I wasn’t doing this very long before I came to see the big revelation. A simple Merry Widow or Plain Jane cue can have as much as 25 hours of build time in it. Building cues is a never ending learning experience. It involves a myriad of intricate techniques, methods, procedures, and abilities. I am far from knowing it all. I feel that I have just scratched the surface.
In the beginning, I thought that I would build myself a few cues and build a few extra and peddle them off at the local pool hall. I thought that this would pay for my cues too. The truth is that I am still loosing money. I now have about $20,000 worth of tools and materials and I still haven’t made a profit. I tell people “I’m not making a profit but, I’m losing less.”
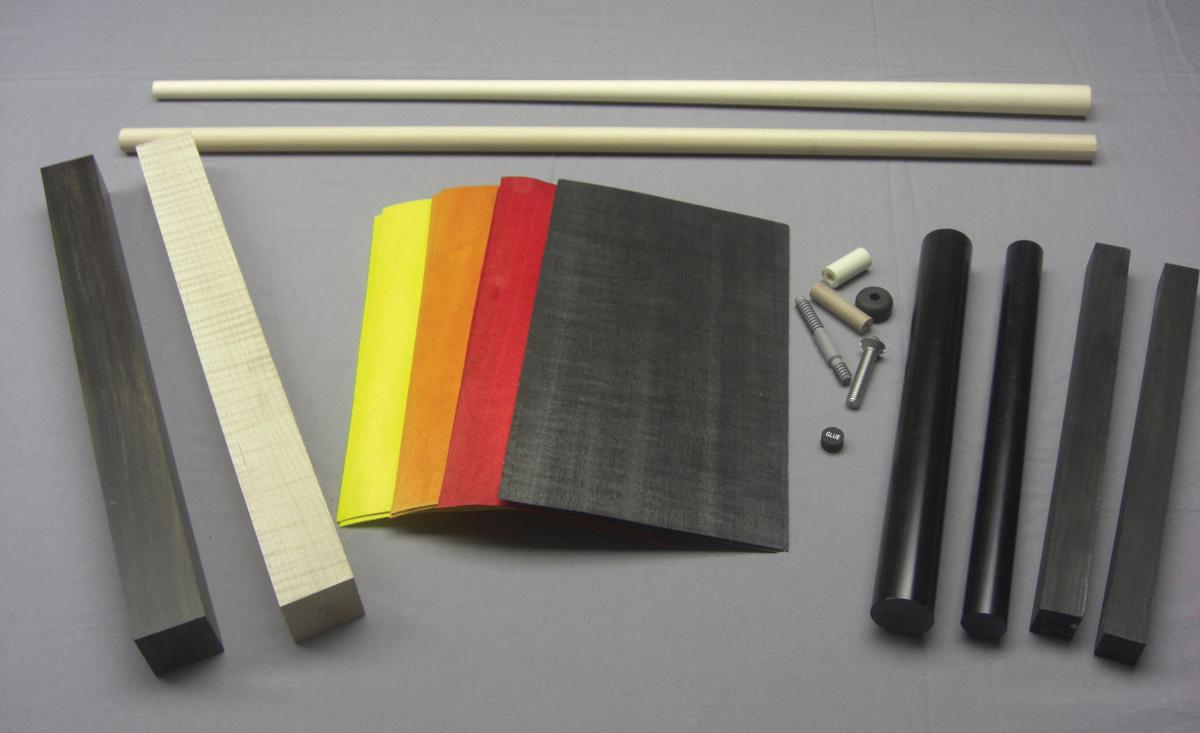
Well, I built myself a few cues and some of the local league players asked about them when they saw me playing with them. A few of the best players in town offered to buy a cue if I made it to their specs. So I made a few, using my best skills, materials, and techniques (at the time). They were well liked because, it seems that my methods produce a cue with a nice hit. I like to feel the cue strike the cue ball. I like the feed back you get when the vibration transfers down the shaft to the butt and to you hand, Evidently, so did they. My first customers talked up my cues with other players I have never advertised my cues in any way. Before I had been building cues for 6 months, I had a back log of about 20 cues and back log has never been less than 20 for 3 years. Enough about me. Let’s build a pool cue. First we need the materials that will be used to build it. The picture shows all the materials that will be used. I will list them.
Figure 1
• an 18 in long by 1 ½ square piece of Curly Maple • an 18 in long by 1 ½ square piece of Gaboon Ebony • sheets of dyed veneers for the points and the rings • a 1 in long Juma ferrule • a G10 3/8-10 joint screw • a ½ in diameter and 2 in long phenolic shaft insert • a rubber bumper • a 3/8-16 weight screw • a Ultra Skin medium tip • a 12 in long by 1 in diameter round black Juma • a 12 in long by 1 3/8 in diameter round black Juma • 2 Gaboon Ebony 1 in square by 12 in long for points • a rough tapered 30 in hard maple shaft dowel • a ¾ in by 30 in long laminated maple coring dowel
We will start by making some square things round. A few tools are needed.
Figure 2
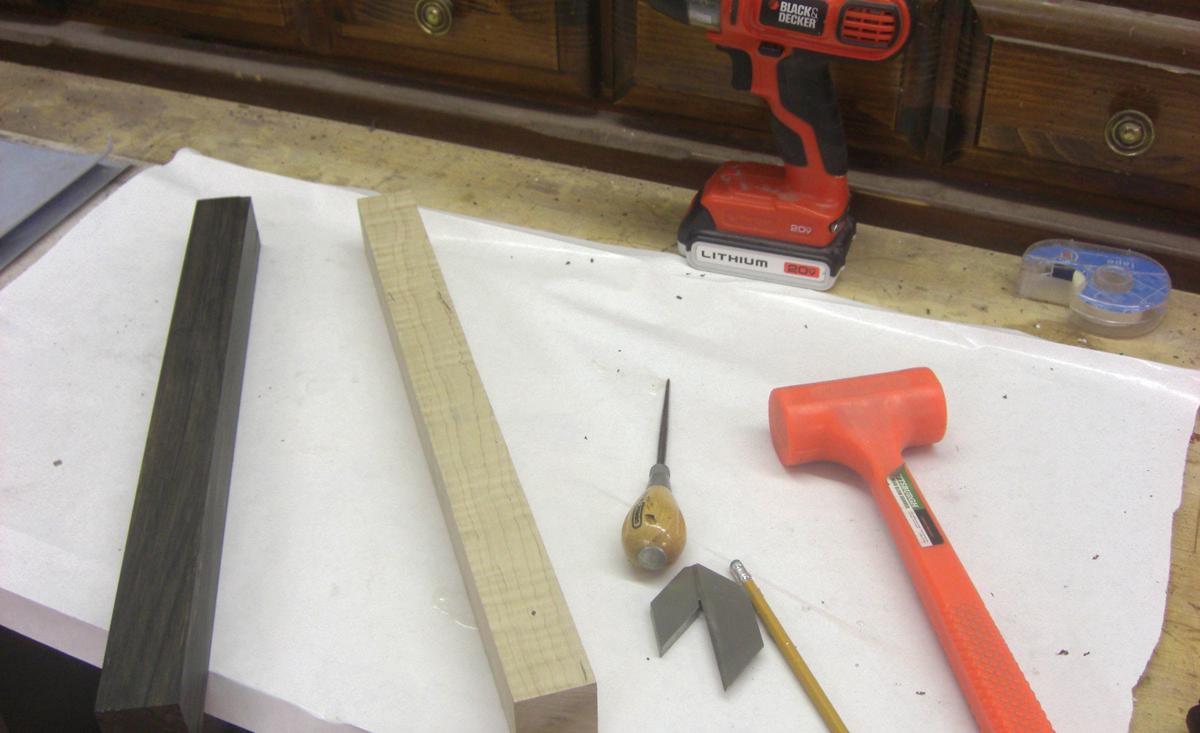
Figure 3
Next we make a pilot hole using an awl and the dead blow hammer.
Figure 4
Then we will drill a 3/16 hole in both ends of each piece
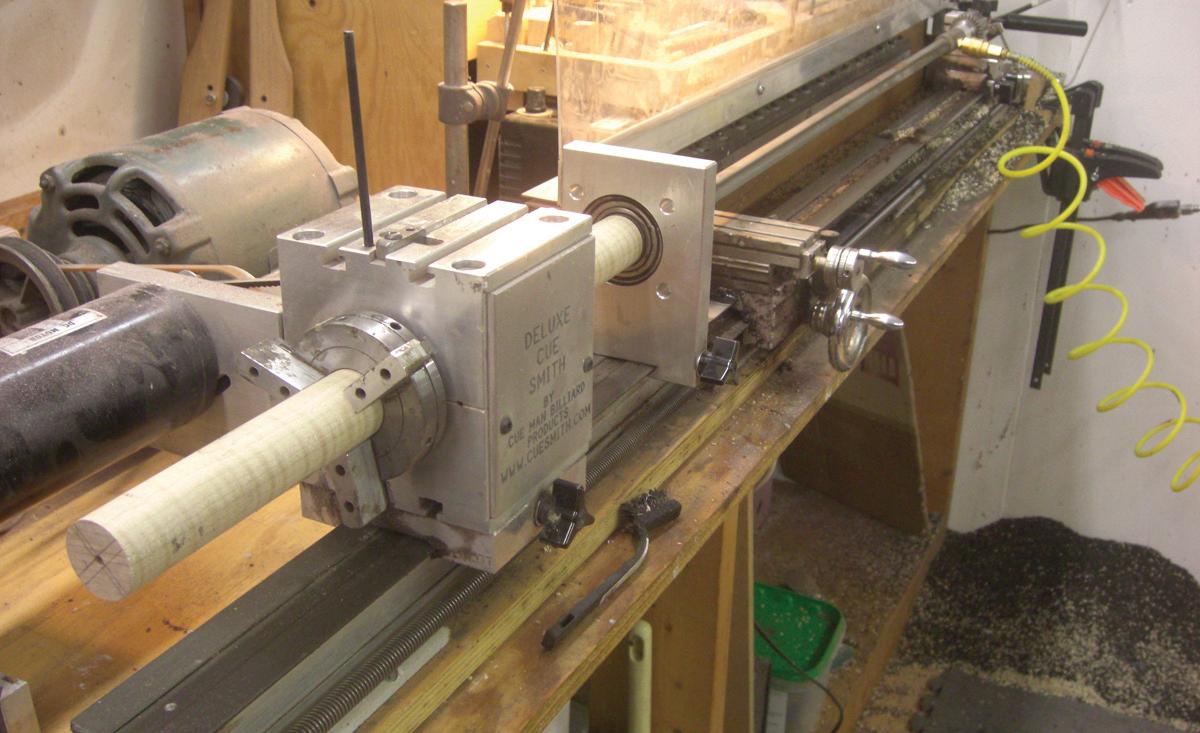
so we can hold them between centers on the lathe. Figure 5 With the Curly Maple piece mounted in the lathe, we begin to cut it with a router. The wood spins about 200 rpm and the router. with a ¾ in straight carbide bit, spins at 20,000 rpm. The router travels up and down the lathe slowly turning the wood round.
Figure 6
The corners are off and things are beginning to take shape.
Figure 7
The piece needs to be about 1 3/8 inch so it will fit in the lathe head stock.


Figure 9
They are round and now they need to be cored.
Figure 10
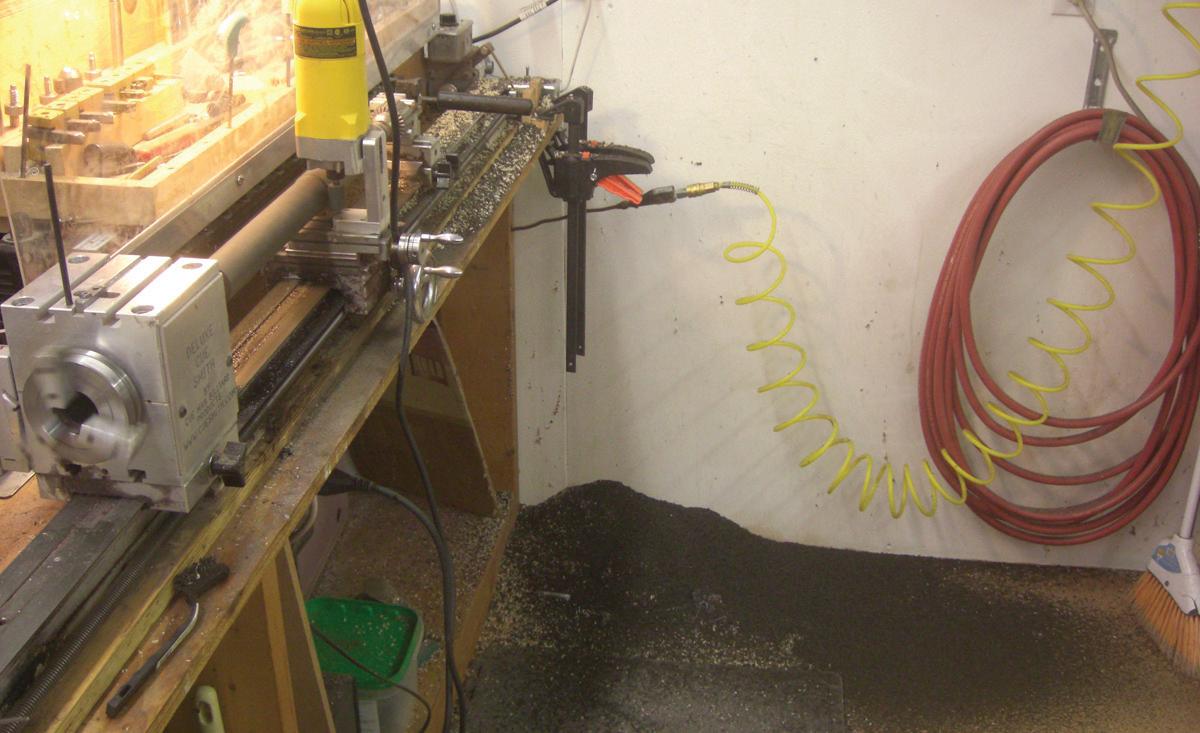
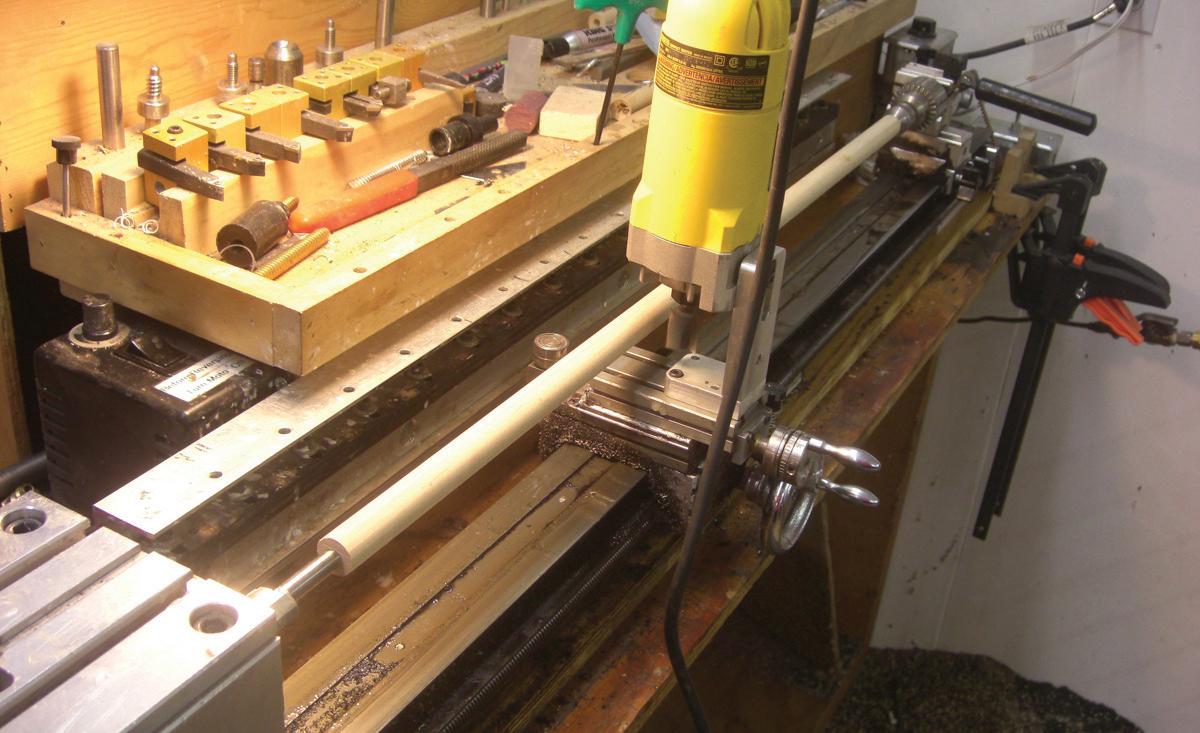
The piece is mounted in the lathe and we switch to the ½ hp AC motor because this procedure is a little much to ask of the DC motor. I use a 36 in long ¾ in gun drill. Air is is fed through the drill to the tip at 40 psi to keep the drill and wood cool and to blow out the chips as the drill goes through. It takes about 10 minutes to drill all the way through. The gun drill comes out within about 20 thousands of an inch every time. A regular drill would walk off center as it follows variations in the grain, so a regular drill bit cannot be used.
Figure 12 Next the ¾ in coring dowel needs to be trued up and turned to .735 to .740 in for clearance.
Figure 13
The Curly Maple and Gaboon Ebony are cut to approximate size. The pieces are left to rest for a week or two. This will allow them to acclimate to the shop environment. It is important the all the pieces are at the same moisture level before assembly to prevent movement later.
Figure 14


If you compete in tournaments, gamble, play pool regulary, or occasional 8-Ball, 9-Ball, One-Pocket or Straight Pool, these tapes will cut your learning curve by years, it may even turn you into a winner.


