10 minute read
Big ‘Yak Bream
Targeting trophy North Coast estuary bream
Jonty Kruska
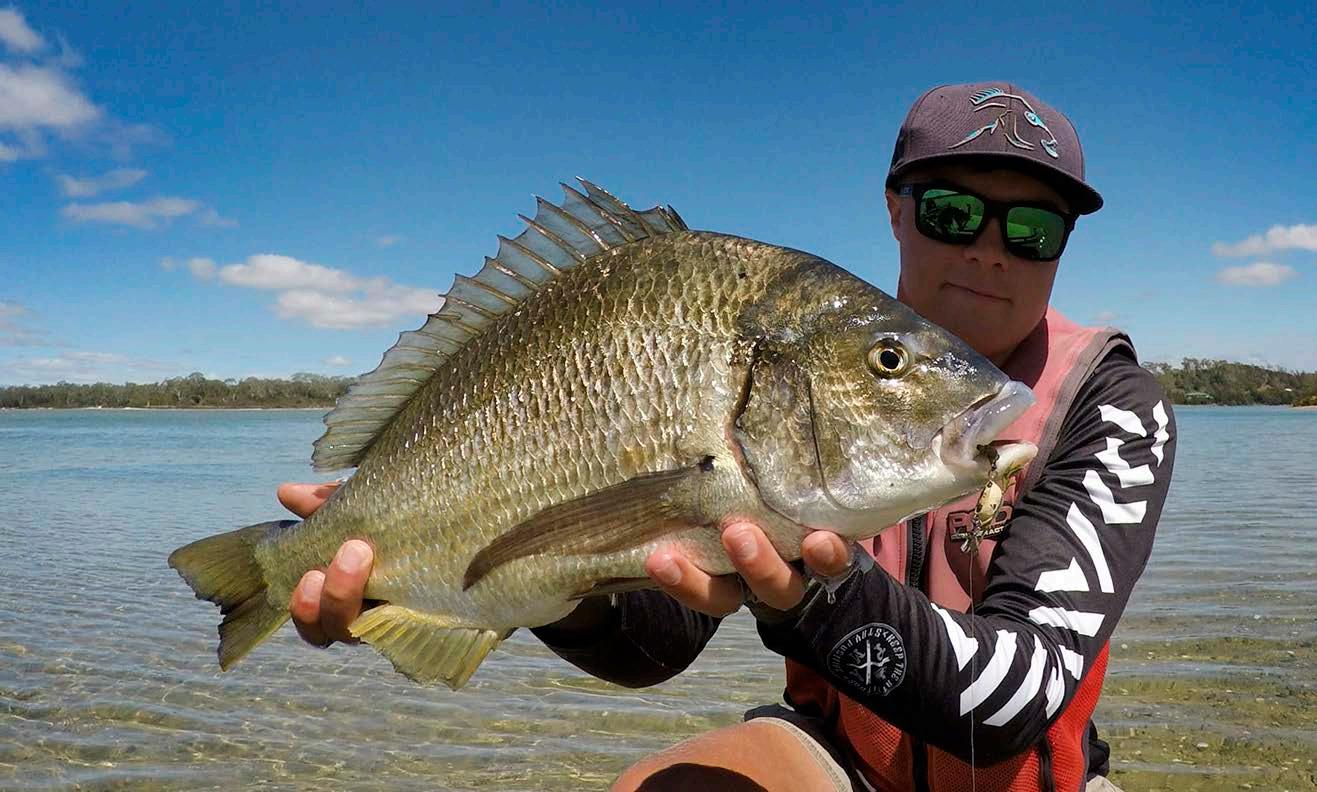
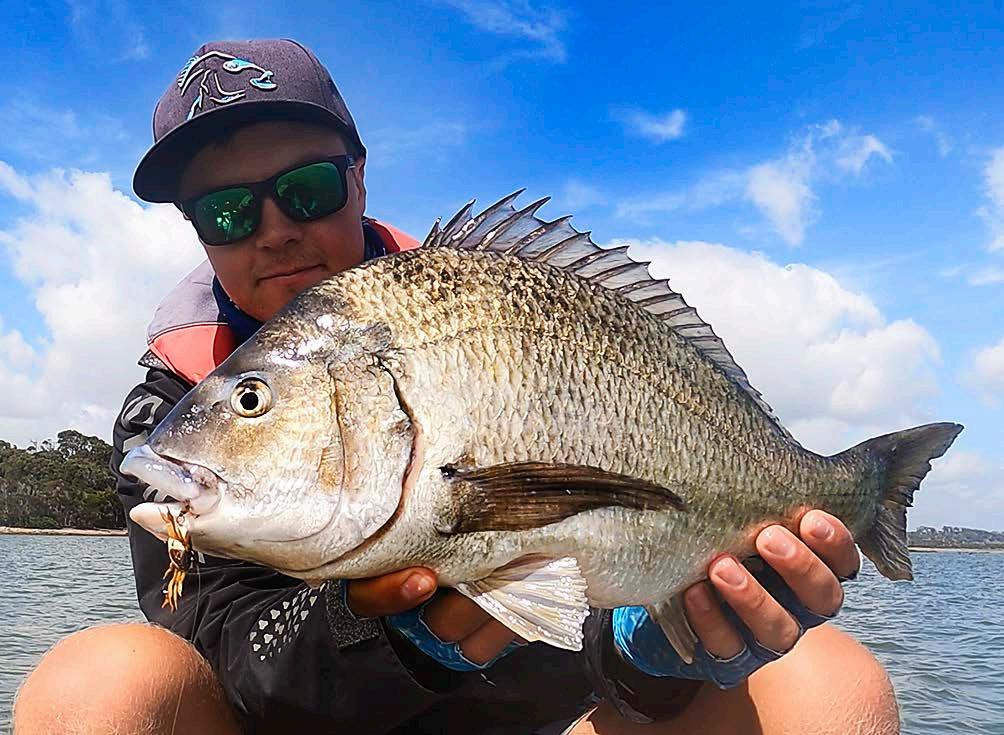
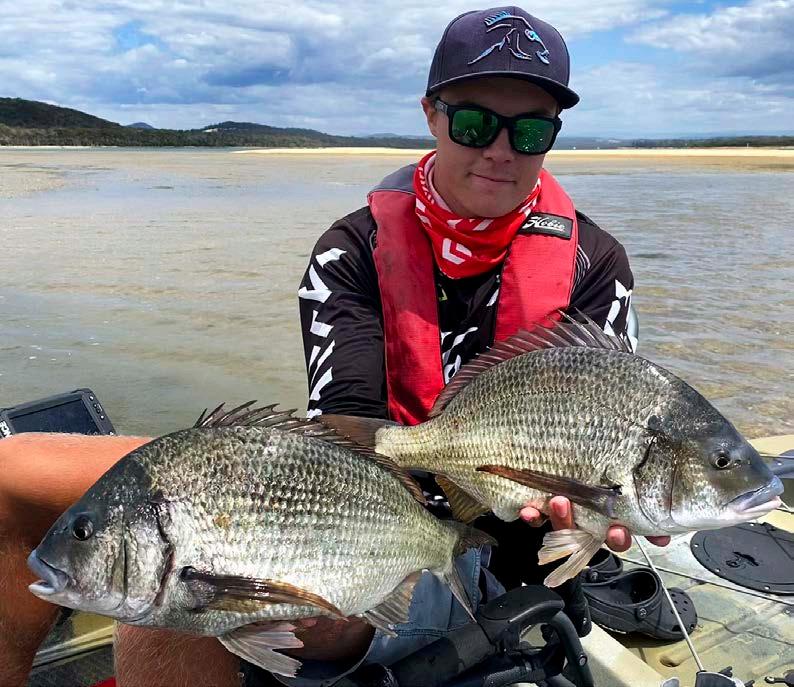
The estuaries scattered along the central north coast of Tassie are arguably home to some of the biggest bream in Australia and targeting them from a kayak is a great way to find success. These trophy fish can be found in a range of estuaries, from the smallest of systems that virtually dry up at low tide to the mighty Tamar River. For many of these smaller systems a kayak is the only suitable option and for the larger estuaries kayaks are still a great way of getting into the shallow, hard to reach places where big bream love to feed.
Areas to target
Targeting shallow sand/mud flats, reef and rock edges from the kayak is without a doubt my favourite and what I have found to be the most productive method for targeting big bream in the northern estuaries. Not only can this method be a very visual form of fishing, but it also produces some great results. When targeting big bream on sand flats I have found anywhere that differs slightly from the majority of the flat will generally hold higher numbers and better quality fish. No matter how barren the flat looks, normally if you look close enough there will be some features that hold fish. These features can be as subtle as a slight change in the colour or texture of the bottom, or as obvious as rocks, oyster beds, gutters and drop-offs. The mouths of creeks and backwaters are also a favourite spot of mine. Scanning the bottom for any signs of bream digging in the area is another great way of determining if you are in the right location. The three main types of hard structures I fish are large boulders, rocky rubbly edges and isolated reef patches on flats. When fishing to large boulders I like to target the eddies on the side that is sheltered from the current. When fishing rock/rubble edges I generally find fish seem to hold and feed within a metre or two of where the rock meets the sand/mud, this is also the case for patches of reef on sand flats. My theory behind this is that these rocky edges trap and collect a lot of the sediment in the water and allow it to settle which creates a softer, muddier bottom for the bream to dig for crabs, worms and molluscs. Having said this, fishing directly over the top of the rock or reef can also be very productive. Using google earth to find these locations is a great way to get an idea of where to start looking. Identifying these areas before launching is even more important when kayak fishing as you don’t have the luxury of covering lots of water scouting for likely looking spots. Sometimes driving an extra 10 minutes to a different launch location closer to the area you intend on fishing will save you thirty minutes of paddling to get there.
Timing - tidal movement and weather
The north coast estuaries have fairly large tidal movements and can completely transform from low to high tide. When fishing the flats, I like to fish the three hours before and after the high tide. During these periods of tidal movement the fish tend to be concentrated in channels, gutters and along edges making them easier to locate. I have had better success in the systems I fish on an incoming tide. I’ve found fish are usually more eager to feed when they are first moving up onto the flats on the incoming tide rather than the runout tide when they have already been feeding for 4 or 5 hours. Having said this the run out will often produce some great results. An analogy I have heard in the past and somewhat agree with is, “If you were offered complimentary spring rolls when entering a restaurant you would probably say yes. However, if they were offered when leaving, after a big meal, you would be more likely to decline”. Timing can be very important and there can often be areas that fish well for a half-hour window in the tidal cycle and can then appear fishless. Spending time on the water and getting to know the system is the only way to work out which areas fire best at different stages of the tide. Having a plan of which areas are best to fish at each stage of the tide is particularly important when fishing from the kayak as you can’t run back and forth between spots without wasting prime fishing time. During the peak of the tide when there is not a lot of tidal movement the fish tend not to be moving along edges or through channels and are instead spread out feeding. This is often where focussing on obvious structures such as reefs and also using your polaroids to look for schools of feeding fish can be the best approach. As for weather and time of day, I have found that the fish bite better during periods of low light and overcast conditions, with a slight wind. However, this makes spotting fish difficult so if you want to polaroid look for sunnier days.
Advantages of the kayak
The two major advantages of fishing from the kayak are stealth and the ability to access shallow areas which are difficult to reach in a boat. Also, some estuaries are simply inaccessible for anything bigger than a kayak. This allows you to access areas where fish have received very little fishing pressure in the past which can make for some great fishing. The areas I like to target big bream are very shallow and very clear, having less of a visual presence in the kayak helps to not spook these flighty fish as easily. This is especially the case in calm, bright conditions. This coupled with how quiet a kayak is makes them extremely stealthy. Fish will often spook from right beside the kayak as they haven’t seen or heard anything until you are almost on top of them. Drawing barely any water and being able to travel through very shallow areas is another advantage of the kayak. During the incoming tide, I like to paddle as far up a backwater or creek as I can and then turn around and fish back towards the mouth as the fish are moving in towards me. This technique is much harder in a boat.
Rod, Reel, Line and Leader
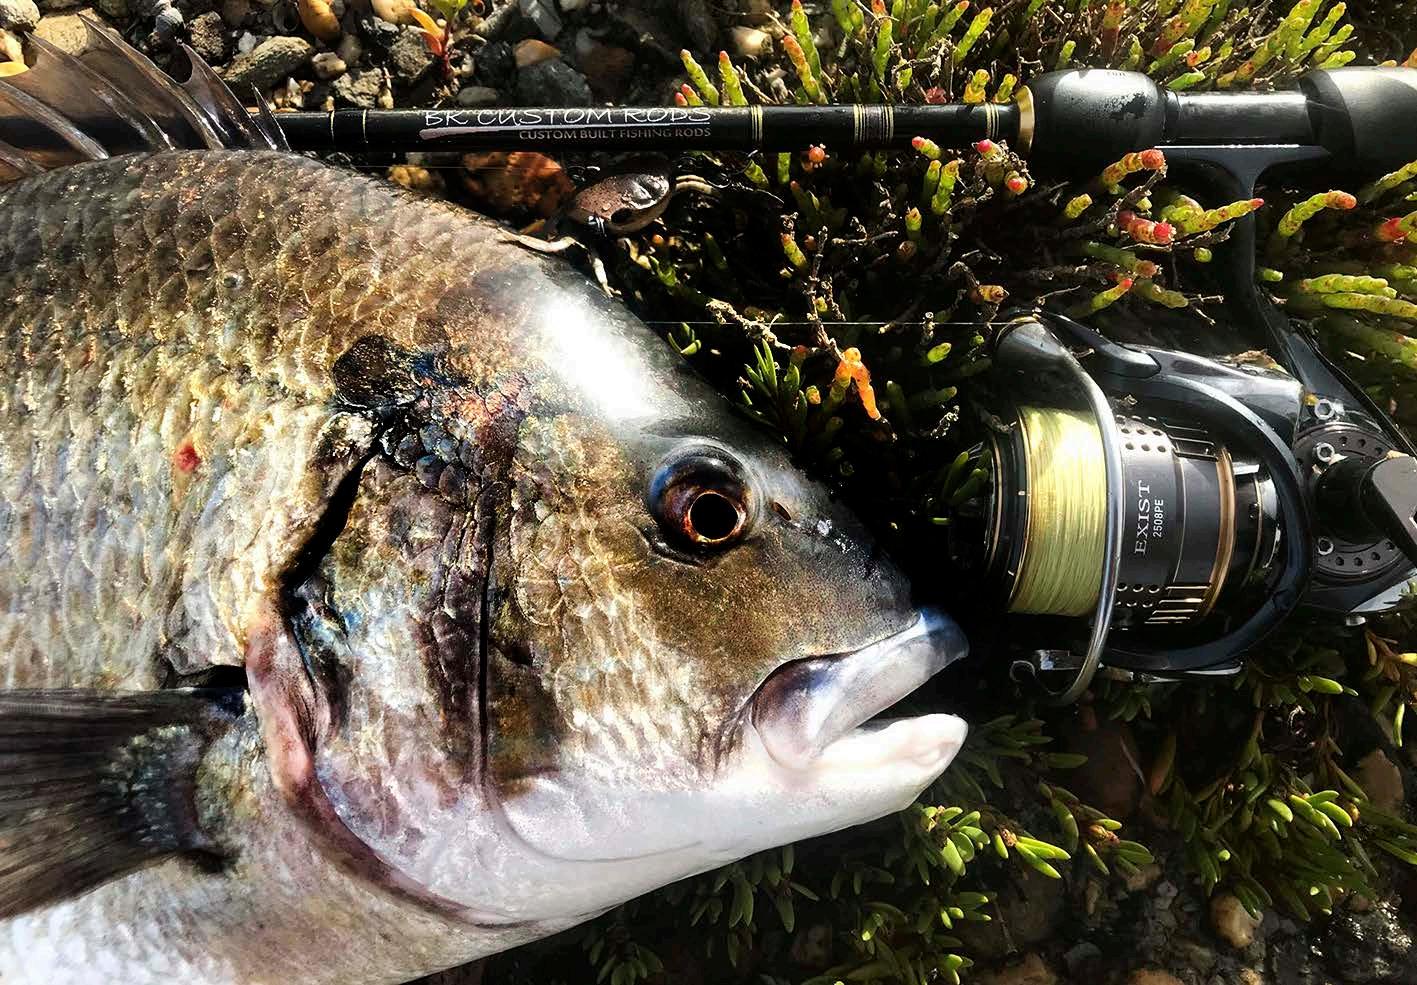
The tackle I use for chasing bream in the kayak is pretty stock standard bream gear. The rods I use are 2-4 lb, 6’ 8” and 7 foot Bk Custom rods. These rods are super light, comfortable and extremely sensitive making them perfect for the style of fishing I like to do. I’ve found rods around the 7-foot length are perfect in the kayak, any longer and it becomes harder to net fish and any shorter makes it difficult to reach around the front of the kayak when fighting a fish. This length also makes for easier storage and management when fishing from a kayak. My reels are all 2500 size, spooled up with 6 lb braid and a long 5lb fluorocarbon leader of around 6-8 metres. I find using a long leader is a good middle ground between the forgiving stretch and stealth of straight through and the sensitivity and casting ability of braid. A long leader also means that even in reasonably deep water if you get snagged and have to snap a lure off most of the time you can reach your leader meaning you don’t have to waste time retying and you don’t leave line in the water. On some occasions opting for a lighter or heavier leader may be beneficially, but generally, I find 5lb is a good middle ground between strength and stealth. I use a penny knot to attach my lure to the leader and an FG or carrot knot for my leader to braid connection. I will normally carry three setups with me in the kayak each with a different lure.
Lures
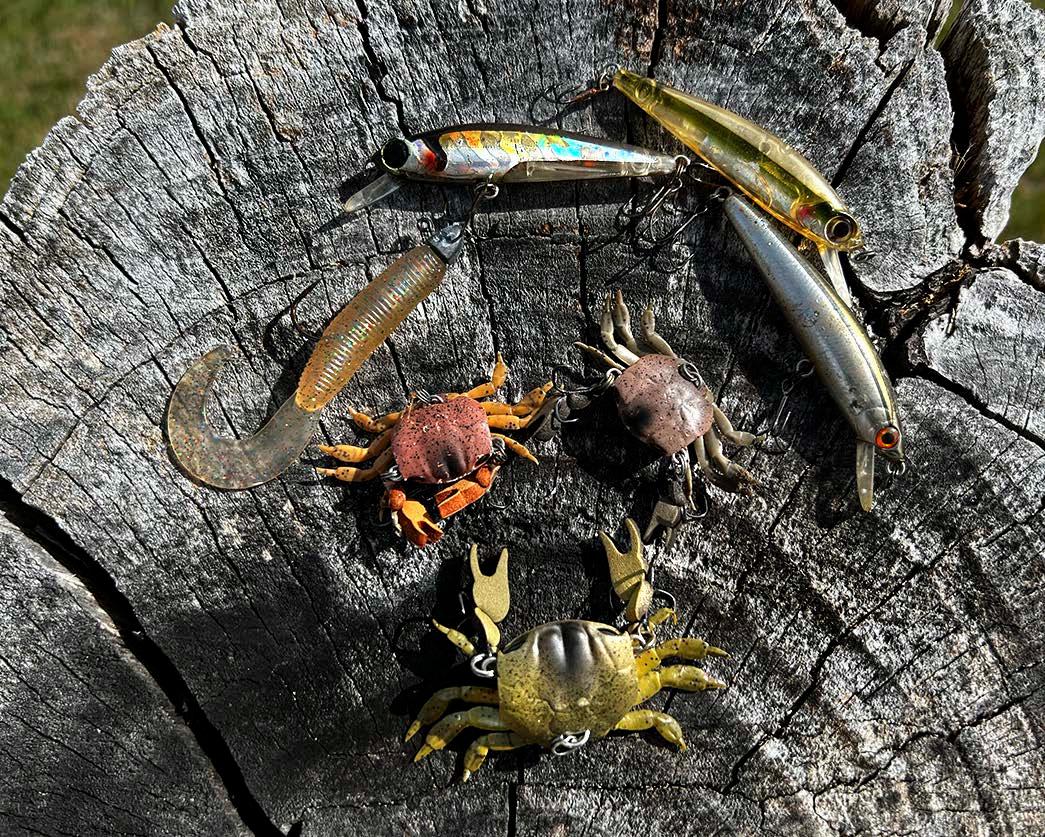
The lure that I use 90% of the time when targeting big bream on the flats is the Cranka crab, in both the heavy 50mm and 65mm sizes. The great thing about the crab is its versatility, it is just as good in a depth of 30 cm as it is in 3 metres. Most colours will work well however my favourites are the more natural colours being brown, olive and spotted. Most of the time I will opt for a heavy 50mm crab and there are a few reasons for this. One reason is that when cast, the 50mm crab creates less of a disturbance when it lands compared to the 65mm, therefore is less likely to spook fish in shallow, clear water on calm days. The heavy 50mm model is less prone to tumbling and keeps a better posture in strong current when compared to the light model. It can also be cast a little further. Also, I have found even the big bream are less hesitant to have a go at the smaller profile when they are very spooky and not actively feeding. I have found hook up rates tend to be better on the 50mm as fish often just inhale the whole thing as opposed to pecking at the claws. Alternatively, on overcast, windy days sometimes the bigger profile of the 65mm crab can be an advantage. This is particularly the case on large, barren flats as the presence of a 65mm crab can be heard/felt from further afield. This enables it to potentially draw fish in that would otherwise not have known your lure was in the area. When fishing directly over rock I will often tie on a 65mm crab as I find they scuttle across the top of the rocks better and are less prone to falling into cracks and getting snagged. Also having a slightly larger treble hook allows for putting a bit more pressure on fish to get them away from gnarly structure without the risk of the hook straightening. On another rod, I will have either a hardbody minnow or a crank tied on ready to fish any areas that are too weedy or oyster encrusted to fish the crab without getting snagged. In most cases, I will opt for a Cranka minnow in any natural baitfish pattern, my favourites being smelt, hardyhead and jollytail. In areas that are very shallow or weedy, I will tie on a Daiwa presso minnow in any natural baitfish or prawn colour. Being a floating lure the presso can be fished in slightly shallower water without snagging up. As for a crank option, my go-to is a Cranka crank in smoked prawn. This can be a greatsearching lure allowing you to effectively cover a lot of ground. On my third rod, I will often have a soft plastic rigged up for use in deeper areas with high current or a particularly snaggy bottom. This is usually a 2.5-inch baitjunkie grub in mud blood, motor oil or bloodworm, rigged on a 1/12th or 1/8th jig head. My choice of colour for each style of lure will come down to the colour/ clarity of the water and also matching the hatch in the particular estuary I’m fishing.
Technique
In most situations, I like to position the kayak so that I am fishing into the wind and current so that I can control the speed at which I move through an area. Using the Hobie mirage drive to hold position in the current allows me to make multiple casts in likely looking areas and then move quickly through less productive patches. Having said this, sometimes drifting with the tide/wind over large open expanses of flats can be a better way to cover more water and locate where the fish are feeding. Once in position, I make a long cast towards any noticeable features, allow the crab to hit the bottom and then begin the retrieve. On the sand flats, the retrieve I use for the crab is similar to that of a crankbait, just slower. It involves 3 or 4 slow turns of the handle (feeling the crab working along the bottom) followed by a 3 or 4-second pause, repeated all the way in. Sometimes a longer pause is required and sometimes a burn and kill retrieve will fire them up, it is all dependent on the mood of the fish on the day. Generally, the calmer and sunnier the weather, the slower I will retrieve the crab. When fishing around rocks
I generally fish a bit slower and try to leave the crab in the zone for a bit longer before beginning the retrieve. If I feel a bite whilst winding, I will stop immediately and pause the crab for a few seconds normally this is when a fish will come back for a second go. After getting a bite I prefer to wind the fish on rather than striking. I find more often than not, striking hard will pull the crab out of the mouth of a fish that hasn’t been hooked yet and spook them. This method is also useful around structure because you can often hook a fish, turn their heads and get them a metre or two away from the structure before they even realise they are hooked, giving you a very handy head start. Another method I’ll use when I know a fish is looking at my crab is to just shake the rod tip and cause the crab to shimmy on the spot. This gets the claws moving and can often trigger a bite from the fussiest of bream. When fishing the hardbody lures my retrieve consists of two or three gentle sweeps of the rod whilst winding up the slack and then a 3-4 second pause. With the soft plastic, it is just a classic let it hit the bottom, two or three small hops and let it hit the bottom again repeated all the way in. All of these retrieves can differ from location to location and day to day so experimenting a bit to find what is working on the day is very important. Once I hook a fish I like to use the kayak to move away from where I hooked it to hopefully avoid spooking any other fish in the area. This can often allow you to catch two or three fish from the same area as opposed to just one. Using the kayak to reverse away from the structure once a fish is hooked is also a great way to avoid being busted off.
A kayak is a perfect tool for getting out, exploring and fishing some of the north coast’s pristine estuaries. Throwing lures at the trophy bream that inhabit these shallow, crystal clear waters can be a very visual and exciting style of fishing, especially when you cross paths with that fish of a lifetime.

Nothing gets kings worked up like a popper.


