
7 minute read
PRO TIPS FOR FOOD PHOTOGRAPHY
Recipes for Success
Our Tamron pros dish out tips and techniques for food photos that tantalize.
Food and beverage photography should tell a compelling story by setting the right mood, making the viewer feel like they’re immersed in the culinary moment in a single lip-smacking frame. After each item is plated, the next task at hand is knowing which Tamron lens will best showcase each delectable dish— whether it’s an ultra-wide-angle lens like the 17-50mm Di III VXD, standard zooms like the 28-75mm F/2.8 Di III VXD G2 and 35-150mm F/2-2.8, or an all-in-one lens with close-focusing capabilities like the 18-300mm Di III-A VC VXD. By zooming in on each menu item’s unique details, weaving in movement, and paying meticulous attention to styling, lighting, and composition, each photo can become a flavorful narrative, inviting viewers to savor every image.
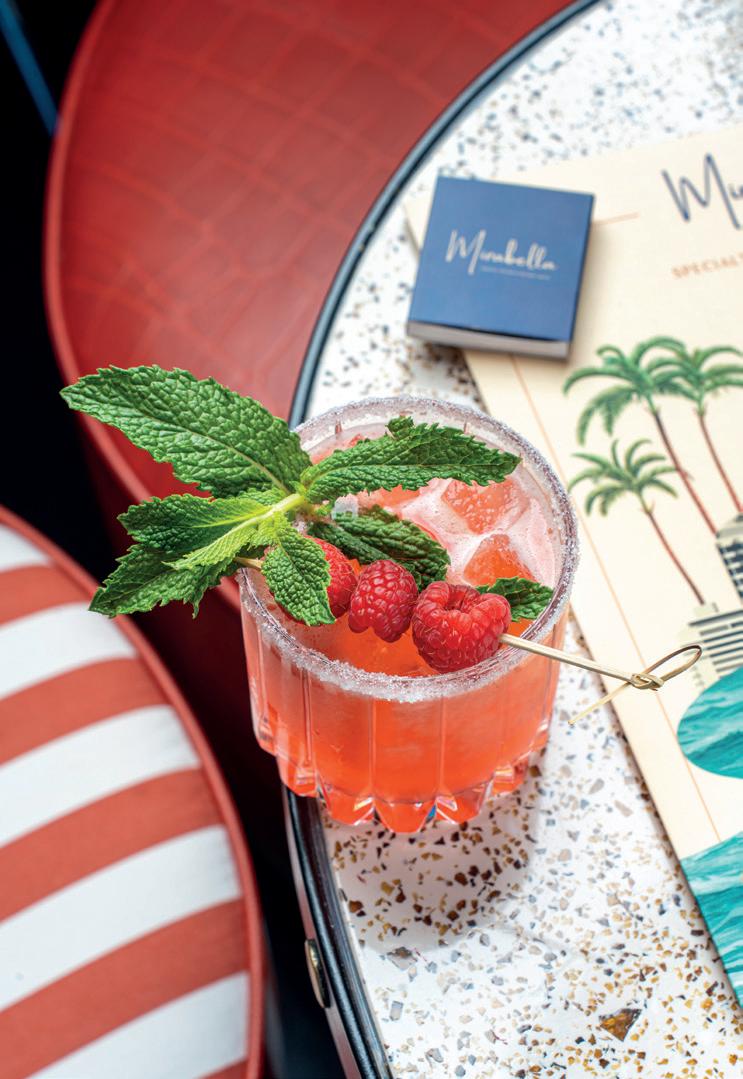
Read on for top tips from food photography pros.
INCORPORATE ACTION.

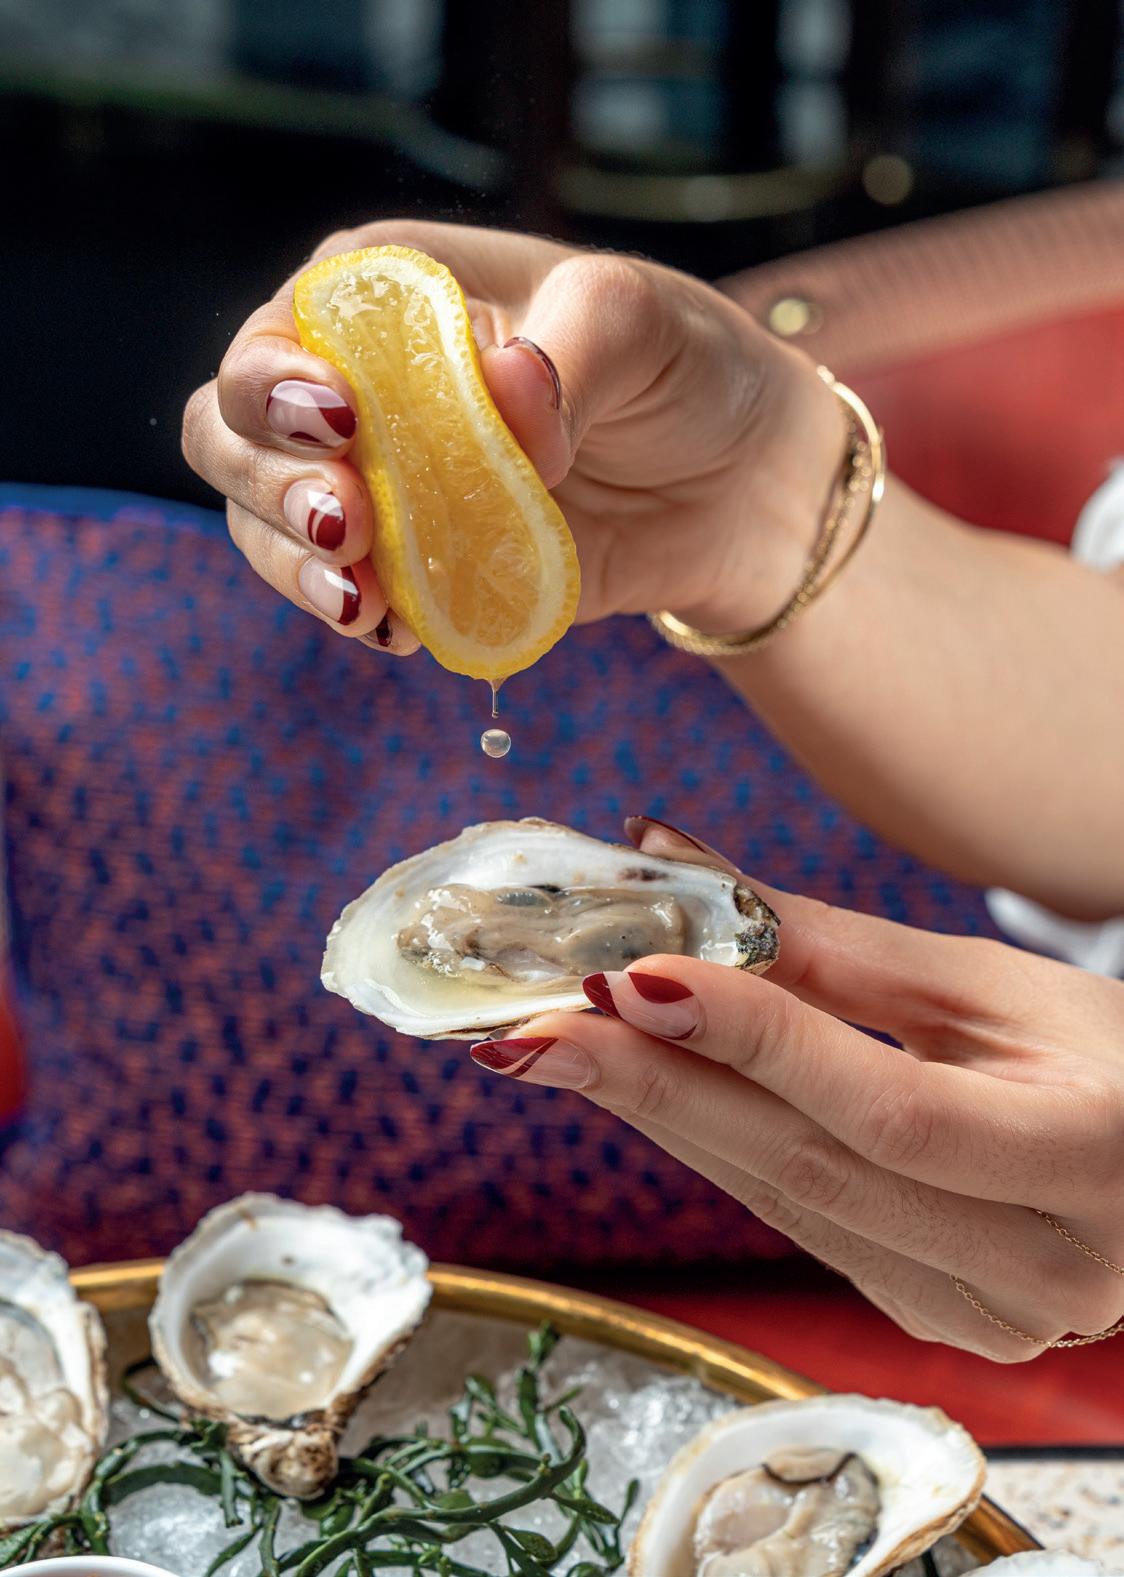
Whether it’s applying a torch to a butter topped filet or squeezing a lemon onto a freshly opened oyster, working movement into your food photos adds visual interest, engages viewers, and makes them feel like they’re part of the culinary experience. Focus on anticipating that motion and make sure you have your composition and framing set, so that when the action takes place, you can just focus on timing. Switch your camera to burst mode to ensure you capture the exact moment you’d like to freeze.
TAP INTO PROPS.
Using props in food and beverage photography can create a compelling story around your subject and give a shoutout to the establishment you’re shooting in. Thoughtfully selected items, such as menus, utensils, tableware, fresh ingredients, or even branded matchboxes, can add context and depth to your compositions.
PAY ATTENTION TO STYLING.
Pull out a color wheel, look for complementary (or opposing) colors to sync or contrast with your subject, and use them in your backdrop. Depending on the dish in front of your camera, use a dish’s ingredients while styling.
PLAY UP A DISH’S VIBRANCY IN POST.
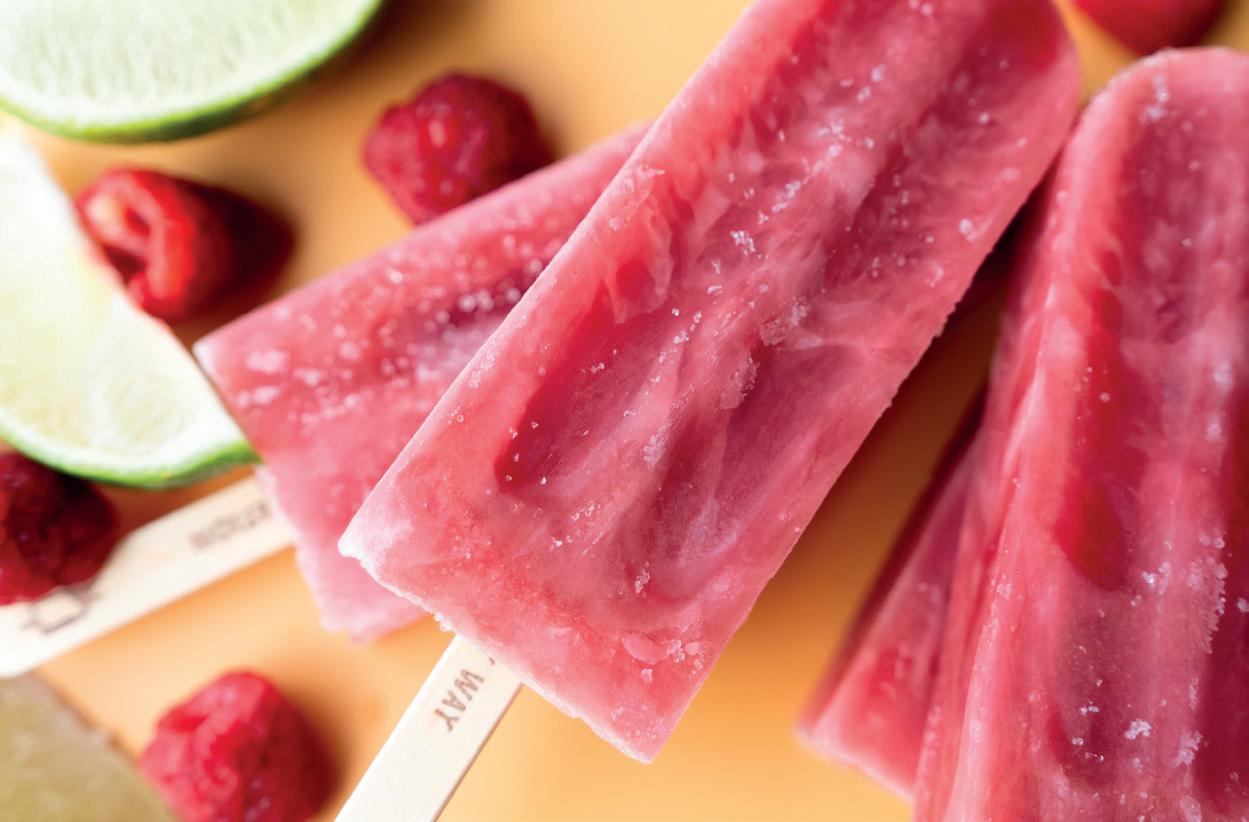
If the items plated before you feature bright colors, give them an intentional edit that ensures those colors remain saturated and vivid and show the dish’s full essence.
ADD A HUMAN ELEMENT.
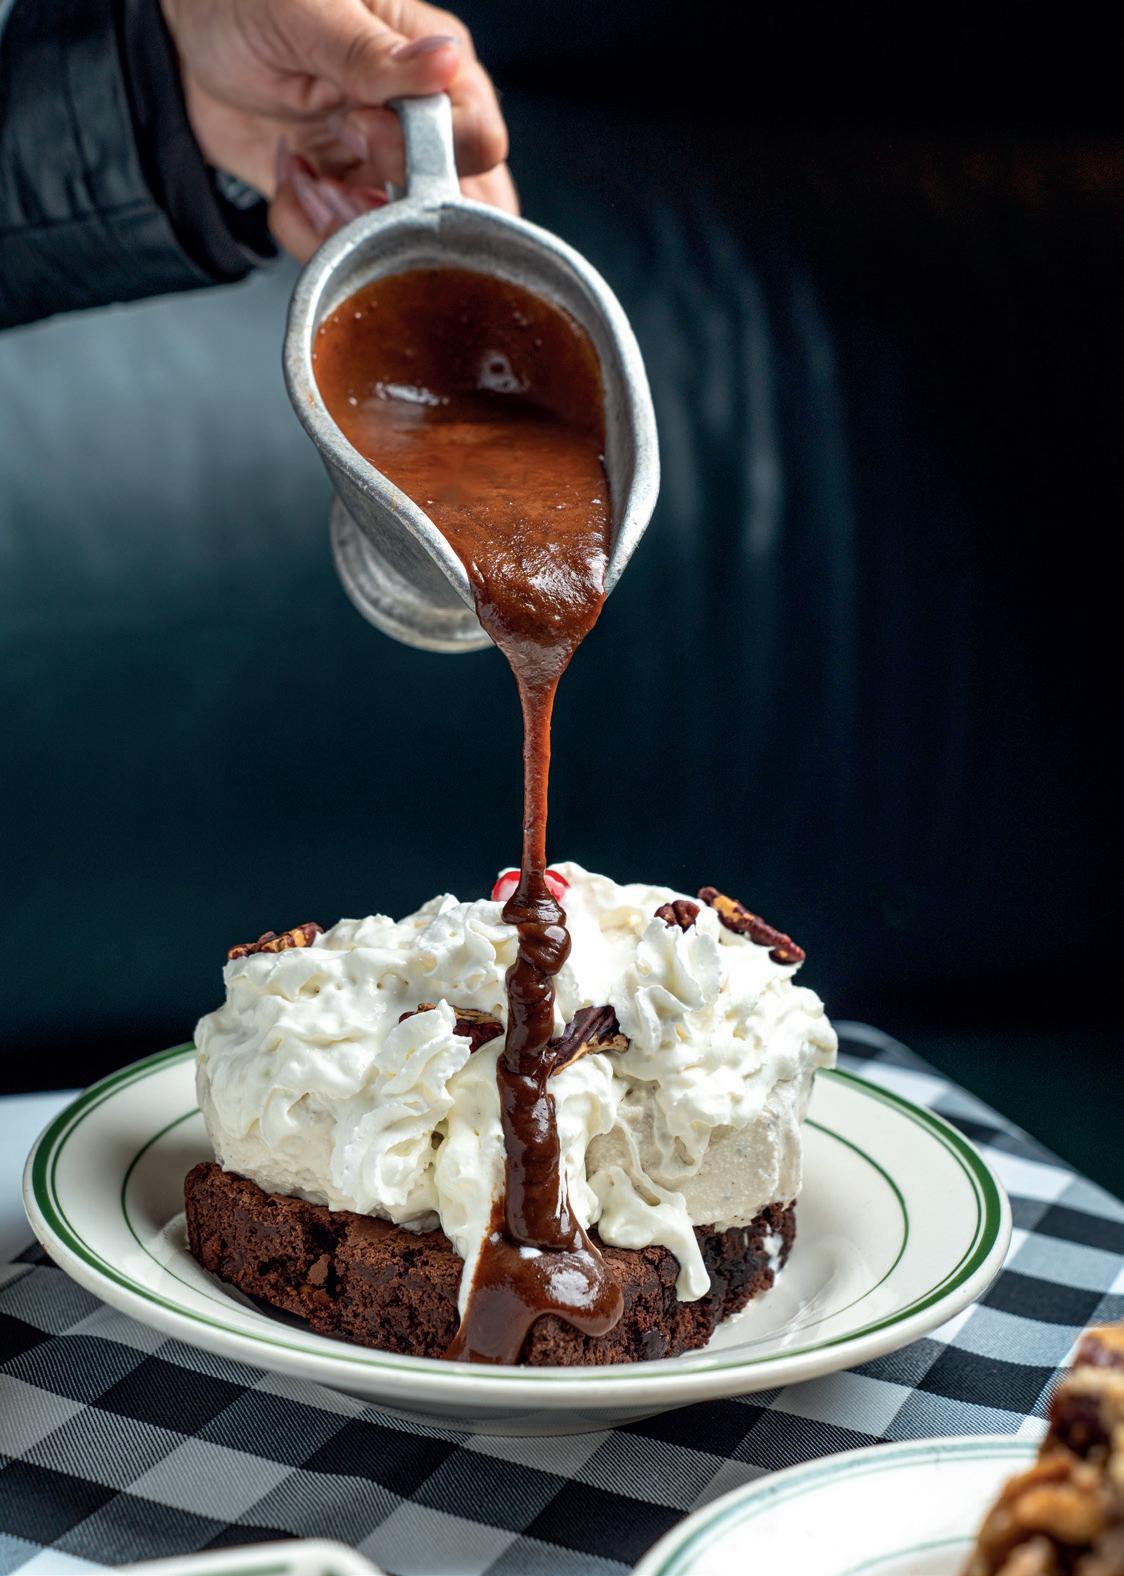
Whether it’s a hand drizzling chocolate sauce on a scrumptious dessert, a chef’s fingers delicately adding garnish to a dish, or a group of friends enjoying a meal, the presence of people adds life to a scene and invites viewers to connect on a personal level.
WORKING MOVEMENT INTO A PHOTO ADDS VISUAL INTEREST, ENGAGES VIEWERS, AND MAKES THEM FEEL LIKE THEY’RE PART OF THE CULINARY EXPERIENCE.
ZOOM IN FROM THE FRONT.
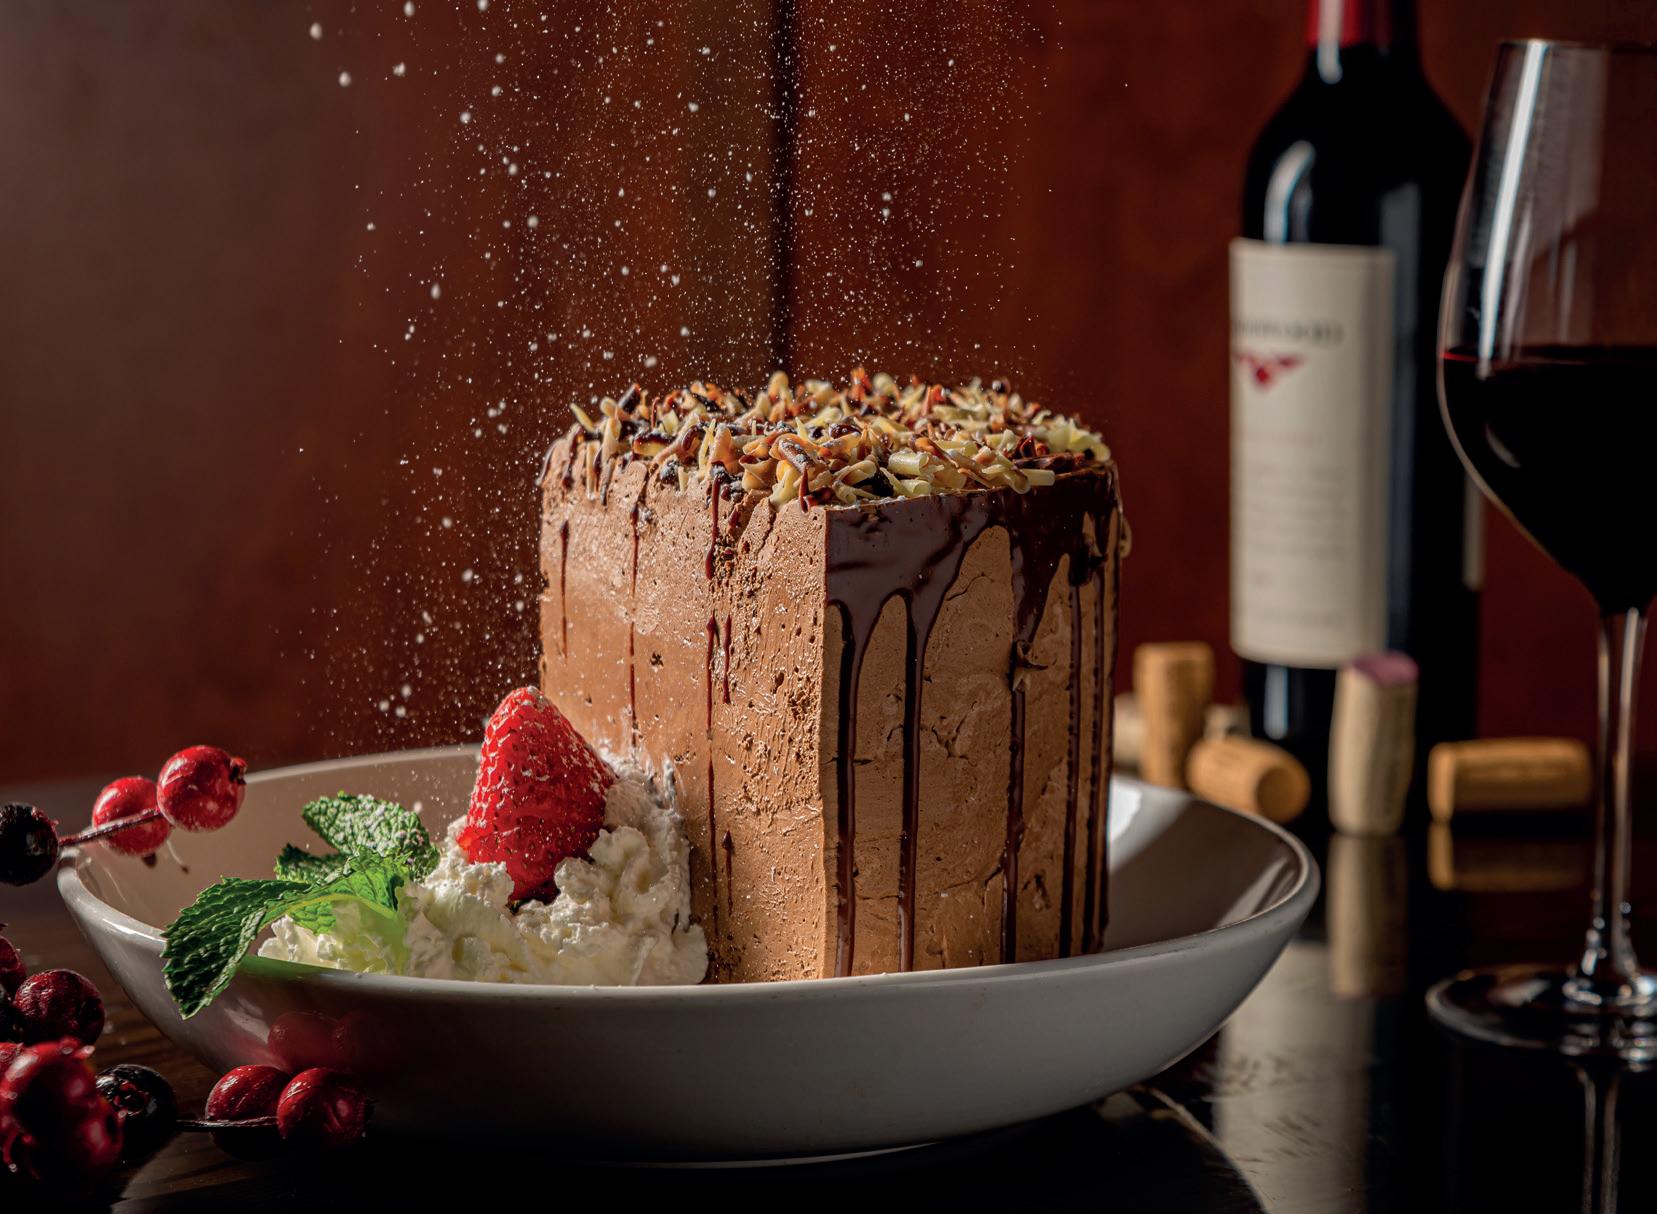
This angle offers a direct, intimate perspective to the dish you’re photographing. By positioning the camera parallel to the food, you’ll capture the full essence of the dish head-on, allowing viewers to appreciate its colors, textures, and overall makeup.
SUBTLY SHOW YOUR SURROUNDINGS.
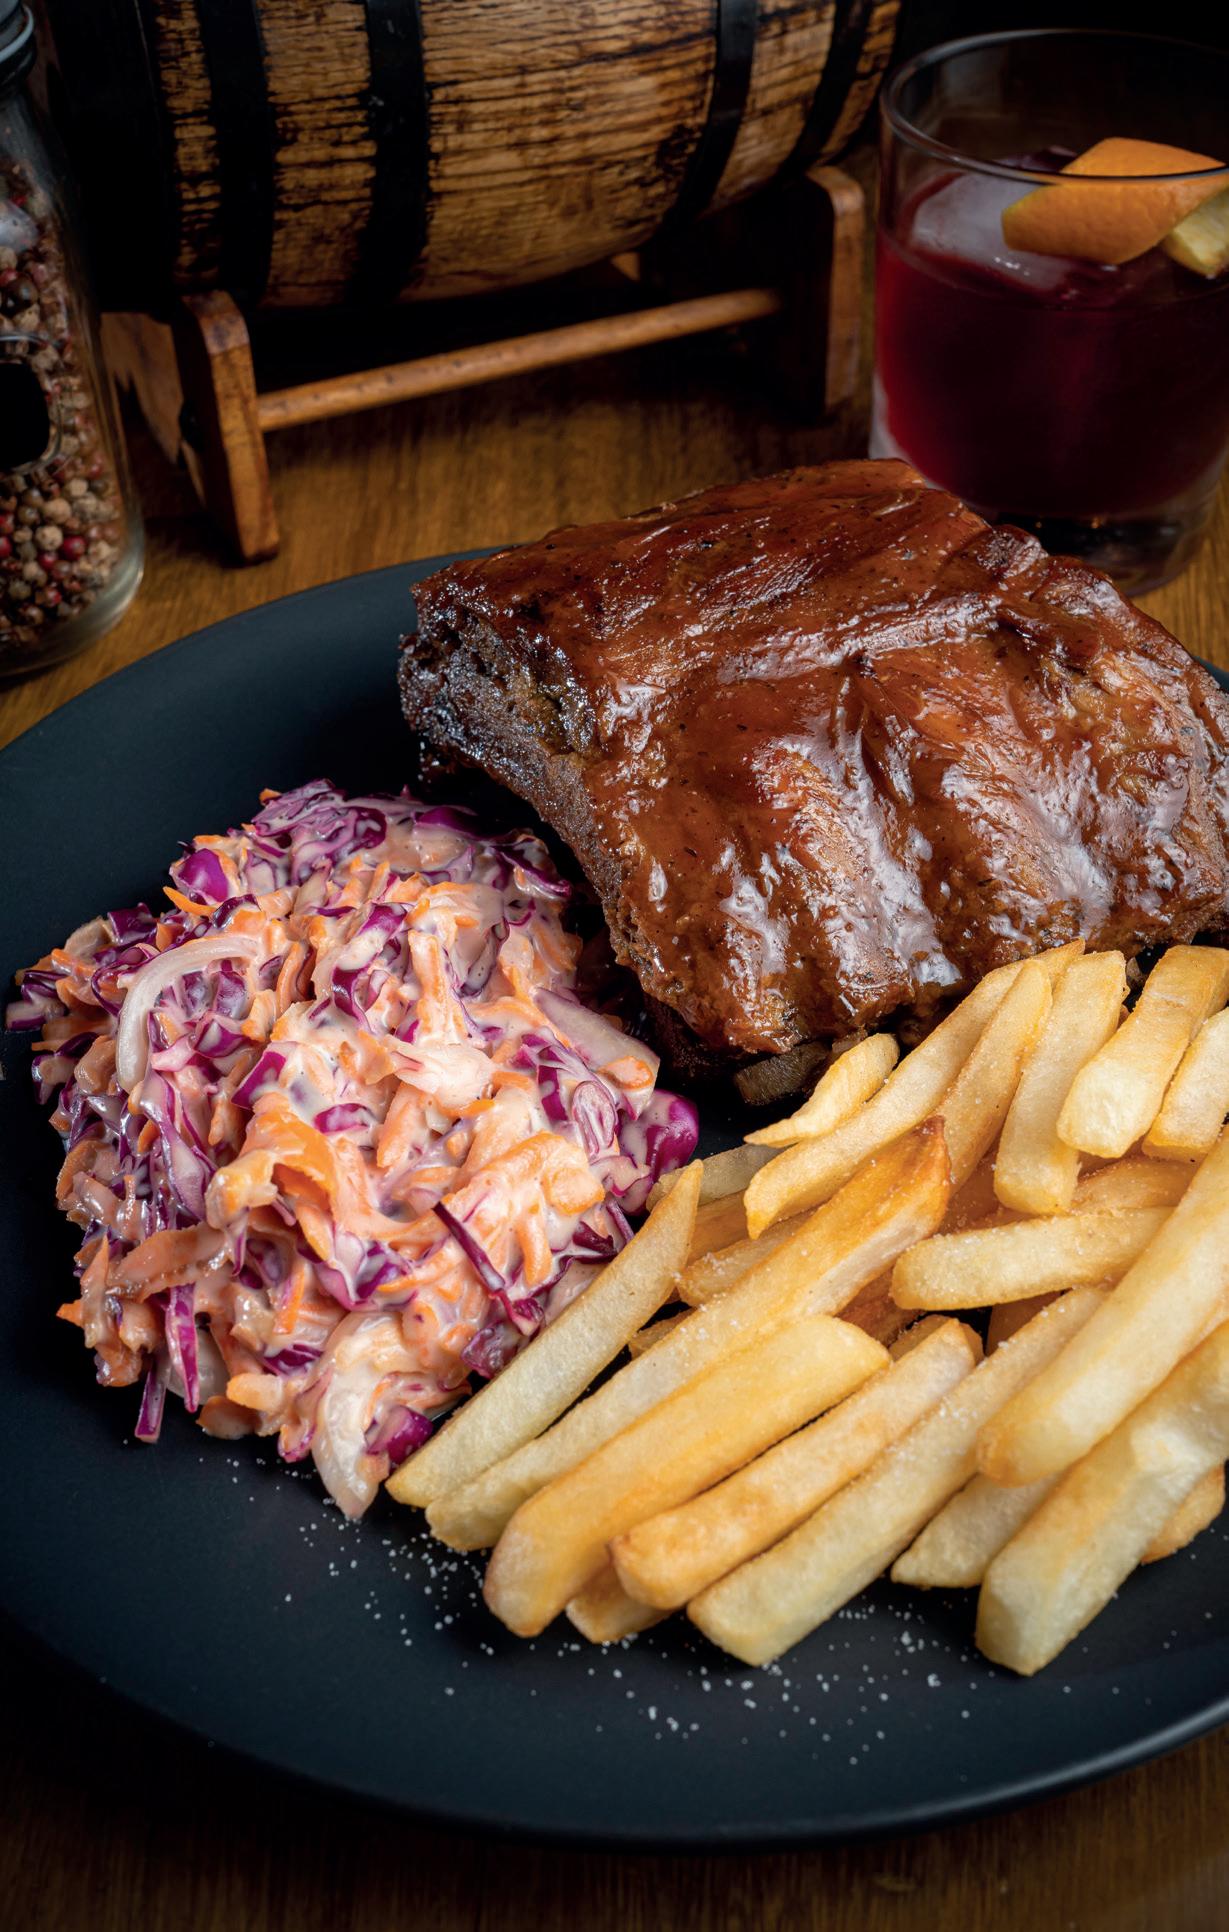
Incorporate the environment where you’re photographing, whether it’s inside an upscale restaurant or at a barbecue picnic table. Position yourself at a lower angle, use a wide aperture to achieve a shallow depth of field, and shoot the food straight on to reveal a soft background. That background will offer your viewer an understated glimpse of where you are without distracting from your subject.
ADD COST-EFFECTIVE AMBIENCE.
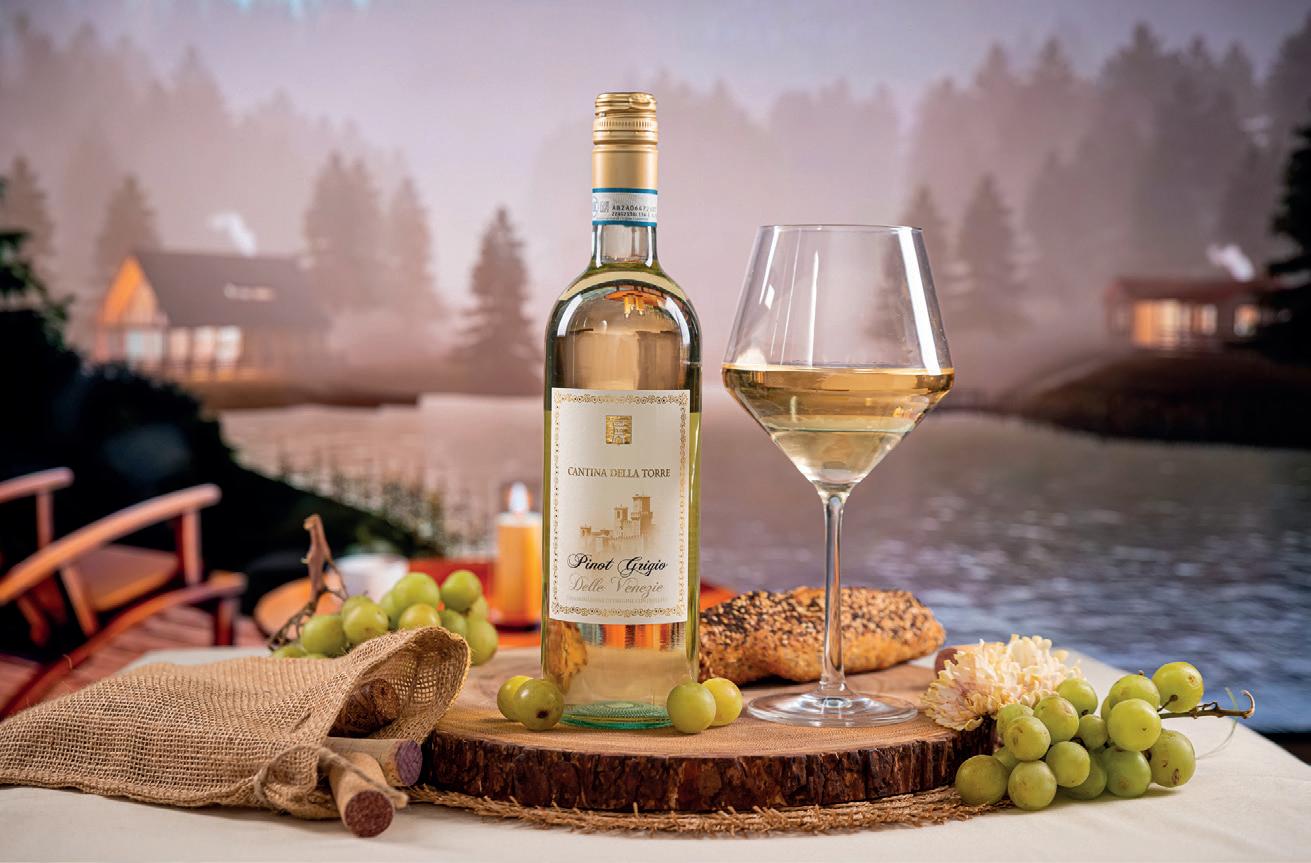
Clients appreciate when photographers employ creative problem-solving without exceeding budgetary constraints. For instance, you might not be able to set up a food photography session overlooking a scenic lake, but for this photo starring a bottle of pinot grigio, the photographer simply called up a digital image on a TV screen behind the table. Not only did this backdrop minimize costs—it also introduced a layer of sophistication and showcased the wine in a context that resonates with the brand’s story and the product’s color scheme.
TAKE AN OVERHEAD VIEW.
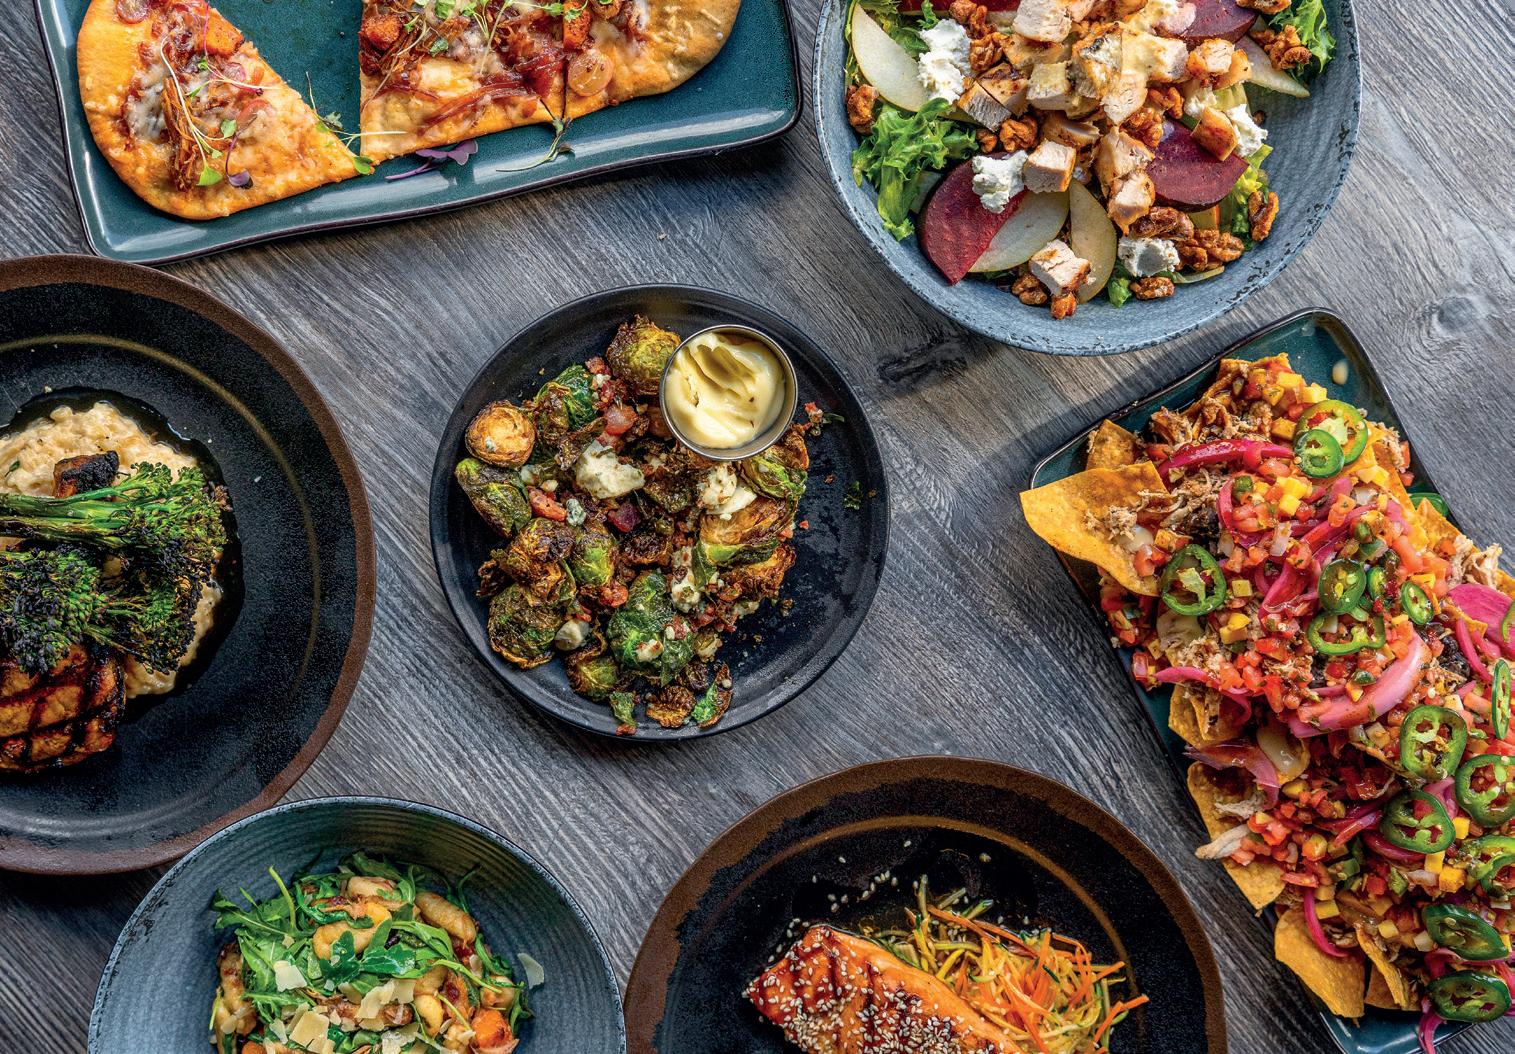
A traditional flat lay featuring an assortment of dishes is always fun. The dishes look great from above, but you can also get down low and hit some other angles with a shallow depth of field so that you can focus on one particular dish in the foreground. These types of images are ideal for restaurant website banners or wallpapers.
If you have a dish that has more intricate details you’d like to call attention to, such as grill marks on a piece of meat, you can still shoot from above. Simply give that image a tighter crop to bring the viewer closer to the parts you’d like them to see.
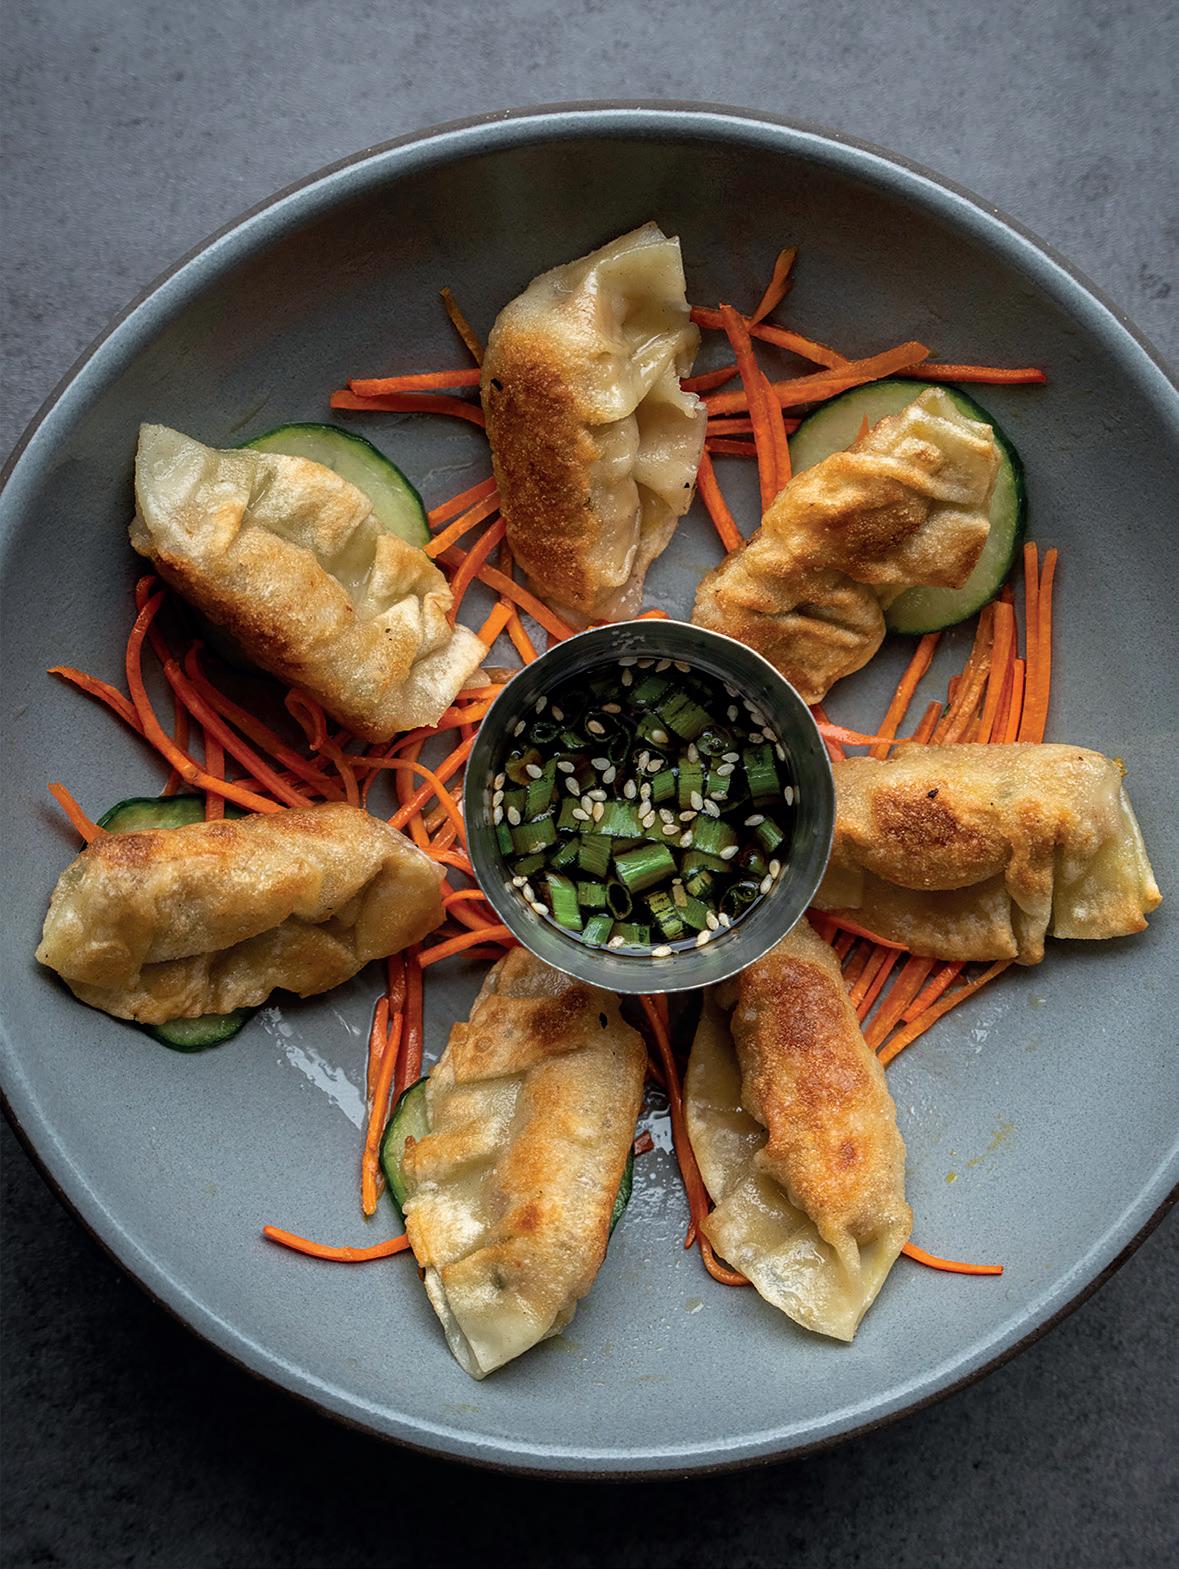
LAYER UP.
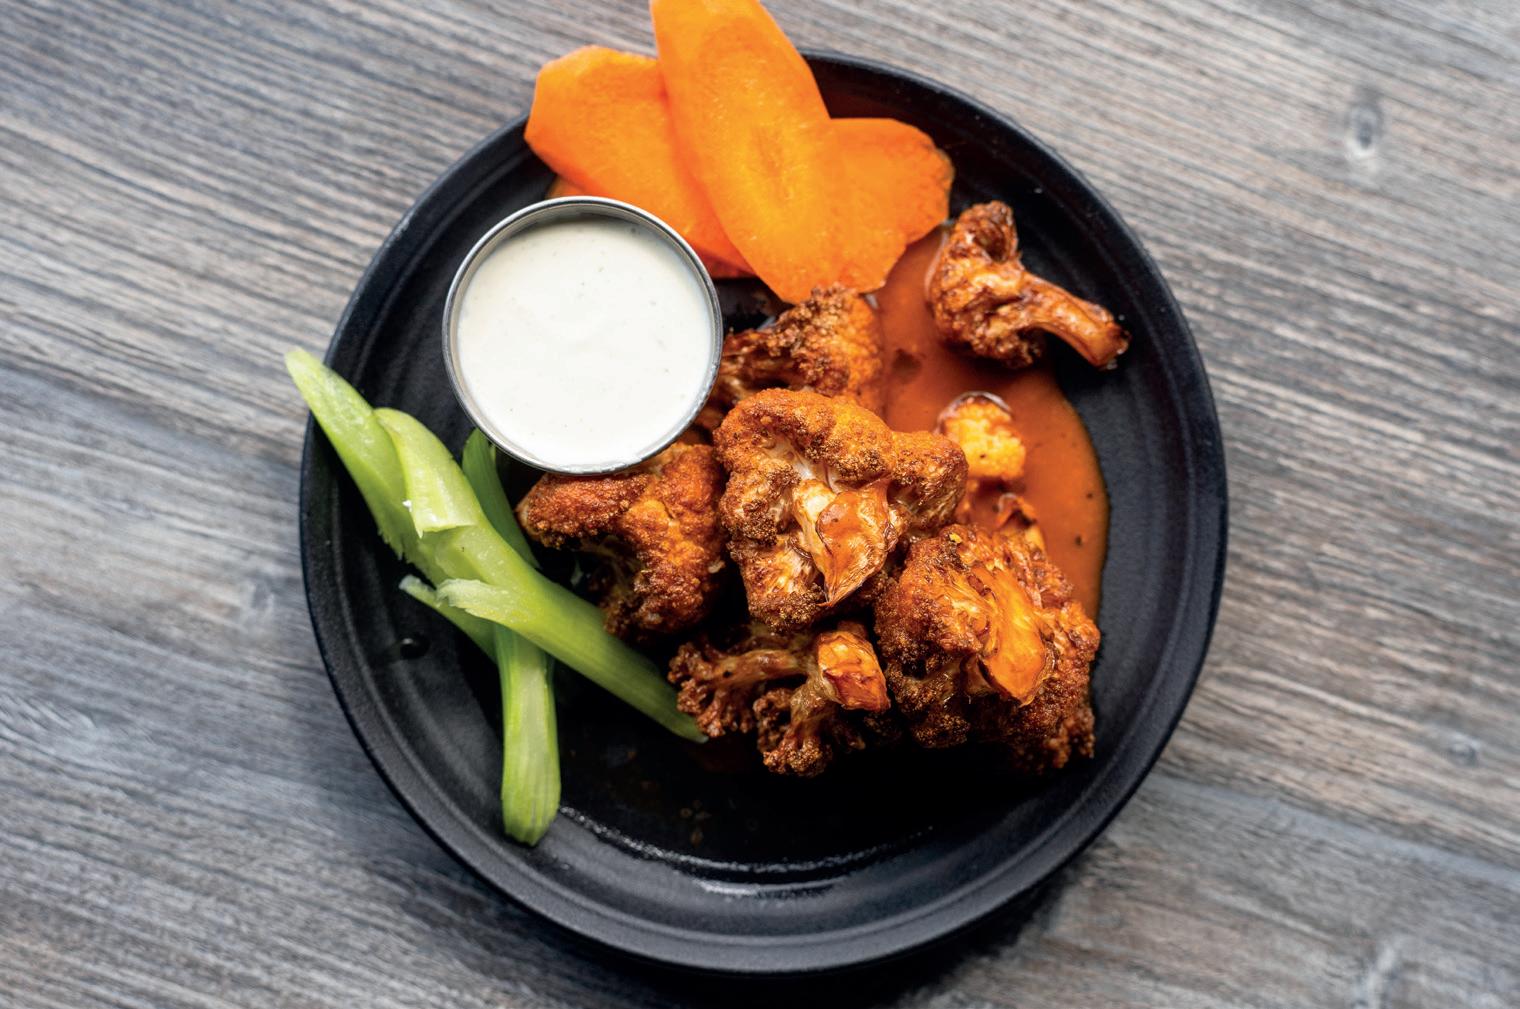
If certain food items are stacked high, capture them from the side, showing each individual section of the dish. This allows the viewer to appreciate the dish as a whole.
OPT FOR LIGHTING SIMPLICITY.
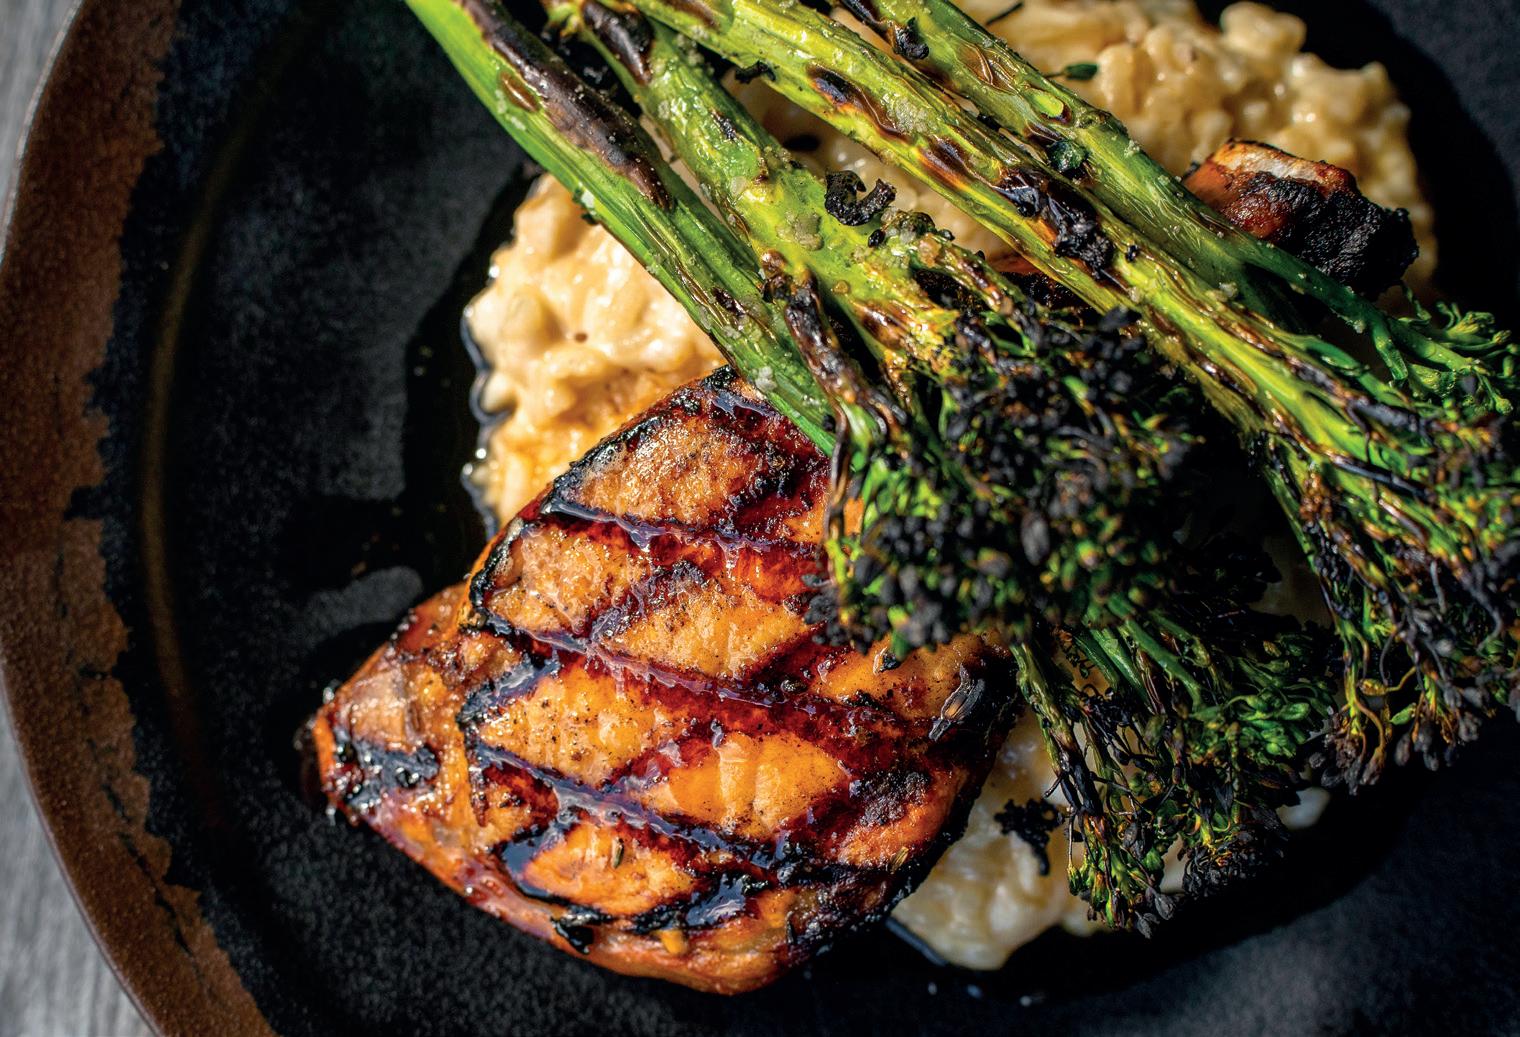
Start out with soft, natural light. On an overcast day, position yourself next to a window with no shades or even outside on a covered patio, which is where the dumplings shown here were photographed. Beautiful soft light filtered in from multiple directions, which allowed for some striking highlights and shadows. If you’re shooting indoors on a bright sunny day, use curtains to diffuse and soften the light. If you’re on an open patio, use a small soft diffuser panel.
That doesn’t mean you can’t use a more elaborate lighting setup if you need to. For the photo of the ribs, slaw, and fries, the photographer used a basic setup of two strobes: one with a soft box for the main light, and another as a rim light over the barbecue sauce to lend some shine. You can also use a polarizing filter to control brightness and shadows.
USE BACKLIGHTING FOR A MOODIER LOOK.
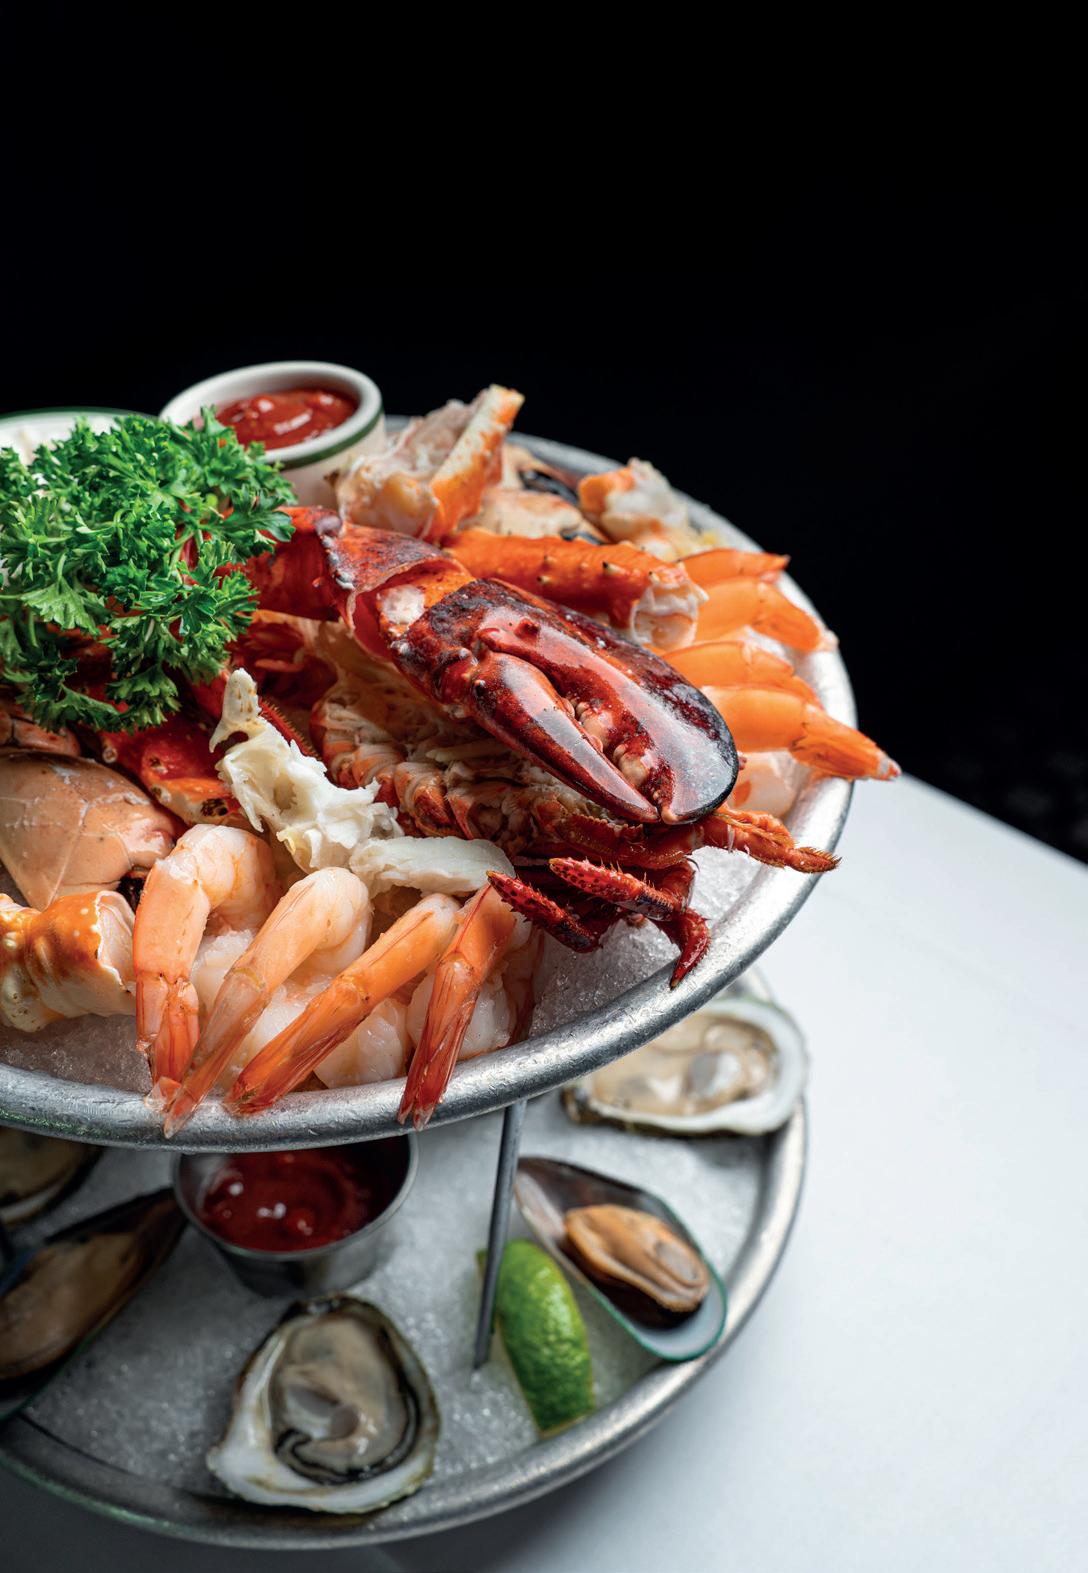
This can dramatically enhance the visual appeal of your dishes. To utilize this technique, position your light source behind the subject, allowing the light to pass through the food. This creates a beautiful glow around the edges, highlighting textures and creating depth.
MAKE FLAT OBJECTS FLATTERING.
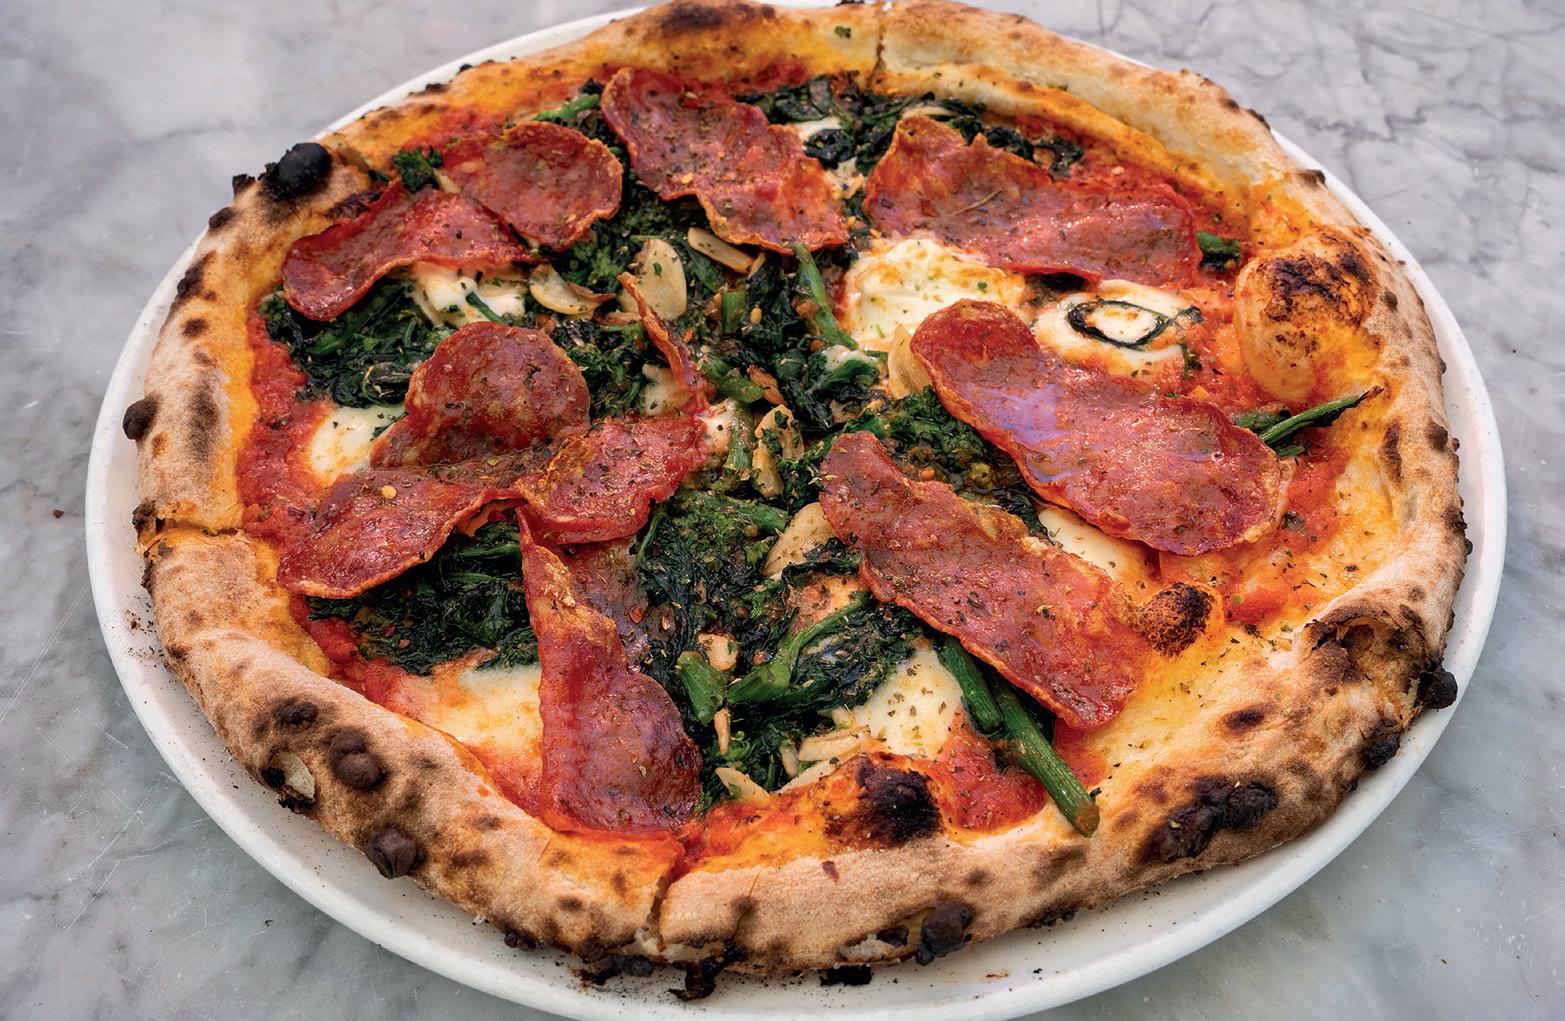
If you’re shooting something flat, like a pizza, consider photographing it at a 45- or 90-degree angle to showcase your subject’s surface. In the pizza photo featured here, the pizza boasted many different colors and textures, so the photographer positioned himself at a higher angle to enable the viewer to see everything—from the crust and pepperoni to the broccoli rabe. Keep your background in mind for these kinds of shots, too. Since there was so much happening on the pizza’s surface, the photographer kept the background simple, with a light, neutral color so that the pizza would appear more dynamic.


