4 minute read
Choice boards
Giving students agency in their learning
Choice boards seem to be a hot topic in edtech at the moment, but what are they, why would you use them, and how do you create them?
Advertisement
A choice board in its simplest form is a collection of different activities or tools that students can use to practise, reinforce or demonstrate their learning. The version I’m referring to is the digital and extended version of the “I’m done – now what?” poster that hangs in many classrooms.
The idea behind a choice board, as with the poster, is to give students some agency in their learning. Instead of giving a very prescriptive list of activities, teachers provide options, and students choose what suits their learning style best.
There are some great examples of digital choice boards out there.
Leigh Walker has a great board of activities to practise phonological awareness skills. You can find it here.

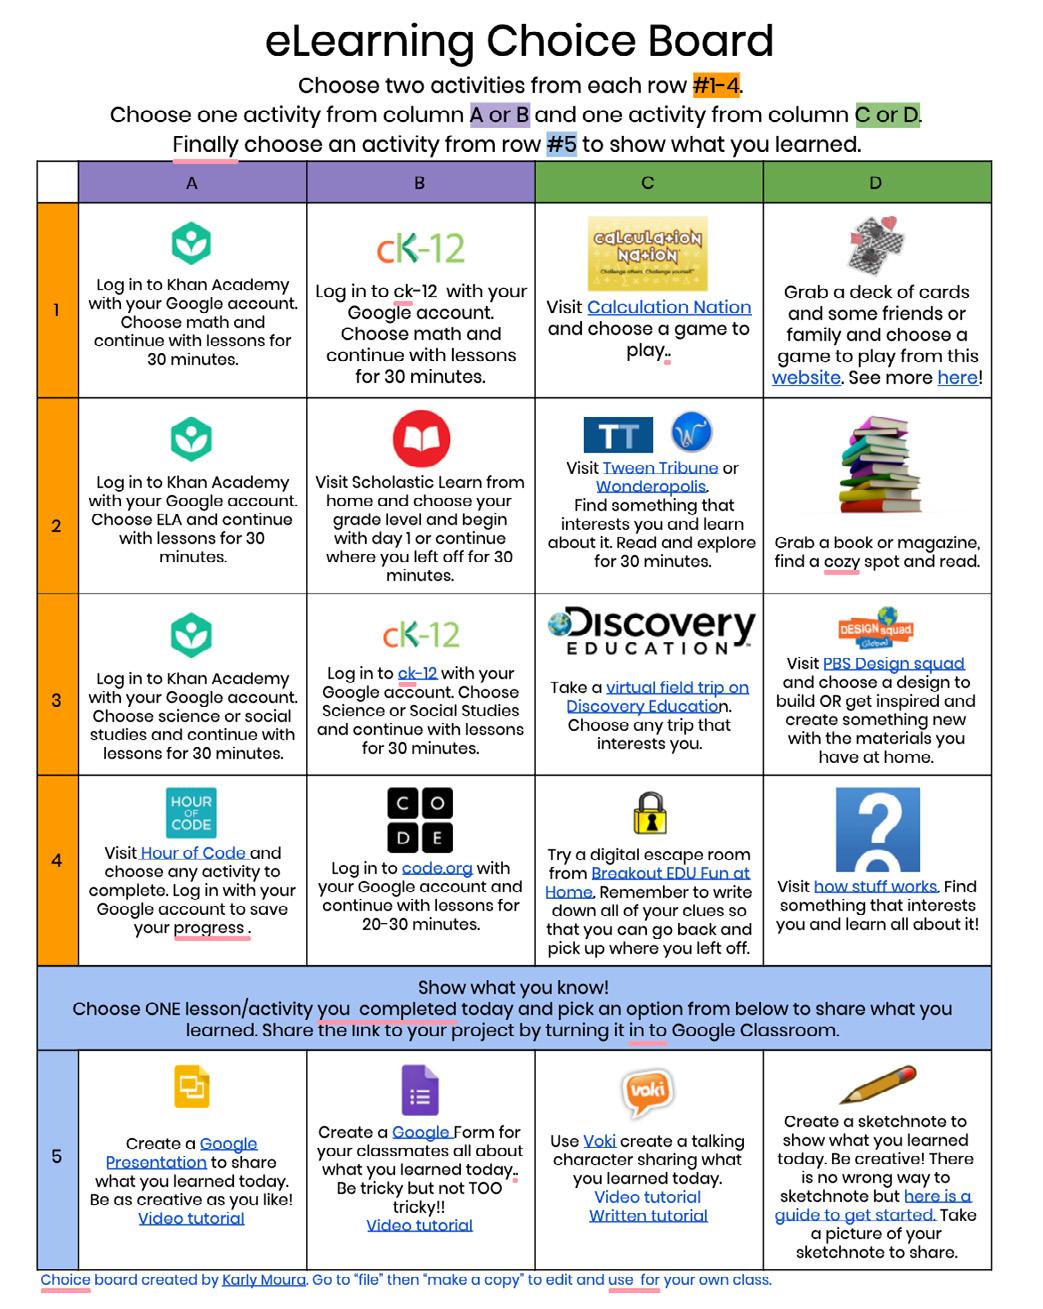
Karly Moura created this fantastic choice board for students to choose their e-learning activities. Access it here.

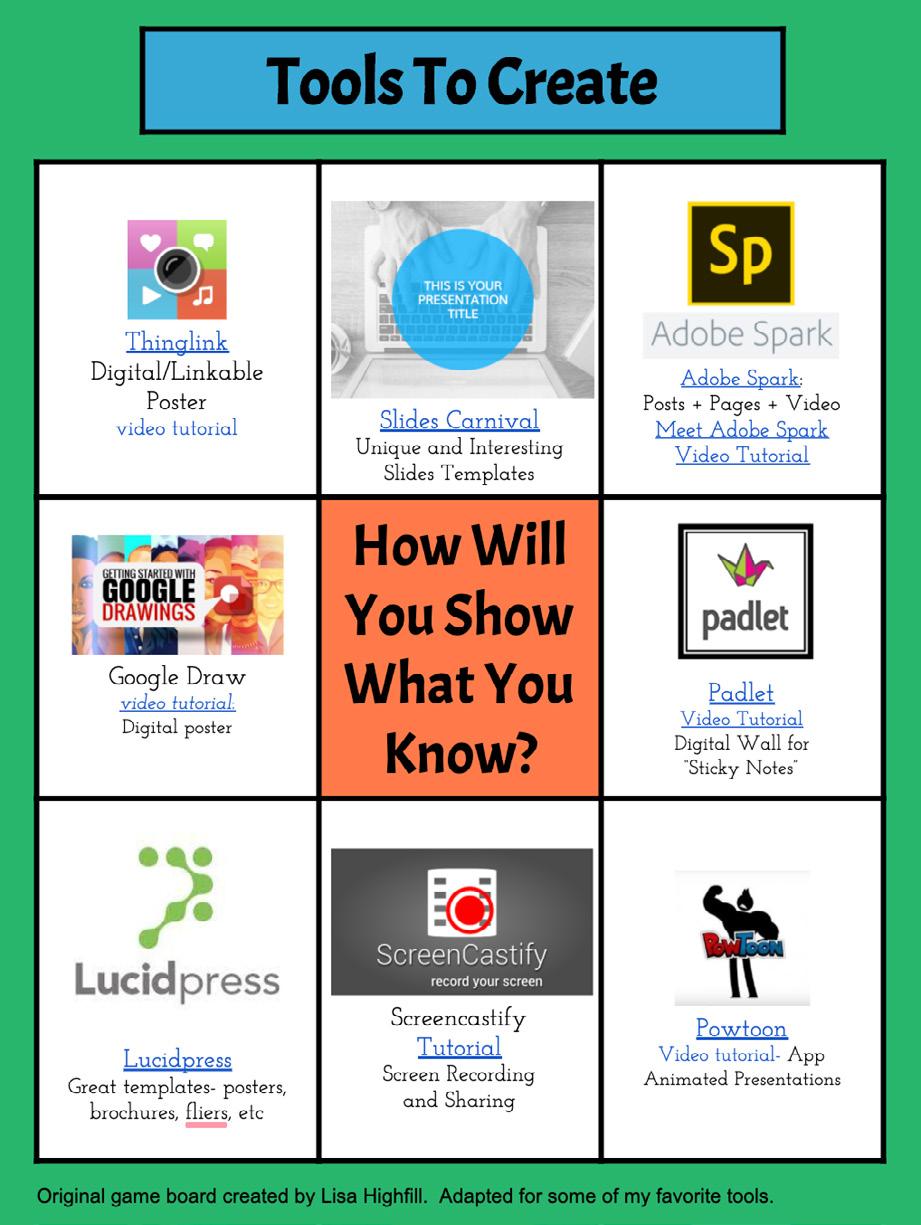
Lisa Highfill developed this great board for students to choose how they would like to demonstrate their learning. You can access it here.

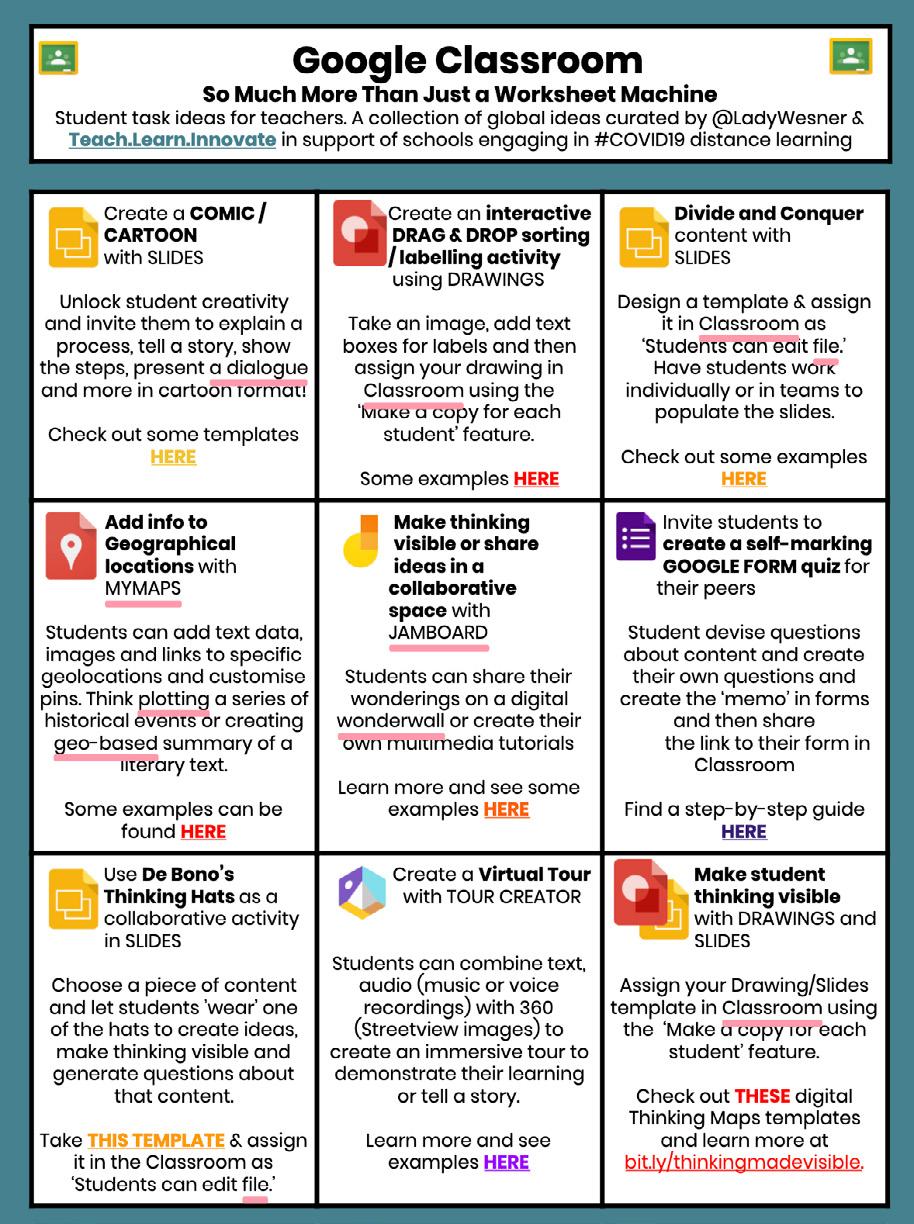
@LadyWesner has even developed this amazing choice board for teachers, giving ideas for Google Classroom assignments. Find it here.

This choice board, which I created, has a bit of a twist on the original idea. Instead of having a grid layout, which works really well for many activity types, I decided to go for a classroom layout, where each object is hyperlinked to a different slide. The slide that it goes to gives more detail on the activity. I use this board for early finishers who are looking for something meaningful to do. To see these slides, click here.
I have found that using choice boards in my classroom has meant that learners are more engaged and motivated to learn. This may be because it’s something new and therefore has the novelty factor, but after chatting with the learners in my class, I feel that it has more to do with the sense of agency that comes with being allowed to choose how they want to learn.
Step one: Choose a topic
Some ideas may include: • A board where students choose a method of demonstrating a specific skill or understanding of a topic; for example “The French Revolution” in Grade 6. These choices might include a video in Adobe Spark, a
Google Slides presentation or a sketchnote. • A board of tasks that learners can do if they have finished their work. • A board of educational games that focus on a particular skill. • A collection of research topics with links to websites or further information. • A library of digital books or videos for educational or entertainment purposes. • A collection of links to interesting podcasts or audiobooks that students may listen to while drawing or doing a creative activity.
Step two: Choose your tool
The only rule for a choice board creation tool is that it needs to be able to handle hyperlinks. Personally, I prefer using something in the Google Suite (mainly because of how easily it integrates with Google Classroom) so I would go for Slides, Docs or Sheets. You can also use the Microsoft Suite, such as MS Word, Excel or Powerpoint or even an interactive PDF creator like Adobe InDesign. Choose a tool that you are comfortable with.
Step three: Design your layout
What will this board look like? Grid? Hexagons? Chaos? The choice is yours.
Step four: Add the content
This is where you add your choices. Decide on what options you will give your students. Try to make sure that you give your students all of the information that they may need. For example, what are the choices for? How many should they be choosing? Should they submit anything and if so, how? Ideally, you want your students to be able to take it and run with it.
Step five: Add the links
The final step in the creation process is adding in the hyperlinks. A hyperlink can be really powerful. It allows you to link a word, phrase or image to either another part of your document (internal hyperlink) or to a part of a different document or webpage (external hyperlink).
In the fifth board example above, where I have created a “classroom”, the images on the first slide link internally to other slides and there are links in the other slides that link to external web pages.
How you add the hyperlink will depend on the tool that you are using. In most cases, you either highlight the text that you would like to hyperlink and right-click, or rightclick on the image and go to either “link” or “hyperlink” and paste in the webpage URL, or select the slide in a slide deck. The hyperlink button usually looks like a chain link and that can be used as well.
If you’d like a more step-by-step guide, you can check out this blog post, which details how I created the choice board classroom.

Once you’ve created your choice board, you can share it with your students on your chosen platform. You could even invite students to collaborate with you on a choice board that could be used in class.
Author: Jenna Swano Once an English FAL teacher at a Cape Town high school, Jenna Swano now has the joy of being a Grade 5 class teacher. Jenna runs the blog Thinking CAPS which highlights her lessons learnt in the classroom.


