7 minute read
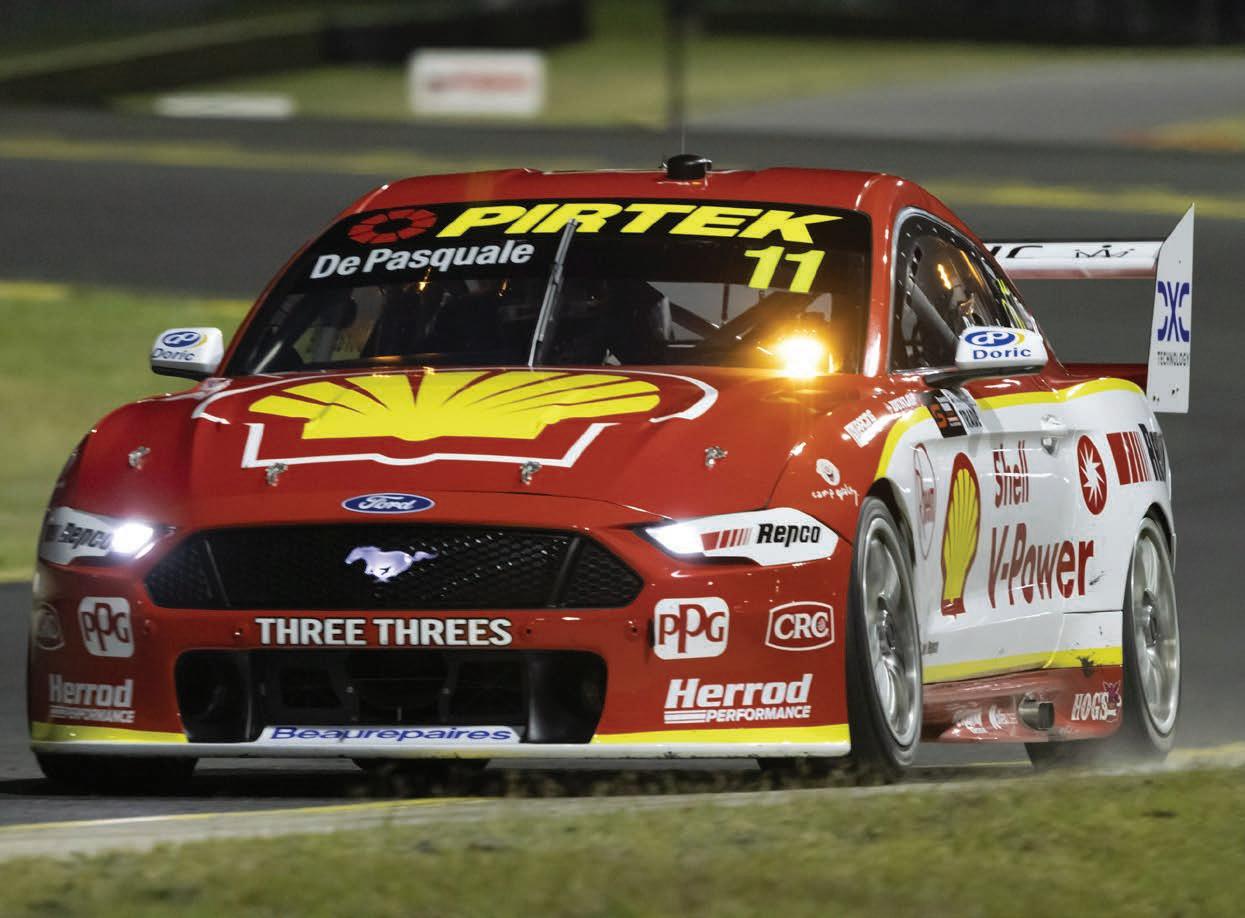
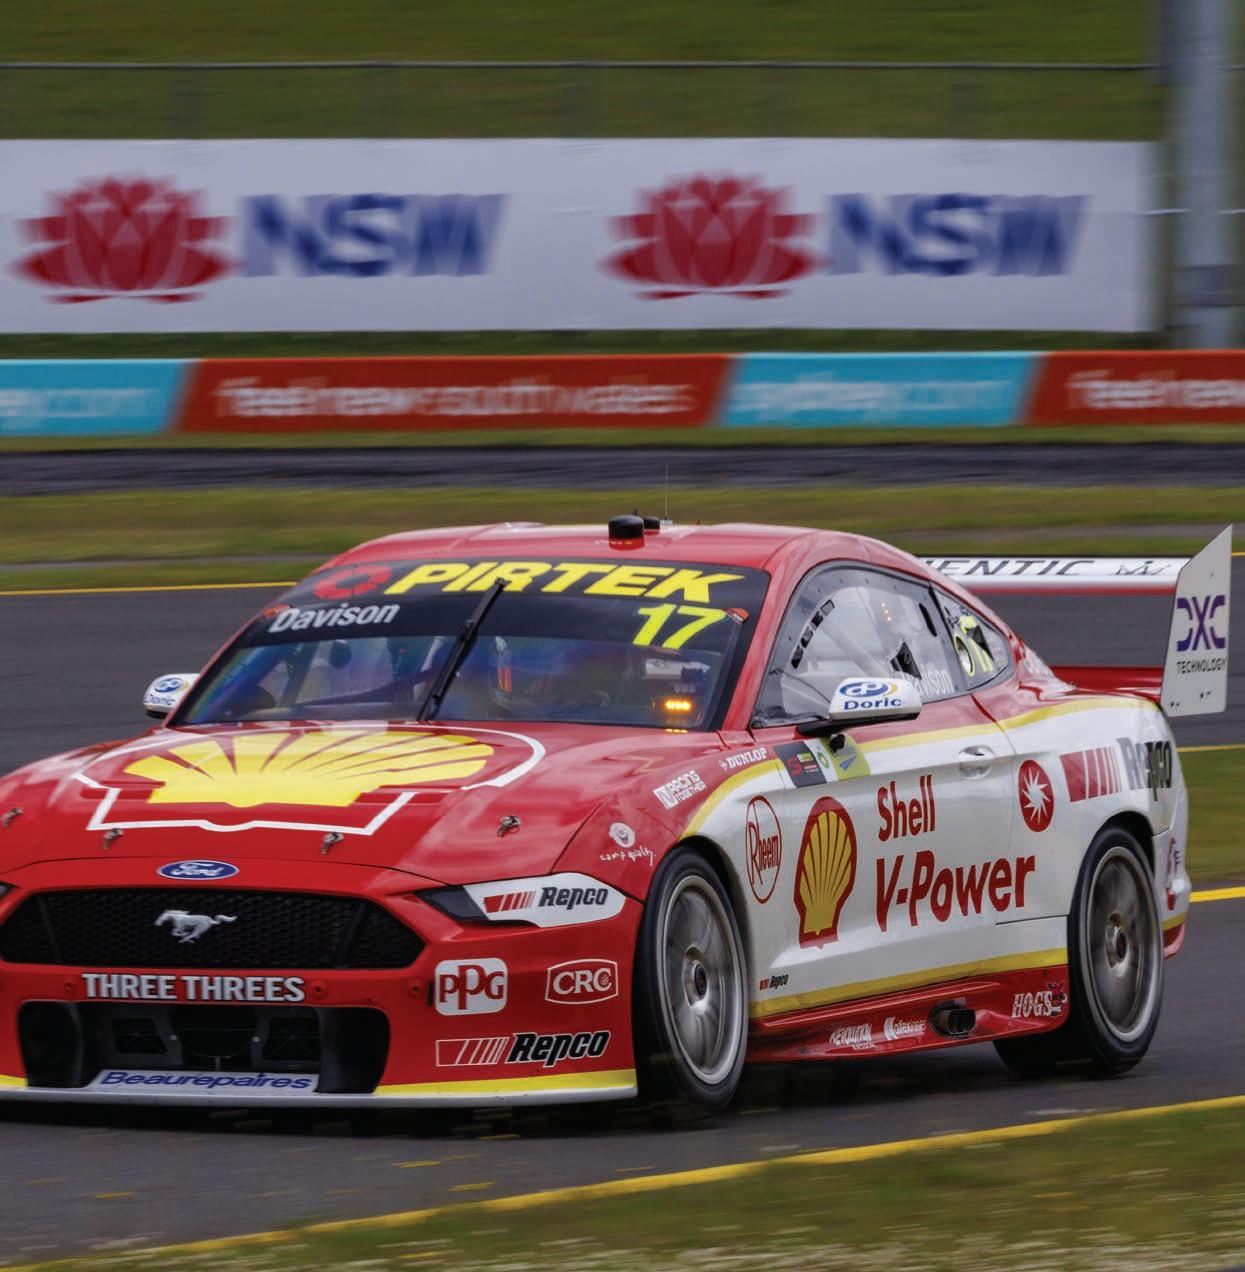
Bathurst Winning Strategy

BATHURST 1000 WINNING STRATEGY
SO, YOU WANT TO WIN THE BATHURST 1000?
Advertisement
Here we take a deep dive into the aspects to keep an eye on during this year’s Great Race.
There are a lot of factors to come into play – obviously, car pace is king – slow teams don’t win Bathurst. You want to have a fast, safe co-driver, and you want them in the car at the right times, only just covering their minimum driving times. As always, expect the co-drivers to knock over as many laps as possible in the opening half of the race. However, there are many constraints to keep in mind – from driving time to minimum laps, and pit stop requirements. Key points relating to strategy include: • Drivers must not exceed 3.5 hours of continuous driving time • Each driver must complete at least 54 laps • Seven compulsory pit stops for fuel and/or tyres • Brake rotors will need to be changed once between laps 55 and 120 • 52 new hard tyres, 28 wet weather tyres The 3.5 hours of continuous driving is not compatible with a straight 107 lap stint coming home for the main driver – even with a massive green flag run, so this has to be juggled accordingly. Safety car interventions have to come into consideration, as well as the maximum distance on a tank of petrol, which in the past three years stands at 26 laps (including three sloooow safety car laps), with normal stints typically topping out at 24-25 laps. As seen below, 27 lap stints are possible in the wet. Therefore, the key lap to look for final stops to fall will be around lap 135. To help you play armchair engineer, we’ve broken down the strategy plays for the recent editions of the Bathurst 1000.
THE 2020 RACE
Last year’s race proved to be one of follow the leader, although, the deciding factor amongst leaders more or less proved to be co-driver stint timings, particularly for Scott McLaughlin having Tim Slade pitted against main drivers late in the day. Laps on which the Podium Finishers from 2020 Pitted:
Car # Stop 1 2 3 4 5 6 7 97 21 33 51 75 97 120 142 6 21 33 51 75 97 120 142 25 19 33 51 75 95 118 140
The Lap Length of Each Stint During the Race:
Car # Stint 1 2 3 4 5 6 7 8 97 21 12 18 24 22 23 22 19 6 21 12 18 24 22 23 22 19 25 21 12 18 24 22 21 22 21
Safety cars dictated the timing of three of the pit cycles, namely on lap 33 (Jamie Whincup in the fence), lap 51 (Jordan Boys crash), and lap 97 (BJR cars coming together at Murray’s), with two other late yellows falling after the final stops.
THE 2019 RACE
Looking back at the 2019 edition, the race played out with significantly different strategies for the key players. The critical stop for the podium finishers came on lap 135, setting up a 26 lap run home, which was only made realistic by a pair of safety car interventions. Laps on which the Podium Finishers from 2019 Pitted:
Car # Stop 1 2 3 4 5 6 7 8 17 16 38 57 79 95 113 135 97 22 43 64 86 102 113 123 135 22 12 19 42 66 90 113 124 135
The Lap Length of Each Stint During the Race:
Car # Stint 1 2 3 4 5 6 7 8 9 17 16 22 19 22 16 18 22 26 97 22 21 21 22 16 11 10 22 26 22 12 7 23 24 24 23 11 22 26
Throughout the day, car 17 ran reasonably even stints, a ploy that ultimately saw the team pressed into action one less time than the other podium pair.
Triple Eight meanwhile ran reasonably long on the first four stints, before shorter stints in preparation to line up their final stop at the right time – which ultimately was forced upon them with the arrival of the safety car. Walkinshaw Andretti United meanwhile made a couple of early stops, which forced them into running long for the next four stints. For the top three, it was all about that crucial lap 135 service under safety car, which made it marginal to get home on fuel – that 26 lap stint was some two laps longer than any of the other stints seen by the top-three prior – and a distance that needed the help of additional safety cars. One car that bet against a late safety car was car 888 – Whincup/Lowndes, which stopped on lap 151 for a top-up, before eventually claiming fourth, a move that in review was admitted to be the wrong way to go.
THE 2018 RACE
This race was definitely a case of follow the leader with the three short yellow flags from the race falling within reasonable windows for teams to fulfil their fuel stops. The first safety car appearance for the expired James Courtney/ Jack Perkins car on lap 34 was followed on lap 76 for a genuine debris caution, with the final on lap 94 for a Hazelwood spin perfectly set up the sprint to the finish. Laps on which the Podium Finishers from 2018 Pitted:
Car # Stop 1 2 3 4 5 6 7 888 18 34 57 76 94 117 139 2 22 34 57 76 93 117 140 17 18 34 57 75 94 118 140

The Lap Length of Each Stint During the Race:
Car # Stint 1 2 3 4 5 6 7 8 9 888 18 16 23 19 18 23 22 22 2 22 12 23 19 17 24 23 21 26 17 18 16 23 18 19 24 22 21 26
The strategy for the David Reynolds/Luke Youlden entry closely resembled that of cars 2 and 17; Reynolds ultimately stopped again on lap 142, handing over to Youlden after cramping.
THE 2017 RACE
Remember 2017 when it rained and rained and rained? The race featured six safety cars, although these were skewed until the second half of the race. Of note, the wet weather paved the way for some extended stints of up to 27 laps for all of the podium finishers. Laps on which the Podium Finishers from 2017 Pitted:
Car # Stop 1 2 3 4 5 6 7 8 9 9 23 50 68 88 114 121 130 134 02 25 45 61 75 88 114 134 12 14 41 55 75 88 104 121 127 136 The Lap Length of Each Stint During the Race:
Car #
Stint 1 2 3 4 5 6 7 8 9 10 9 23 27 18 20 26 7 9 4 27 02 25 20 16 14 13 26 20 27 26 12 14 27 15 20 13 16 17 6 9 25
Tracking the lap chart of this race, it really was a race of comers and goers, as different strategies played out throughout. The first safety car of the race fell on lap 77 when Alex Premat stopped the 17 Falcon at The Cutting, although that was out of sync with the leaders service schedule. Subsequently, everyone headed to the pits when Skippy hit the track on lap 88. The monster 27 lap run home by Reynolds/Youlden and Pye/Luff was assisted by a pair of late cautions for crashes by James Moffat and Simona de Silvestro.
THE 2016 RACE
With a long green-flag run through to lap 93, the field chose their own path through the early portion of the race, before converging on very similar strategies for the run home. Laps on which the Podium Finishers from 2016 Pitted:
Car # Stop 1 2 3 4 5 6 7 8 9 19 19 37 59 80 92 109 134 136 97 18 38 60 78 92 109 111 134 136 222 17 34 53 75 93 109 114 134 136
The Lap Length of Each Stint During the Race:
Car #
Stint 1 2 3 4 5 6 7 8 9 10 19 19 22 37 13 17 25 2 25 27 97 18 20 22 18 14 17 2 23 2 25 222 17 17 19 22 18 16 5 20 2 25
After the first yellow for the crashed BOC car on top of the Mountain, the leaders returned to the pits on lap 109 when James Moffat’s Volvo expired on Mountain Straight. The ultimately winning Davison/Webb machine then elected against a splash and dash under that yellow, which Van Gisbergen/Premat took, nor the subsequent yellow five laps later when Heimgartner stopped at the Cutting, which allowed Percat/McConville a top-up. When Winterbottom fired off into the Chase bunker with brake failure, the leaders filed into the pits for a pair of fuel refills. Despite a pair of Safety Cars in the closing laps for the Whincup/McLaughlin/Tander wad up and for Rick Kelly’s stack at the Elbow, Davison’s car ran out of fuel on the run into the final corner of the race. Jamie Whincup was the first car across the finish line before a post-race penalty, and was running the same strategy as the leaders from lap 92 onwards.