
Manual for the OWNER
6 EASY STEPS
for managing your OPSlife Messenger
MAINTAININGKNOWLEDGECOMMUNICATION IN KNOWL COMMUNICATIO
Step 1 - Logging in
Step 2 - Add departments
Step 3 - Add users
Step 4 - Send the code
Step 5 - Create & send notifications
Step 6 - Dashboard
In this manual, we provide you with a step-by-step guide to how the OPSlife Messenger works, how it benefits your employees and your business, and the opportunities it provides.
GOAL
Inform your team directly, make requests, focus on a topic and test knowledge.
NOTE: If you are in need of an assistance it can be realised under the hourly rates. To find out more please contact service@hseqdirect.com Index
USAGE RESULT
Team leader sends notifications, informing or asking for a response. Direct, efficient and secure communication throughout the workplace.
6 EASY STEPS for managing your OPSlife Messenger p1
Step 1 - Logging in p3
Step 2 - Add departments p5
Step 3 - Add users p8
Step 4 - Send the code p9
Step 5 - Create & send notifications p10
Step 6 - Dashboard p11
Quickstart for the Owner
1 3 5
LOGGING IN
You have received an email with login details from noreply@yourlifemessenger.com.
Go to: portal.yourlifemessenger.com/company/
Login with received credentials (username + password)
ADD USERS
To add users for each of the departments / divisions go to EMPLOYEES. Besides editing their information you can assign them to one or more created department(s)/division(s). You can choose either to add users: 1. manually, or 2. import the Excel file.
Both option are explained in detail in the Owner manual which you have received.
ADD DEPARTMENTS
2
Once logged in, Go to DEPARTMENTS on the left side of the menu. Here you create different departments/divisions to which you can link your employees. linking multiple departements to one user is possible.
SEND THE CODE
4 6
Send your employees an email with the Quickstart for the user of the OPSlife Messenger and their unique employee code (which can be found in EMPLOYEES overview in the left side menu) to activate the app, after they download it from the Google Play Store or Apple Store on their phone.

CREATE & SEND NOTIFICATIONS DASHBOARD
Go to ADD NOTIFICATIONS in the right menu. Here you can choose the type of notifications. After you have done creating the notification you can choose to send directly or to schedule it.
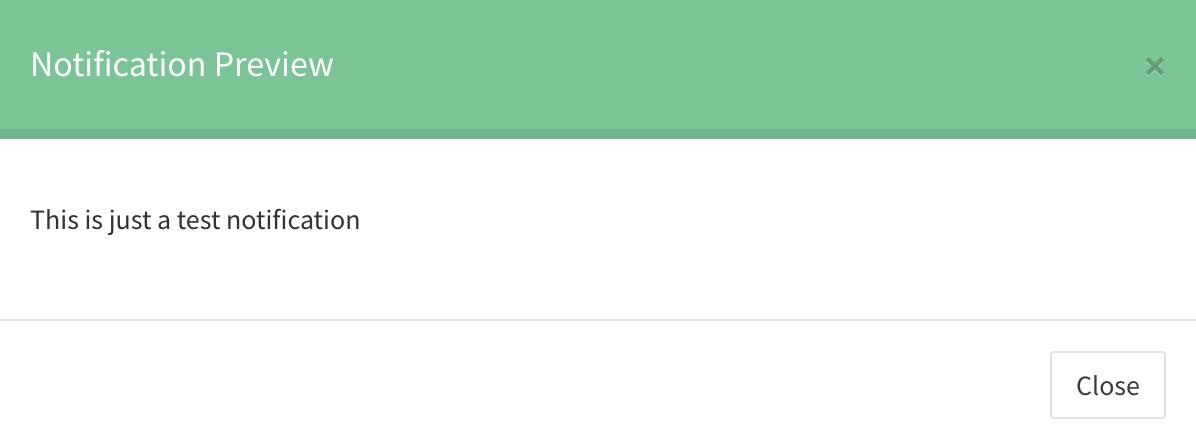
You can also preview the notification before sending it or confirming the scheduled sending date.
To have a complete overview of your sent notifications and eventual response of your users, go to the DASHBOARD in the right menu. You can also create a clear reports and export them to Excel for further use.
Introduction
OPSLIFE MESSENGER 2.0 is a TWO WAY COMMUNICATION SYSTEM which enables your company to keep your employees ALERT, MOTIVATE them to participate, ACTIVATE them to think and contribute towards achieving the company’s goals and to IMPROVE their work processes, safety and company culture ... ON-DEMAND! OPSlife Messenger is an autonomous system, absolutely separated from your operational environment and therefore completely ‘cyber-safe’
Owner
Manage and edit
Welcome to your OPSlife Messenger!
As an OPSlife Messenger Owner, you are responsible creating and sending notifications, managing the users, teams, groups and departments and last, but not least, to create clear reports and make them available for further improvements of work processes, safety and company culture or any other area that requires improvement.
1
3
2
4
You have received an email with login details from noreply@yourlifemessenger.com.
Go to: portal.yourlifemessenger.com/company/
Login with received credentials (username + password)
2
Step 1 - Logging in Step

2 - Add departments
Next step you have to take is to create departments (or teams, groups, divisions,...).
Go to DEPARTMENTS (1) on the left side of the menu. Here you will create different departments/divisions that you can link your employees to. This way you can control which notification will be sent to which group of employees. Create first one by right clicking on add department (2). Enter the name (3) such as Communications or Onshore or painters. Click on save (4). Repeat these steps until you have created all departments/divisions.


Step 3 - Add users 3
Now is the time to add users to the OPSlife Messenger.
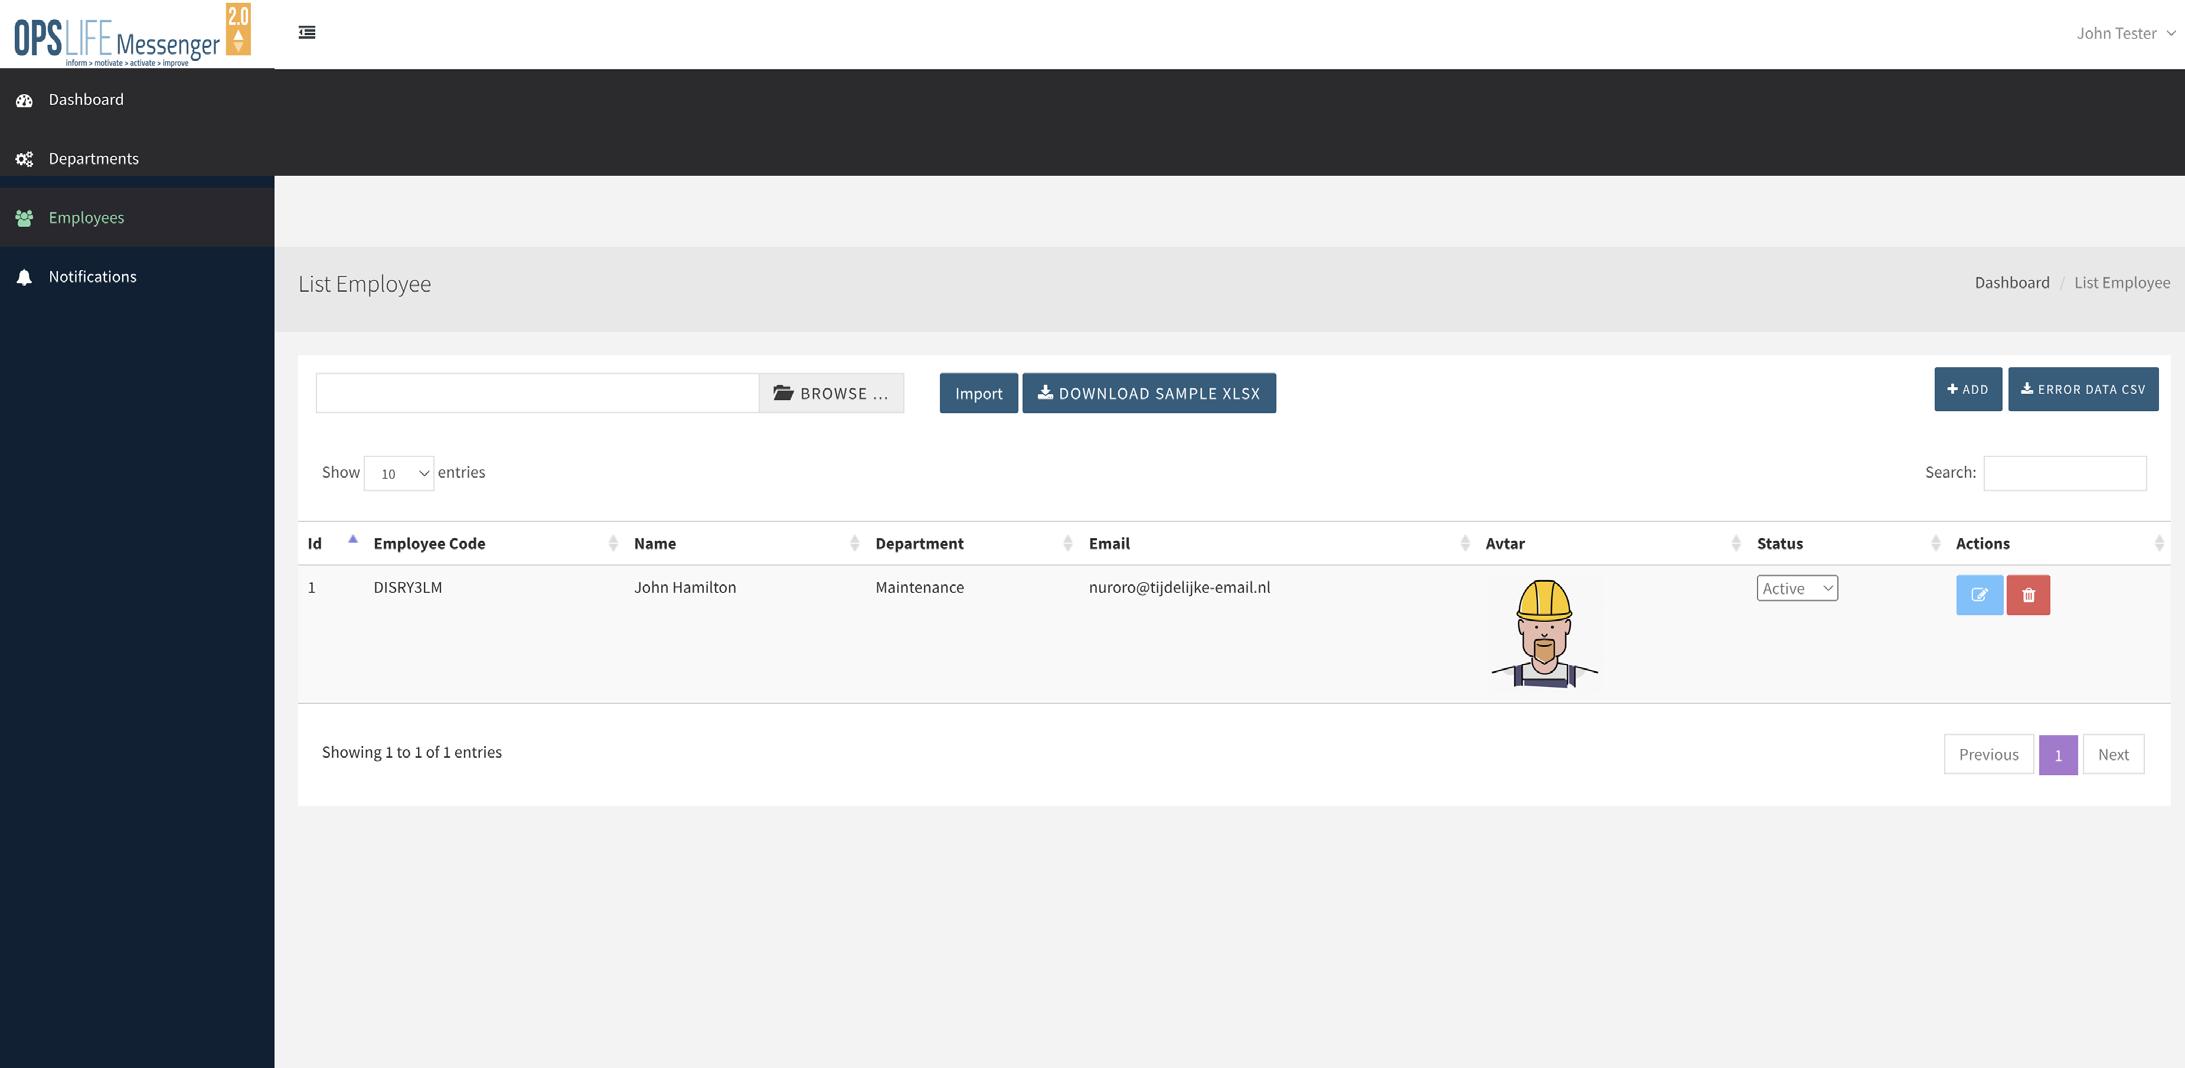
To add users, click on EMPLOYEES (1) on the left side menu to enter your users. You can choose either to add users:
1. manually, or to 2. import the Excel file
To add users manually, click on the ‘+ADD’ button (2). There you can enter all required information of the user. Once you are done with entering user’s information, click on the button ‘SAVE’ to finish.
Alternative method (quicker) is to import (3) users from the Excel file. Easiest way to do that is to use sample XLSX file (4) Download it and fill in the required information. Save it on your computer and go back to the OPSlife Messenger portal and click on the button ‘BROWSE’(5). Select the file that you saved on your computer and click on ‘open’. Once the file is selected, click on the button ‘Import’ (2). If you entered all the data correctly, you will see all the users in the overview.
Now is the time to invite your users to download the OPSlife Messenger app and to send them the activation code.

Your users need to download and activate the OPSlife Messsenger app on their phone.
On the left side you will see the menu. Click on EMPLOYEES (1). Here you will see all of your users (2) Copy their unique Employee Code (3) and paste it in the email to your selected users to enable them to activate the OPSlife Messenger app, that they have downloaded for free in Google Play Store or Apple Store. Don’t forget to send attached ‘Quickstart for the Users’ (4) in the email. Step 4 - Send


Manual for the Owner
Managing users
Now you need to assign the users to a specific department (or team, group, division).
Now go to EMPLOYEES (1) on the left side menu and click on the edit icon (2) per employee. Here you can check/enter the data and phone number (3) and at field department you indicate which department(s) may be linked to it by typing the name in the field (4). A dropdown menu (5) will appear and you click the appropriate one. Repeat this until you have added all departments/divisions to the employee you want. Then click update (6). After your employees have confirmed to you that they have downloaded and activated the app, you can start sending notifications.


1. Click on the right side menu and select ‘Employees’.
2. Click on the edit icon for each individual user.
3. Verify or Modify their personal data, such as phone number.
4. By clicking on ‘Departments’ you can assign them to a specific Department / Division or a group of employees.
5. To save this change click on ‘Update’.
Step 5 - Create & send notifications 5
By completing previous steps you are now able to create and send notifications to specific departments / teams / groups / individuals. Here is how you can do this.
Go to NOTIFICATIONS (1) on the left menu. Choose ADD NOTIFICATION (2)

1. Click on the right side menu and select ‘Notifications’.
2. Click on the button ‘ADD NOTIFICATION’ to start creating notifications.
First choose what kind of notification you want to send:
A. PURE / TEXT (only information/text),
B. LINK (text with a url link in it),
C. RESPONSE ( a question or statement and request for feedback from the employee) or D. MCQ (multiple question/question with multiple possible answers)
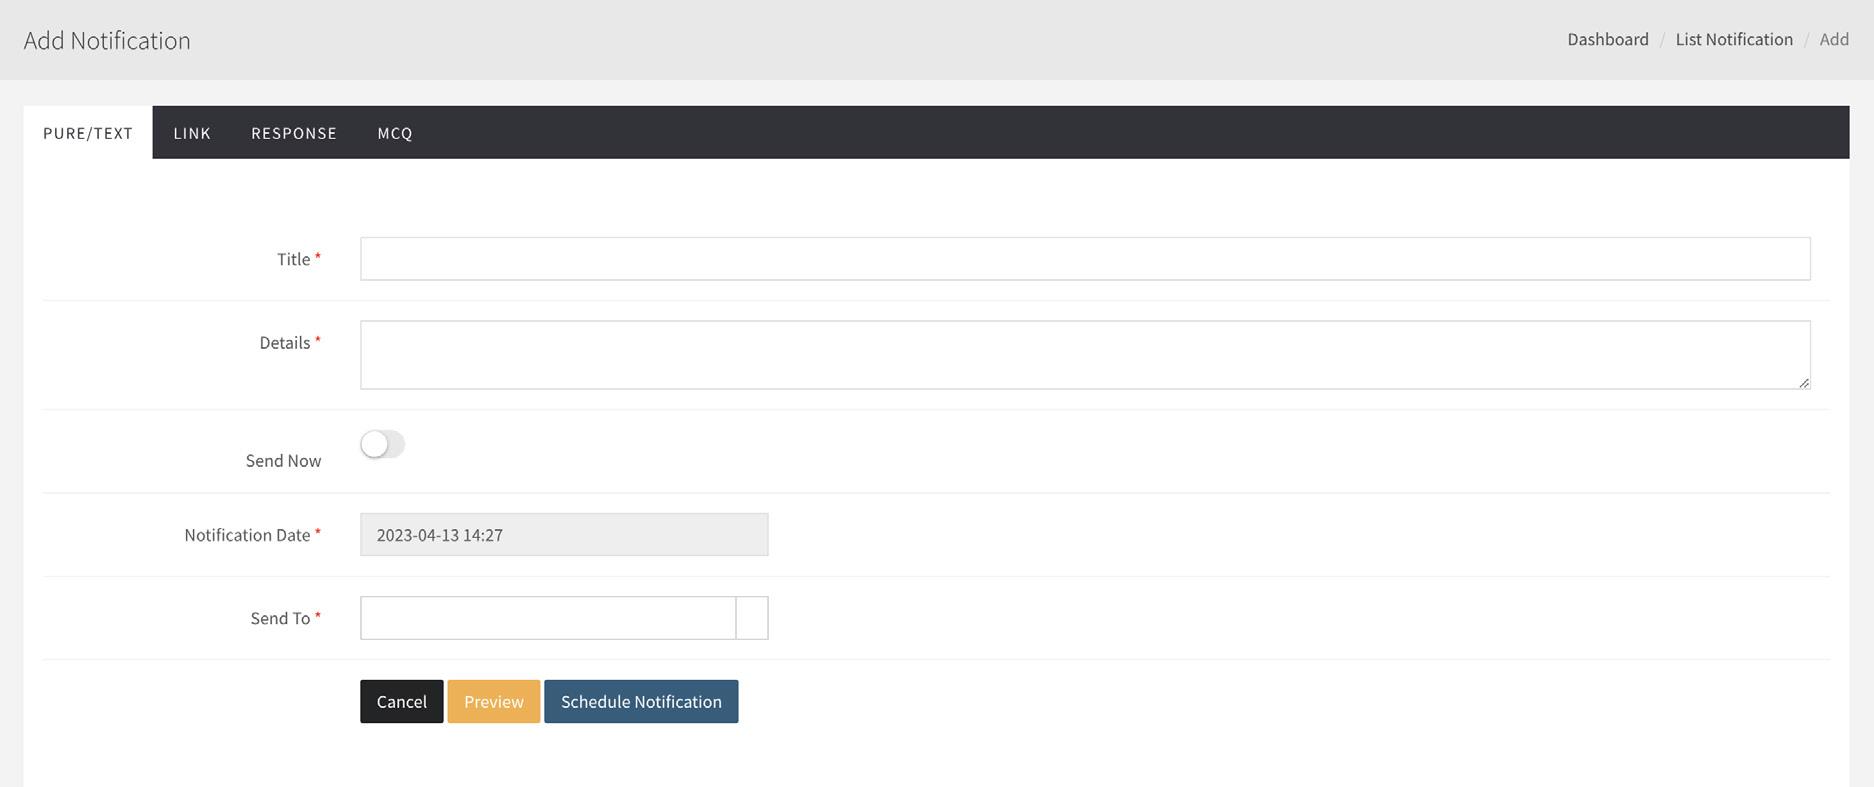

1. Fill in the ‘Title’ of the question or headline of your notification.
2. Fill in your text or explanation in Details.
3. Choose ‘Send Now’ (move the slider to the right by clicking on it or choose a date and time below if you want to schedule the notification for a later moment).
4. At ‘Send To’ by clicking on the slider downwards choose ‘All Employees’ or choose ‘Employees’ if you want to choose specific employees separately. Then enter the first letter of their name in the field below (select users) and click on the appropriate name that appears below it. Continue this way until you have selected all employees you want. Or under ‘Send To’ choose Departments and under ‘Select Departmens’ choose the department you want by typing the first letter of their name in the field of select departments and clicking on the correct one that appears.
5. Now click on ‘Preview’ to check your notification.Is it correct? Click close and then ‘Send Now’ or ‘Schedule Notification’ (depending on what you have chosen: send right away or schedule).If you want to make changes click ‘Close’ and adjust your notification.
6. Then click ‘Send now’ or ‘Schedule Notification’.
Repeat these steps if you want to create another notification.
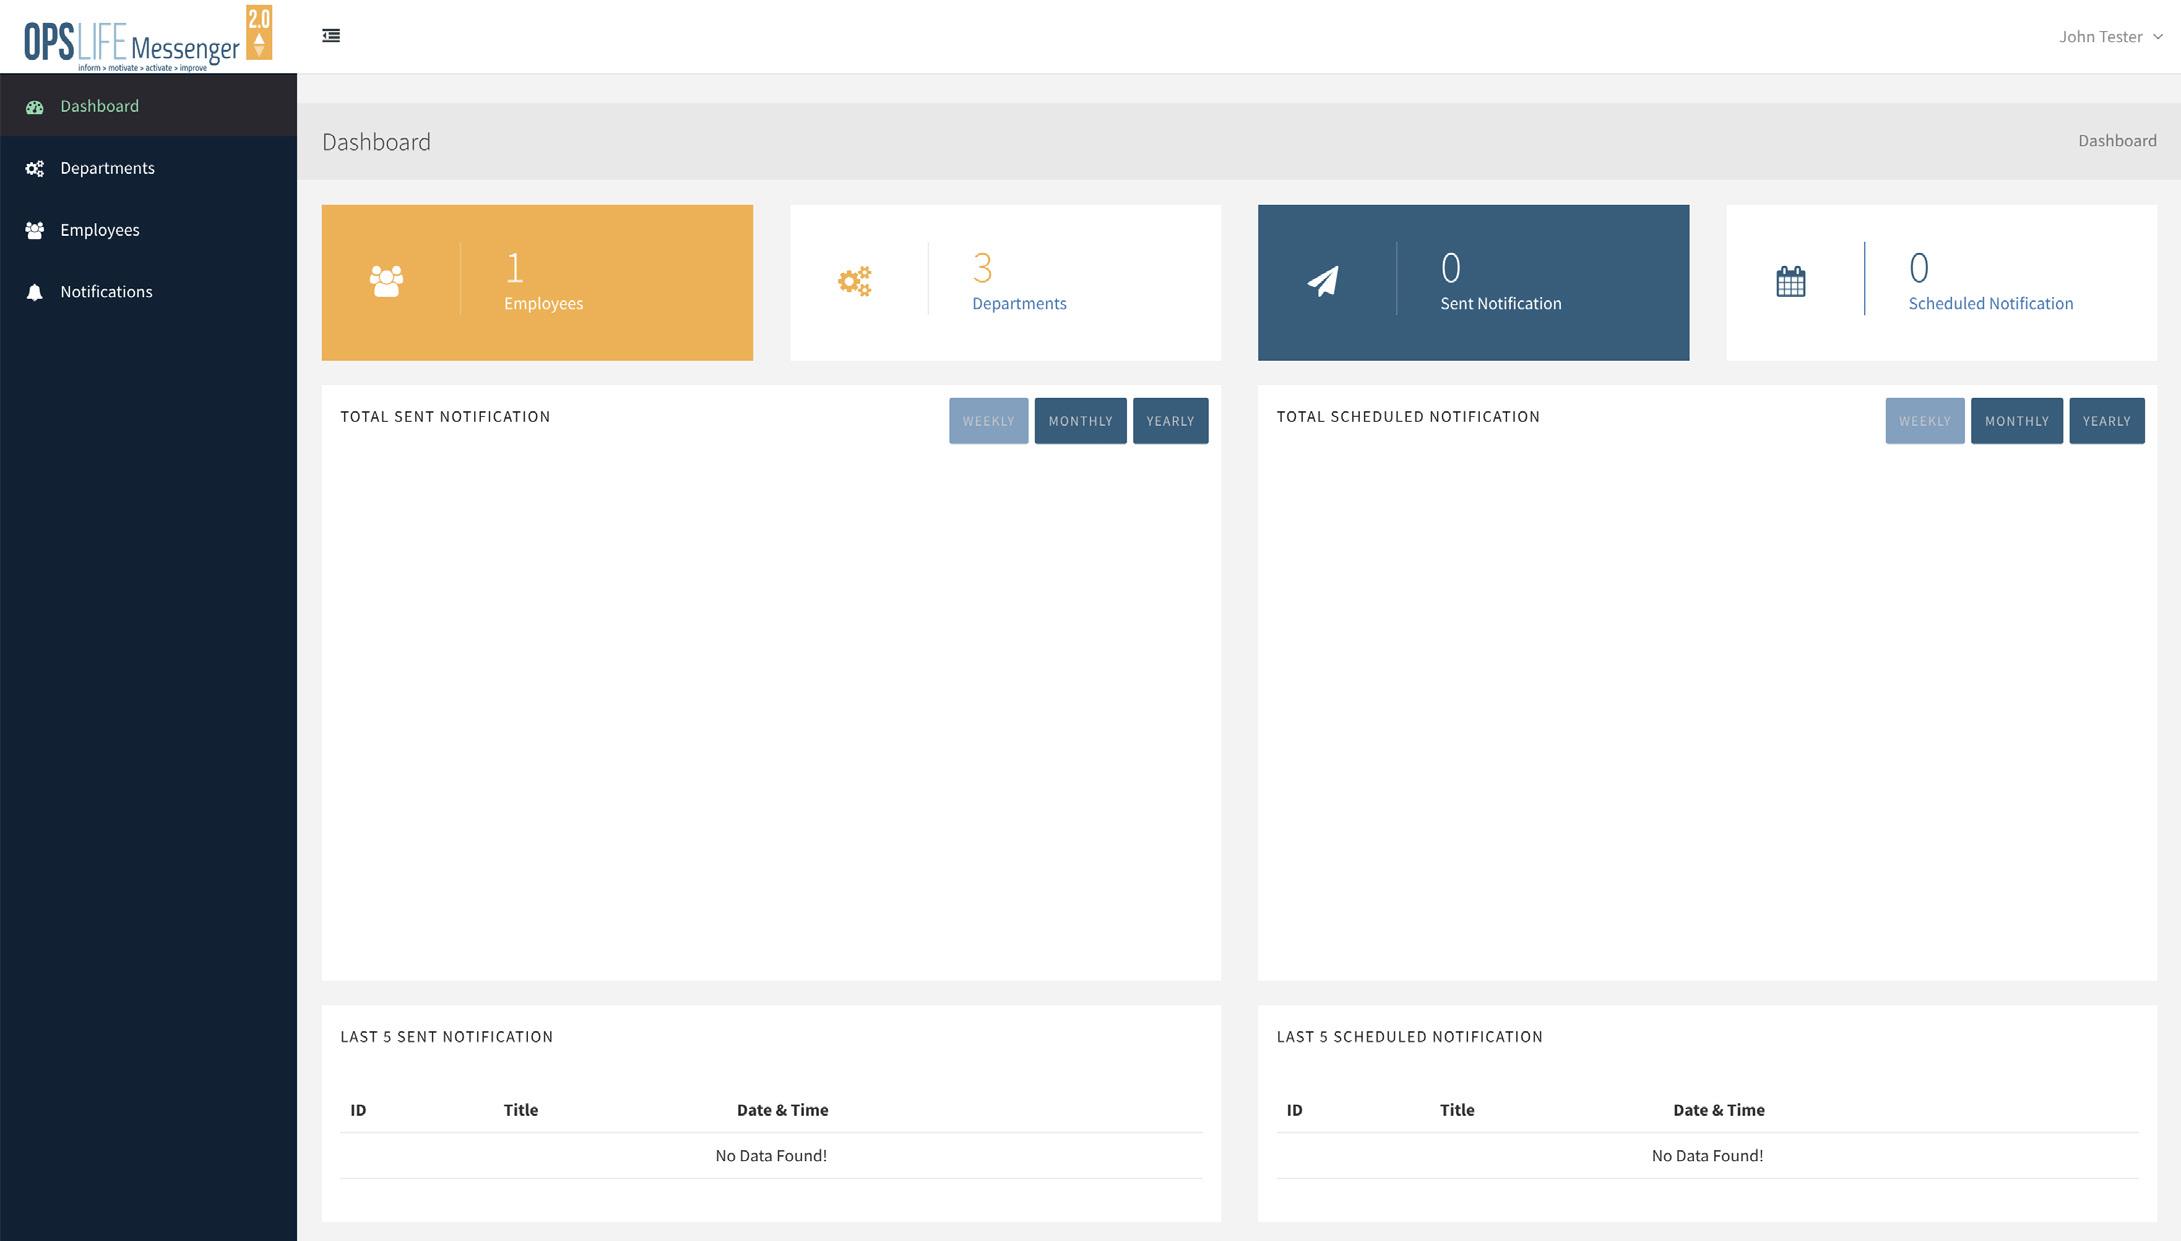
Step 6 - Dashboard 6
Dashboard allows you to see the overview of sent notifications, responses of users and much more.
Click on DASHBOARD (1) on the left side of the menu to view all data. If you have requested feedback from employees via response or MCQ notification you will find all input and responses from your employees under Notifications (2) on the left side of the menu. Click on the yellow eye (3) to the right of the corresponding notification: Export to Excel. Save the file on your computer.

Thank
NOTE: If you are in need of an assistance it can be realised under the hourly rates. To find out more please contact service@hseqdirect.com