5 minute read
STEERING WHEELS TURN

STEERING WHEEL’S TURN
Last month MOG featured Reno’s wonderful hard top and speedster conversions for his beautiful car. is month we continue with his custom, handcra ed steering wheel for MOG 414
Advertisement

WORDS & PHOTOGR APHY Reno Psaila

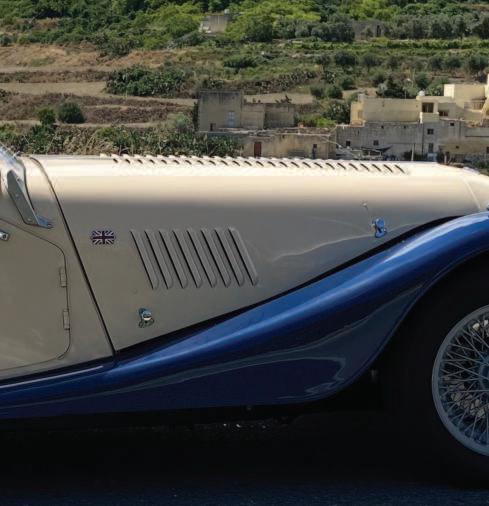
y Morgan still had its original steering wheel M when I purchased it. It had a black rubber steering cap but when in 1999 it was partly restored by La Riche of Jersey, the wheel ring was covered in blue leathere e. Both my wife and I did not really like it and decided that eventually it had to be replaced with a more classic look.
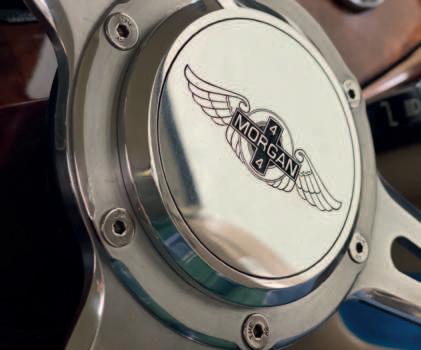
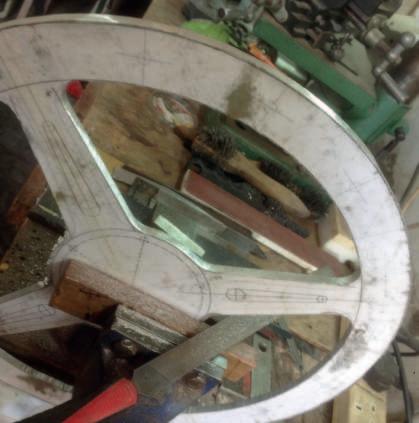
As an interim improvement, I fi rst decided to replace the horrible centre cap with a polished aluminium one with an engraved classic Morgan 4/4 logo. I prepared the drawing and got the logo laser engraved on a square piece of 2024-T3 aircra alloy. Since I requested deep engraving, more than the usual single pass had to be performed… which obviously increased the cost! Once this was done, I


carefully cut it to the exact round shape and chamfered the edge. I salvaged the metal clip from the back of the old cap and riveted it to the back of the new cap.
To fi nish it off I hand polished it to a mirror fi nish. is improved the standard steering wheel look but the ‘blue’ wheel ring kept bothering me.
I researched online what was being off ered and short-listed 2 manufacturers of classic wood rimmed steering wheels, Moto-Lita and Nardi. Both had beautiful products, but all required that apart from the wheel a new boss and centre cap had to be ordered as well. is would bring the cost up quite a bit, especially if I decided on a Nardi wheel. Also I was considering, that for be er entry into my Morgan, it was best to reduce the overall diameter
and 14.5 inches seemed to be best size for my car. That is an inch smaller than original but enough to ease slipping in the driver’s seat without making it harder to turn at slow speed since the car does not have power steering.
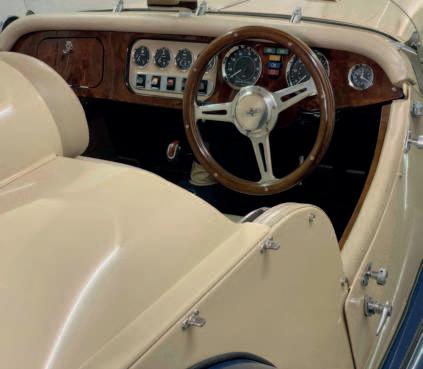
Taking the above into account and keeping in mind that mine was not a ‘dished’ wheel, I decided that I design and fabricate my own custom wheel and fit it on the original standard boss and obviously fit my own new centre cap.
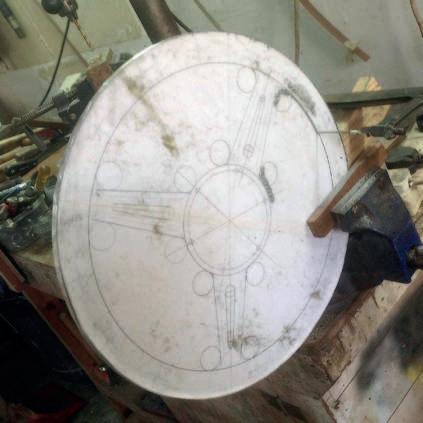
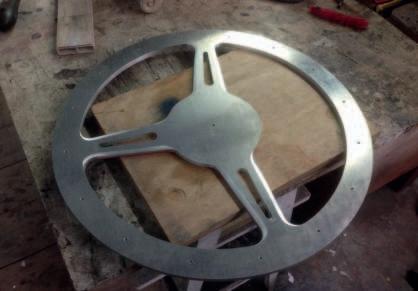
An accurate full scale drawing was plotted on my computer and after printing it on paper, I glued it to the 0.25 inch thick aircraft grade alloy plate. I used this thickness because I wanted to chamfer the spokes’ edges. Normally 3/16 inch is used but edges are kept square. The outer circle was first roughly cut with an angle grinder since I do not have a metal cutting band-saw. After that the spaces between the spokes were hand cut with a hacksaw. Once that was done, all edges were carefully filed down to the design lines. The slits in the centre of the spokes were drilled, cut out and filed as well. Next I hand filed the chamfers on the 3 spokes. The cutting process could have easily be done quicker by taking the CAD drawing and material to a firm that offer laser or water-jet cutting services but that meant that I would have had to wait a couple of weeks, and I did this on a grey and wet Sunday.
On this type of steering wheel design where the alloy outer edge is visible, laminated ply is usually used for the wooden ring and attached with solid rivets. Although I opted for this style I wanted to be able to remove the wood rings for re-finishing when the unavoidable scratches become unsightly so I planned to use screws instead.
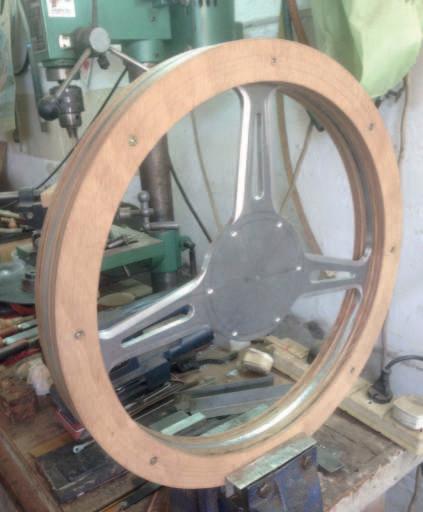
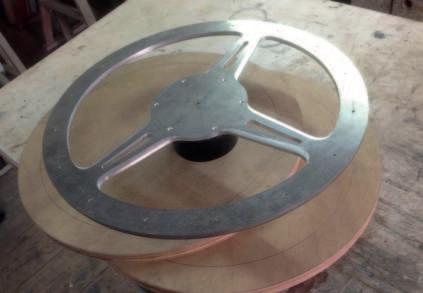
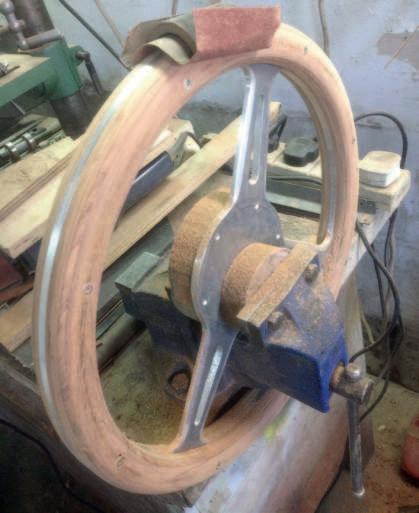
The alloy wheel was drilled with 16 equally spaced holes around the circumference. Two rings of 5/8inch (16mm) thick marine ply were cut to size and temporarily installed with wood screws. After first filing the ply flush with the alloy frame, the process to round them off was started using rasps, files and sandpaper. On the backside I also added ‘finger grips’ at ten to two o’clock positions for a firmer grip. A couple of trial fits on the car itself were done and once I was happy with the feel, the ply rings were removed and wood stain was applied to match the colour of the Morgan dashboard. This was followed with several layers of clear laminating epoxy. When dry, I rubbed them down with fine grit sandpaper and hand polished them. First the flat surfaces of the alloy frame were given a brushed look and the chamfers and edges were highly polished. The original boss was cleaned, primed and sprayed in matt black. The holes in the alloy ring were threaded with a 4mm tap. Counter sunk stainless steel 4 mm Allen head screws were used to secure the wood rings to the alloy frame, using alternate nine screws from the front and alternate nine screws from the back. Before assembly I highly polished the head of the screws.
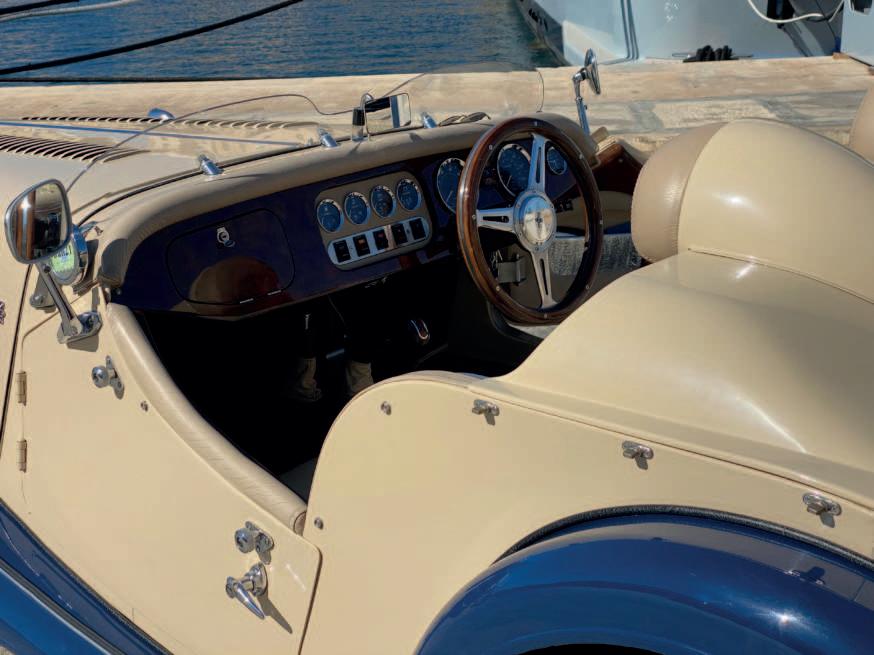
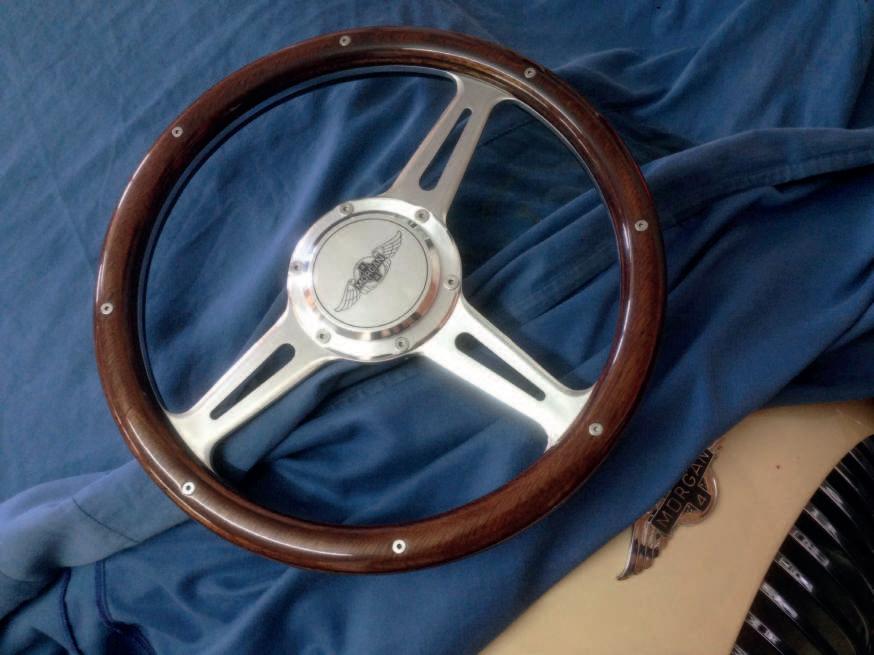
The wheel was finally attached to the standard boss with 5 mm stainless steel counter sunk Allen head screws and stainless steel dome nuts. The centre cap, which I had made previously, was fitted on the new steering wheel.
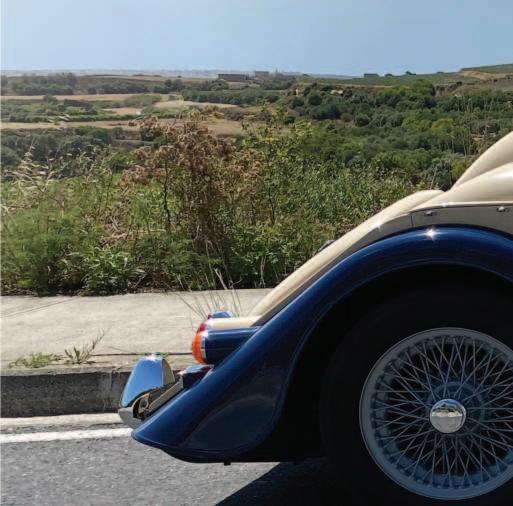
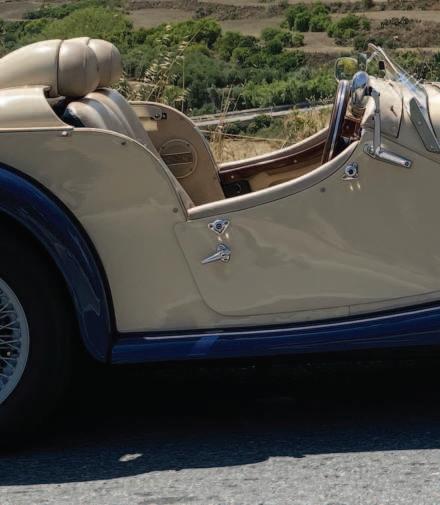
It was time to take MOG414 out for a spin!
NOTE: All images reproduced are: Copyright © 2021 Reno Psaila