
6 minute read
PLANTING PETUNIAS AND PANSIES

Brighten and boost your outdoor space with ease by planting petunias and pansies.
Advertisement
Gardening is the perfect way to revitalize your home, enhance your mood and safely spend time outdoors with your family. Sun-loving Wave Petunias® and Cool Wave® Pansies are two great choices for adding high-impact, low maintenance flowers throughout your favorite outdoor spaces, from large yards to balcony gardens. With a few creative ideas and easy suggestions, you’ll help your plants thrive so you can enjoy stunning color month after month. Whether you’re a new or advanced gardener, use these tips for planting long-lasting Wave® and Cool Wave® in both traditional and unique ways:
Enjoy Flowers Up, Down And All Around
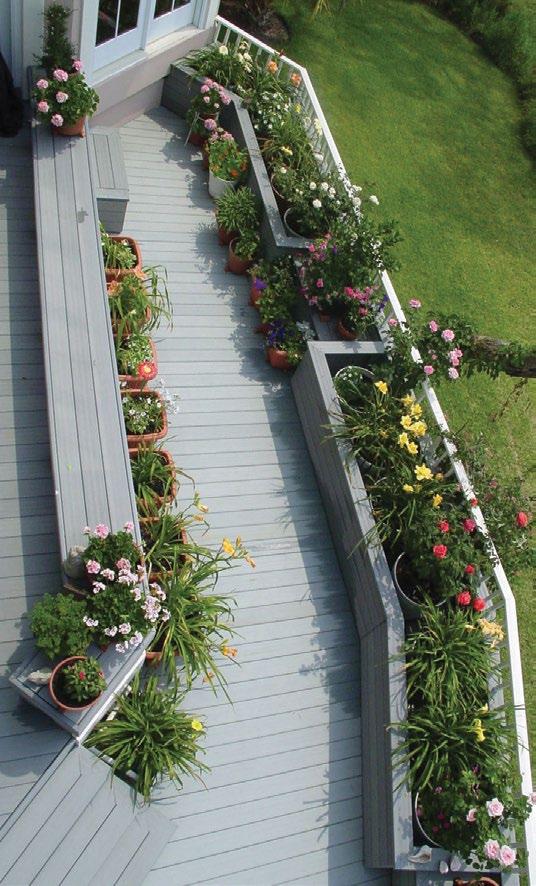
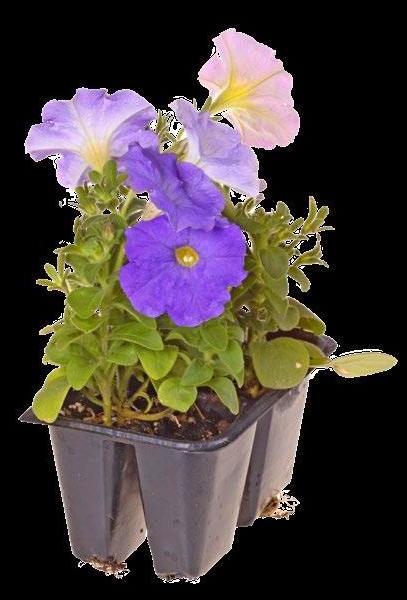
Pansies and petunias are two timeless plants that are available in an array of fun colors so you can add visual interest throughout your sunny outdoor spaces. Get creative by making your own flower-filled hanging baskets or create interesting designs and patterns in flower beds. You can even add vertical appeal to spaces by up-cycling a hanging shoe organizer, filling each pouch halfway with soil and adding petunias. With their dramatic spread, exceptionally long bloom time and weather resistance, petunias brighten up gardens, patios and balconies with bold color - and they’re virtually care-free.
Use heartier plants for early spring gardening
As days grow longer and the weather becomes milder, you’re ready to dig into the dirt. However, since spring can be unpredictable, you want to make sure your flowers can handle the cooler temperatures. Not only do cool pansies withstand the cooler temperatures, but they’re also easy to grow and maintain, making them a great choice for beginner and seasoned gardeners alike. Available in many colors including raspberry, white and bicolor options, you can get creative with flowers as soon as the seasons change. Plant these in early spring and enjoy the cheery feel they add to any garden for months to come.
Colorful fun beyond the garden
In addition to beautifying your outdoor spaces, Cool Pansies are a simple way to enhance any DIY project. These

Continued from page 22. elegant flowers make a stunning edible garnish for charcuterie boards, fruit platters, salads or cocktails. Want to elevate ice cubes? Add colorful pansies to the tray before freezing. You can also press pansies to dry for use in arts and crafts, such as creating beautiful bookmarks or colorful card stock.
Brighten baskets with on-trend yellow blooms
A warm yellow color called “Illuminating” is a 2021 Pantone Color of the Year, a tone that conveys joy and hopefulness. Taking inspiration from this on-trend shade, you can add a dash of inspiration to your garden with Easy Wave® Yellow. These petunias add sunny bursts of color to flower baskets or window boxes. Additionally, these fast-growing plants bloom freely all season without much maintenance. You can enjoy these happy yellow flowers as seasons turn because they tolerate both heat and cooler conditions well.
Be bold in flower beds with mixed colors
When summer hits, you’ll want to enjoy bursts of rich color when you entertain outdoors. That’s why there’s no better option than the vivid hues in the Easy Wave® Beachcomber Mixture. Inspired by the colors of the coast, this petunia mix features pinks, purples and blues that dazzle in any outdoor space, but are particularly pleasing in flower beds. To enjoy the blooms as long as possible, occasionally cut back the spent petals to rejuvenate the plants for fresh, new growth. Gardening is a low-stress healthy hobby for people of all ages. It’s a wonderful escape when done solo or makes for great quality time spent together as a family. Use these ideas to guide you in your gardening activities and reap the benefits of longlasting petunia and pansy blooms. For additional inspiration and friendly advice, visit www.wavegardening.com.
BPT


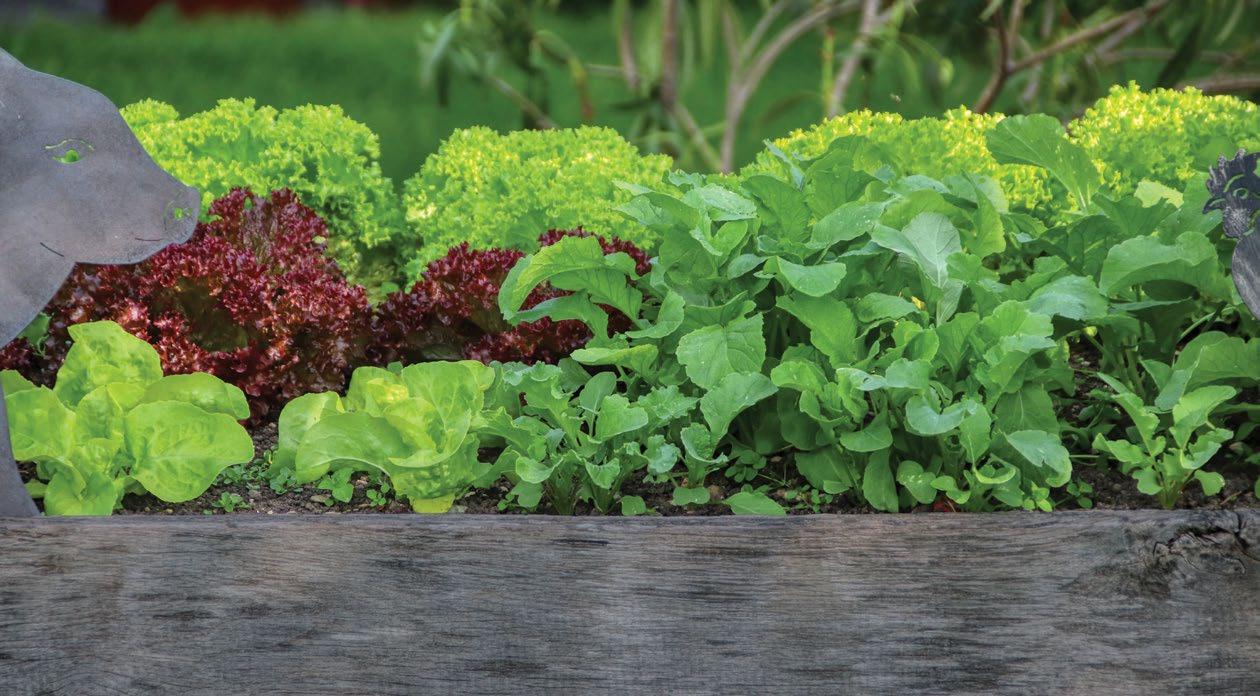
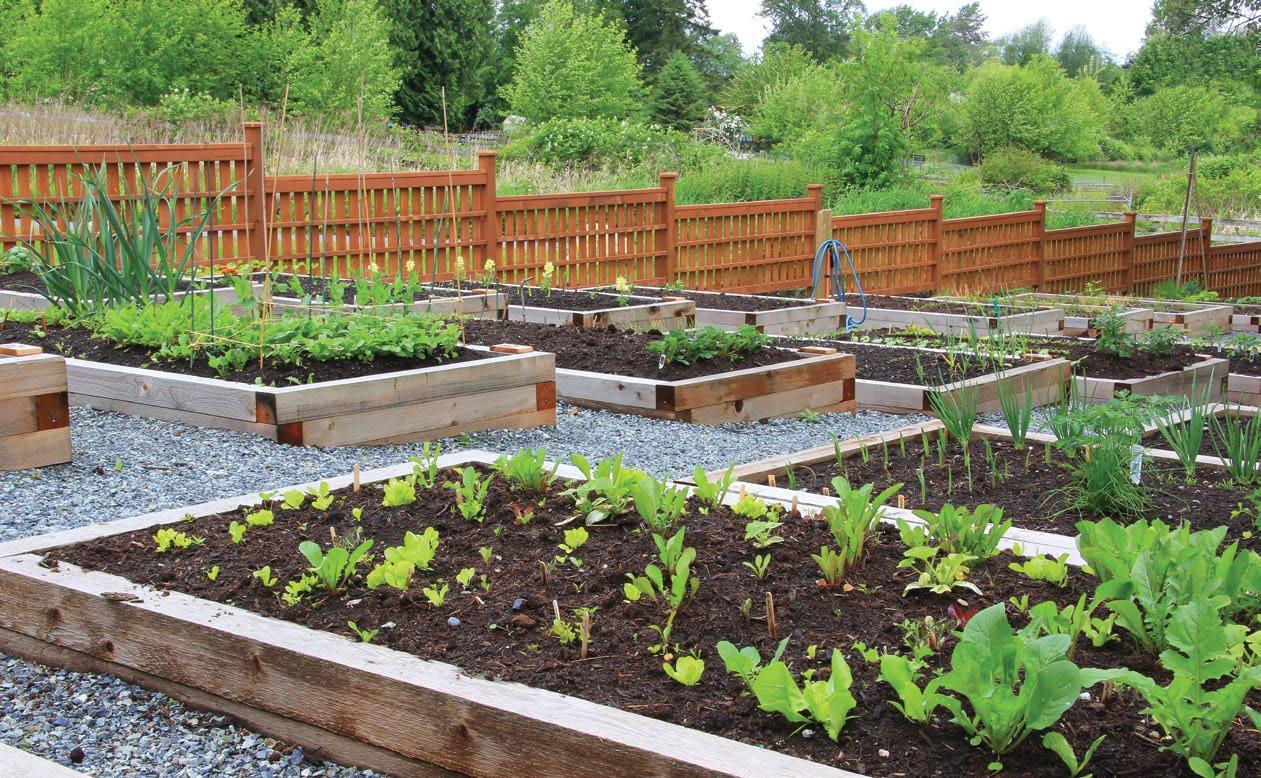
Fairly easy to construct and even easier to maintain, raised garden beds are a great way to raise plants and vegetables in the comfort and convenience of your backyard.
In a recent episode of the Exmark Original Series, “Done-in-AWeekend-Extreme,” landscape designer and show host, Doug Scott, spoke to organic gardener Joe Lamp’l of “Growing a Greener World” about the ins and outs of raised garden beds. Here are some of the top insights and tips Lamp’l shared. • Why use raised garden beds? A raised garden bed can help facilitate the ideal growing environment, as most people don’t have that perfect soil naturally in their yard. Their accessibility makes them easier to work in and maintain.
Plus, they’re a nice architectural design element in any landscape. • What’s the ideal size? The main rule of the thumb applies to width. The bed should be no wider than 4 feet, as you never want to compact the soil when working. Length however,
is based on personal preference and needs. As far as height is concerned, you want the roots to be able to grow out and down as much as possible -- 6-inches at minimum. While 12-inches is common, anything higher is a bonus. • What materials work best? Treated lumber is the most readily available and economical material and will likely last the longest, however, being an organic gardener Lamp’l prefers untreated hardwood, as it lasts almost as long and doesn’t contain chemicals. Other materials you have around the home and yard, such as rocks, old tubs, etc., can work too. • Where’s the best location? Build your raised garden bed on level ground, in full sun exposure near a water supply.

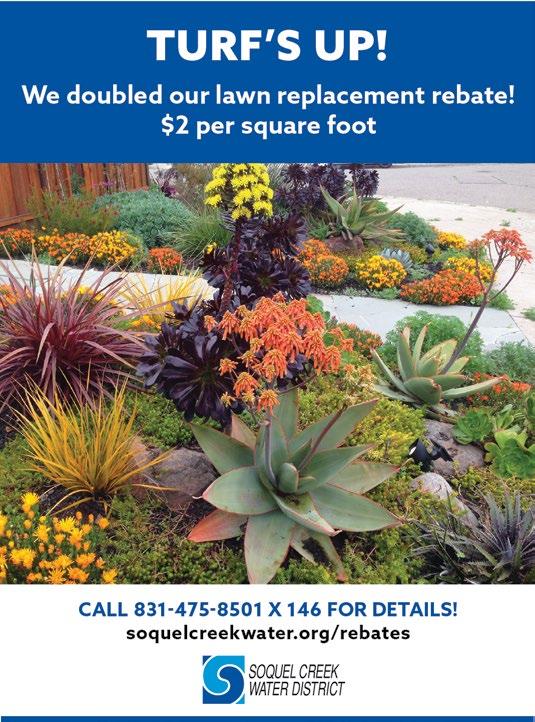

You can be creative and come up with your own style of a raised garden bed.

Continued from page 26.
DIY INSTRUCTIONS: To build a 10-foot x 4-foot x 18-inch raised bed, you’ll need:
• Nine 6-inch x 6-inch x 12-foot cedar timbers • Tape measure, t-square and marking pencil • A saw and extension cord • One box of 10-inch heavy-duty exterior wood screws • Ten 24-inch x 1/2-inch rebar stakes • Twenty 10-inch galvanized timber spikes • Sledgehammer • Impact drill and long drill bit • Level • Hammer • Shovels • Hardware cloth, wire cutters and fence staples • Work gloves, safety glasses and ear plugs • Wheelbarrow (to transport soil) 1. Begin by cutting six, 6 x 6 timbers, each measuring 10-feet 6-inches in length. And six, 6 x 6 timbers, each measuring 4-feet 6-inches in length. Drill rebar holes in each timber. 2. Once the first layer of bed has been placed, leveled and squared in your desired location, fasten the corners using 10-inch wood screws. Secure the entire layer to the ground with 10 pieces of rebar. 3. Place the second layer of timbers, staggering the corners
and fastening them with wood screws. Secure this layer to the first with ten 10-inch galvanized spikes. 4. Install galvanized cloth to prevent burrowing pests from eating earthworms and destroying plants. 5. Place the third layer of timbers (following above directions.) 6. Fill with soil and plants.
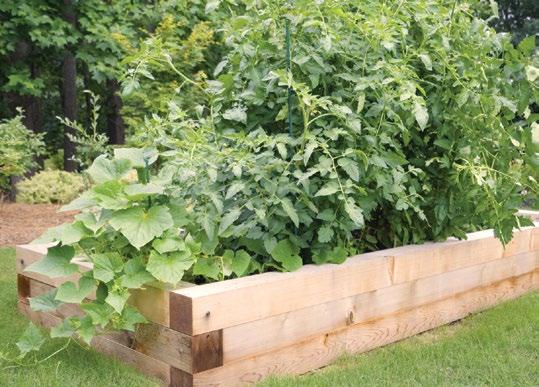
For more tips and complete build instructions, check out “How to Build Raised Garden Beds” by visiting Exmark.com/backyard. Exmark’s Backyard Life is part of a unique multimedia destination with a focus on helping homeowners make the most of wtheir backyard. There you can also access other series, including “Prime Cuts” and “Dream Yards.” For an amazing crop this season, take a cue from the professionals and build a raised garden bed for best results. StatePoint


