

A Home Dyer’s Garden, Part II: Extracting Pigment From Japanese Indigo
Wesley Crump, 1 Toree Park, 2 and Elizabeth Cohen1
1USU Extension Assistant Professor, Wasatch and Summit Counties
2Undergraduate Intern
Introduction
Several indigo dyeing methods use powdered pigment This fact sheet outlines a simple, inexpensive method of extracting the pigment from plants. Throughout this fact sheet, “indigo pigment” will be used for convenience; however, the pigment giving the blue color we recognize as indigo is actually called indigotin. For information on growing Japanese indigo or dyeing with plant and pigment, see the other fact sheets in the Utah State University (USU) Extension series A Home Dyer’s Garden, including Part I: Growing Japanese Indigo and Part III: Dyeing With Japanese Indigo.
Fermentation Extraction
Extracting the indigo pigment from Japanese indigo leaves is a simple process but can be time-consuming. The final product is a powder, which can be stored long-term and used for dyeing.
Steps (From Plant Leaf to Indigo Powder)
1. Harvest. Harvest the desired stems, leaving several nodes if you are planning another harvest. Harvesting is best done in the morning. For the initial harvest, the plant should be 1–2 feet tall (Wenner, 2017).
2. Rinse and submerge. Rinse the stems of any dirt or debris and submerge them in water (warm is best) Add weights on top of them to ensure the plant material stays submerged (Figure 1). Take care not to add too much material to one container or overly compress the plant material, as this can result in poor extraction. Researched recommendations suggest 0.75 gallons of water per pound of plant material (Wenner, 2017).
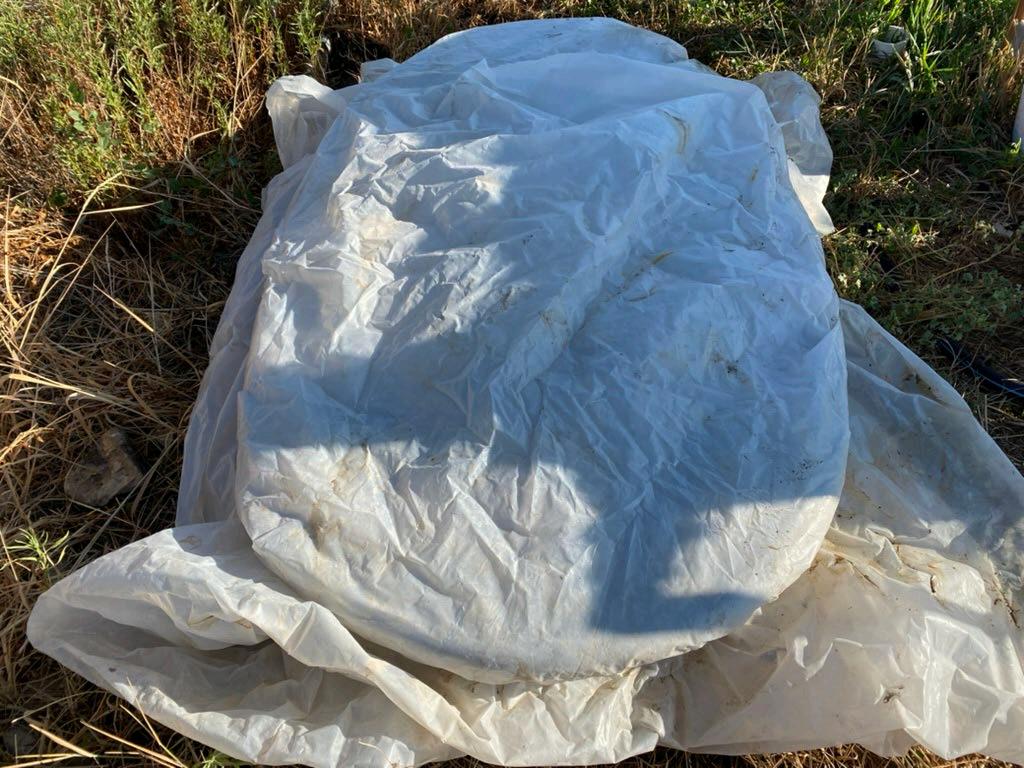
3. Ferment. Cover the container. The plant material will ferment, and the precursor to indigo will be released from the leaves. After 2–3 days in warm weather (potentially longer in cooler weather), the liquid will begin to take on a turquoise, aqua hue (Figure 1) and have a distinct smell somewhat fruity and lightly rank (Wenner, 2017).


4. Remove plants and strain. At this point, the fermentation is complete, and the plant material should be removed from the water (Figure 2A). Allowing fermentation beyond this point will produce excessive bubbles and foam at the surface, generate a more pungent smell, and decrease the indigo yield (Darrac & van Schendel, 2006). Remove the plant material and strain the liquid to remove all particulates using a fine mesh (Figure 2B).
Note: Steps 5 and 6 can be performed in reverse order if desired. Anecdotally, aerating after raising the pH can result in longer settling times. The present order mirrors that from John Marshall’s book, Singing the Blues, Soulful Dyeing For All Eternity.
5. Adjust the pH. Next, raise the solution’s pH to 10 or 11. A simple, inexpensive reagent for accomplishing this is calcium hydroxide, Ca(OH)2, often called hydrated lime or calx. This can be found in most garden centers, often used as a soil amendment to raise soil pH levels. We advise using a mask when working with calcium hydroxide, a fine powder and can irritate the respiratory system. Additionally, we recommend gloves when working with a high-pH solution, which can irritate skin. A recommended amount of calcium hydroxide is 0.75 grams per gallon of extraction liquid (Wenner, 2017), but dissolving small amounts and checking the pH with disposable pH strips is the most accurate method. Note that adding too much calcium hydroxide can compromise the indigo pigment yield (John & Angelini, 2009).
Wear personal protective equipment when working with a high-pH solution to avoid irritating your skin.


6. Aerate. Once at a pH of 10–11, aerate the extraction liquid (Figure 2C). Depending on the extraction size, this can be done simply by pouring the liquid from one 5-gallon bucket to another or employing a small sump pump (Figure 2C) The liquid will begin to take on a dark blue color when aerated (Figure 2D). However, this color does not necessarily indicate complete aeration. Aerate for 10 to 20 minutes the longer, the better.
7. Rest and settle. The extraction bath then needs to rest, and the indigo pigment will settle to the bottom of the container. Settling can take anywhere from a few hours to overnight.
8. Remove the liquid. Once the pigment is settled, remove the remaining liquid on top. This liquid has a high pH, which can irritate the skin if exposed but is otherwise nontoxic. Remove the liquid at the top of the extraction bath into a separate container, add some vinegar, stir, and check the pH level. Once the pH has settled close to neutral (7), the liquid can be discarded. It may be helpful to transfer the remaining indigo slurry to smaller containers, allow it to resettle, and continue to remove the excess liquid
Figure 1. (left) Submerged Indigo Plant Material, (center) Covered Fermentation, and (right) Completed Fermentation of Japanese Indigo Leaves
9. Dry to a powder. Once all possible liquid has been removed, pour the remaining slurry into a shallow pan (using parchment paper makes the process cleaner) to allow it to dry. Once completely dry, grind the powder (mortar and pestle, dedicated blender, etc.) and store it for later use (Figure 3)
10. Store the powder. Store dried indigo powder in a dry, dark space for multiple years.

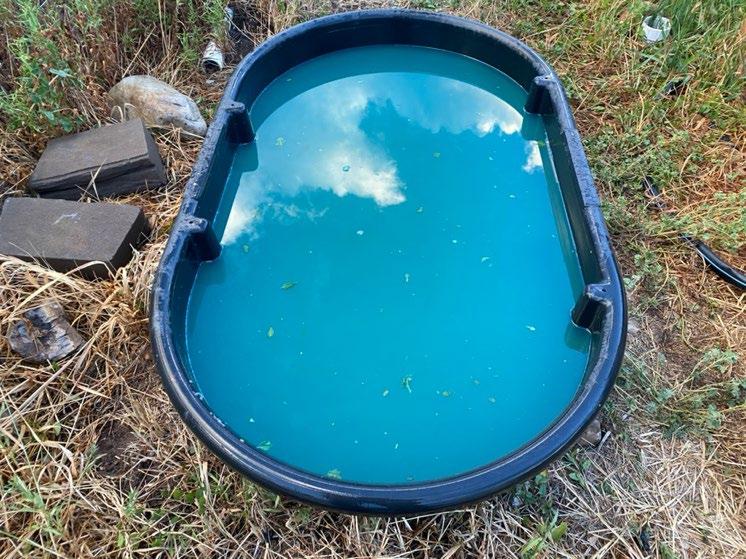


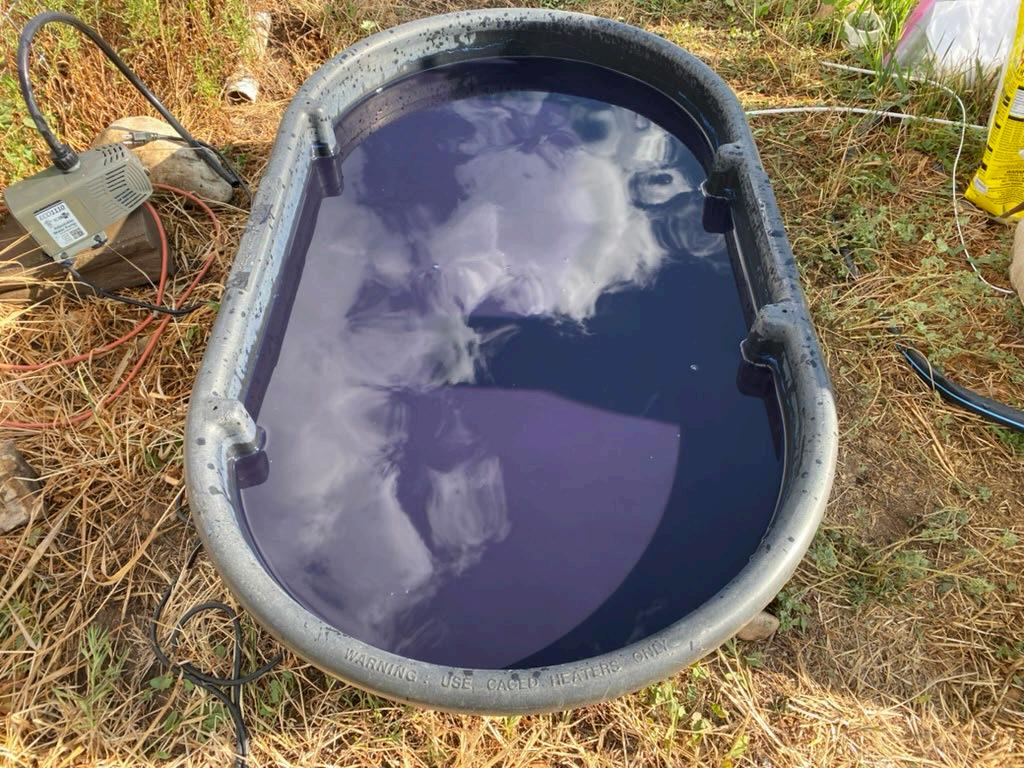

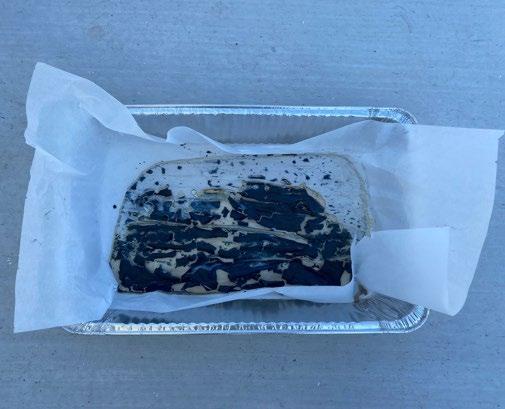
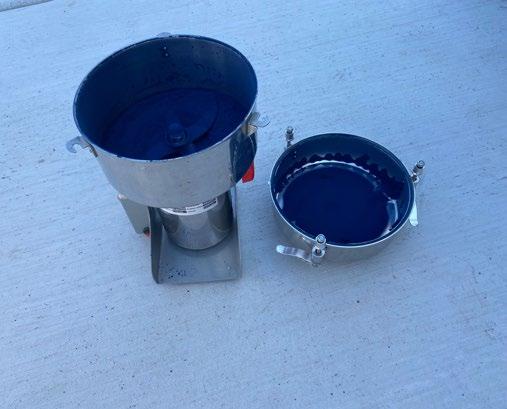
Figure 2. (A) Extraction Liquid With Plant Matter Removed; (B) Filtering With 5-Gallon Buckets and Fine Mesh; (C) Aerating After Raising pH With Calcium Hydroxide; and (D) Fully Aerated Extraction Liquid Ready for Settling
Figure 3. (left) Removing Water From Indigo Pigment, (center) Drying Indigo, and (right) Ground Indigo Powder
Optional Step to Remove Contaminants
An optional washing step to eliminate contaminants can be included before drying. Lower-purity indigo powder will not dye as dark as equally weighted purer powder. If desired, the indigo paste can be washed 1–3 times with household 5% vinegar (bubbling will occur), allowed to resettle, and then dried (Figure 3). The indigo may not resettle as readily after the washing, and some will likely be lost in the water pour-off, but the remaining indigo will be purer.
Photos
The authors contributed all photos.
References
Darrac, P. P., & van Schendel, W. (2006) Global blue: Indigo and espionage in colonial Bengal The University Press Limited.
John, P., & Angelini, L. G. (2009). Indigo – Extraction. In T. Bechtold & R. Mussak (Eds.), Handbook of natural colorants (1st ed., pp. 105–133). Wiley. DOI:10.1002/9780470744970
Marshall, J. (2018) Singing the blues, soulful dyeing for all eternity. St. Titus Press. Wenner, N. (2017). The production of indigo dye from plants. Fibershed. https://fibershed.org/wpcontent/uploads/2018/08/production-of-Indigo-dye-aug2018-update.pdf
In its programs and activities, including in admissions and employment, Utah State University does not discriminate or tolerate discrimination, including harassment, based on race, color, religion, sex, national origin, age, genetic information, sexual orientation, gender identity or expression, disability, status as a protected veteran, or any other status protected by University policy, Title IX, or any other federal, state, or local law. Utah State University is an equal opportunity employer and does not discriminate or tolerate discrimination including harassment in employment including in hiring, promotion, transfer, or termination based on race, color, religion, sex, national origin, age, genetic information, sexual orientation, gender identity or expression, disability, status as a protected veteran, or any other status protected by University policy or any other federal, state, or local law. Utah State University does not discriminate in its housing offerings and will treat all persons fairly and equally without regard to race, color, religion, sex, familial status, disability, national origin, source of income, sexual orientation, or gender identity Additionally, the University endeavors to provide reasonable accommodations when necessary and to ensure equal access to qualified persons with disabilities. The following office has been designated to handle inquiries regarding the application of Title IX and its implementing regulations and/or USU’s non-discrimination policies: The Office of Equity in Distance Education, Room 400, Logan, Utah, titleix@usu.edu, 435-797-1266. For further information regarding non-discrimination, please visit equity.usu.edu, or contact: U.S. Department of Education, Office of Assistant Secretary for Civil Rights, 800-421-3481, ocr@ed.gov or U.S. Department of Education, Denver Regional Office, 303-844-5695 ocr.denver@ed.gov. Issued in furtherance of Cooperative Extension work, acts of May 8 and June 30, 1914, in cooperation with the U.S. Department of Agriculture, Kenneth L. White, Vice President for Extension and Agriculture, Utah State University.
October 2024
Utah State University Extension
Peer-reviewed fact sheet
