8 minute read
Recipes
A COMFORT FOOD SPECIAL
Recipes to lift your spirits, from Jack Monroe and Rachel Ama
Advertisement
Makes 2 generous buns
Ingredients
4 tbsp white miso paste 2 tbsp Japanese rice wine vinegar 2 tbsp brown sugar 1 tbsp soy sauce 1 tsp freshly grated ginger Oil, for greasing 1 large purple or black aubergine 1 tbsp sesame seeds 2 soft white bread rolls, sliced Salad leaves and pickles, to serve
NASU DENGAKU BUNS
Nasu dengaku (miso-glazed aubergine) is one of my favourite dishes to cook at home – it’s simple, sweet, tangy and delicious, while still tasting fresh and healthy. It works well atop a pile of fluffy rice, cold as a salad, as a snack or – my favourite – stuffed into soft white bread rolls with a heap of salad and some pickles. If you can’t find rice wine vinegar in the supermarket, use half the amount of a light white wine vinegar instead.
Directions
First make your glaze. Measure the miso, rice wine vinegar, sugar and soy sauce into a small bowl and beat well with a fork to combine. Add the ginger and set to one side.
Lightly grease a baking tray and heat your oven to 190 °C (fan 170 °C/ 375 °F/gas 5). Cut your aubergine into slices around 8 mm thick and lay them on a baking tray before brushing them generously with the glaze. Place the tray on the middle shelf of the oven and cook for 20 minutes.
Remove the aubergine slices from the oven and turn them over, before brushing the reverse sides with the glaze. Top with a sprinkle of sesame seeds and return to the oven for 15 minutes.
Take the aubergine out of the oven and pile it into soft white bread rolls. Add salad leaves and pickles, and serve.
Vegan (ish) by Jack Monroe is available to buy now (Bluebird, £16.99)
Serves 2 generously or 4 as a side
Ingredients
4 large cloves of garlic 2 tbsp sesame oil 2 tbsp cooking oil, plus extra 2 tbsp soy sauce 2 tbsp rice wine or sherry vinegar 200 g meaty mushrooms – shiitake, portobello or oyster work, but so do standard ones 200 g dried noodles ½ head of Chinese or Savoy cabbage 1 large carrot, peeled 1 large onion or 4 spring onions Generous handful of beansprouts
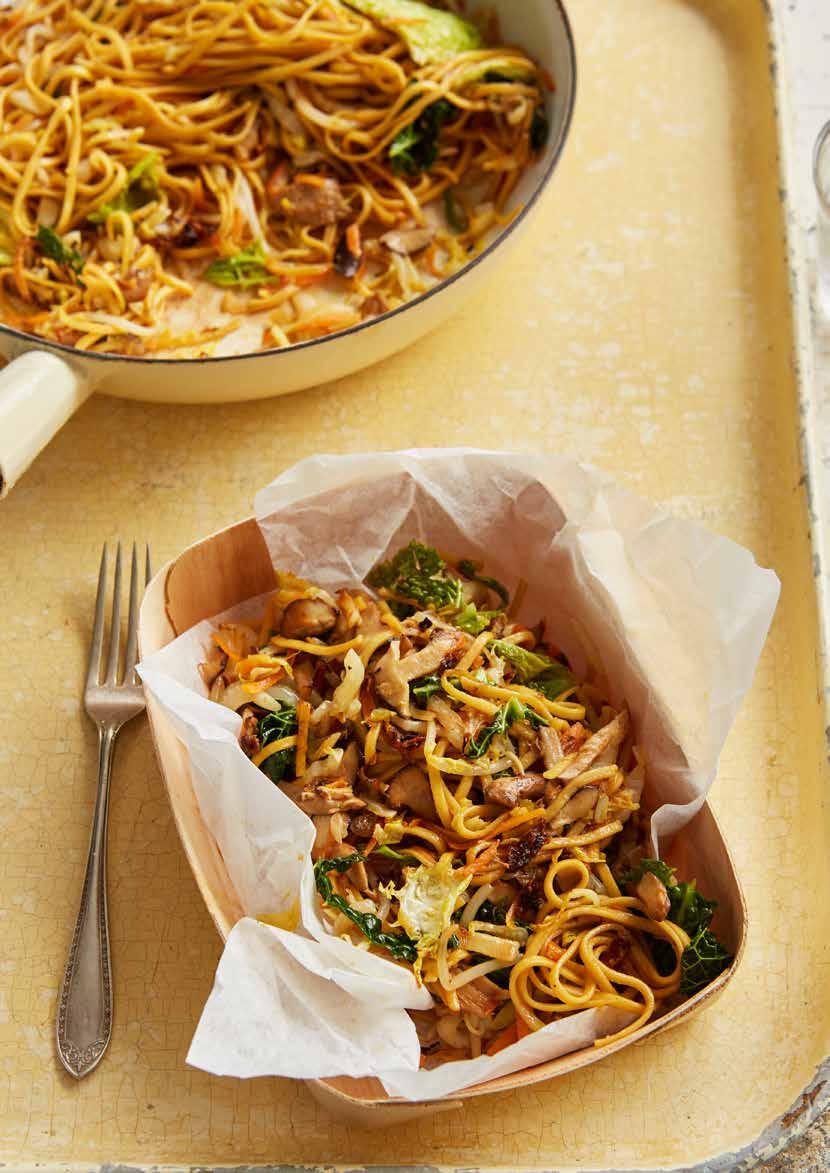
CRISPY CHOW MEIN
Chow mein is one of my favourite dinners to knock up in a hurry – and an excellent receptacle for odds and ends of vegetables kicking around in the fridge. If you do struggle to find egg-free Chinese-style noodles, you can use dried spaghetti instead. It won’t be strictly traditional, but it’ll still be delicious.
Directions
First peel and mince your garlic and add it to a small jar with a tight screw top lid. Measure in the sesame oil, cooking oil, soy sauce and rice wine vinegar, and screw the lid on. Shake vigorously to make the marinade for your mushrooms.
Finely slice your mushrooms and pop them in a mixing bowl before pouring over the marinade. Leave to stand for 15 minutes – mushrooms are very absorbent, so the marinade won’t take long.
While the mushrooms soak in their dark and flavourful bath, you can cook the noodles. Bring a pan of salted water to the boil, then drop them in. Cook according to packet instructions until they are tender but not overdone. Drain the noodles and leave them to stand.
Finely chop the cabbage, grate the carrot, slice the onion or spring onions and set to one side for a moment.
Tip the mushrooms into a large non-stick frying or sauté pan, or a wok if you have one, along with all the marinade. Bring to a high heat and cook for 3–4 minutes until the mushrooms start to soften. Add the drained noodles, and a splash more oil and soy sauce if needed.
Add the cabbage, onion, carrot and beansprouts, and cook for 5–6 minutes until the noodles are crisp and the veg is softened. Serve hot, but also enjoy cold from the fridge the next morning.


Makes 12
Ingredients
1 × 400 g tin of pears 225 g self-raising flour 1½ tsp bicarbonate of soda 1 tbsp sugar 1 tsp ground ginger ½ tsp ground cinnamon 1 tbsp cooking oil, plus extra for frying 120 ml your favourite plant milk Lemon juice and sugar, to serve
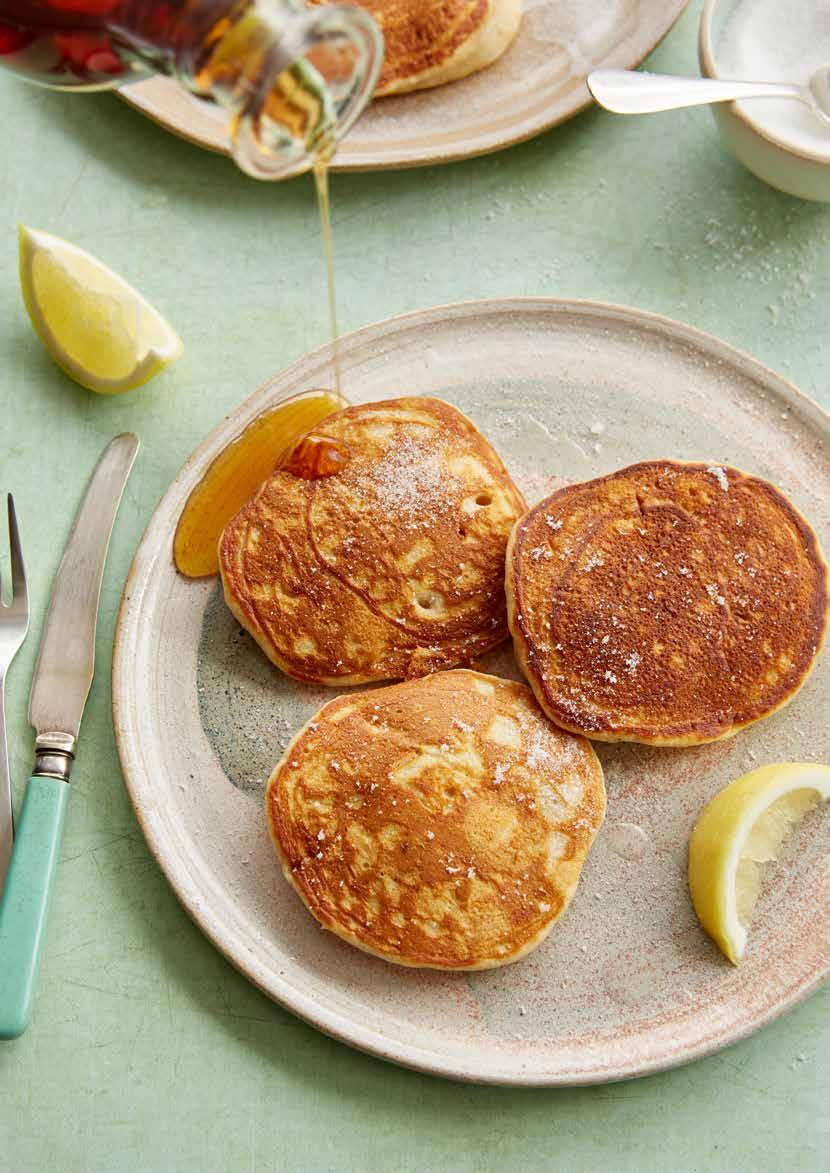
PEAR AND GINGER PANCAKES
On Sundays in my small household, we have pancakes. Usually eaten in bed, en famille, with a large ginger cat poking his nose in, and every Sunday they are different to the last. These came about from pondering whether pear sauce would work in the same way as applesauce as an egg replacement, and setting about making some from a tin of pears. Behold, it worked, and these beautiful, and very simple, pancakes were born. For the milk in this recipe I used cashew, as it’s what I had at the time, but any plant milk will suffice. A handful of mixed peel, if you have it, makes these extra special.
Directions
First blend your tinned pears to make a smooth sauce. Empty the entire tin, including the juice, into a small bullet blender and pulse until smooth. Pour this into a small saucepan and simmer for around 15 minutes, until the contents have reduced by a third and are thick and smell delicious. Stir it every now and then to stop it burning.
Turn your oven on to 120 °C (fan 100 °C/250 °F/gas 1/2) and pop a baking tray on the centre shelf. Measure the flour, bicarb, sugar, ginger and cinnamon into a mixing bowl and stir well to combine. Make a small hole in the centre of the dry ingredients. Pour in the pear sauce, oil and plant milk and beat the mixture thoroughly to form a smooth batter.
Heat a little oil in a large non-stick frying pan. When the oil is sizzling, dollop a dessert spoon of the mixture into it, and another one, and another one, leaving space for them to expand. Cook for 3 minutes on one side and then carefully, but quickly, turn over with a spatula. Don’t worry if they scrumple up a little. Cook for 2 minutes on the second side and then transfer carefully to the oven to keep warm and continue to gently cook.
Repeat until all the pancake batter is used up and serve immediately with lemon and sugar.
Serves 6
Ingredients
For the meringue
Liquid (aquafaba) from 1 × 400 g tin of chickpeas 1 tsp cream of tartar 175 g golden caster sugar 1 tsp vanilla bean paste
For the filling and topping
500 ml coconut cream 200 g mixed frozen berries Juice and grated zest of ½ lime, plus extra zest to decorate 300 g seasonal fruit of your choice (such as raspberries, strawberries, blueberries or redcurrants, sliced figs, mangos or bananas or passion fruit pulp)
Rachel Ama’s Vegan Eats: Tasty Plant-based Recipes for Every Day by Rachel Ama. (Ebury Press, £20) Photography by Haarala Hamilton
LAYERED PAVLOVA WITH COCONUT CREAM
photograph on cover
Your summer-party showstopping recipe! The meringue is made with aquafaba instead of egg whites. You may or may not be familiar with aquafaba: it is the liquid from a can of pulses. It’s kind of like vegan magic; it whips up perfectly and makes amazing light meringues with a slight crisp outer shell. The pavlova is finished with an indulgent whipped coconut cream, fresh or frozen berries and a tasty and decorative berry drizzle.
Directions
Preheat the oven to 130 °C fan, then line two baking sheets with baking paper and draw a 23 cm circle on each sheet.
Place the coconut cream in the fridge to chill while you make the meringue.
Using a food mixer or an electric whisk, whisk the aquafaba and cream of tartar at a high speed in a large bowl for around 5 minutes until the mixture has doubled in volume and is light and fluffy. Continue whisking and add the sugar one teaspoon at a time until it has been completely absorbed. Then add the vanilla bean paste and whisk for a further 2 minutes until the mixture forms stiff, glossy peaks.
Divide the meringue between the two circles drawn on the lined baking sheets, spreading the mixture out evenly but making each circle a little thicker around the edges than in the middle. Place in the oven to cook for 1½–1¾ hours or until firm to the touch. Then turn off the heat and leave to dry in the oven (or in a cool, dry place) overnight or for a minimum of 4 hours.
When the meringues are ready, prepare the rest of the dish. Place the frozen berries and lime juice in a small saucepan, bring to a simmer and cook on a medium heat for 3–4 minutes or until the fruit is soft and the liquid has mostly evaporated. Remove from the heat and set aside to cool down completely.
Meanwhile, whisk the chilled coconut cream using an electric whisk until light and thick like whipped cream. Once the fruit compote has cooled down, add it to the whipped coconut cream with the lime zest, and fold in gently to create a ripple effect, being careful not to stir too much.
Carefully transfer one of the meringue bases to a serving plate and spread over half the fruity coconut cream, then scatter over half the seasonal fruit.
Carefully place the second meringue on top, cover with the remaining coconut cream and seasonal fruit and an extra sprinkling of lime zest. Serve as soon as possible.


