8 minute read
FULL FRAME: Technology Custom Motorization of Soft Treatments, Part 2: Roman Shades
Custom Motorization of Soft Treatments
Part 2: Roman Shades
BY O’D MCKEWAN
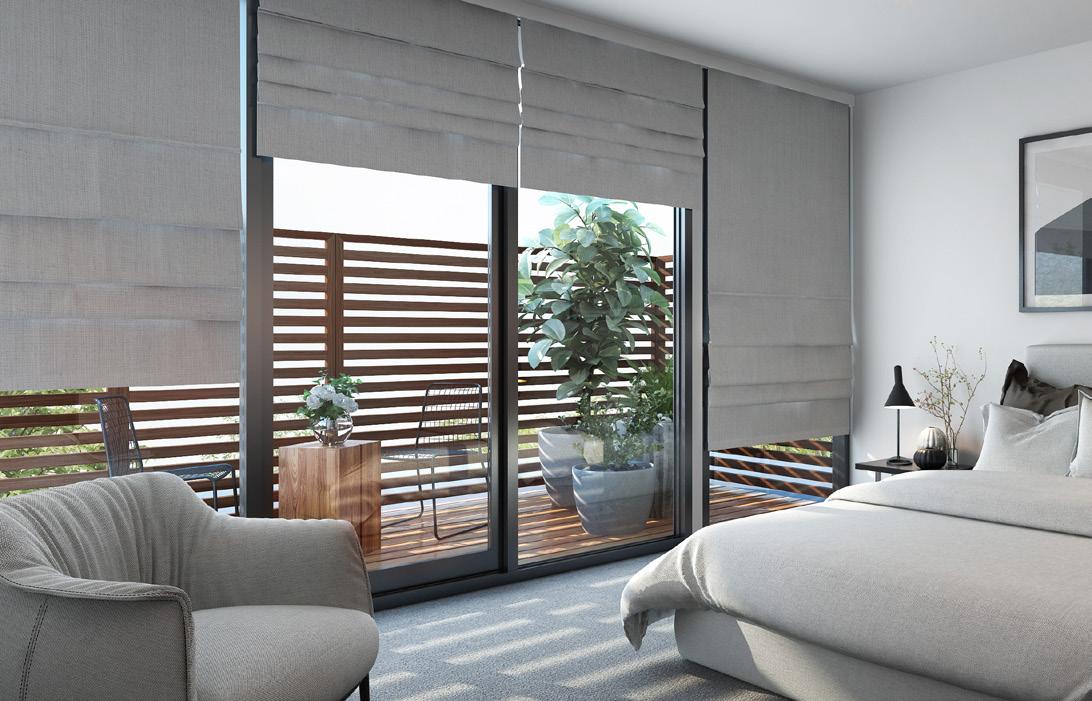
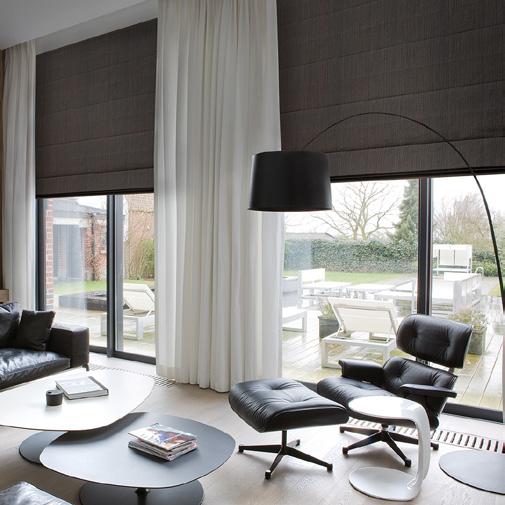
Let’s look at some of the challenges of custom motorization of roman shades. There are a lot more intricacies with these as there are so many different manufacturing processes and options. I will try and concentrate on some of the major issues. First, we must discuss the differences between using a metal headrail system and a wood board-mounted system. Although the shades themselves will look fairly similar from the front, the mechanisms and motorization types are completely different.
We will start with the simpler metal headrail system. Although there are technically more parts to the metal headrail system, the motorization is much simpler. These systems generally use a headrail similar to a cell shade headrail or a wood blind headrail. They have a specific motor that fits each headrail type. Many of the major window covering manufacturers use these types of systems as there are more production-based facilities and they have these components in stock for other types of window coverings. The cell shade style generally has a much lower lifting capacity as the motors are generally small and utilize a shaft-drive motor system. This does allow for a compact headrail and uses cord take-up spools that allow for some pretty large shades; however, fabric weight and the length of the shade are limited by the strength of the motor and the size of the cord take-up spools. These headrail systems also allow for the less expensive wand-activated motors, thus making them more affordable products overall.
For larger production-style roman shades, some manufacturers utilize a larger metal headrail system like wood blinds use. Instead of using a small shaft-driven motor system, they use a tube system with larger cord take-up spools that are powered by a roller shadestyle tubular motor. This allows for very large roman shades to be operated. Since the tubes are cradled by the cord take-up spools, there is no deflection of the tubes and lifting capacity is only limited by the motor size—and there are some very powerful tubular motors on the market.
Both metal headrail options allow for some great motorizations of custom roman shades and limit the challenges of design and production problems; however, I am aware that most independently owned workrooms do not utilize them for many reasons. The most prominent reasons are cost and storage. These systems are more expensive to purchase and they require a lot of stock items and storage space. This is why most workrooms prefer the traditional wood headrail system since they are commonly used with most of their production.
Let’s look at the traditional wood headrail system for roman shades. Here is where I see most of the problems with custom-motorized roman shades—mainly with the manufacturing of the shades. With the wood headrail system, you have the most options available, both in style of the shade and size of the shade. A wood headrail system uses a roller-shade motorization-style system to wrap the pull cords around the tube. This includes lifting and lowering the shade by the directional rotation of the tube and motor. Now, if you’ve taken any of my motorization courses or read my previous articles about roller shade motors, you’ll know that tube size and motor size directly relate to lifting capacities. Therefore, by using this tubular motor system, you can have the largest selection of motorization options and the most margin for errors. Where I see the most problems with the manufacturing of these styles of motorized roman shades is with the cord placement on the shades and the size of the tubes and motors.
For the cord placement, the most common issue I see from workrooms is that they make their motorized shades the same as they make their manually operated shades. They use too many takeup cords and they place them too close to the edge of the shades. When you use the proper motor and tube size, you can reduce the number of cords needed to lift the shade (depending on the style of the shade) and you need to make sure your outer edge cords are at least 3 inches away from the edge of the shade. If you put the cords at the edge of the shade, you’ll have to mount extra cord eyelets or pulleys on the headrail to get the cord to wrap around the tube.
The more angles the cord has to travel through, the more it increases the resistance and friction on the cords, and thus making it harder to lift and decreasing the lifespan of the cord itself. It also makes it difficult for the cord to wrap smoothly around the tube and often creates uneven lift as the shade is raised. Bringing the cords in from the edges to be wrapped directly on to the tube reduces friction and allows for an even wrap of the cords. Some workrooms prefer to use cord take-up spools to eliminate the uneven cord wrap issues, but this has its own disadvantages as well. Cord take-up spools take up more space and generally require bigger headrails. They also work against the motor’s lifting capabilities. As the cord

While roman shades pose their own challenges, once you identify the set's intricacies, you can better prepare yourself for the project.


A must-have for window treatment professionals. Discover the largest selection of wide-width drapery fabrics in the world. Guaranteed in stock!
www.interiorfabricsinc.com
info@interiorfabricsinc.com | 215-957-0908

PHOTO: ROLLEASE wrap gets thicker around the spool, it’s harder for the motor to turn it. (Motorization 101: A smaller diameter is easy to turn.)
That takes me to my next suggestion for workrooms. Bigger is not better. I prefer to use the smallest wood headrail as possible on my custom roman shades for obvious reasons: less protrusion into the room for outside mounts, fits in shallow sill depths for inside mounts, and better light control by keeping the fabric closer to the wall or window for fabrics off the front of the headrail. If you’re going to make a shade where the fabric comes off the front of the headrail, make sure to use a back valance if you’re doing an inside mount.
Many workrooms are basing their tube size on the width of the shade using roller shade standards. The wider the opening, the bigger the tube needs to be to limit deflection. That’s not the case for roman shades. Consider using multiple smaller-diameter tubes coupled together and turned by a smaller-diameter motor. The strings don’t care if they are wrapped on the same tube. If you align the spring clamps or cord spools, the shade will lift evenly with a lot less force than a bigger tube. Also, using a smaller tube will let you use a smaller motor, thus smaller brackets and smaller headrails. I generally make all my motorized romans on either a 2- or 2.5-inch headboard. The largest tube I use is 2 inches and most of the brackets I use have less than a 2.5-inch footprint. Speaking of brackets, check and see the availability of slim line brackets for your motors. Many manufacturers now offer smaller footprint brackets. Since you do not need to worry about roll-up diameter, the smaller the bracket, the better as well.
There’s one more type of lifting system for custom motorized roman shades and that’s the cordless lift-band system. If you’re unaware of this system, you should research it. It’s a newer child-safety lift system that uses narrow bands of fabric to wrap around the tubes instead of cords. This is designed to reduce the chances of child and pet injuries by eliminating cords from roman shades. If you chose to implement this type of system, all the above tips regarding the size of the motor, tubes and brackets still apply. Although this system will incur an increased roll-up diameter around the tube as the shade raises, it’s minimal compared to a cord take-up spool. I personally have not used this system for a motorized roman shade, but I’ve seen them on the market and I see the potential.
It does not matter which lifting system you use on your wood headrail, it depends on what manufacturer of motors you use for your roman shades that will determine the size of your motors, brackets and tubes, but try and use the smallest tubes and brackets.
I spoke with a few workrooms and manufacturers and asked them what are the most common challenges that arise from motorized soft treatments and, other than price, the No. 1 issue was programming the motors and integration of smart home devices. Read the directions or watch the videos online. Make sure your installers are trained in the motor systems you’re selling. V

O’D McKewan is the product coach for Window Covering World, an expert on motorization and an industry leader in the field of motorized window coverings. He has extensive hands-on experience with motorized window coverings, including fabrication, installation and selling. » WindowCoveringWorld.com


