6 minute read
Home Design: A Tiny
A Tiny Garden Framed in a Winter Window
By Janice F. Booth
January can be a tough month to navigate, looking out the window at the muted colors, the gray and white of winter. You may see bare trees, the buffeting wind, here and there a pile of brown leaves and twigs. But, don’t be downcast; you can change your point of view by changing your view all together. Yes, you can work magic, transform a small portion of your home into a springtime garden.
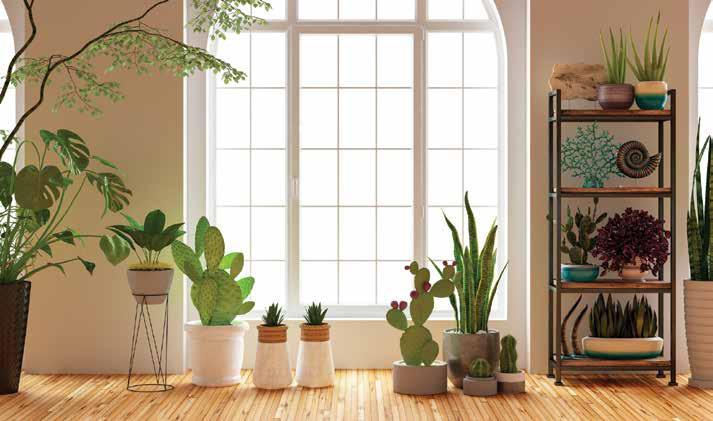
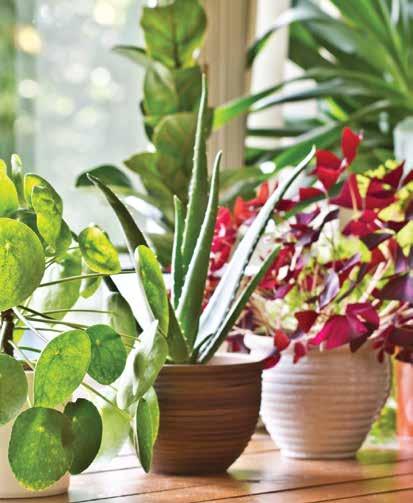
So, sit back, and imagine one of your windows, preferably a window facing east or south, bursting with greenery—frothy Asparagus Ferns, fuzzy Siderasis, fragrant Pineapple Sage, perhaps even a Date Palm or Orchid for a bit of the exotic, tropical vibe. You’re beginning to feel that spring sunshine already, right?
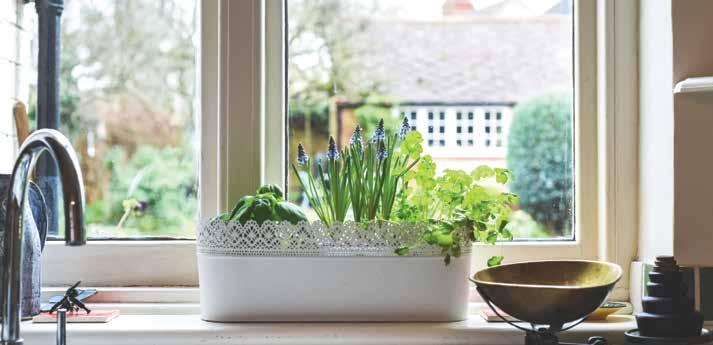
I propose a Window Garden as a project for this blustery January. You might find yourself imagining a window lush with green life, dripping from the “head” or top of the window and climbing along the frame. Or, you might want something a bit simpler—an arrangement of pretty plants all in a row along your window sill. You may want to be very bold and install window boxes on the outside of your window—now there’s a large-scale undertaking. For the purposes of our discussion, let’s stick with indoor window gardens.
For about 30 years, mid-20th Century, Jean Hersey was a popular and respected garden expert. Her popularity was in part attributable to her practical, easily followed instructions for beginning gardeners, and handy hints and clever ideas for the more experienced gardener. She wrote a number of books on gardening, including The Woman’s Day Book of House Plants. In that book she discussed the particular pleasures of window gardens. “When you give your care, interest, and affection to a garden of indoor plants they reward you with vibrant health, gay colors, assorted textures, and myriad fragrances.” Now that’s a resounding and irresistible endorsement; don’t you think?
There are four components in planning and executing a window garden. (Now, that’s not too demanding.) Part 1: Planning, Part 2: Planting, Part 3: Tools, and Part 4: Maintenance Tricks. So, let’s review what’s involved in putting a bit of springtime into your life right now!
PART 1: PLANNING
Take a seat in your usual spot. Look around. Which window can you see from here? That’s the window where your little garden might prove the most satisfying for you. What direction does it face? Preferably east or south for the best growing sunlight.
Decide how expansive your tiny garden will be—plants only on the sill? Plants hanging and vining? How many plants will you want to create the effect you’re imagining?
Will you want to create a traditional garden with a random assortment of plants, or perhaps a water-garden of plants that can grow in water, or a fragrance-garden, or would it be fun to focus on a particular color scheme?
PART 2: PLANTING
Look at some pictures of house plants. Choose plants that match your level of commitment to maintaining them. For example:
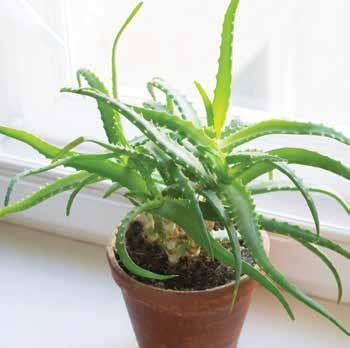
• Easy to grow plants: ALOE—a succulent and good for healing scrapes and burns. ASPARAGUS FERN—feathery sprays of rich green with tiny blossoms when it feels like it wants to. BEGONIA (many varieties to choose from)—pretty leaves and blossoms, easy to propagate should you decide to start a second or third window garden. PHILODENDRON—an almost indestructible champ that can live in water or soil and loves to grow in any light. You can have fun guiding the tendrils up and around your window.
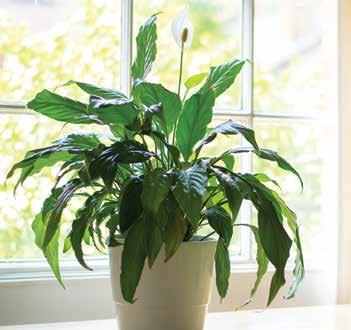
• Somewhat touchy but awfully nice: PEACE OR SPATHE LILY— graceful arching leaves and scented, white blooms, needs careful attention to watering (not too much or too little.) WINGED PEA— great for hanging with feathery, trailing foliage and exotic, red flowers, needs lots of sun but not too much. MINIATURE ROSE—petite plant with delicate greenery and pink (usually) blooms, needs to be away from drafts. CAMELIA—glossy, deep green leaves and lush, fragrant blooms. Needs fertilizer all year through. Plan to set it outside in the summer to give it a real boost.
• Petulant beauties: AFRICAN VIOLETS—lush, fuzzy leaves form a nest of soft green with pink and purple violets bursting like sparklers. They’re lovely but sensitive to too much light and water. If you’ve got the “magic touch” they’ll charm everyone with their beauty. ORCHID—strange, exotic leaves and tendril/ roots with ruffled blossoms atop slender stalks. Another plant that demands the “magic touch.” SEA ONION—talk about a showy gal! A bulbous “onion” with graceful, trailing leaves and a tall, curving stalk festooned with tiny, white stars. A real show-stopper. But, keep her warm and carefully watered, watch for a scale that may form and can be removed.
PART 3: TOOLS
You may want to identify an attractive basket or box in which to store your tools for this tiny garden. You’ll be using these tools often, and having them nearby makes the tasks less onerous.
• WATERING CAN, JAR, BASTER, DROPPER. Depending on the plants you’ve chosen, you may want all these on hand to deliver just the right amount of water to each plant.
• SPRAY JAR. Some of your plants will enjoy a light shower to keep their leaves fresh.
• SCISSORS, TWEEZERS, GARDEN SHEARS. There will be dead leaves and over-zealous vines that you’ll want to remove. You may want to keep a little covered jar or pot nearby for these trimmings. They can go into your compost pile too.
• PLANT FOOD/ FERTILIZER. Unless you’ve included something exotic, any of the common fertilizers, powder or liquid, will do.
• PENCIL, SHORT STICK. You’ll find the soil may get too compact. Use a pencil to gently poke holes in the soil providing the roots with better moisture and air distribution.
• SOFT BRUSH. While your home may be meticulously clean, dust does seem drawn to plant leaves. You can gently brush off the larger, firmer leaves. If the leaves become seriously dusty, dampen a paper towel with milk and wipe off each leaf.
• FLOOR LAMP/CLIP-ON LAMP. If you’re finding the window you’ve chosen does not provide enough sunlight, add a lamp with a grow-bulb or a 100-watt bulb. Set the lamp on a timer to come on for 2–3 hours at dusk. (You probably don’t want your window lit up all night.)
PART 4: MAINTENANCE TRICKS
No need to re-invent the wheel, as they say. Here are some hints from Ms. Hersey and other window gardeners.
• If your window is drafty, in the evening gently drop a sheet or linen towel over sensitive plants to protect them until the morning sun warms them again.
• Do a bit of pruning when you notice a stray branch or leaves. Keep your plants shapely and properly sized for their locations. Don’t wait until it becomes a big task. (Remember those scissors in your tiny tool-kit.)
• Turn the pots every week so the plants will receive sunlight on all their leaves, otherwise, they’ll become lopsided and flat or thin on one side. • Egg shells and coffee grounds can make excellent pepper-uppers for your plants. Mix the crushed shells grounds in an old jar or can somewhere unobtrusive. Then, once a month or so, sprinkle the mix on your plants. You may want to poke a few holes with that pencil before adding the shells and grounds.
Well, that sounds fairly simple, doesn’t it? This is a project that can be completed in a weekend but will bring you pleasure for days and weeks to come. You might grow so fond of your window garden that you’ll keep it going all year long. And, it’s a great project to do with children of almost any age. Take lots of pictures to record the progress of the growth and blooms as they emerge. There might even be some botany lessons rolled into the gardening; who knows.


