10 minute read
going for the gold
Pro Tips To Get The Most Out Of Your Digital Embellishment Production
By Kevin Abergel
The embellishment of print is a creative art that traces its origins back 500 years to Erhard Ratdolt, who first used gold for printing a gloriously spectacular full page of dedication in a number of copies of his editio princeps of Euclid.
Fast forward to today’s digital processes, the use of computer graphics for design and new digital technologies using various toners, inks and varnishes for production, has only added to the explosive creative potential.
It would be a mistake, though, to assume that the creativity begins and ends with a designer with a graphics app. The choices of substrates, surface effects, textures and foil types are just as important.
Ideally, experience at the production end will feed back into the creative process, so that designers, materials specifiers and operators can work together to get the best out of what is still a new set of processes.
We asked three very experienced digital embellishment producers about how they work to get the best from different papers, laminates and foils and how they feed that knowledge back to their customers.
Matt Redbear is a designer and digital embellishment press operator at Blue Ocean Press in Fort Lauderdale, Fla., which handles general, commercial and large format printing.
Ken Huizenga has 35 years’ experience as a production manager and was one of the first to invest in digital embellishment technologies.
Chris Mejia currently offers consultancy services to Scodix users in North America and has worked as a designer, demonstrator, and field engineer for various digital embellishment users and manufacturers throughout his career.
Working with substrates
While digital embellishment systems have recommended settings for the different surfaces of common substrates, usually papers, there will always be variations that require tweaking and experimentation. Likewise, designers have a knack for finding something different that’s never been done before, while the operators must have a matching genius for getting these to work.
“I divide stocks up into three different categories,” Redbear said. “There are the ones that absolutely do work. There are the ones that absolutely do not work. And then there are the ones that can be made to work and they have special situations, special production requirements, to be able to use them.
“Obviously what’s going to work best is going to be a smooth coated stock. It’s going to give you smooth even results if you want to mirror-finish. When laying down inkjet varnish, the smoother the stock, the smoother your results.”
If you believe the instruction manuals, uncoated papers won’t work with UV varnish, as they absorb it too quickly. However, Redbear and Mejia both have pro tips for working with uncoated without pre-coating or laminating to cover the surface.
“You have to create a barrier, which may be done through laying down your toner first. You have a particular advantage when using a toner press that has fusing oil, as the oil itself can create an additional barrier on top of the toner. You can use a clear toner as an underlay, or you can use pretty much any color of toner, preferably one that hits more than 60% of the maximum. The denser it is, the better the reduction in absorption you’ll have.”
Mejia has found it is actually possible to print UV varnish directly onto uncoated, even without a print layer.
“I’ve tried it using the main mask, but set to 25% of thickness. It’s still going into the surface, but it will cure fast enough to make a foundation, then you can apply the full varnish as a second pass. I’ve been 80% successful with this even on type down to 14-15 point depending on the design. Sometimes it takes three passes so you really need to watch your curling.”
Redbear says he’s worked on a surprising variety of stocks that aren’t obviously suitable for UV varnish or foiling.
“I’ve used offset stocks and I’ve used things like Blazer digital satin. I’ve used Royal Sundance Felt, which you would think would never work with the polymer overlay. Cougar Digital will work for small areas: if you’re using larger areas, you’re going to run into problems. I’ve used offset parchment, which isn’t supposed to work, and offset laid can also be made to work.
“There are others that just simply cannot work. Anything that has a heavily embossed or hatched surface, like linens. They do make a digital linen, but it will pick up the texture if you’re laying foil.”
Other problem materials, he says, include “glittery types of papers that almost have a gritty or sandpaper-like surface. There’s nothing you can do to make that work. And then there are the super-porous felt types of paper or cork surfaces that simply will not work.”
Huizenga agrees that smooth surfaces work best.
“If you’re going to have a stock that maybe isn’t the smoothest sheet, then maybe you are not going to want to do some of the fine details, but if you want to flood coat with your embellishment press, go ahead and do that. I’ve tended to work with a customer’s matte-coated sheet because the glossy varnish had more of a contrast from one to the other.”
Surface tension
UV varnish is applied as a liquid that is then cured by UV light, often by initially pinning (ie part-solidifying) by cool and economical UV-LEDs, then blasted with more powerful UV lamps to complete the polymerisation process and solidify the varnish.
A factor in how the varnish behaves when it hits the substrate is its surface tension, measured as its dyne level. The dyne helps with bite – how much adhesion you’re going to get into the paper –but also wettability, influencing how well the varnish smooths out.
To get a really nice, glossy look these are the two things that you really want. You want it to adhere and you want it to flow on the sheet as nicely as possible.
The longer the varnish has to flow before curing, the more it will naturally smooth out to become glossy. So it needs time, says Redbear.
“You can turn up the varnish heat to let it flow better. The slow- er you can run the press, the more time you can give the varnish to spread out before it hits the lamps, the better.”
This can lead to the image spreading too far, he says.
“You may need to choke the image down a little, to give it ‘negative expand,’ in the file setup. I’ve always choked back to allow the varnish to smooth out more without going beyond its boundaries.”
On the other hand, spreading the varnish may blur fine detail, Redbear points out, “so it’s not a solution for all issues.”
Other imperfections can come from air bubbles or dust particles on the sheet, which disrupt a smooth foil effect, though it’s less obvious on a patterned effect such as diffraction holofoil or “cracked ice.” These can be minimized by cleaning the inkjet heads on a regular basis and ensuring a dust free production environment.
Redbear says that imperfections tend to show more on large foil areas, or large letters, especially in the areas where two print heads stitch their images together.
“I can adjust their overlaps a bit more, otherwise I may get streaking. Slowing the press down helps here too.”
Laminates and foil types
Matt or gloss clear laminate film can prepare a paper surface to accept UV varnish and foil, and can also give a visual contrast – gloss varnish on matt laminate or soft touch can give spectacular results. Laminates can also provide overall effects to the sheet that print alone might not manage, such as soft touch and other haptic effects, mirror finishes, holographics, cracked ice effects, sparkles and more.
For production purposes, the issue is not simply about appearance or making the production process easier, but how a laminate will perform in downstream processes, says Huizenga.
“You have to take into account both the design elements and what the end use is for the product, because there’s a lot of concerns there: whether or not it’ll crack, whether or not it can stand up to the bindery as well as just making sure that it’ll stand up transporting, depending on where it’s going, where the customer’s going to send it.”
Soft touch laminates can look fantastic with spot gloss var- nish or foil over them, as Huizenga points out. However, he says that care must be taken with the lamination temperature, as curled edges can damage the print heads in the inkjet embellishment unit. The edges may also go ragged if there has been a double feed in a cutting and creasing machine.
Other issues to be aware of are if the laminate area is narrower than the underlying paper. If there are printed registration marks down the edges, the heated laminate rollers can pick up the ink or toner and redeposit it further down the sheet. This confuses the registration systems on the embellishment presses, and may cause register problems during production.
You may also need to match a laminate adhesive type to the underlying print process, says Huizenga.
“Different laminates work differently with different inks and toners,” he said. “An iGen, a KM-1/IS29, an HP Indigo, for instance, each needs specific types of laminate to bond with the inks.”
The age of the laminate roll can also affect the way the varnish behaves on its surface too.
“If you have films that have been in storage on your shelves for two or three years, that might affect the way the varnish adheres and flows, so you need to track the age of your stocks.”
Operators can be creatives too
Chris Mejia stresses that experienced operators can have a valuable role to play if they can interact with designers, either inhouse or at the customers.
“I don’t see a lot of companies that cross that bridge,” he said. “Often, you’ve got the designers and the sales team, and then there’s a void between them and actual production and finishing. If you can cross that bridge, an operator may say to the designer, ‘it might look great on the screen, but as an operator I can say it’s not going to work.’ The salespeople may say ‘well that’s what the customer is paying for,’ so you’ve got that bridge again.”
Some of the best embellishments we’ve seen have been when the operators were involved in the sales cycle.
Mejia agrees.
“My operator at DMS Color, Dave Fallon, had a passion for design from day one. With something new, the sales and design side need to ask the operator, ‘Can you do this?’ and the answer may be, ‘Yes, but it’s going to take a bit of R&D.’ You need conversations back and forth to see what the customer wants. The operator may be able to suggest a more effective way to use the material to highlight what the customer wants to highlight – a logo or lettering for instance may look better plain, with the embellishment around it. So it’s a sort of reverse embellishment to stand out more.”
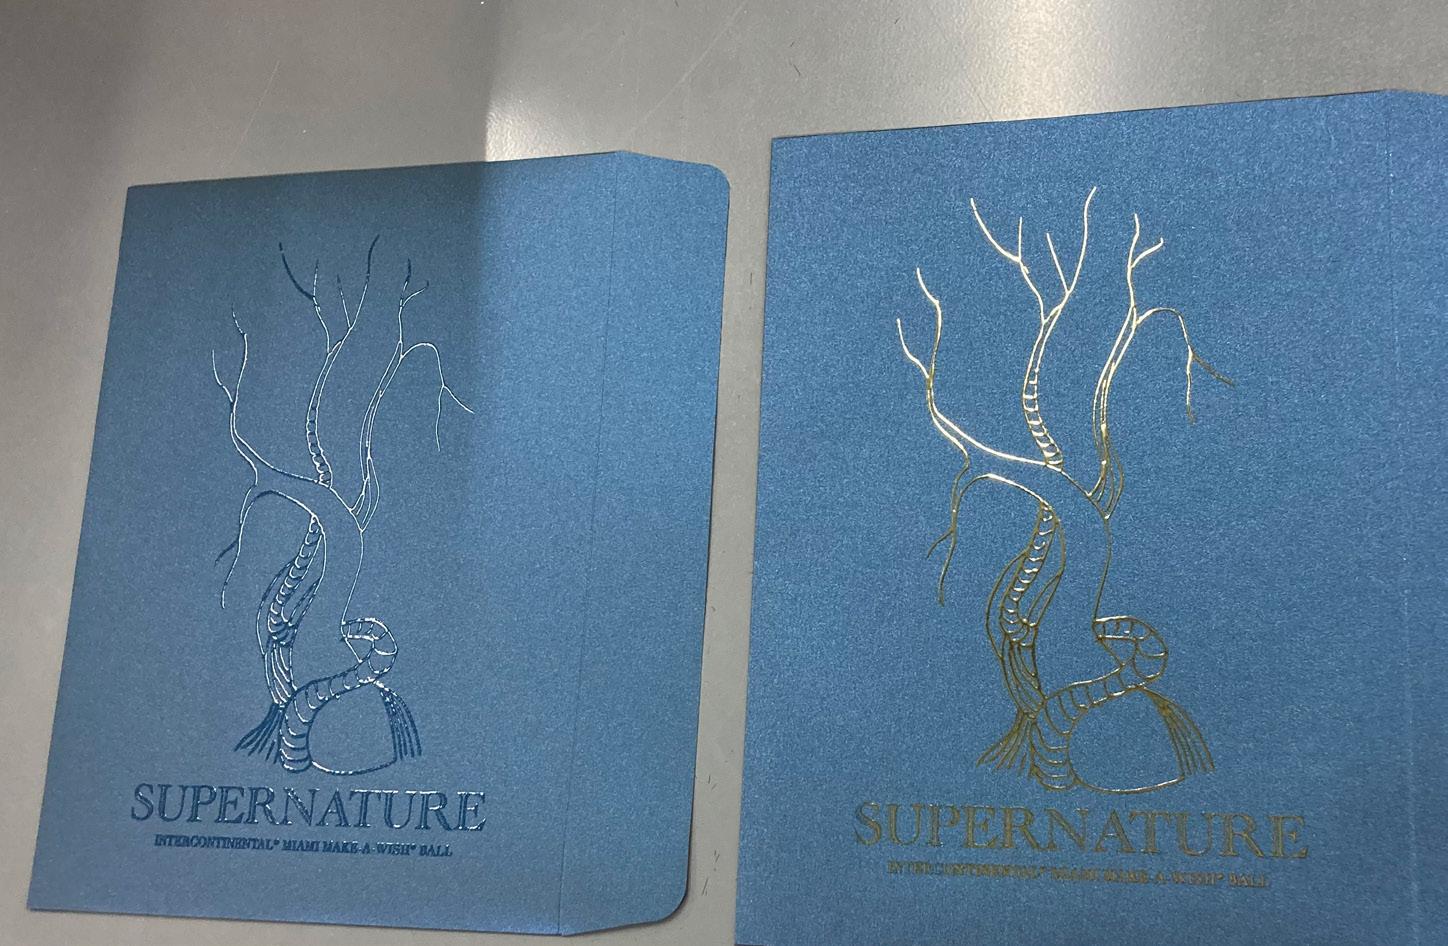
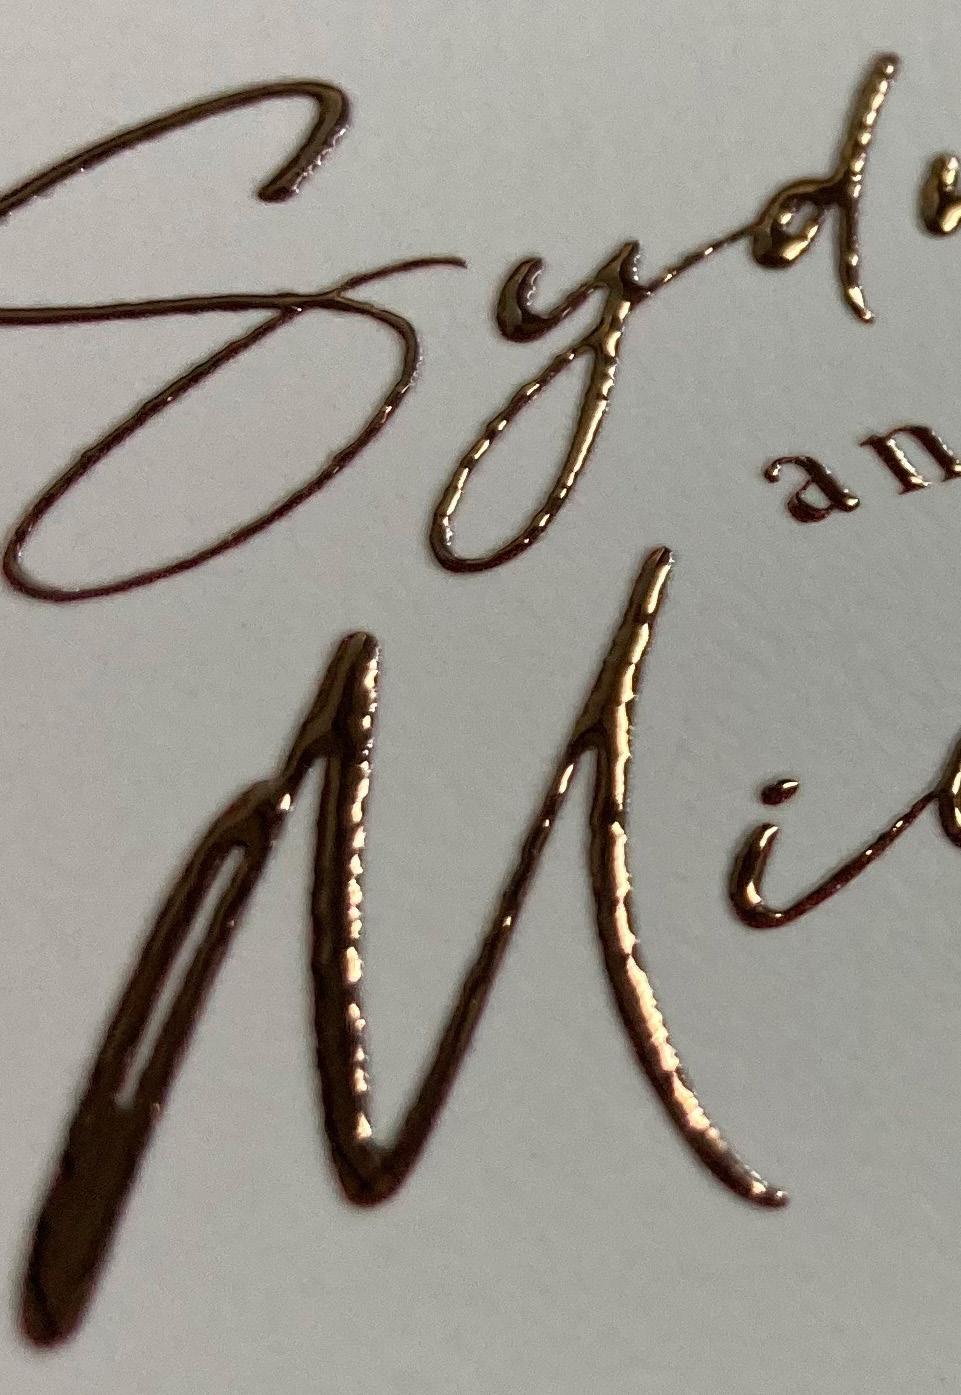
Effect of dimensional varnish getting absorbed into uncoated sheet with no priming or toner barrier. While the varnish is still being absorbed, it can still create some pretty cool effects.
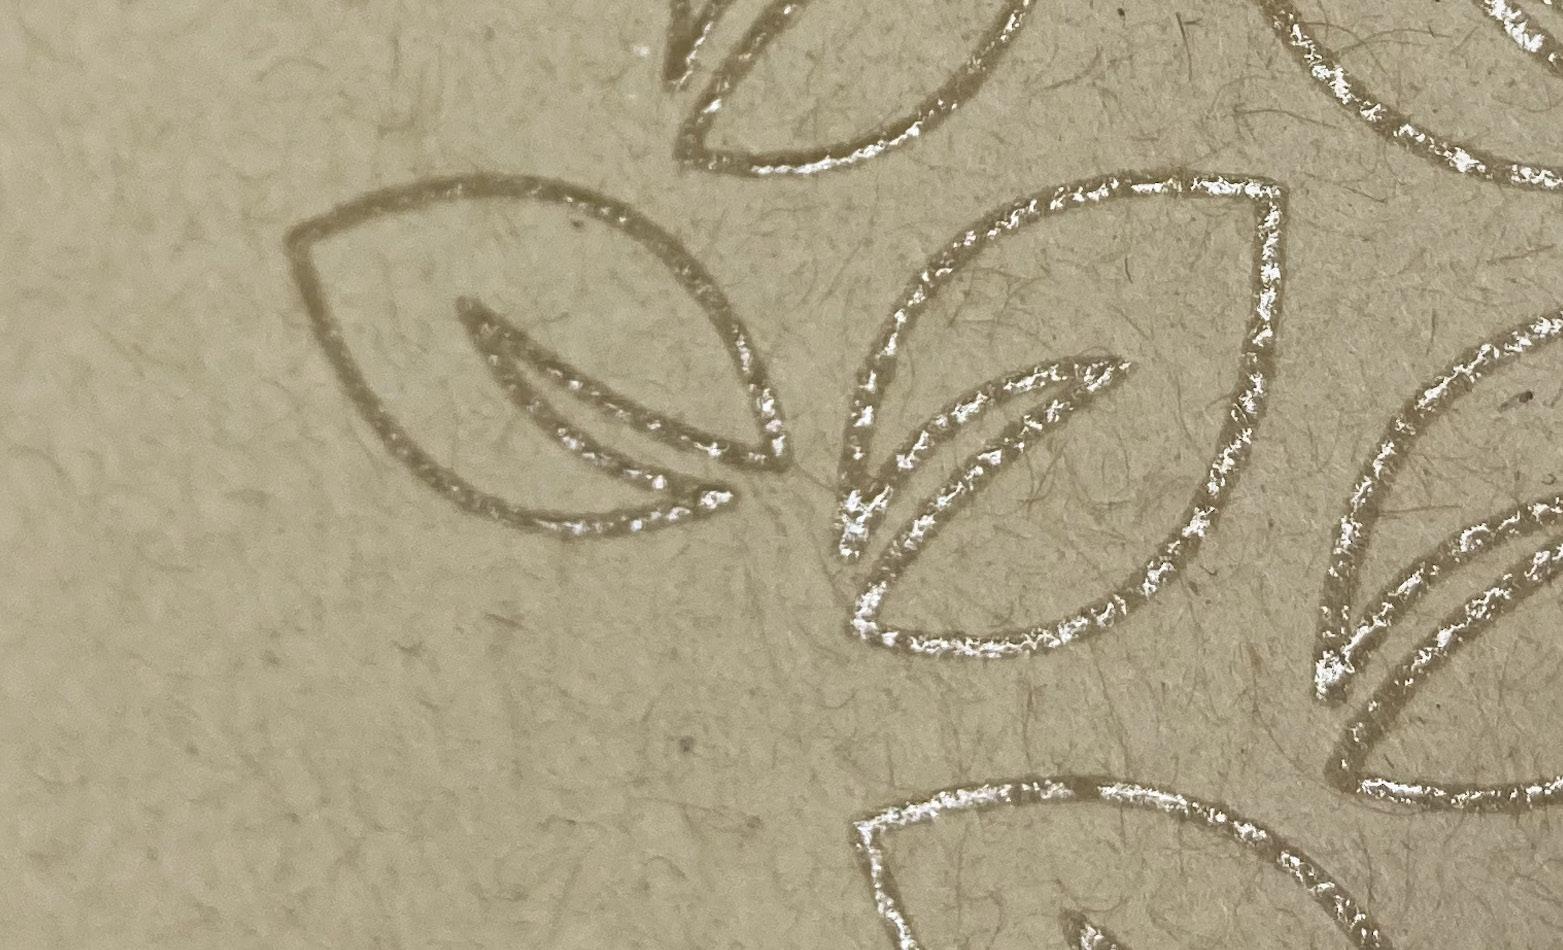
Some papers may look and feel uncoated, but are actually primed and can work with inkjet-based digital embellishments.
Running two passes on this #100 Cougar Digital Smooth Cover is a excellent way to get that shimmery effect on some uncoated materials.
Handling and dispatch
Proper handling and conditioning of paper is vital, before and after production, Huizenga warns.
“I found when ordering parent-size sheets and cutting them down, that could introduce a moisture change. It could often curl a stock.”
This is bad news when the paper is going under inkjet heads with a clearance of half a millimeter.
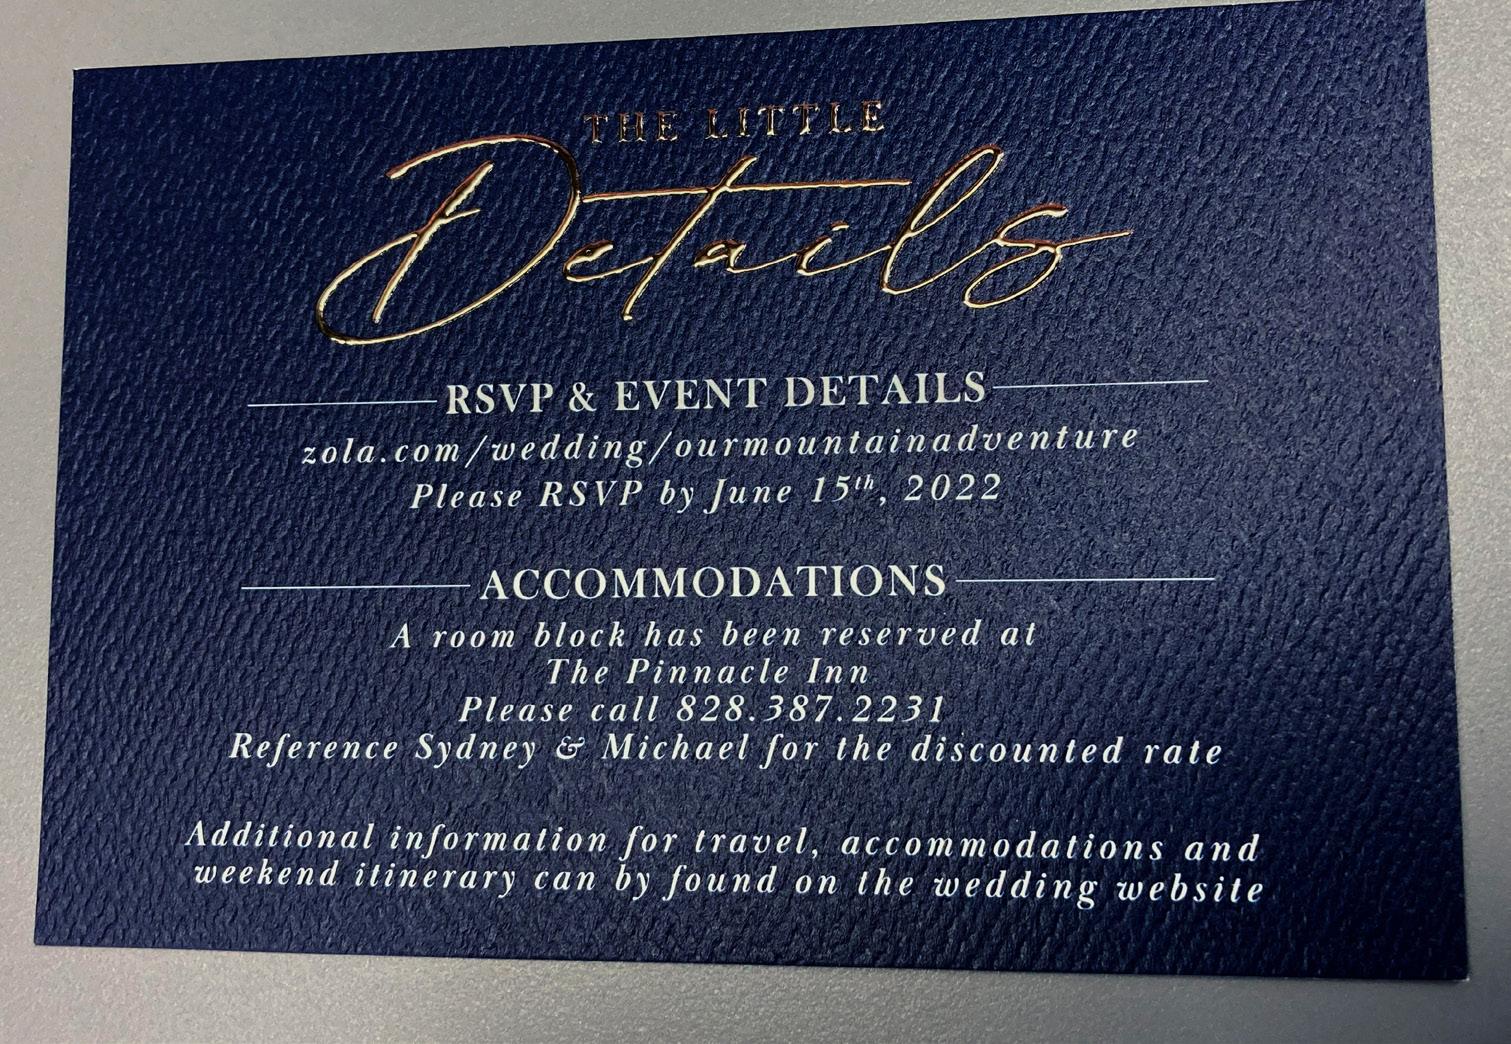
“You want to be sure you keep it as flat as possible,” he said. “So sometimes ordering pre-cut stock that’s already been conditioned, or that’s been sitting on your shelf a while, will lend itself to a much better embellished product.
Varnishes take a while to cure completely, even with powerful UV lamps, so they can become sticky under pressure even if they feel touch-dry. This is a problem when stacking the sheets.
With raised digital embossing, the sheets stand proud of each other, and the varnish can stick to the underside of the sheet above if enough weight builds up in the stack. This affects double-sided coatings in particular.
“We have built a rack, a bunch of dowels that stand up,” said Redbear. “They’re tall and they’re spaced so far apart that we literally stand sheets up in it when they come off the stacker, to get the pressure off of them, and then they stand up and cure for another 24 to 48 hours. And that has proven effective in overcoming that problem.”
This leads to a related problem, in that you can’t easily put a stack of digitally embossed sheets into a guillotine cutter, as the clamp pressure can crush and crack any nearby varnish.
“There can be damage even with very light pressure,” said Redbear.
He says that the foam pressure reducers used for cutting NCR stacks can work. However, individual sheet cutters have the least risk of damage.
Felt surface is too porous for inkjet varnish retention and requires a barrier between the paper and the polymer overlay with multiple passes.
“We have a Zünd G3 cutting table with vacuum belt feeder, which is very accurate with zero damage, but it can be slow and time consuming to use for a larger production.”
Huizenga points out that a die cutter that uses ready-made dies can be a good solution for commonly used shapes, such as round-cornered cards.

The curing issue should also be considered when preparing finished work for dispatch. The surface may still be delicate and easily marked or scratched.
“I sometimes stand over the person packing the job and tell them exactly how to fill the box,” said Redbear. “I know how things might shift in the box, and if the varnish is damaged the foil may start to peel off. We may wrap each bundle in rubber bands and put paper around each one to separate it.
“It’s crazy, but you have to be sure it’s very dry, not just air dry. If the job can sit around for a day or two before packing, let it.”
Huizenga agrees.
“We only use four-inch-high boxes,” he said, “and we pa- per-band in order to keep things from shifting. We like to start early in the process and ask the customer what their timeline is. This is a specialty product so you’re not usually pushing it out of the door immediately. If you’re creating a masterpiece, it doesn’t make sense to rush it in the shipping.”
He also advises keeping an eye on temperature conditions.
“If you know it’s going to be hot tomorrow and cooler the day after, then maybe you wait before putting it into the truck, or it’ll get superheated on the way.”
Experience counts
In the world of color print, we’re told that predictability and repeatability is the prime concern. Printing has become a “process not a skill, a science not an art.”
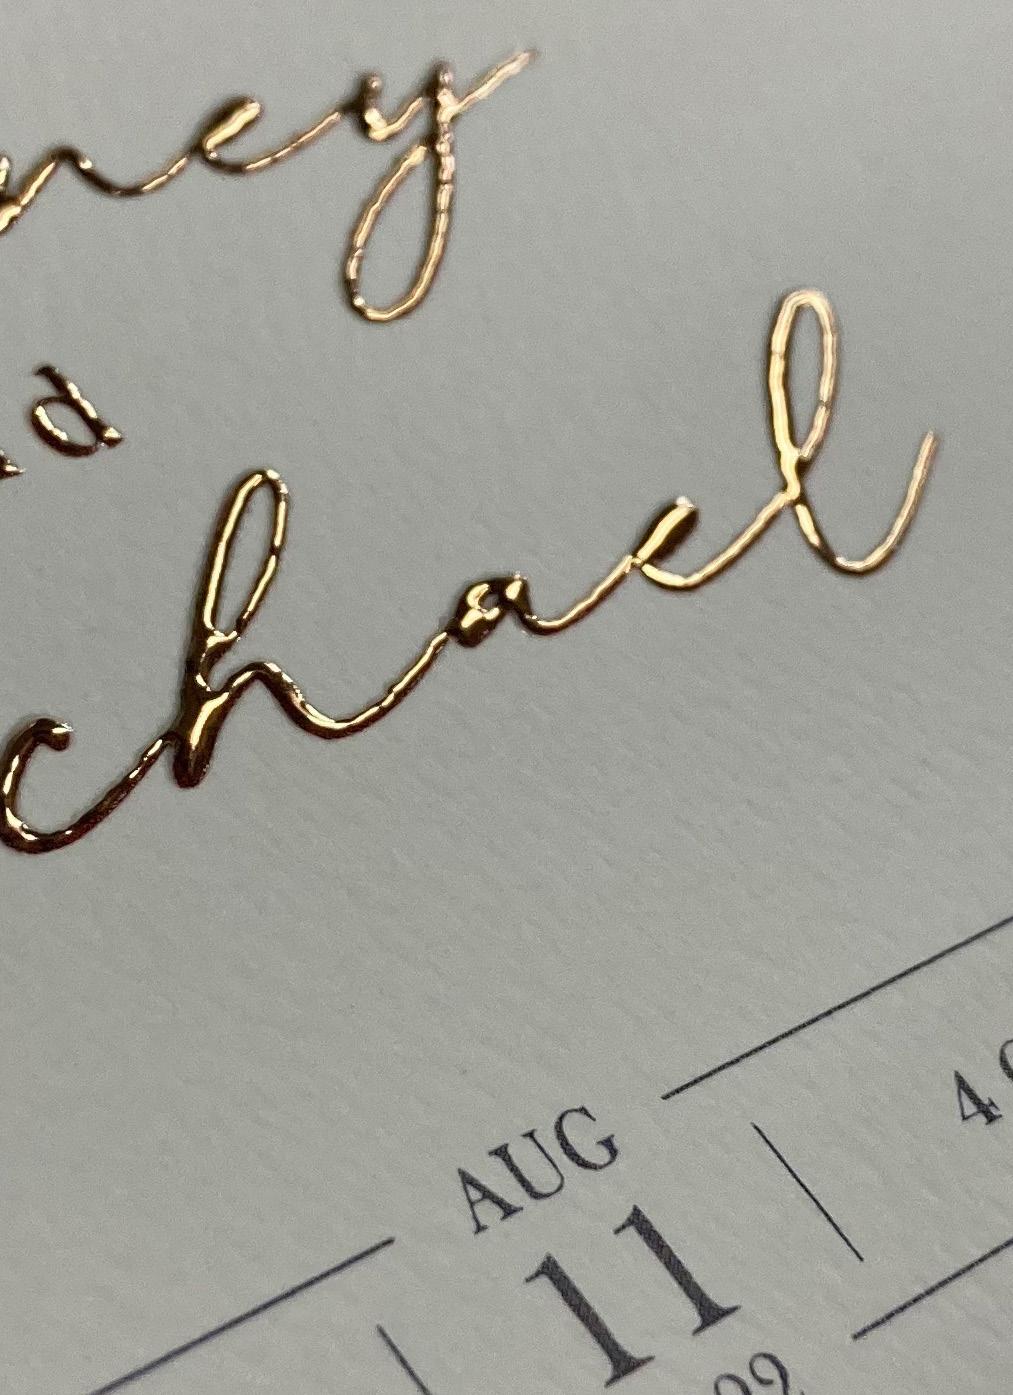
Embellishment, however, has always been an art that requires application. Science has taken it digital, but the need for creativity and experience is as important now as it ever was.
“Pourous” does not mean “impossible.”
There are several methods to build a layer of varnish on unsuitable stocks.
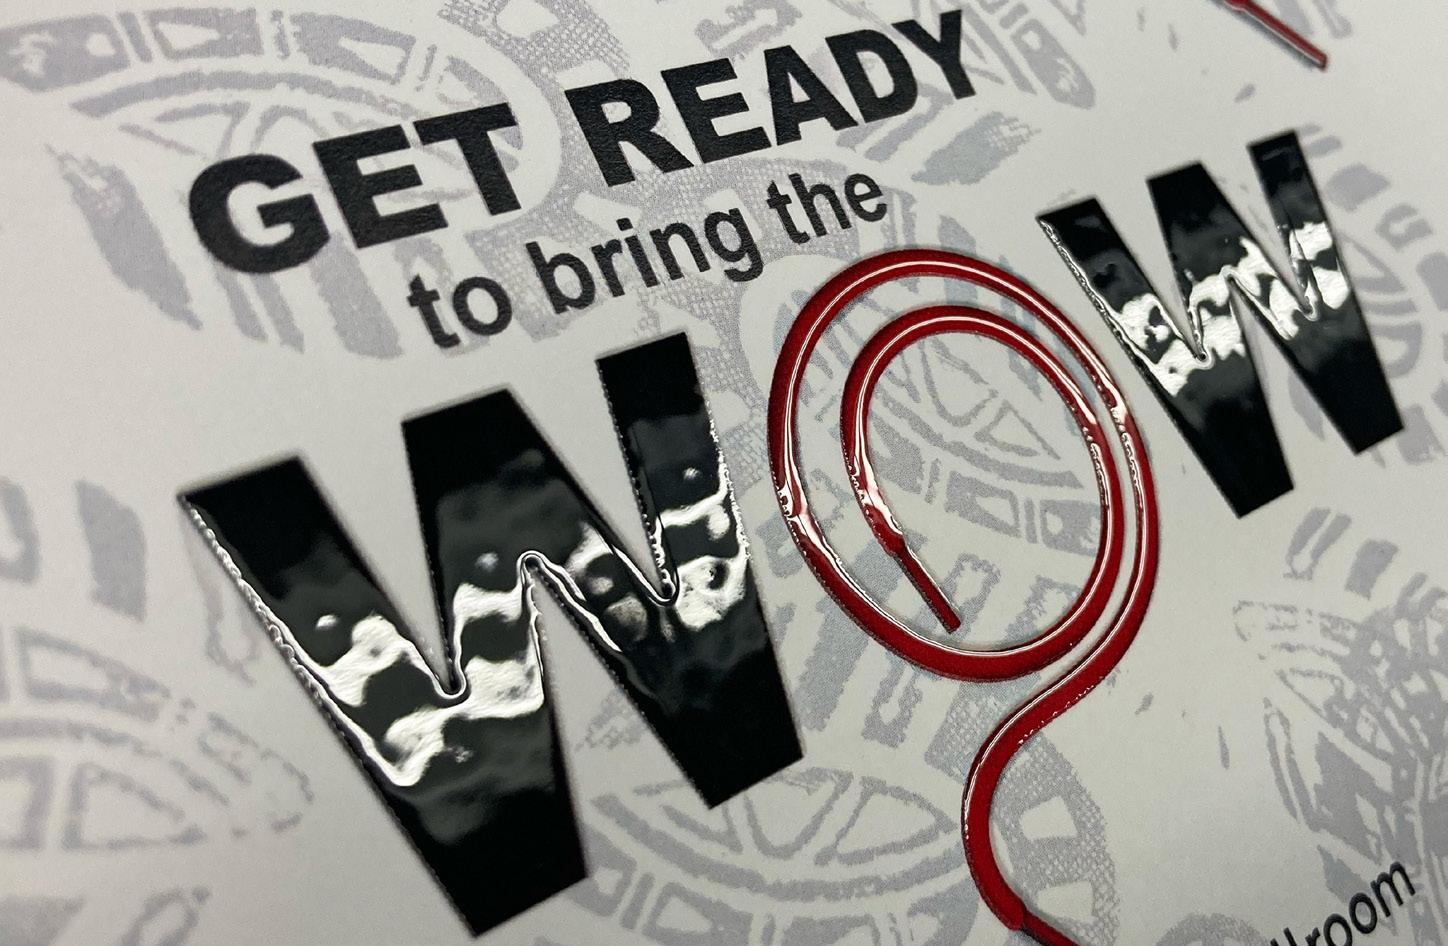
Matte3D meets Gloss3D: A test run proves durability and stunning results. Miri Matte Lava 14 pt. Red holographic cover stock.


