3 minute read
How To Make A Travel Dreamboard
from Spring 2021
BY DEVON GRASLEY
It’s no doubt that we are all a bit travel hungry right now. I know I sure am! While the current circumstances may make it hard for us to visit the places of our dreams, this that doesn’t mean they have to stay dreams forever. Planning out all the amazing places you want to visit is a great way to indulge your daydreams while getting one step closer to making them a reality. It’s a perfect little escape when things seem stagnant in our day to day lives. So, here: this is a how-to on building a travel board for you to organize the trip of your dreams. Make it fun, aesthetically pleasing, detailed—however you want. The limit is your imagination!
Suggested Materials:
• Most importantly, a place you can’t wait to visit!
• Some sort of background: I used a cork board, but you can use anything. Other ideas include cardboard, poster board or a large sheet of paper.
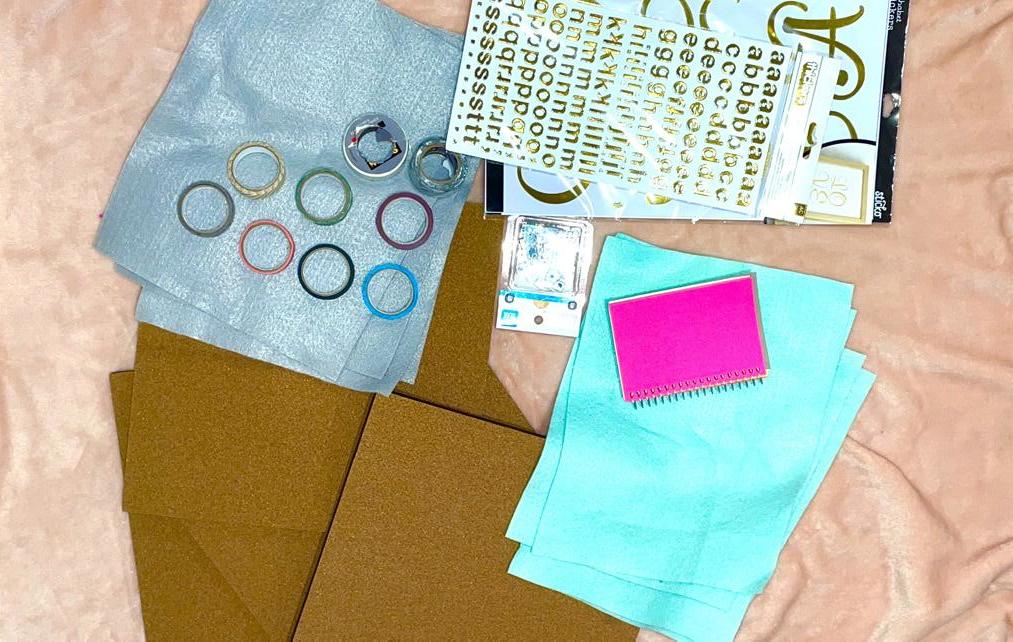
• Stationary supplies: tape, thumbtacks, paper clips, note cards, glue and scissors.
• Materials on your chosen destination: printouts, pictures and magazine clippings.
• Decorations: washi tape, colored paper, stickers, and iron-ons.
• Hanging supplies: depending on the material used, some small brad nails or sticky tack to hang your project up!
Step 1: Brainstorm
This is one of the most important steps. First, you have to figure out your destination. Spend some time researching where you want to go and some must-see spots or restaurants you are dying to try. This can be as detailed as you want. For my Sicily dreamboard, I created a bucket list and a budget to help further plan my trip!

DEVON GRASLEY
Step 2: Gather your materials
Take some time to print off images. A great site to find everything—from flights, to lodging and even a list of tourist attractions—would be TripAdvisor. You simply enter your destination and it pops up with all the essentials to planning your vacation. Then, spend some time organizing your supplies. You can include fun things like washi tape, colorful push pins, and stickers. Most of these supplies can be found at Walmart or your local dollar store.

DEVON GRASLEY
Step 3: Organize your layout
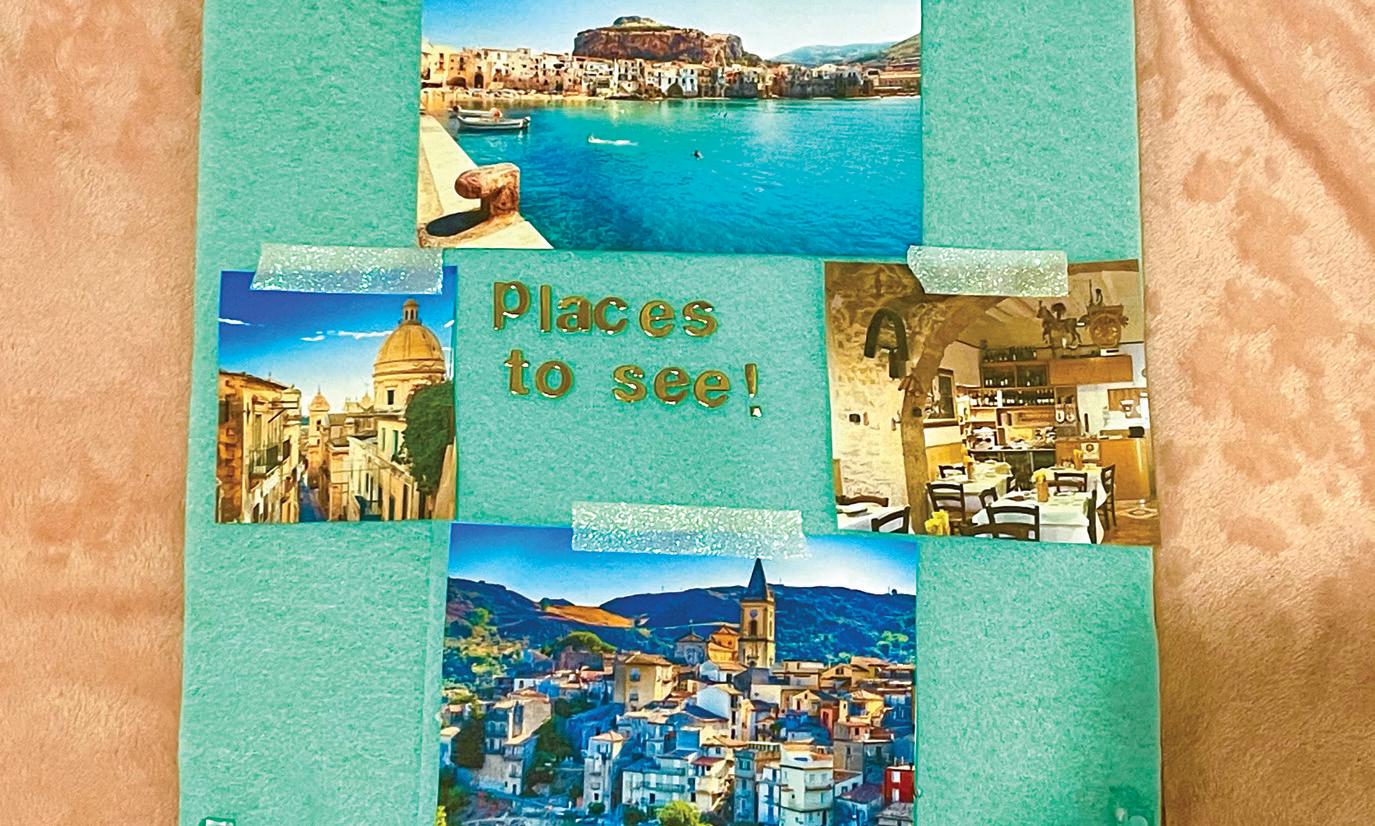
Here’s where you lay out how you want your board to look. Choose a color scheme, lay out the images, and map out where you want the decorations to go before actually putting everything together. That way you can decide if you want to change anything before it is too late.

DEVON GRASLEY
Step 4: Decorate
Here’s the fun part: go crazy with putting this thing together! It’s all about your trip, so don’t be afraid to take total control of the design. For decorations, I added some cute washi tape on the borders and some fun stickers to add a pop of color.

DEVON GRASLEY
Step 5: Go follow your dreams
You now have a completed board. Hang it on the wall with nails or some sticky tack to have a little reminder of where you can go. Now it’s time to make that dream a reality! Make sure you take lots of pictures for your new memory board when you get back. Share it with your friends and family and continually add one as you go on more adventures. The only limit is the places you’ll go!

DEVON GRASLEY


