1 minute read
Step 2 : Create a New Post/Page
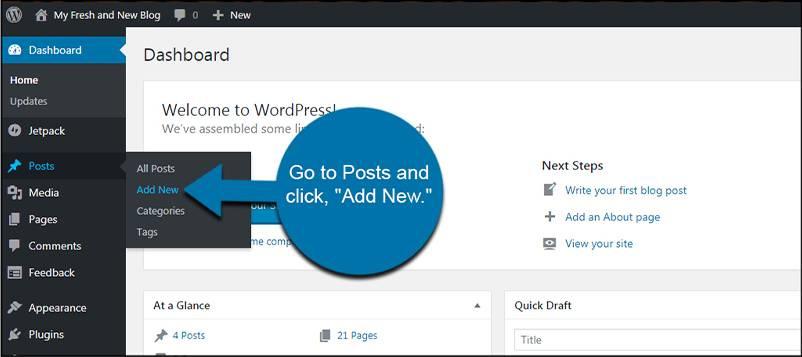
Go to your WordPress dashboard and click on "Posts" or "Pages" to create a new post or page, depending on where you want to add the LinkedIn carousel.
Step 3 : Add a New Blog
Advertisement
Click onthe "+" icon at the top-left corner of the editor or anywhere between existing blocks to add anew block. A block inserter will appear.

Step 4 : Search and Select the Carousel Block
Inthe block inserter, search for "carousel" or navigate to the "Widgets" section. You should find the "Carousel" block. Click onit to insert itinto your post/page.

Step 5 : Search and Select the Carousel Block
Inthe block inserter, search for "carousel" or navigate to the "Widgets" section. You should find the "Carousel" block. Click onit to insert itinto your post/page.

Step 6 : Add Images and Text to the Carousel
In the block settings, you can add images and text for each carousel slide. You can upload images from your computer or select images from the WordPress media library.

Step 7 : Arrange the Slides & Configure Linking
If you want to change the order of the slides, you can click and drag the slides to rearrange them within the Carousel block.

Step 7 : Preview & Publish
Once you have added all the slides and configured the settings, you can preview the LinkedIn carousel by clicking the "Preview" button.


