
Assembling the NoLOX Door Lock Solution

Fig 1: The components in this package include one of each: NoLOX Locking Arm, Allen Screw and Pronged Tee Nut. You will need 1/8” and 7/32” drill bits plus a 3/32 Allen wrench, a center punch, a ball peen hammer and Phillips screwdriver.

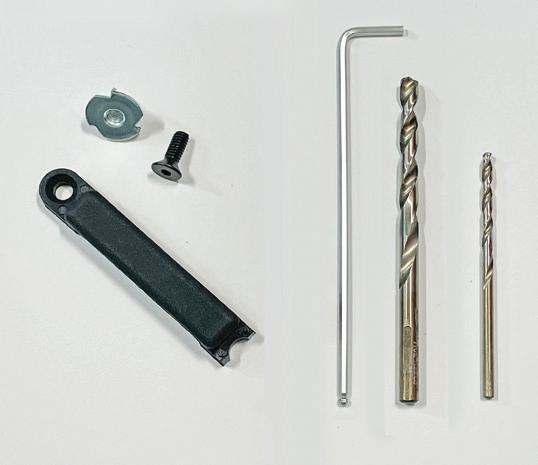

Fig 2: NoLOX will work on either right or left hand door handles.
Fig 3: Remove the rubber cap on the lock lever. Position the NoLOX Locking Arm against the door handle plate. This is a critical stage. Make sure the NoLOX Locking Arm is level and snug against the lock lever. Mark the position of the Locking Arm with a sharp pencil. Unscrew the three plate screws and remove the plate.

Fig 4: Use a piece of wood to support the plate and make an indentation with a center punch where you will drill.
Fig 5: Drill a pilot hole with the 1/8” drill bit then follow with the 7/32” bit.
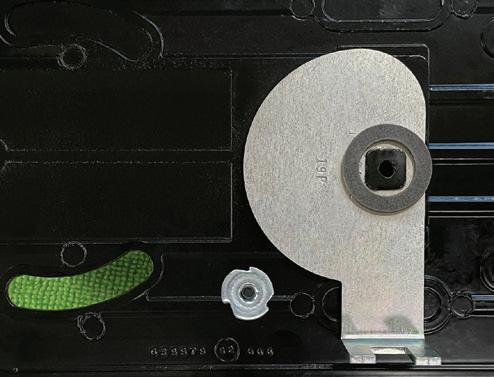
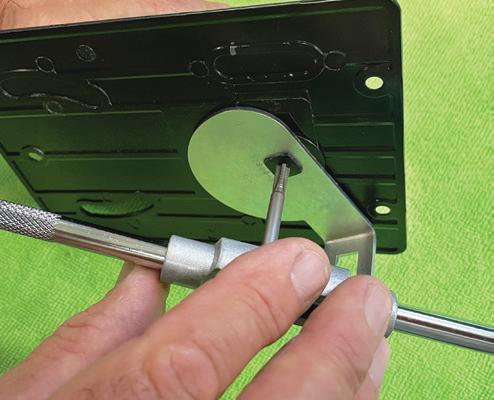
Fig 6 & 7: Assemble the NoLOX Locking Arm components to the plate. We recommend using a drop of 242 Loctite on the Allen screw.


Fig 8: Place the plate back onto the door. Make sure to align the door handle with the opening mechanism. Re-install the three plate screws.
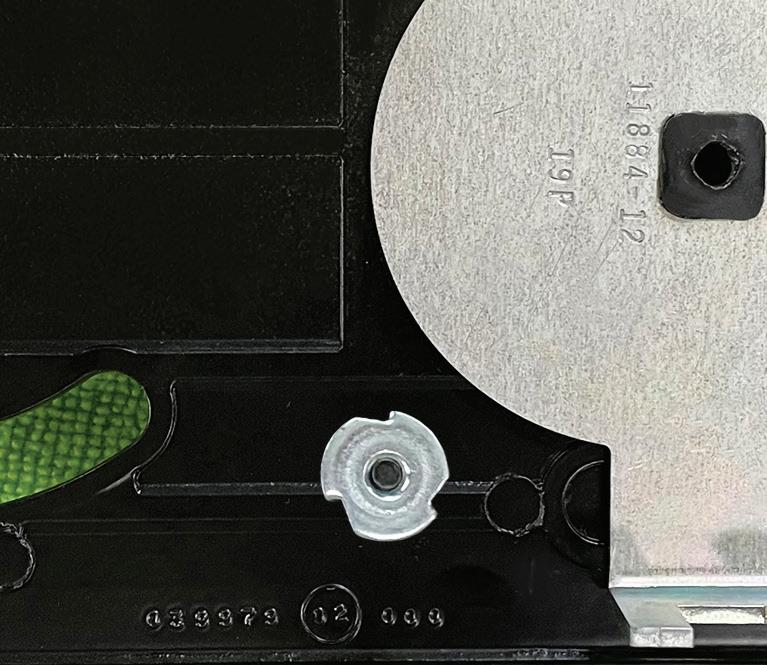
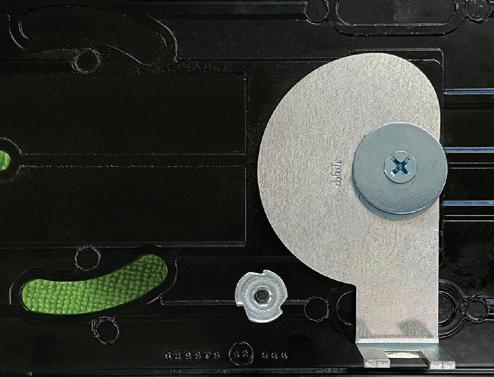
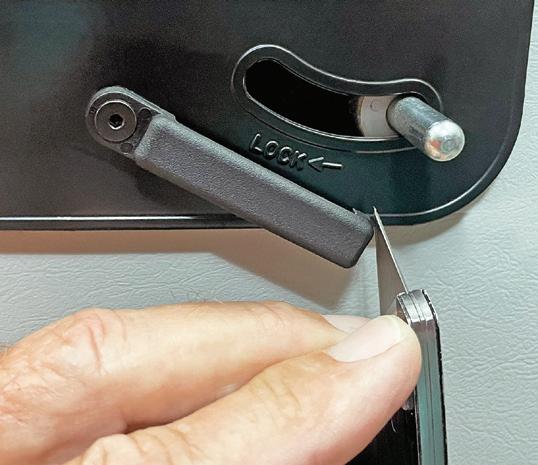
Fig 9: Trim 1/8”- 3/16” off the lock lever rubber cap so the Locking Arm clears.
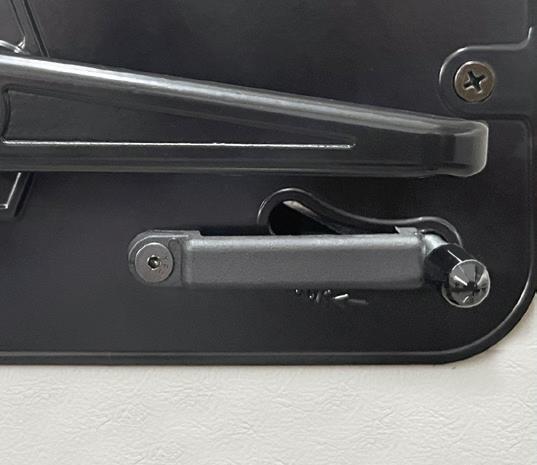
Fig 10: Completed project with Locking Arm in safe mode.
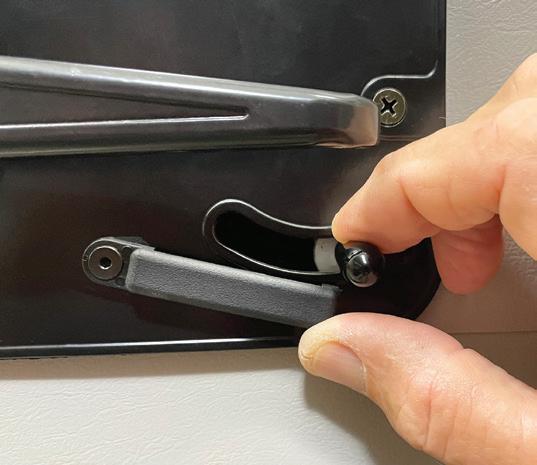
Fig 11: To unlock, simply pinch Locking Arm in a downward motion.
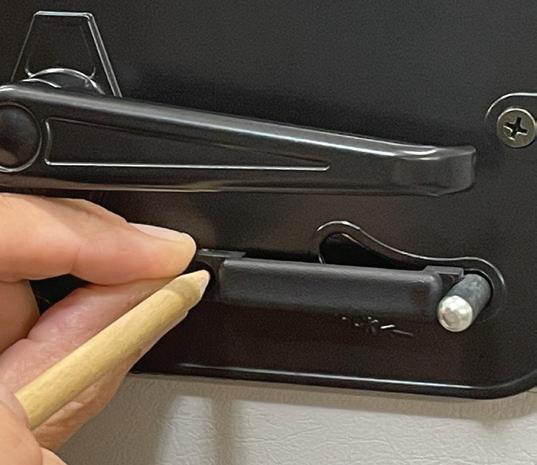
Fig 12: If necessary to make the NoLOX Locking Arm easier to lock/unlock, trim a small portion off the TOP of the Locking Arm as shown.
To view instructions on your phone, in camera mode, point your phone at this code. Open link.

Caution: Wear eye protection and cut proof gloves
Strengthen Your Interior Door Handle
The components for this fix include a Flat Shim, a Fender Washer and a Phillips Head Screw.
You will need a 10-32 tap and Phillips screwdriver for this project.
While you have the door handle plate off: A) Tap the existing hole on the back of the handle. B) Place the shim.

C) Place flat washer and insert screw. We recommend using a drop of 242 Loctite on the screw. You’re done!
 Figure 1
Figure 2
Figure 3
Figure 4
Figure 5
Figure 6
Figure 7
Figure 8
Figure 9
Figure 10
Figure 11
Figure 12
Figure 1
Figure 2
Figure 3
Figure 4
Figure 5
Figure 6
Figure 7
Figure 8
Figure 9
Figure 10
Figure 11
Figure 12