12 minute read
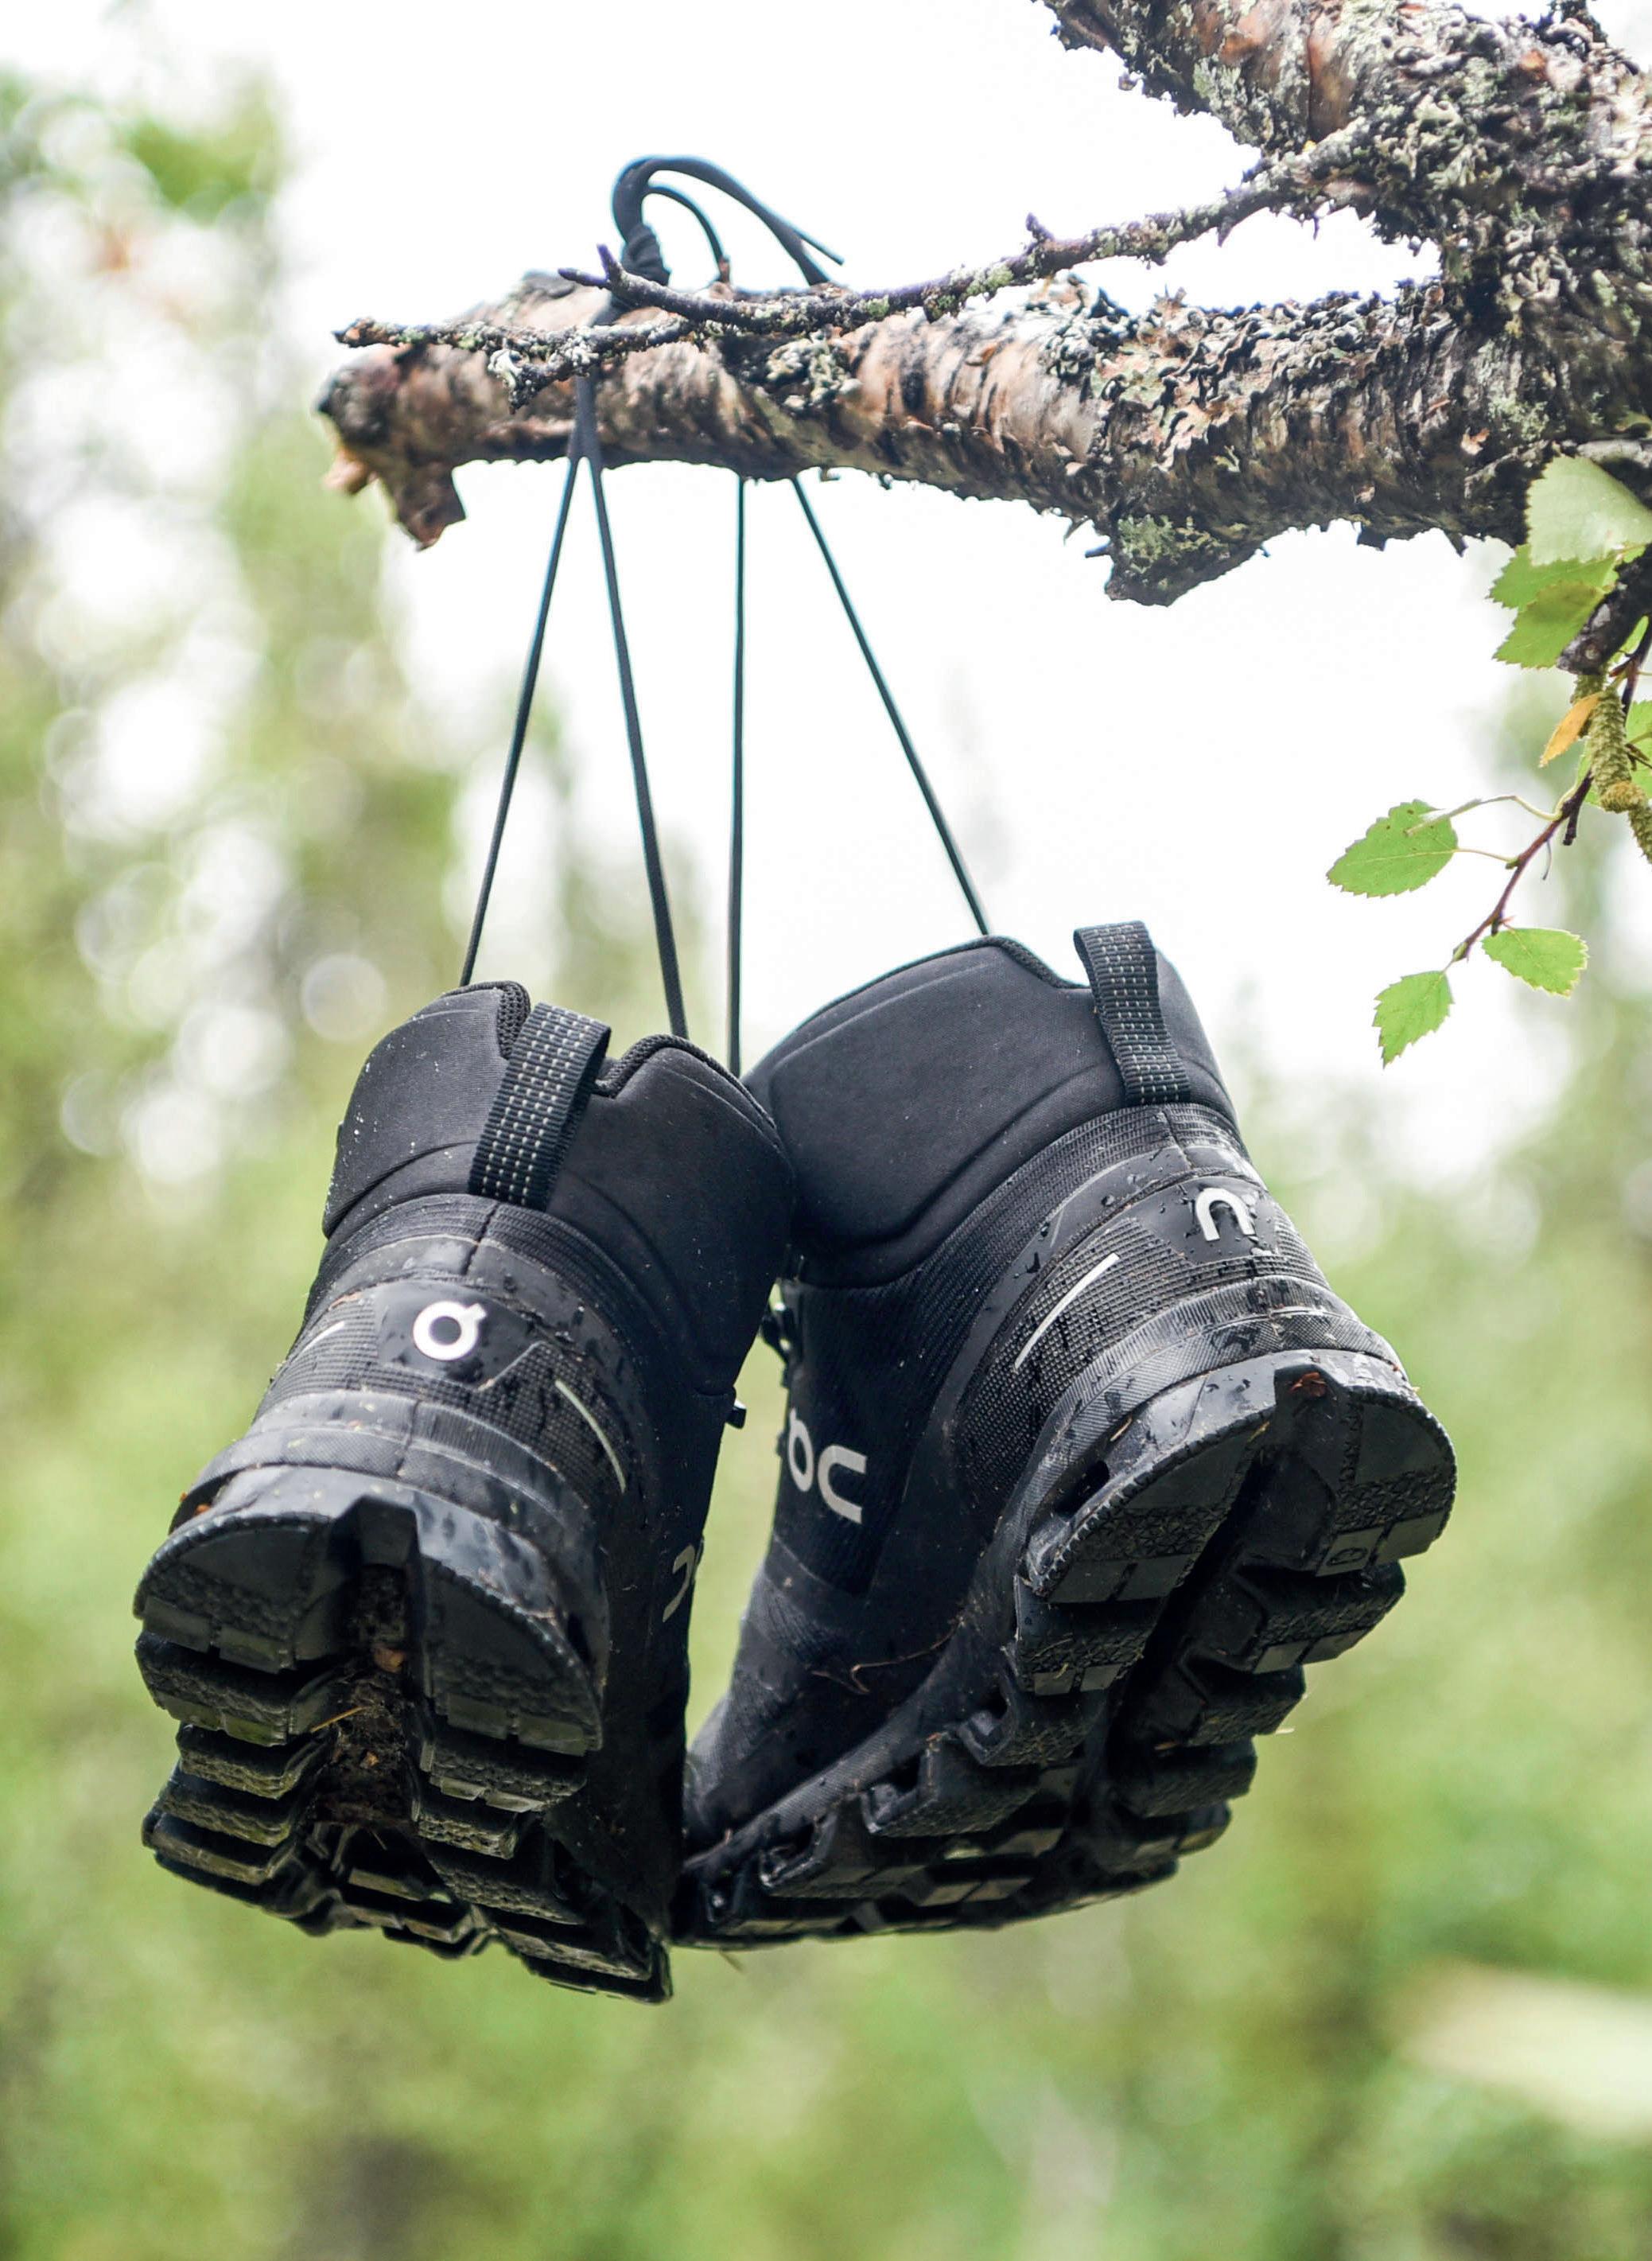
Feet In Focus


Four categories of shoes & boots
HIKING BOOTS – Sturdy boots for multi-day hikes with heavy packs on uneven terrain. HIKING SHOES – Low shoes with a flexible midsole suitable for warmer climates, day trips and everyday life. DAY TRIP BOOTS – Good for day trips with, for example, a mountain station as a starting point. They’re agile but lack the support needed for more challenging terrain. SHELL BOOTS – The shell boot, like a shell jacket, consists of just a protective exterior. Inside, you can easily adapt them to different temperatures and activities via your choice of socks and insoles.
Advertisement
FEET IN FOCUS
Step-by-step advice on choosing hiking boots, how to look after them and how to prevent blisters.
Text: Julia Möller / Photo: Emelie Voltaire
Feet that tingle when you take off your boots; their true colour hidden somewhere under layers of dirt and dust. The sweat of the recent days has already settled deep in the fibres of your socks. The tideline of mud reaches far up your calves, which are screaming for an intense sports massage. But, then and there, life feels good.
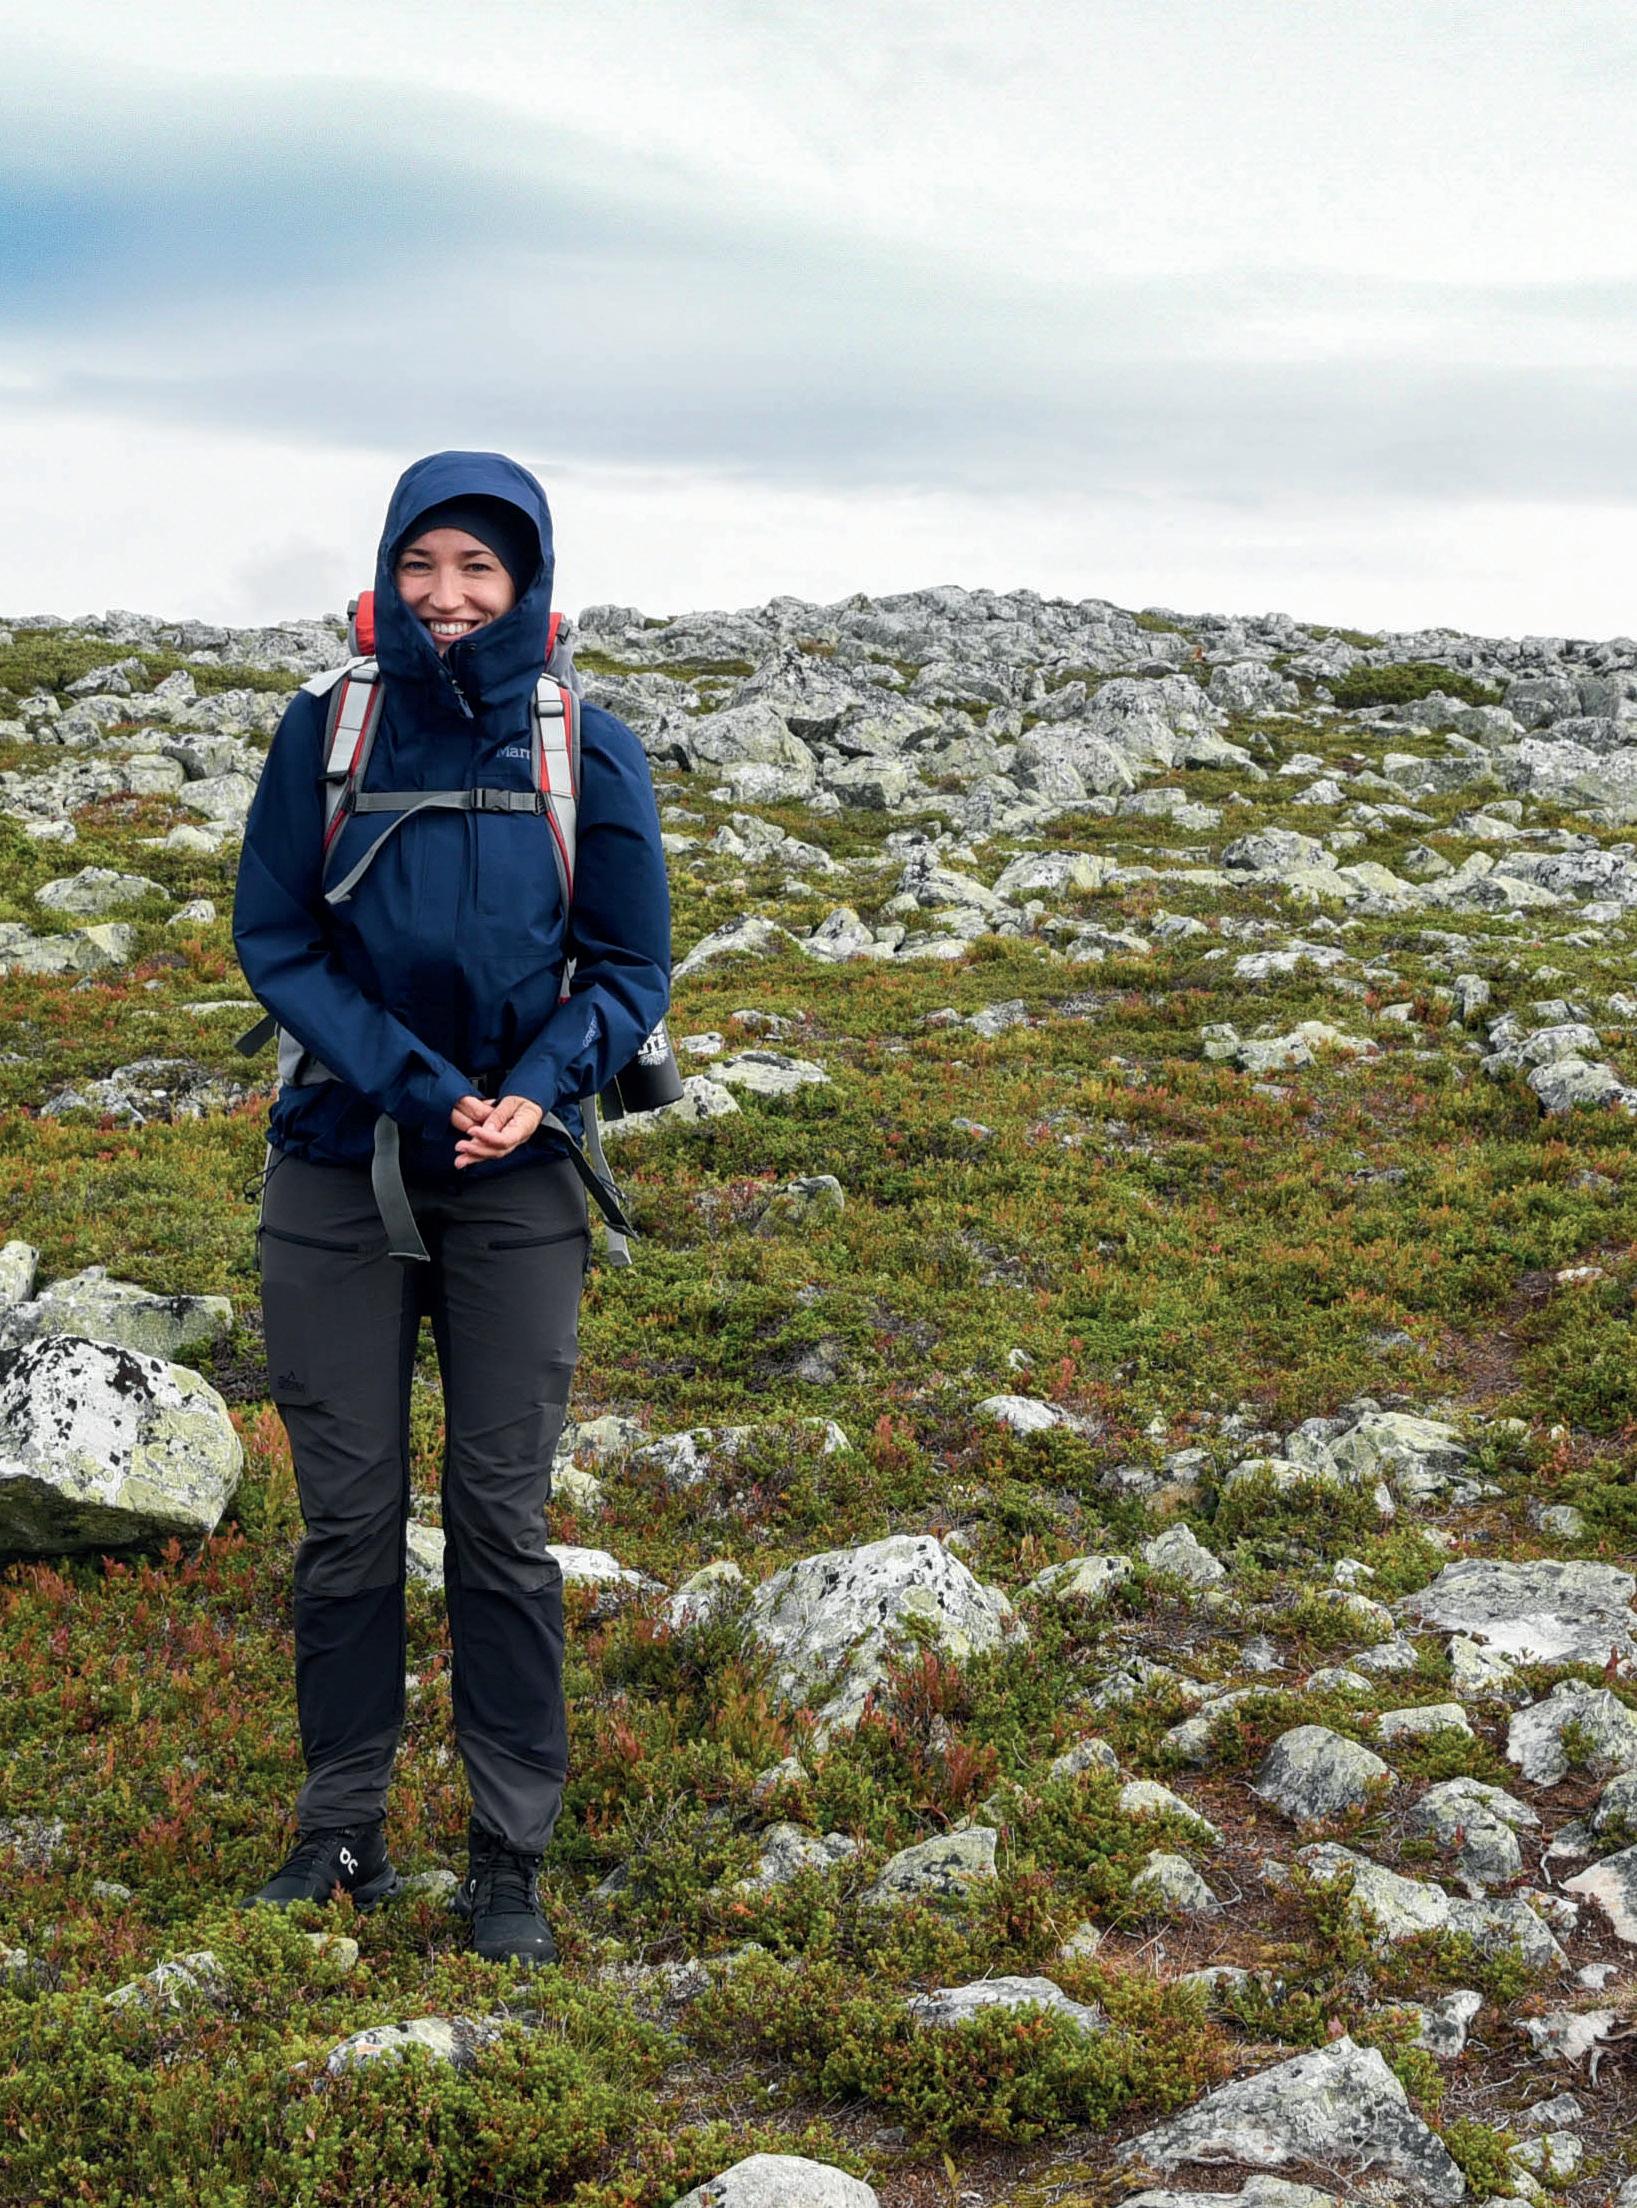
How your feet feel during a hike can make or break your entire experience – it is, after all, your feet that move you forward on the trail. For your feet to feel good, planning is essential – right down to your skin.
Hikingboots&shoes–notafootnote!
The job of hiking boots is to provide protection and comfort, so your feet feel good both during and after a long hike. So, they must work for how and where you’re walking, and of course, also with your feet.
Before you start putting your boots or shoes through their paces, think about how the terrain and climate are where you’re going to hike, as well as how heavy your pack will be.
Hiking boots and shoes are designed to offer stability and protection on uneven ground. If you’re walking the Camino de Santiago (Way of St. James) in dry weather, you might enjoy a pair of meshed, ventilated hiking shoes, whereas hiking the Kungsleden (King’s Trail) will require much higher levels of waterproofness. Here, both the terrain and climate come into play. In the Swedish mountains, the terrain is rougher and often wetter. It’s also quite cold, so wet boots will be uncomfortable to wear and dry slowly. In smoother terrain and warmer weather, the risk of your feet getting wet is lower, and if it does happen, your boots will dry faster.
A low model is often more suitable if you’re hiking with a lighter pack and want a lot of flexibility. Higher models – classic hiking boots – with more ankle support provide stability when you’re carrying a heavy load.
Which is the most versatile hiking boot?
If you’re looking to invest in a pair of boots that will work for everything from hiking to mushroom picking and rainy weekdays, mid-height boots are a safe choice. They provide support for the ankles, manage mountain terrain, and keep you dry. This boot is the most commonly used on hiking trails and is available in many models, from light ones with less cushioning to heavier ones suitable for alpine terrain.
Breaking in your shoes
Of course, it’s exciting to have new shoes – but for many it can also mean something much less pleasant: blisters! Spend time and effort breaking in your boots or shoes properly before your hike. Increase the distance gradually.
1. Start wearing the boots or shoes indoors, with the socks and insoles you’ll use on the hike. 2. Take them for a walk around your block. 3. Go on day trips with a lighter backpack.
When you try boots
• You should have 1–1.5 cm of space in front of your toes in hiking boots… • … and 0.5–1 cm in front of your toes in hiking shoes. • Try boots at the end of the day, as your feet often are a bit swollen then. • Try them together with hiking socks (a thin one plus a thicker). • Your heel should stay firmly in place.
When you carry a backpack and walk downhill, the weight of your backpack will push your feet forward. So, find a sloping surface and consider carrying a little weight on your back when you try on boots. Walk uphill and downhill.
For hiking shoes, you don’t need as much space in front of your toes as they can be laced tighter with a fit that resembles a running shoe. Your heel should stay firmly in the rearmost position and not move up or down. If you have the right size but your heel is still loose, it may be the model that doesn’t fit. So change the model – don’t go down a size.
If you have different sized feet, base your decision on the larger foot. A boot that’s too tight will be harder to solve – there will be chafing, tension and poor blood circulation. However, you can compensate for a small gap in your boot with, for example, an extra liner sock.
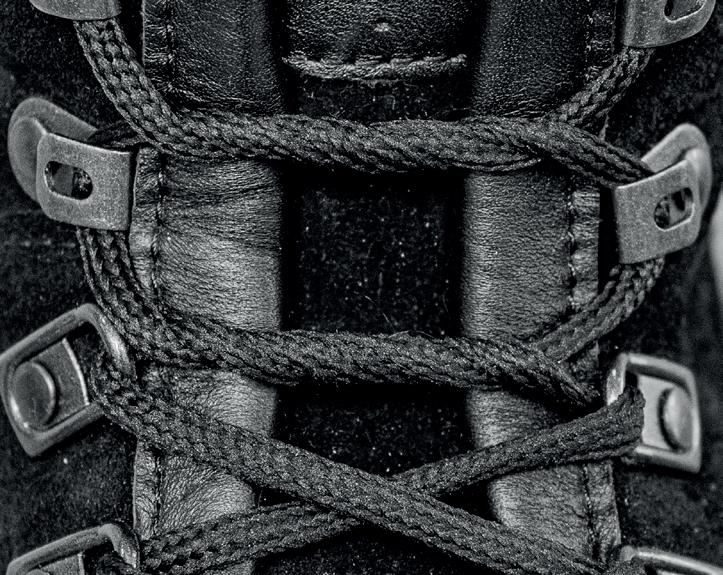
Lacingyourboots
There are many different ways to lace your boot, depending on how the terrain looks and how your feet feel. Lace all the way up when the terrain is tough and you need extra stability. When the surface evens out, you have the luxury of lacing up your boots for more flexibility and better ventilation. If you’ll be walking uphill, lace the hooks tightly up to the ankle and the ones above looser. This will give you more mobility. Downhill, tie the laces over the ankle tighter to stop your foot from sliding forwards. Many boots also feature a pair of lace holes or hooks at the ankle that sit a little ‘behind’ the others to give extra stability where it’s needed most.
Here are three special lacing methods that you can use if your heel slips anyway or if you feel pressure somewhere on your foot.
Caring for your boots
Even if your hiking boots were made to handle muddy paths, you’ll still need to take care of them. If you give them the care they need, they’ll last as long as their wearer.

You’ll need a shoe brush, a root brush or a toothbrush.
• Remove the shoelaces and gently brush away dirt from the boot • Clean the boots with lukewarm water • Don’t dry them in a drying cabinet: best is room temperature with low humidity • Remove the soles and keep the boots cool between hikes • Treat your boots the first three to four times you use them • Remember to moisten and impregnate the boots at regular intervals
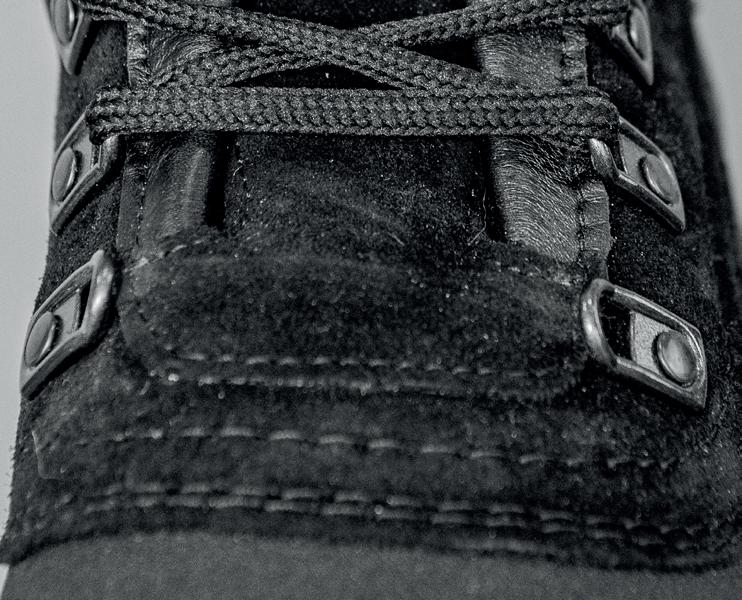

1. Pressure relief for the toes
a. Unlace the boots completely. b. Lace up your boots, but leave the first hooks out so your toes are free.
2. Pressure relief for the back of the foot
a. Unlace the boot all the way down to the hooks just below the pressure point. b. Lace-up by going straight up to the next hook before crossing your laces again.
3. Preventing your heel from slipping
a. Push your heel back into place and find the two pairs of hooks closest to the part where your foot begins to flex forward as you walk. b. Twist the laces around each other two turns and tighten and lock in the next two hooks. c. Repeat step two with the next pair of hooks. d. Finish by lacing your boot as usual.
Hikingsocks–everystepcounts
Hiking socks play a big role in how your feet feel during the hike. Use two pairs of socks to reduce friction and the risk of abrasion.
Layer 1: Closest to the skin, wear a liner: a thin sock that should fit snugly, be flexible and made of merino wool. It’s essentially underwear for your foot. Layer 2: On top of the liner, wear a hiking sock that adds padding, durability and insulation.
Sure you can. But your outdoor experiences are so much better when you’re comfortable. As well as all the other reasons to choose merino, there are two that weigh extra heavy. Wool warms when it’s wet; cotton and synthetics don’t. The view from Njullá isn’t as fun if your feet are freezing. It’s also naturally odour resistant. Often, two pairs of merino socks are enough, even on a long hike, but with synthetic or cotton socks, half your backpack will be taken up by spare socks.
These socks are usually made of merino wool and act as a ventilator, like a chimney. For this reason, they should reach higher up on the leg than your boot – because there’s no point having a chimney that ends under the roof! The thin inner sock should also be longer than the outer one so it doesn’t wrinkle underneath. To choose the length of the socks, look at how high your boots are.
How much padding a sock has gives you an idea of how thick and warm it will be. Ultra-light socks without padding are well suited for hot climates. Liner socks also fall into this category. Socks with padding range from those with light cushioning to models with very thick padding. The thicker the padding, the longer the hikes, tougher the terrain, and colder the climate they’re suitable for.
PREVENTING & TREATING BLISTERS
Blisters are one of the most common injuries hikers get – and no matter how small or innocent they may seem, they can ultimately ruin your whole hiking experience.

WHY DO YOU GET BLISTERS?
Knowing why you get blisters is the first step towards taking care of them. Blisters are caused by a combination of moisture, friction and pressure. Moist skin is more susceptible to damage when friction occurs. But friction also increases with moisture, so it can easily and very quickly become a vicious circle. Friction occurs when skin sits against a layer, in this case, your sock. A pressure point can happen in a place where your boot is tighter or your sock has wrinkled. It usually begins as a fluid-filled blister, and when it breaks this results in a wound.
Someone who has a lot of experience of long hikes with a heavy pack is Emelie Hjelm, who works in the Intelligence and Security Service in Sweden’s National Defence. We talked to her about how to best prevent blisters and what to do if one happens anyway. - A hike is very much about what your body can handle, but it’s also about what it needs in terms of equipment and care, says Emelie.
PREPARE AND PREVENT
The hike begins even before you step onto the trail, and the best way to deal with blisters is to prevent them from happening in the first place. It’s vital that you make good decisions before you start hiking and don’t neglect your feet during the trip. - My best trick to avoid abrasions is simple: don’t get complacent, says Emelie.
Step one is to choose your boots very carefully. - Don’t buy boots that are “a little too tight”, even though they may be cheaper.
Something Emelie emphasises is how important it is not to rush your preparations. - Taping their feet is one thing people often leave too late; many tape last-minute just before they go on an adventure. Instead, tape your feet the night before you start the hike (editor’s note: look for sports tape or Leukoplast at the pharmacy). If you do this, the tape will have time to attach properly to your feet, and you’ll have time in the morning to see if there are any defects in the application – and can then redo it. It’s better that you find out about this before the hike rather than during it. Be sure to always tape your feet in places where you know you’re most likely to get abrasions; it usually varies from person to person. Taking regular breaks and airing your feet at every opportunity helps keep your feet dry. Time for your lunch break? Give your feet a bit of fresh air and check if your socks are damp and need to be changed. - Change socks more often than you think you should. That way, you’ll keep your feet dry for longer and avoid chafing. Take time for shorter breaks, don’t avoid them just to get there faster. It’s always worth stopping if you feel like an abrasion is on the way and fix it immediately. See it as a crack in the windshield of the car, don’t let the damage grow bigger.

WHAT SHOULD YOU DO IF CHAFING OCCURS? - If you feel chafing despite taping, act quick. Remove your boots and socks, air your soles, wipe your foot dry with a dry item of clothing and apply a blister patch. Don’t tear the tape off as it’s likely that will damage your skin even more. If you’ve taped well enough, you can apply the blister patch on top. I’ve used a lot of different versions but personally think that Compeed works best. Always have blister patches ready and available in your pack, and you’ll also need tape, a sterilised needle, and scissors in your blister kit. Choose higher quality products – your feet will thank you for it.
If you get a blister, what should you do? - Don’t pop it! By putting a blister patch on top, you create a protective layer and won’t have to pop it. Blisters can be tricky and it can be difficult to know if it’s a blood or water blister, so stay on the safe side and patch it. If it’s a water blister and you don’t have any blister patches with you, make sure you use a sterilised needle to push through a small area of skin right next to the blister. This will puncture it safely.
Emelie Hjelm
JOB: Sweden’s National Defense BEST HIKING FOOD: The best hiking food is carbheavy; tortellini is the best! Don’t forget a hot, sweet drink as well as your food; the body absorbs fluid that’s body temperature or warmer faster. In colder hiking environments, I can guarantee that it will make a big difference to your mood and your ability to warm your body up during your break.
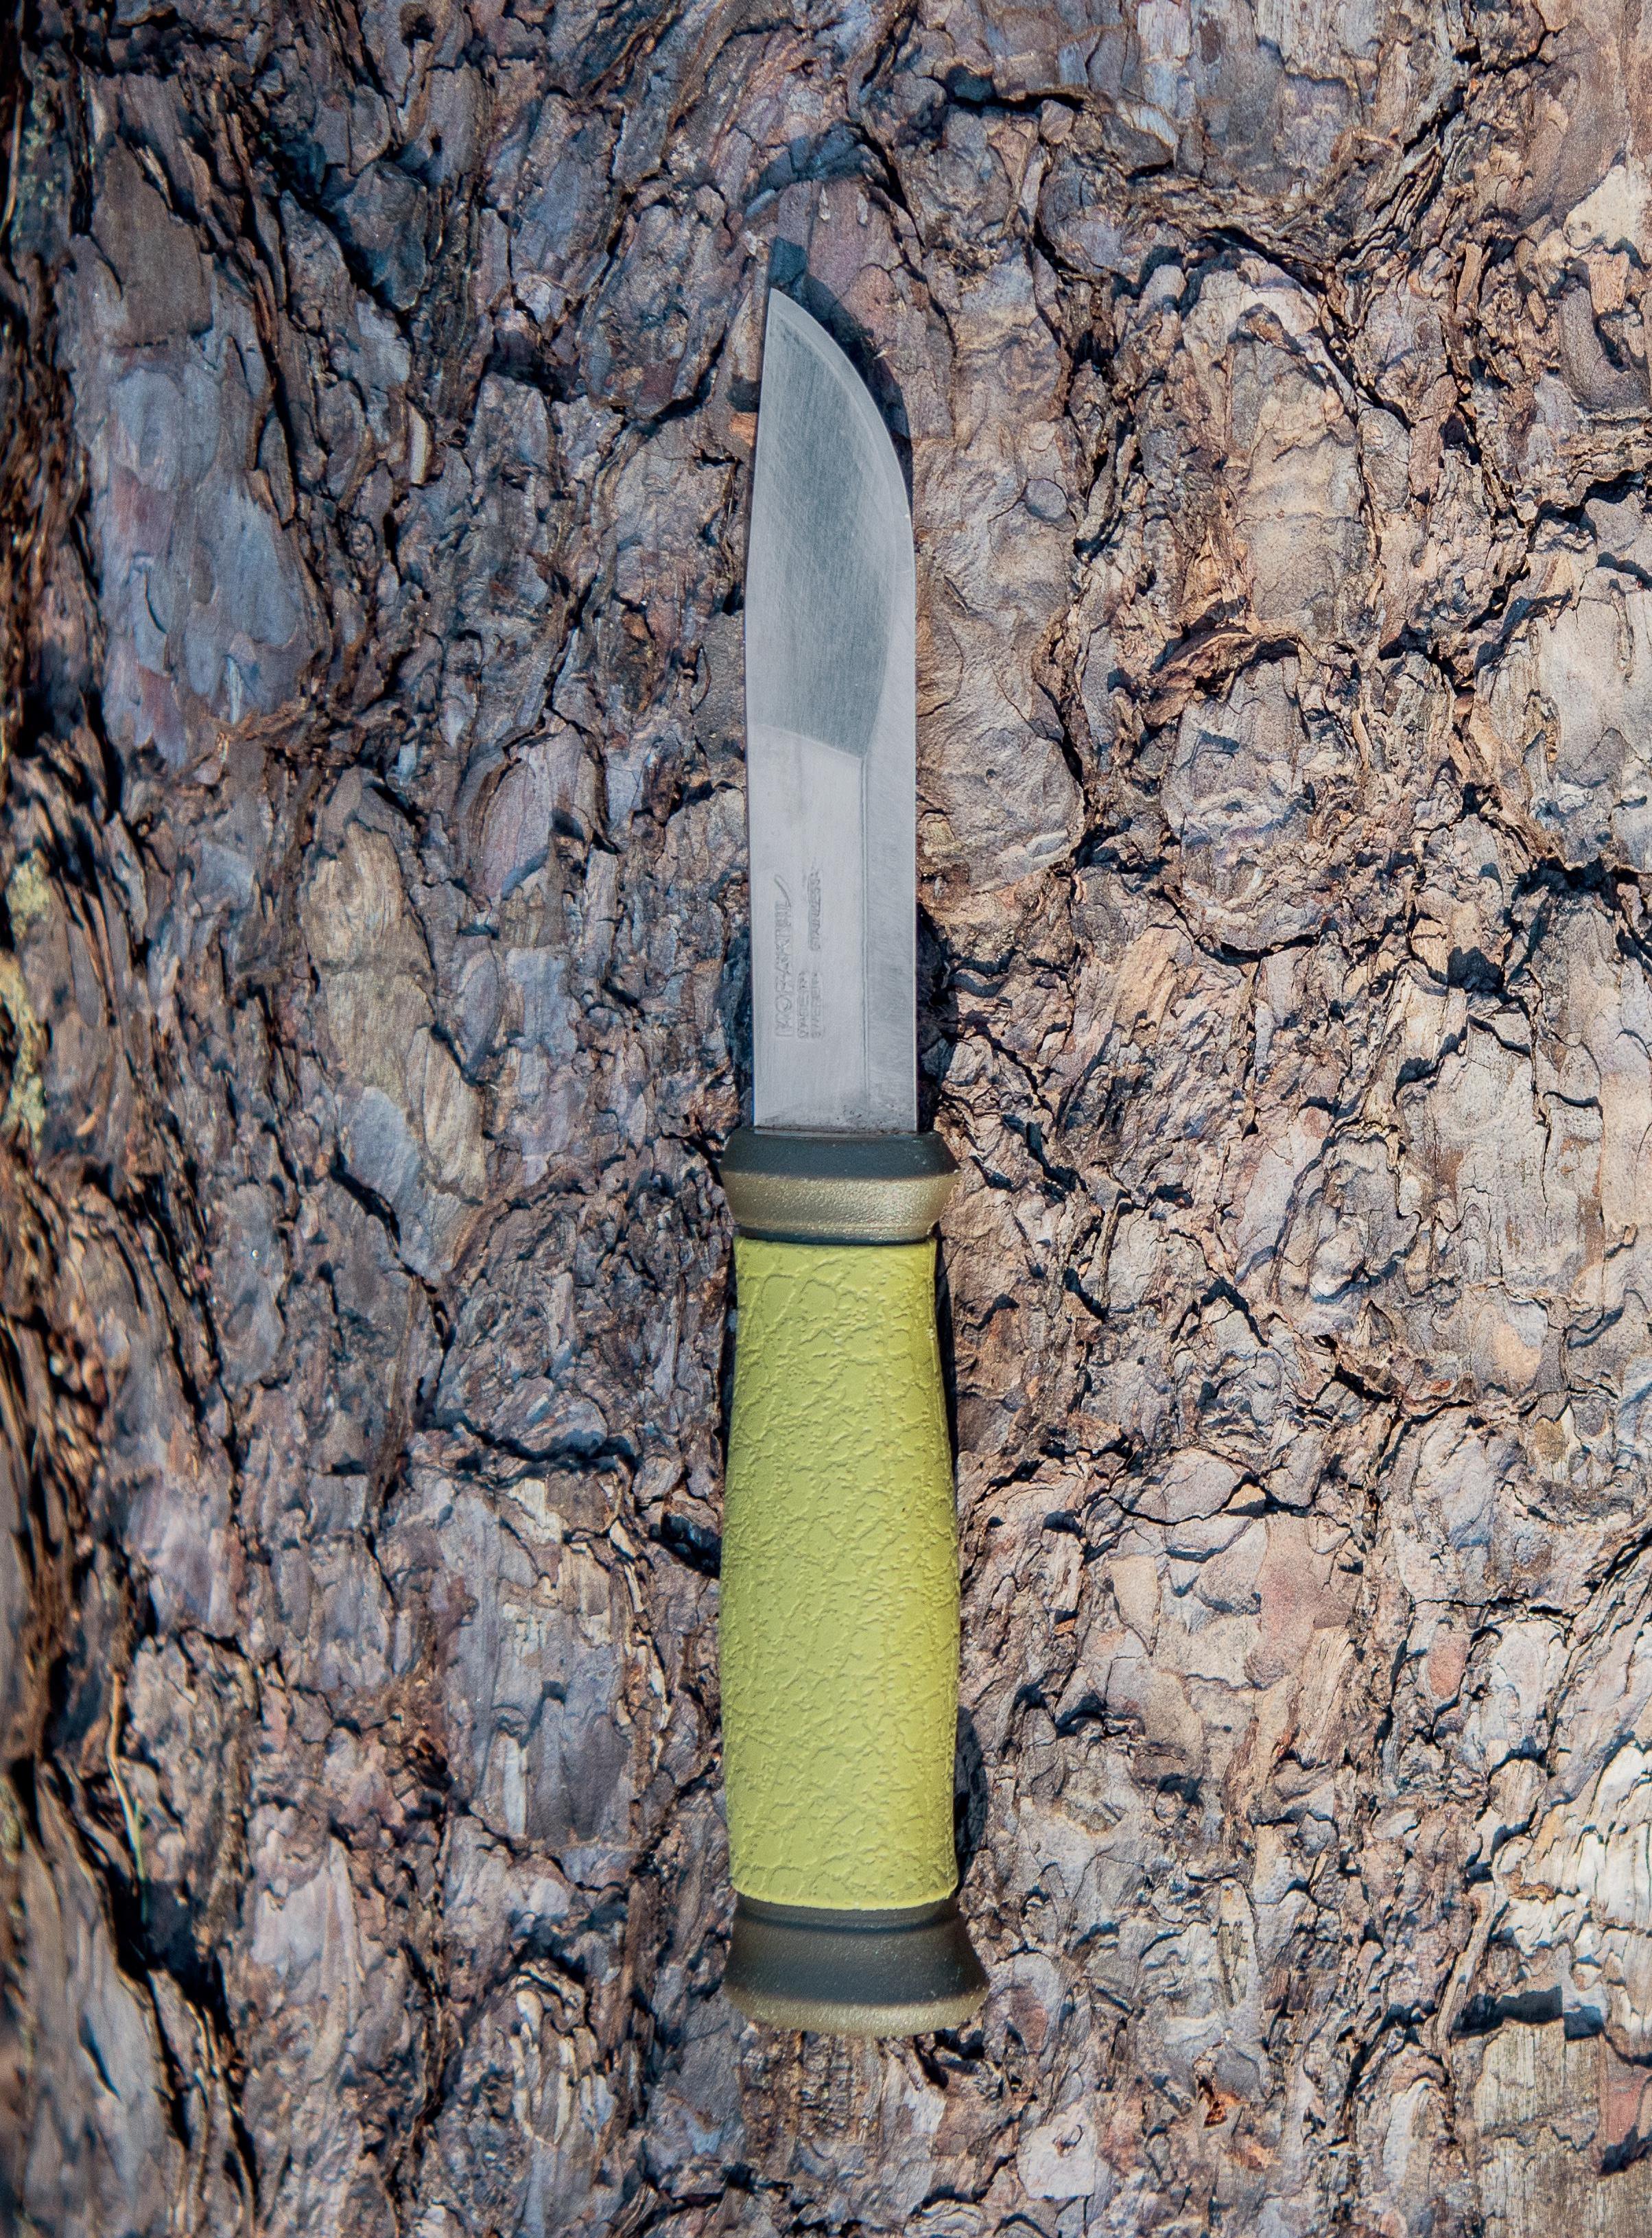
Point
Spine
A straight sharpened spine can be used with a fire striker
Blade
Usually stainless steel or the easier-tosharpen carbon steel
Edge
The grinding varies, but the most common types are convex grind, Scandinavian grind or flat grind
Finger guard
Certain knives have this to stop the hand sliding down to the blade
Tang
A full tang means that the blade’s steel runs all the way through the knife’s handle
Finger groove
Provides a safer and firmer grip
Handle
Grip-friendly material, often rubber, thermoplastic, wood or carbon and fibreglass mixtures


