7 minute read
Photo Shoot on a Budget

from The Link Issue 53
by The AHLC

By Nicole Maples, Elan Hair Studio, Houston, TX
The idea of planning your first business photo shoot might sound overwhelming – and expensive. You may find yourself wondering where to begin and how to account for this in your budget, especially if you’re just starting out in the industry.
When I was new to the industry, I used images provided by our vendors on my website and social media, but I knew that I wanted photos of my own clients to showcase in these places. Through the process of planning my first photo shoot, I learned that you can execute a successful photo shoot on a limited budget and get great content that you will use for years to come.
The following 10 steps will help you plan your first business photo shoot and make the most out of your budget, big or small!
Step 1 – Determine Your Goals
The first step is to make a list of your goals. Start by considering what images you want and where you plan to use them. You might need images for your website, social media platforms, or for digital and print marketing materials. You may also want professional headshots for you and your team, images of your salon space, before and after photos, or action shots of you and your team working with clients. You should also determine if you would like video content in addition to images. If you are working with a small budget you can limit video content to short clips you can take and edit with your phone. Professional videography and editing can add significantly to the overall cost.
Step 2 – Develop Your Concept
Your list of goals will guide your overall concept. This is where you will determine the general vibe, look, and feeling you want your images to convey. Determine if you want to use photography backdrops and professional lighting or natural light and a setting without a controlled background like a rented studio or your salon space. You may want your images to be formal and posed or casual and candid. If brand consistency is important to you make sure the general concept and any color scheme involved with clothing or back drops are complimentary to your existing brand elements and website design.
I found Pinterest to be a helpful tool in developing our concept and in bringing it to life. Pinterest boards allowed us to keep inspiration in one place and allowed everyone involved to visualize the types of images we were hoping to achieve. The first board we created was used to capture the overall concept of the photo shoot and included hair and photo shootrelated conte that fit our concept. You can also save specific images you hope to recreate so your photographer has them for reference. Another board was specifically for outfit inspiration for our team and clients. We didn’t want everyone to match but we wanted everyone to coordinate, and this board helped everyone choose their outfits accordingly.
For reference, we created a board that showcases our first photo shoot. (pinterest. com/elanhairstudiohouston/)
Step 3 – Understand Your Costs
The primary costs associated with any photo shoot are the photographer and space rental. In addition, you may also need to allow space in your budget for paying your team, thank you gifts for your clients, and food and beverages for the day of the shoot.
If you are on a limited budget, you should consider using your own salon space or a public or outdoor space. In my first photo shoot, we did not use a professional make-up artist and clients purchased and brought their own clothing. We did not pay clients for their time and we did not give discounts for participating. We did give each client their individual photos from the shoot so they could be used for personal use. The clients loved this and it was no additional cost to us.
Step 4 – Choose a Photographer
Do you want your images to feel like casual lifestyle images or more formal editorial or high fashion images? Your answer to this question and your overall concept will drive the type of photographer you are looking for. I wanted the images from my first photo shoot to feel casual and comfortable and we chose a photographer who has experience in couples, family, and boudoir photography. She did not have experience with this specific type of photography. However, her portfolio was full of images that I felt like fit my vision. Consider all of your resources, including clients, industry contacts, and even local photographers.
Step 5 – Find a Location
Choose your location based on your goals and your budget. There are many low or no cost options, including: your salon space, public venues, outdoor venues, and some studio spaces that allow hourly rental at affordable rates. If space rental is an option for you, there are a growing number of hourly and daily photography studio rentals available in most cities. Your photographer will be able to assist in identifying a place for the shoot based on your goals.
It is also important to consider the lighting in the location at the time of day you plan to do your photo shoot. It is ideal to have plenty of natural light for the duration of the shoot or for your photographer to have access to professional lighting.
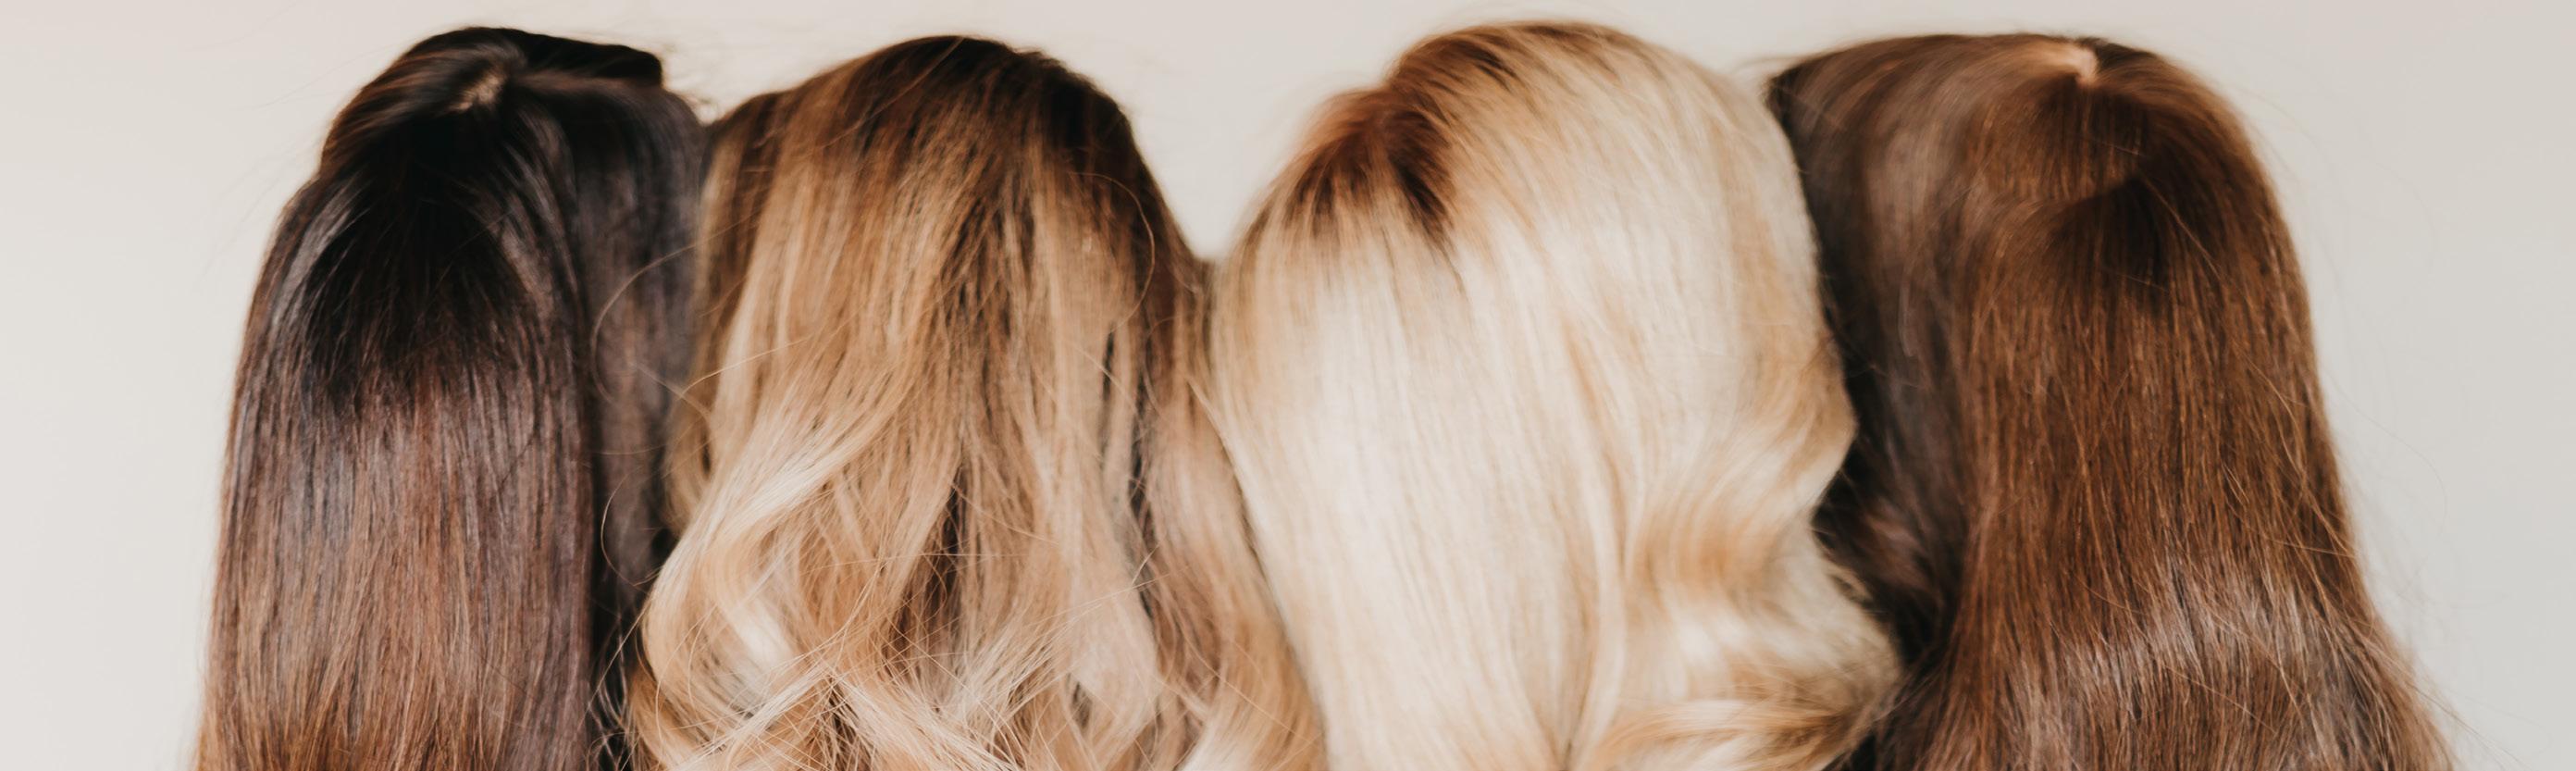
Step 6 – Identify Your Clients
I recommend choosing 3-5 clients for your first photo shoot. Try to choose a diverse group of clients who represent all of your different clients including age, ethnicity, hair texture, and cut, color, and style differences. If you aren’t sure where to begin, start talking with all of your clients or send out a mass email about your vision for your photo shoot and why you want to do it. You may be surprised who expresses interest in participating!
Step 7 – Pick a Date
Once you have chosen a location, photographer, and your clients, you can confirm a date and book these things accordingly. I recommend setting a date at least three months out from the start of your planning. This gives you time to block your book and plan sufficiently.
Step 8 – Create a Shot List
Consider everything you want to use the photos for and create a shot list around those things. Consider the orientation and spacing of photos needed for different things and put those details on the shot list. Include various types of images of you and your team, your clients, and non-people photos such as images of your retail lines and the hair you work with.
Step 9 – Make a "Day Of" Timeline
In order to make the best use of everyone's time (and your budget), it is important to have a detailed schedule and timeline for the day of your photo shoot. This will keep you on track and prevent you from going over your photographers time or the time you have rented your space. Everyone involved should know exactly where to be and what is expected of them throughout the day. Include all important info such as location addresses, parking instructions, timelines, contact information, and a list of things for each person to bring.
Step 10 – Take Some Great Photos!
Finally, enjoy your day with your beautiful clients and capture some incredible content you will use for years to come.


