4 minute read
2.4.1 Location


• Identification of layer boundaries (Section 2.5.2) • Hand hardness of each layer • Grain type and size of each layer (Sections 2.5.3 and 2.5.4) • Water content of each layer (Section 2.5.5) • Density of each layer (Section 2.5.6) • Stability tests (Sections 2.6, 2.7, 2.9, and 2.10) • Comments
2.4.1 LOCATION
Advertisement
Snow profiles can be observed at a variety of locations depending on the type of information desired. Typical locations include study plots, study slopes, fracture lines, or targeted sites. Full profiles are usually conducted at study plots, study slopes, and fracture lines; however, full profiles and test profiles can be completed at any location.
Study Plot Study plots are used to observe and record parameters for a longterm record. They are fixed locations that are carefully chosen to minimize contamination of the observations by external forces such as wind, solar radiation, slope angle, and human activity (See Appendix D). Study plots are typically flat sites and can be co-located with a meteorological observing station.
Observations are carried out at a study plot by excavating each snow pit progressively in a line marked with two poles. Subsequent observation pits should be at a distance about equal to the total snow depth, but at least 1 m from the previous one. After each observation, the extreme edge of the pit is marked with a pole to indicate where to dig the next pit (i.e. at least 1 m from that point). When the observations are complete, the snow pit should be refilled with snow to minimize atmospheric influences on lower snowpack layers.
Study plots and study slopes should be selected and marked before the winter and the ground between the marker poles cleared of brush and large rocks. Some operations will require multiple study plots to adequately track snowpack conditions.
Study Slope The best snow stability information is obtained from snow profiles observed in avalanche starting zones. Since starting zones are not always safely accessible, other slopes can be selected that are reasonably representative of individual or a series of starting zones. Choosing a safe location for a study slope is critical. The study slope should be relatively uniform in aspect and slope angle, and with the exception of the observations, should remain undisturbed during the winter. The study slope may be preselected and marked in the same manner as study plots; however, marker poles on slopes will be tilted by snow creep and may have to be periodically reset. Some operations may find it advantageous to collect their time series observations on a study slope in addition to, or in place of, a study plot. Multiple study slopes may be useful.
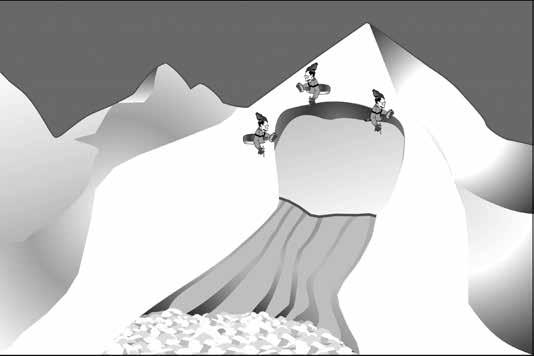
Fracture Line Observing snow profiles (Figure 2.2) near an avalanche fracture line can provide valuable information about the cause of the slide. Safety considerations are paramount when selecting a site for a profile. Before approaching a site, observers must evaluate the potential for and consequences of further releases. Snow profiles can be observed on a crown face or flank as well as areas where the weak layer did not fracture (Figure 2.3). When possible, profiles should be observed at a fracture line and at least 1.5 m away from the crown face or flank in undisturbed snow.
Fracture line profiles should be observed at as many locations as possible (Figure 2.3), including thick and thin sections of the fracture line. In addition, use a sketch or camera to document the location of prominent features and location of fracture line profiles. Carefully note terrain, vegetation, solar, and wind effects on the snowpack. Note any evidence of past avalanche activity which may have influenced the structure of the snowpack.
The snow that remains following an avalanche can be either stronger than what slid or dangerously weak. Care should also be taken to choose a location where average crown depth is not exceeded. It is preferable to examine the snow along a fracture line at as many places as possible as time allows.
Targeted Site A targeted site (Figure 2.4) is selected to satisfy a particular observer’s objectives. The site should be selected to target parameters of interest. Keep in mind that exposure to wind, solar radiation, elevation, and other factors produce variations in snowpack characteristics.
General rules for choosing a targeted site include: • Always evaluate the safety of a location prior to performing a snow profile. • To minimize the effects of trees, dig the snow pit no closer to trees than the height of the nearest tree (draw an imaginary line from the top of the tree at a 45 degree angle to the snow surface). In high-traffic areas, or when evaluating forested slopes, this criterion may not be practical. • Avoid depressions such as gullies or other terrain traps. • Avoid heavily compacted areas such as tree wells, canopy sluffs, and tracks made by humans or other animals. • Avoid significantly wind-affected areas (scoured or loaded) not representative of targeted snow layering. • Avoid areas with buried trees, bushes, or large rocks.
FIGURE 2.3 Possible locations for a fracture line profile. From left to right: undisturbed snow in the flank, undisturbed snow in the crown, on the crown face.


