3 minute read
BACK TO BASICS BIRTHDAY CAKE
BIRTHDAY CAKEBIRTHDAY CAKE BACK TO BASICS
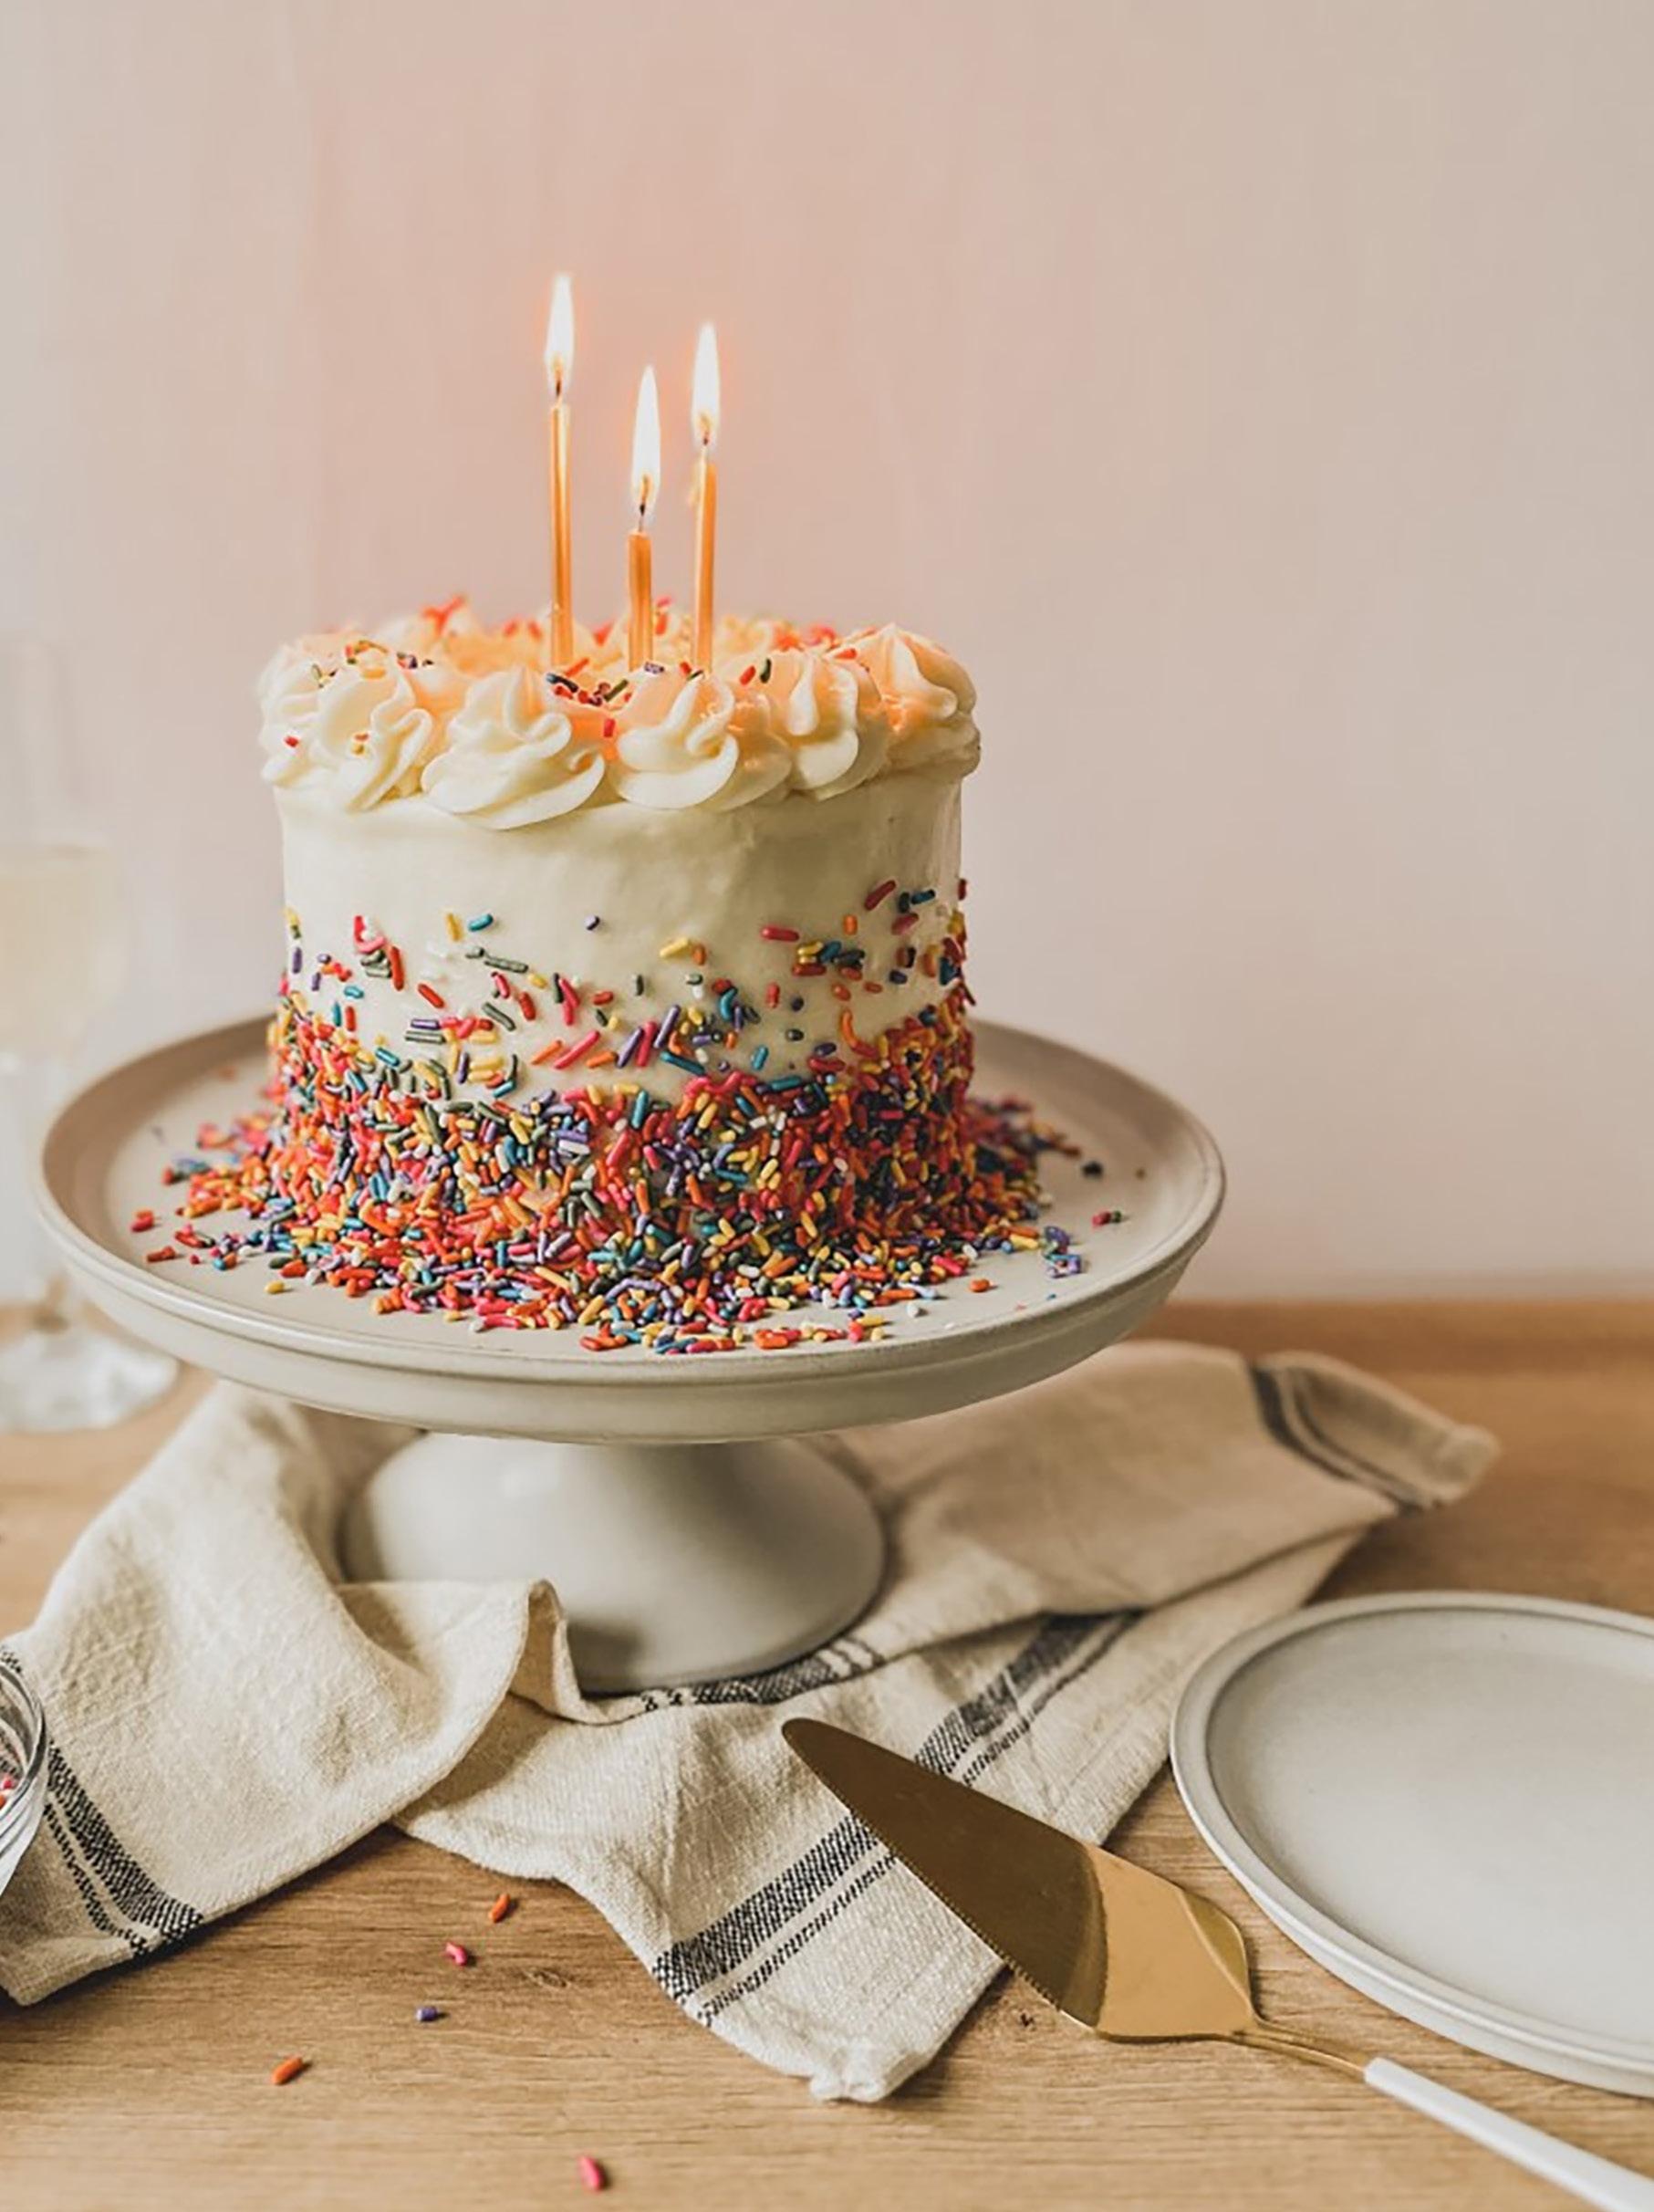
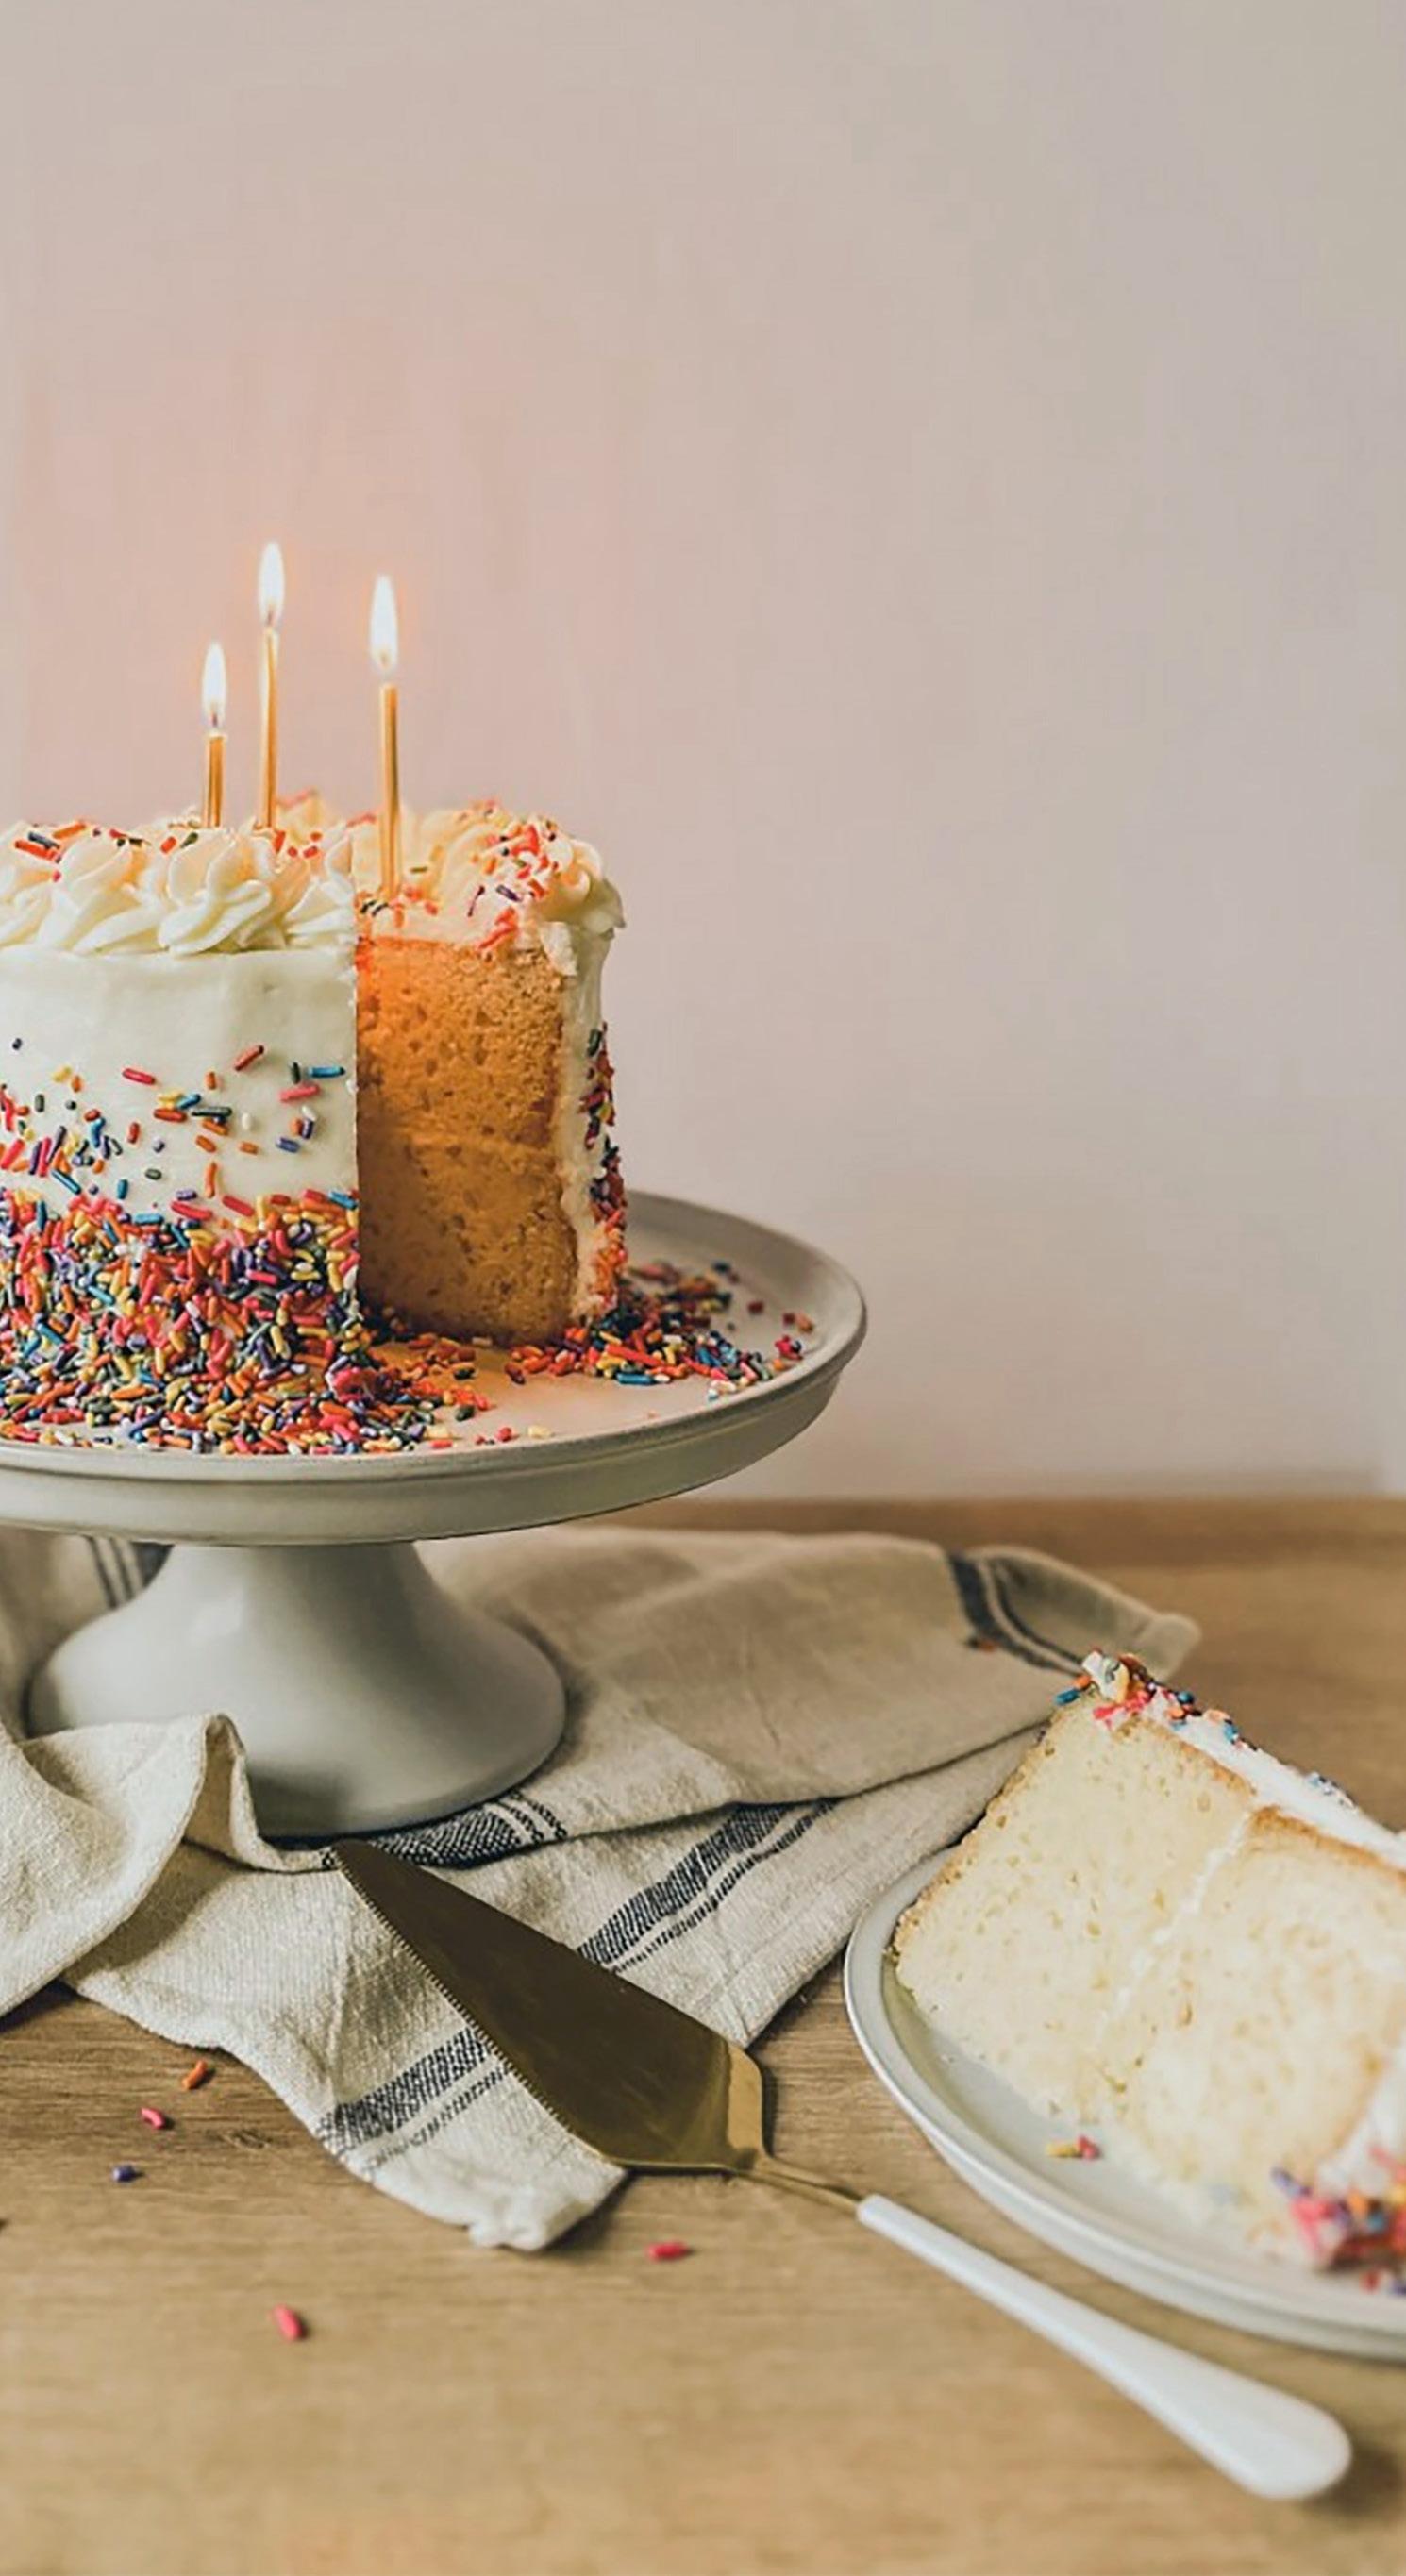
A great refresher for adult beginner bakers or a perfect project for kids, there’s something so deliciously perfect about a basic birthday cake.
BY OLIVIA GADWAH
LEVEL:
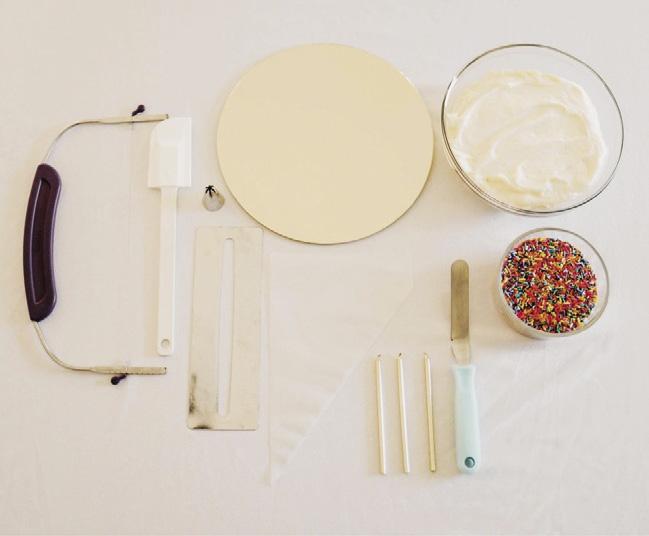
Olivia COMPONENTS Gadwah runs a woman- Edibles: owned 2 layers of cakebusiness, Liv’s Sweets Frosting and Treats Rainbow sprinkles Bakery, in the beautiful White Mountains of New Equipment: Hampshire. She grew up always Cake board having a passion for baking and, Cake leveler (Wilton) during the COVID-19 pandemic, she decided to start her own business. Offset spatula (Wilton) She works as a registered nurse Icing smoother (Wilton) full time and baking is a great Rubber spatula escape from the stressful nursing Piping bagenvironment. Over the last few years, her business has continued Tip #1M (Wilton) to grow and she has truly found a Candles passion for specializing in weddings. livssweetsandtreatsbakery.com facebook.com/livssweetsandtreatsbakery instagram.com/livssweetsandtreatsbakery
Tip: THE ULTIMATE GOAL OF A CRUMB COAT IS TO TRAP ANY STRAY CRUMBS FROM THE CAKE, MAKING THE FINAL LAYER OF FROSTING AN EASIER STEP.
2
WHAT YOU NEED
3
FILL AND STACK YOUR CAKES
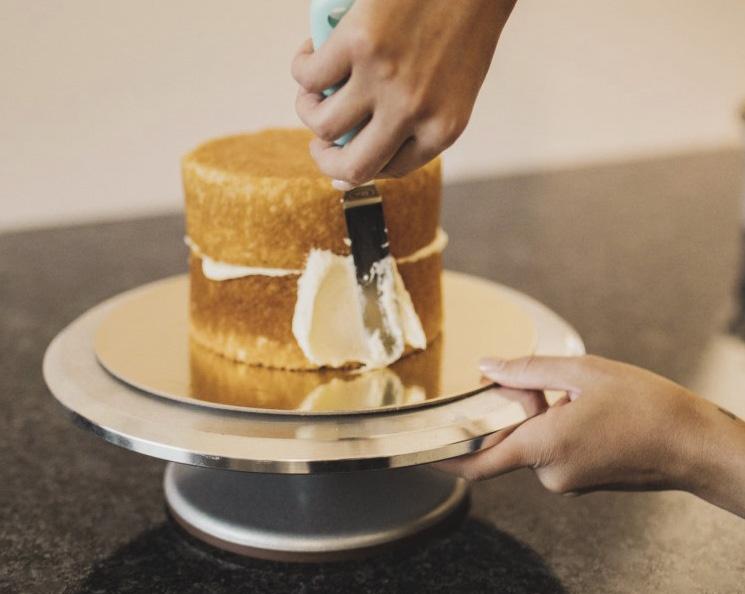
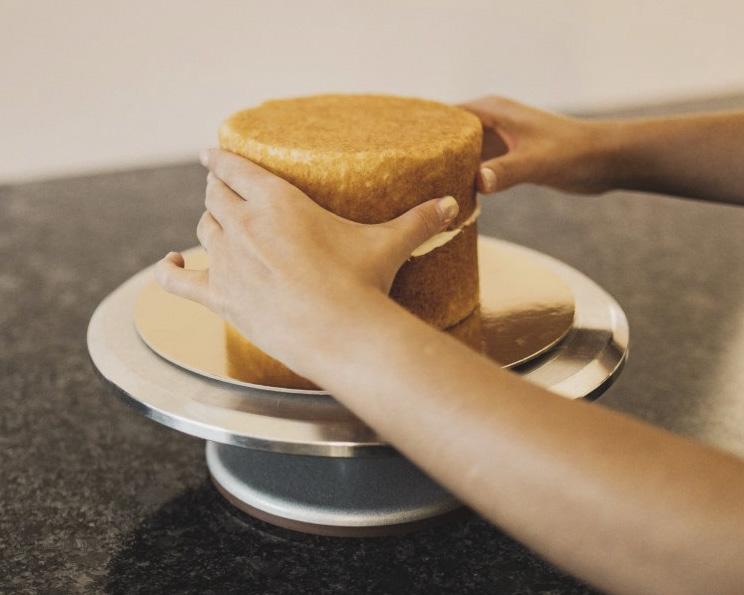
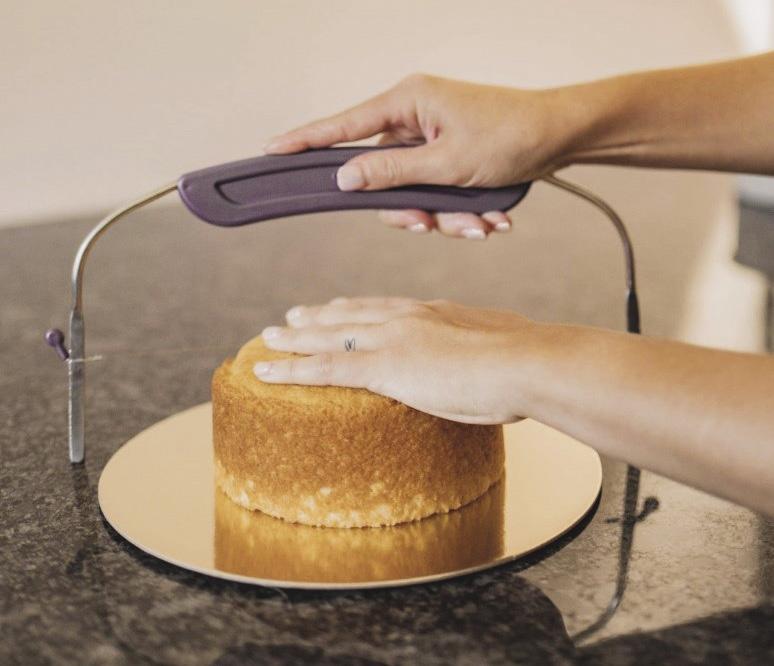
1. Place 1 cake layer on your cake board and use a cake leveler to make it level. This makes frosting the cake easier.
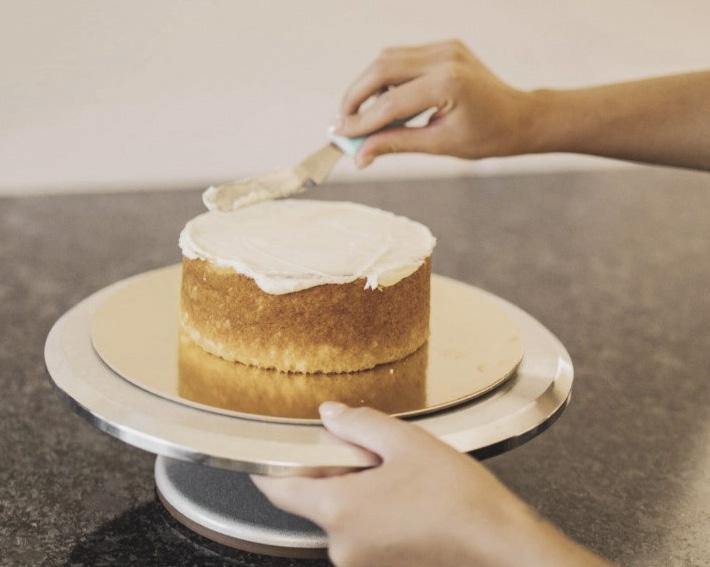
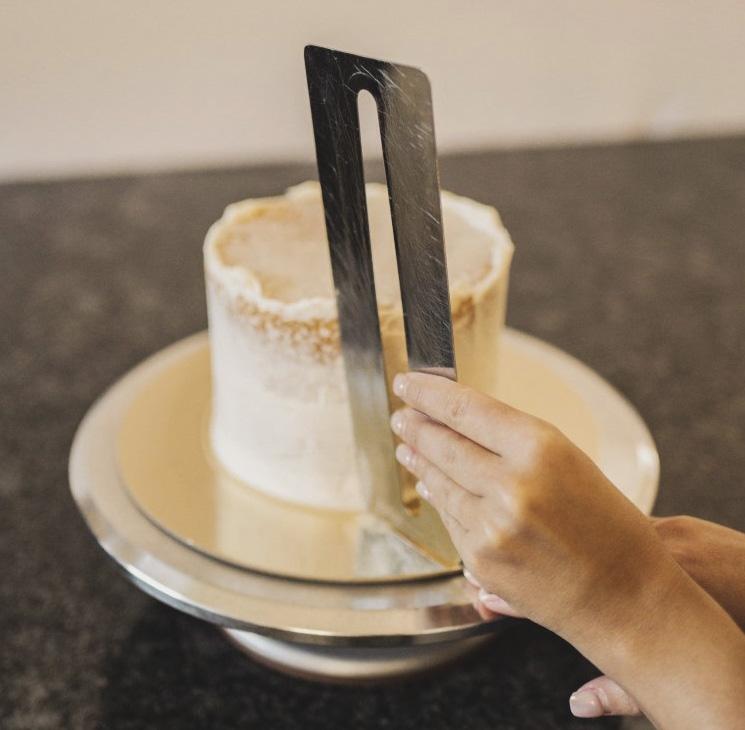
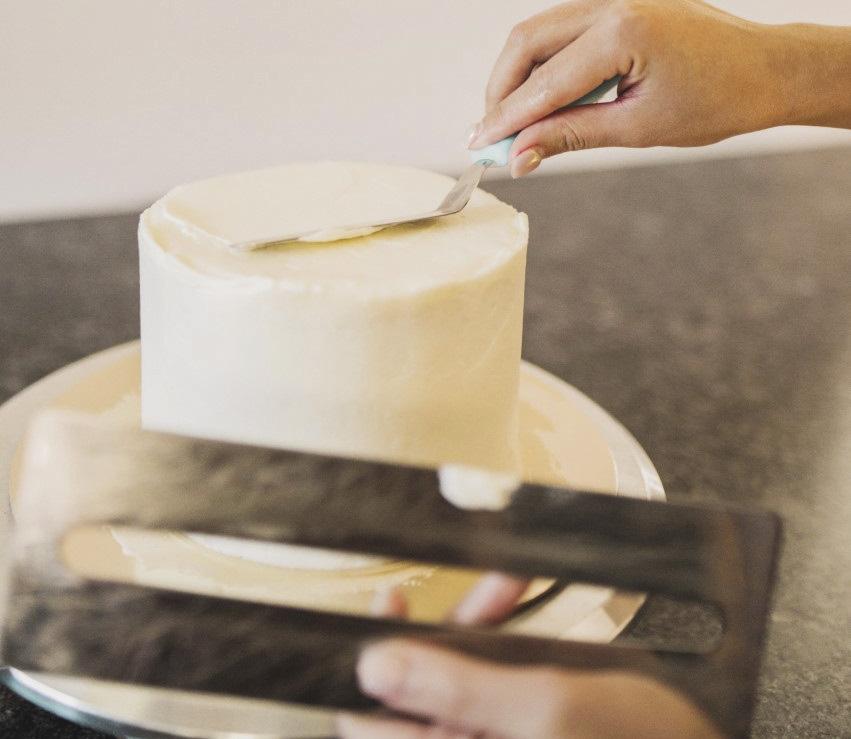
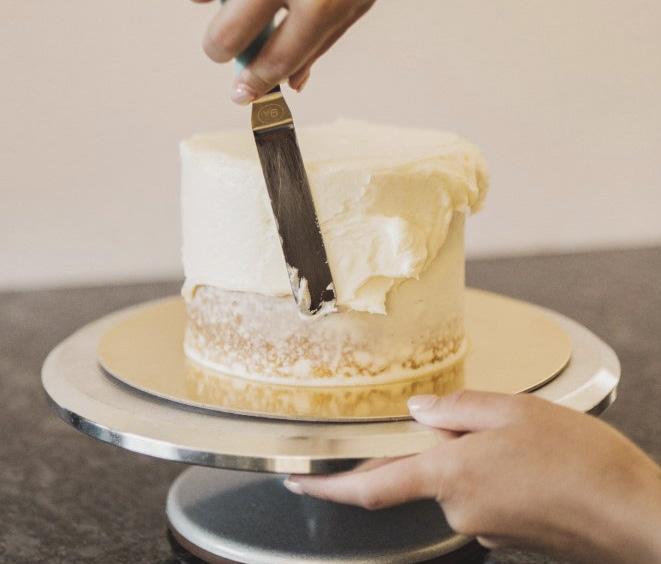
2. Using an offset spatula, cover the top of the cake with frosting. 3. Place the second layer of cake on top of the frosted layer, making sure the edges line up. 4. Using the offset spatula, begin to crumb-coat the cake sides and top. 5. Using an icing smoother, smooth the frosting on the side of the cake. You can use your spatula to assist with smoothing the top of the cake. Once completed, place the cake in the refrigerator or freezer for 15 minutes to allow the frosting to harden.
1 4
5
FINISH FROSTING THE CAKE
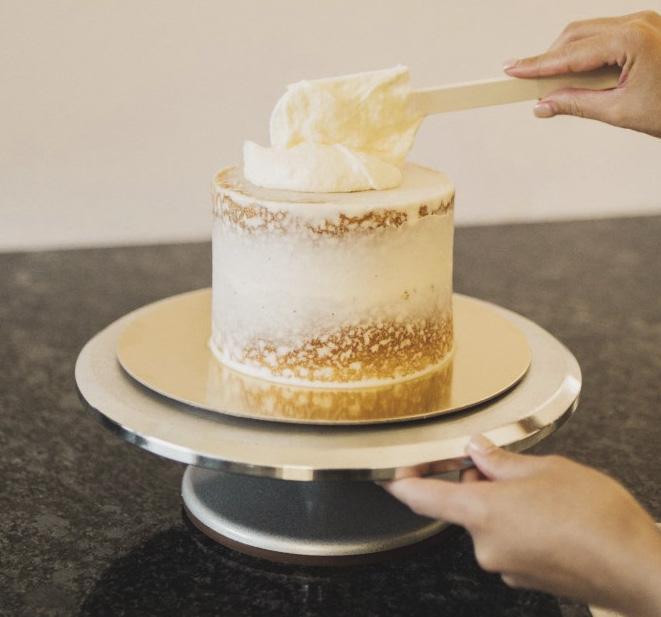
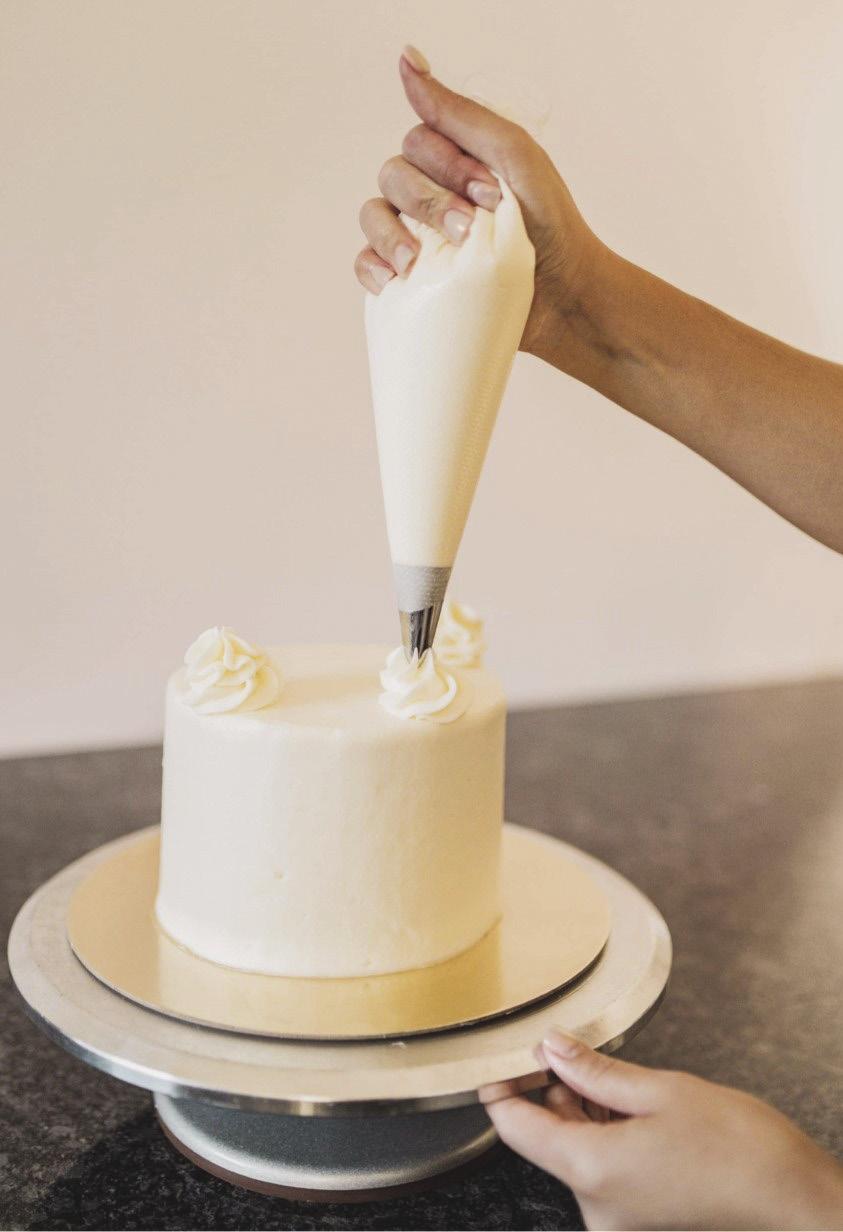
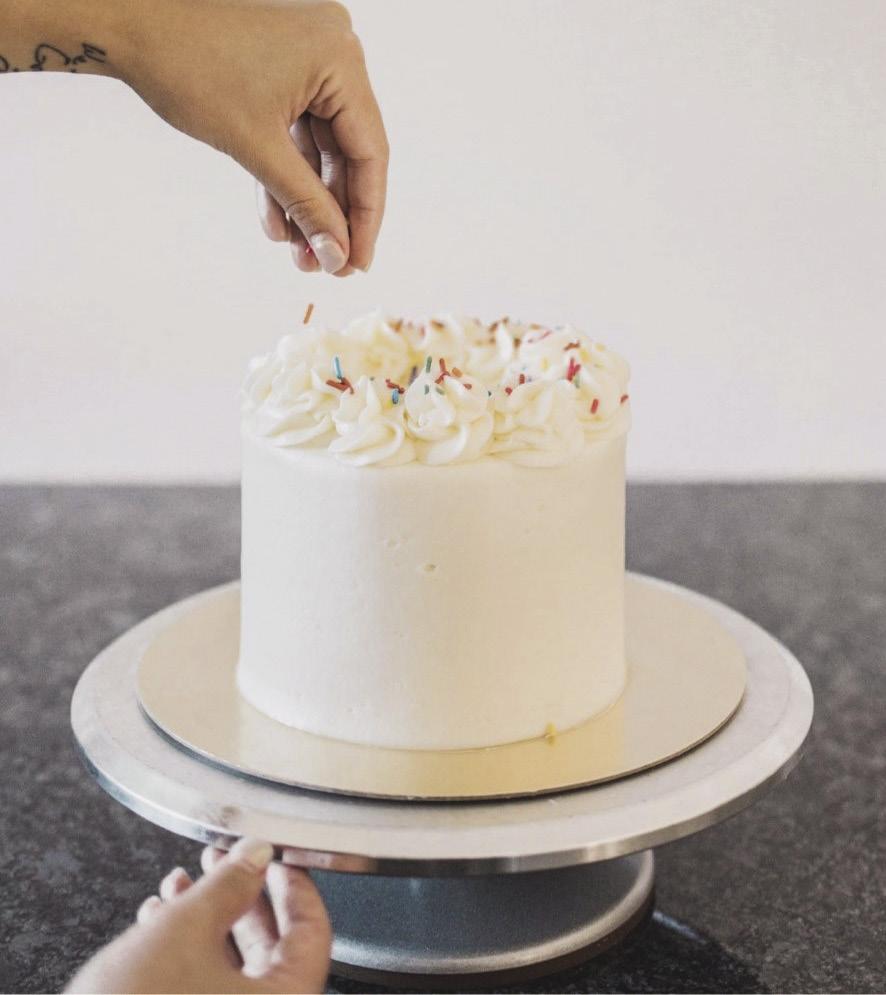
1. Using a rubber spatula, place more frosting onto your cake. 2. Using the icing smoother and offset spatula, add and smooth a final layer of frosting. 3. Cut ½ inch off the end of a piping bag and insert the #1M piping tip. Fill the bag about ¾ full with frosting. 4. Slowly squeeze the bag while moving your hand in a circular motion to create rosettes on the top of the cake. Repeat this process until the top of your cake has a border.
1
2a
2b
4
DECORATE THE CAKE
1. Add the sprinkles to the top of the cake.
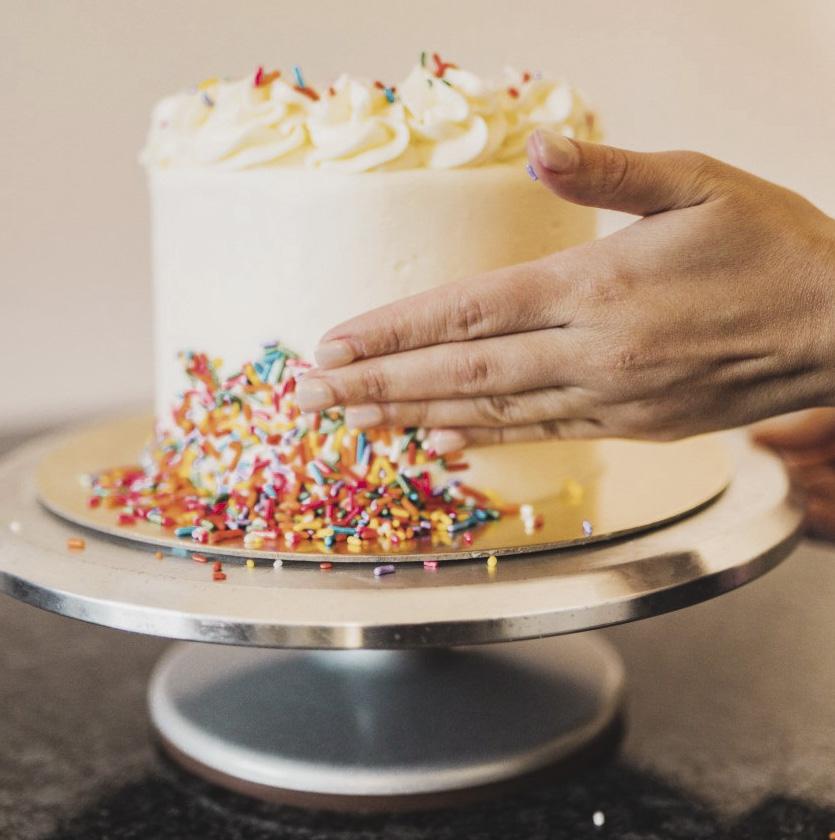
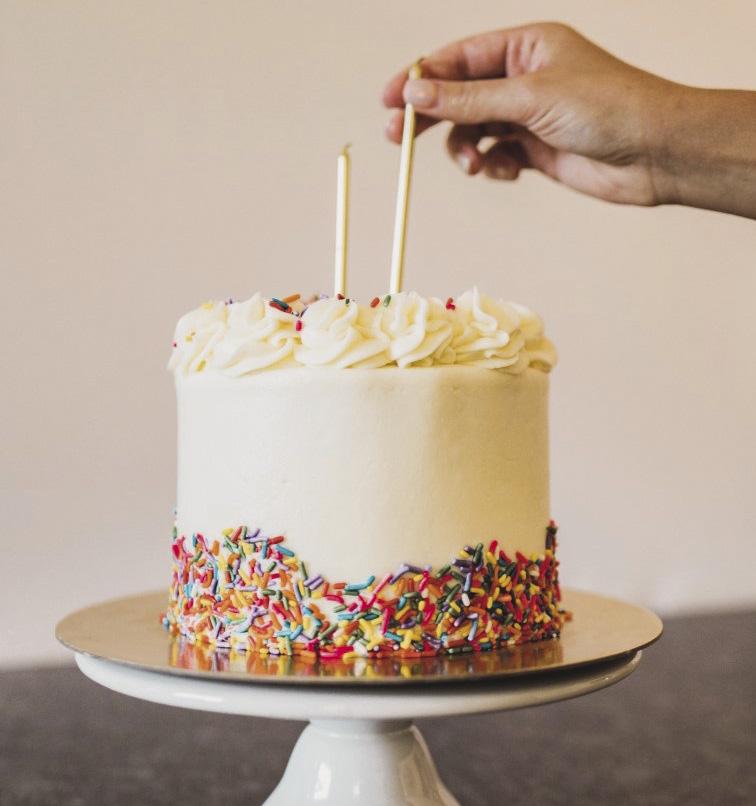
2. Add sprinkles to the side of your cake by taking a scoop of sprinkles in your hand and gently pressing them into the side of the cake. Repeat until the sprinkles cover the bottom of the cake all the way around.
3. Lastly, add the candles to the center of the cake. ACD

1
2
3
Tip: THE EASIEST WAY TO FILL A PIPING BAG IS BY PLACING IT INTO ANY CUP YOU MAY HAVE AND SPOONING THE FROSTING INSIDE.
