
3 minute read
ART SPACE


CONFINEMENT CRAFTING
Being homebound is hard for parents and kids! Keep little hands busy, building and creating with these fun, easy crafts that use things you have around the house.
Cardboard Spacecraft
You’ll Need:
Cereal box cardboard Cardboard toilet paper roll Paint Glue gun Scissors Pencil Razorblade (adults only!)

How-To
1. Flip your cereal box cardboard print-side down and trace the outline of a spacecraft, and cut along the outline.
2. Draw an oval with a flat side on the toilet paper roll and cut carefully with the razor blade or an X-acto knife. 3. Paint and decorate your spacecraft any way you like! 4. Once the paint is dry, hot glue the toilet paper roll to the cardboard and your astronauts are ready to head for the stars!
SPARKLING SNOW SLIME


You’ll Need
• School glue • Water • Borax (find it on the laundry detergent aisle) • Glitter
How-To
1. In a large bowl mix: 2 cups of school glue 1½ cups of very warm water 2. In a smaller bowl mix: ¾ teaspoon of borax
1⅓ cups very warm water 3. Combine the mixed contents of both bowls and stir until thickened. Add as much glitter as you like to make the slime sparkle. You can also opt for glitter glue instead of
school glue if you want it to really shine.
Stick the bowl in the fridge for about two hours to set the slime. Put it back in the fridge after use to keep it firm.
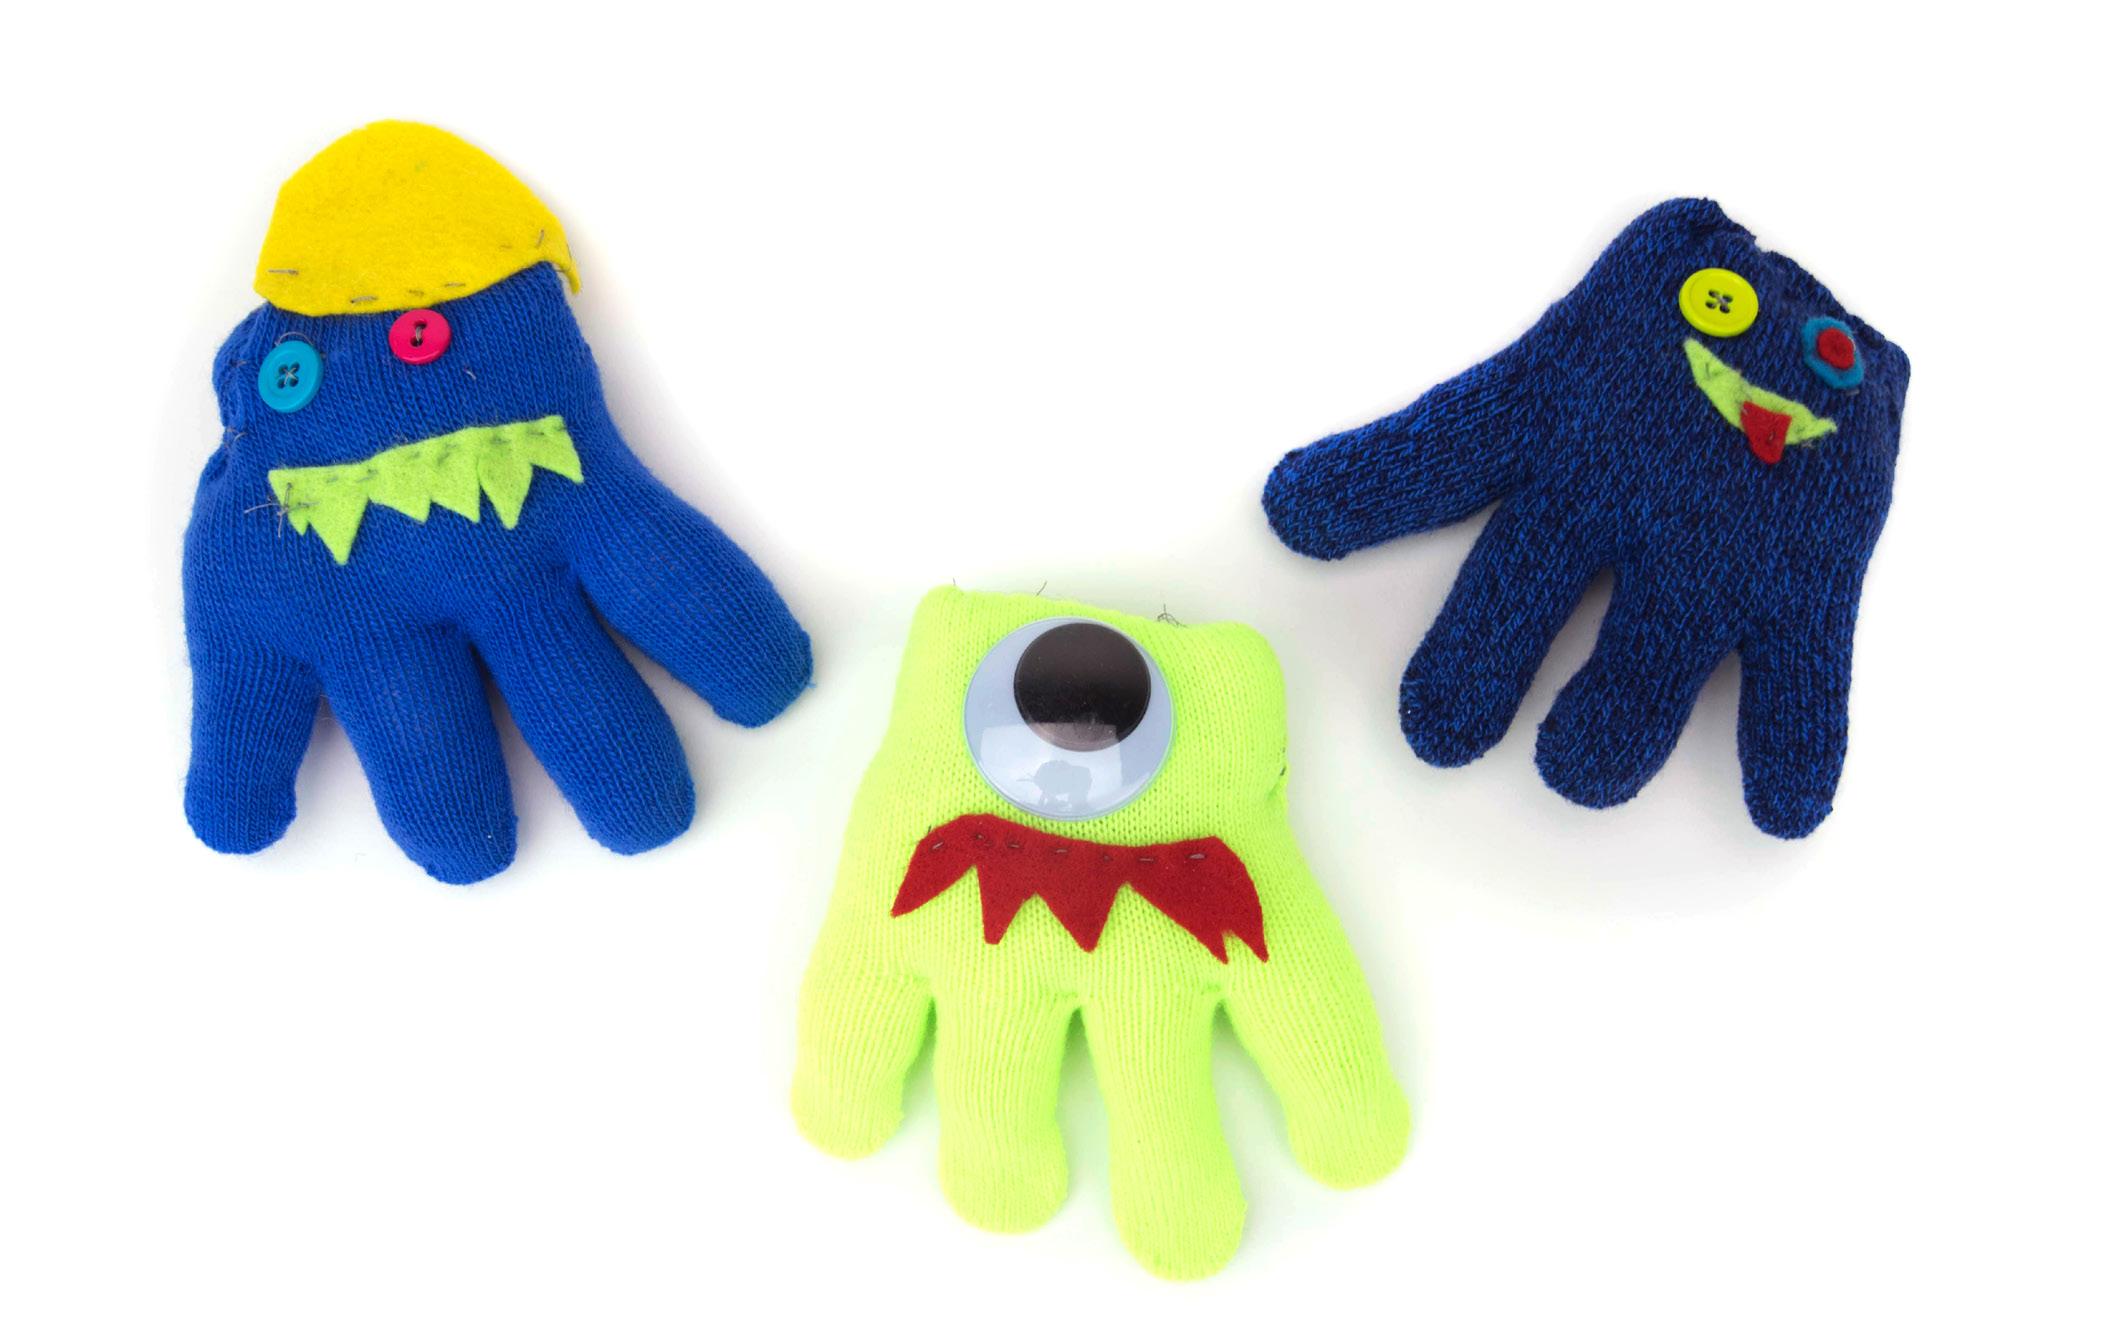
WINTER GLOVE MONSTERS
You’ll Need
• Gloves with fingers • Needle and thread • Poly-fil • Buttons • Felt • Googly eyes • Fabric glue Gloves with fingers Needle and thread Poly-fil Buttons Felt Googly eyes Fabric glue

How-To
Take your glove and flip it inside out. Thread a needle and sew the glove in an arc from the bottom of the thumb to about an inch past the wrist on the other side. Leave a 2-inch opening in the middle to stuff with Poly-fil. Turn the glove back right-sideout and fill it with stuffing. Stitch the opening closed and decorate your monster's face with anything you like!

FLIP IT INSIDE OUT AND SEW ALONG THESE LINES.

STORY STONES
Story stones are a great way to spark some imagination around the campfire, or around the dinner table at home. All you need is a handful of smooth, flat rocks, acrylic paint and brushes. Decorate stones with simple images that could easily be incorporated into storytime, and place them in a cotton bag.
There are many ways to use story stones, so feel free to create your own game, or follow these instructions:
• Have each child take turns choosing one stone that interests them, and let them tell an entire story based on that stone.
• Let each child reach in the bag and choose a stone. Starting with the youngest child, go clockwise in a circle as each child adds onto the tale by incorporating his or her stone. • Choose five stones and create a story using all five stones.

Picture-Perfect Serving Tray
Upcycle an old picture frame into a cute tray for your home
BY KATIE HASSELL
You will need:
8-by-10-inch wooden picture frame Spray paint Sandpaper Drawer pulls Hot glue gun Drill and drill bit Decorative paper or cute paper sign
How-to:
1. Clean any dirt off the frame and remove backing and glass. Then lightly sand the frame and wipe it down with a cloth to remove and dust.
2. Spray paint the frame and allow to fully dry.
3. Use the hot glue gun to secure the glass to the frame.
4. The drawer pulls will go on the short sides of the frame. Mark the placement for the screws and use the drill to make holes.
5. Attach the drawer pulls. (Note: You can choose to paint the frame after the drawer pulls are attached if you want them to match the frame color.)
6. If your frame was a tabletop frame with a stand, this stand will need to be removed. Use a flathead screwdriver to pry it off if necessary.
7. Place your decorative paper or cute sign in the frame and secure the backing.


