2 minute read
TECH TIPS

from Auto Service Professional - February 2021
by EndeavorBusinessMedia-VehicleRepairGroup
From new main caps to a vintage Jeep
MAIN CAP ATTENTION ON NEW BLOCK
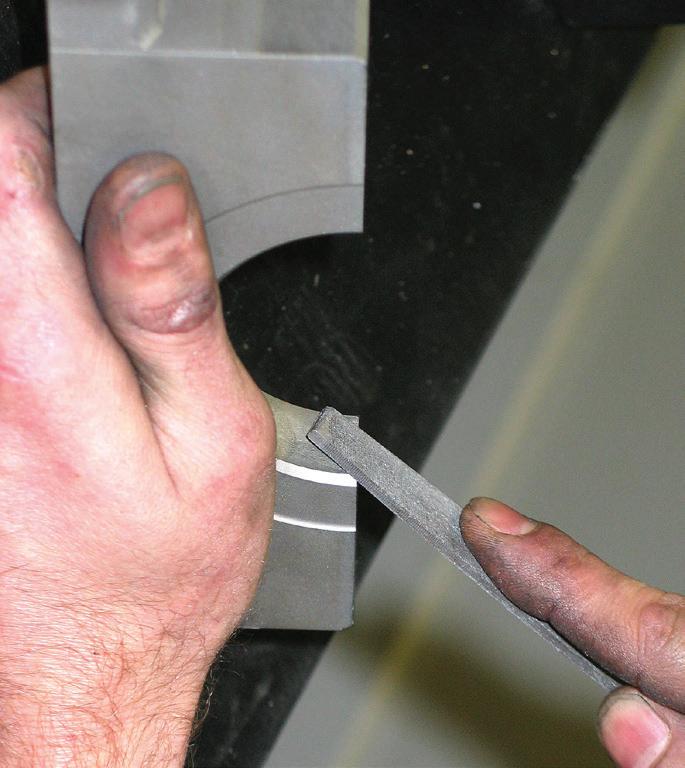
On those rare occasions when you may be dealing with a brand new engine block that features new main caps, once you remove the main caps for the first time, use a flat file to carefully deburr the outer edges (left and right) that tightly contact the block and the edges of the cap bores where the upper and lower bore areas meet, as the caps may have sharp edges as a result of the block being main-bored when manufactured. These razor edges can disturb cap register and bearing fit when re-installed. There’s no need to remove a lot of material. Just file-kiss the sharp edges.
TOP: Remove the sharp edge at the top of the cap at each side of the main bore.
BOTTOM: Carefully file the front and rear of the cap where the cap meets the block.
DON’T BLAME THE COMPRESSOR
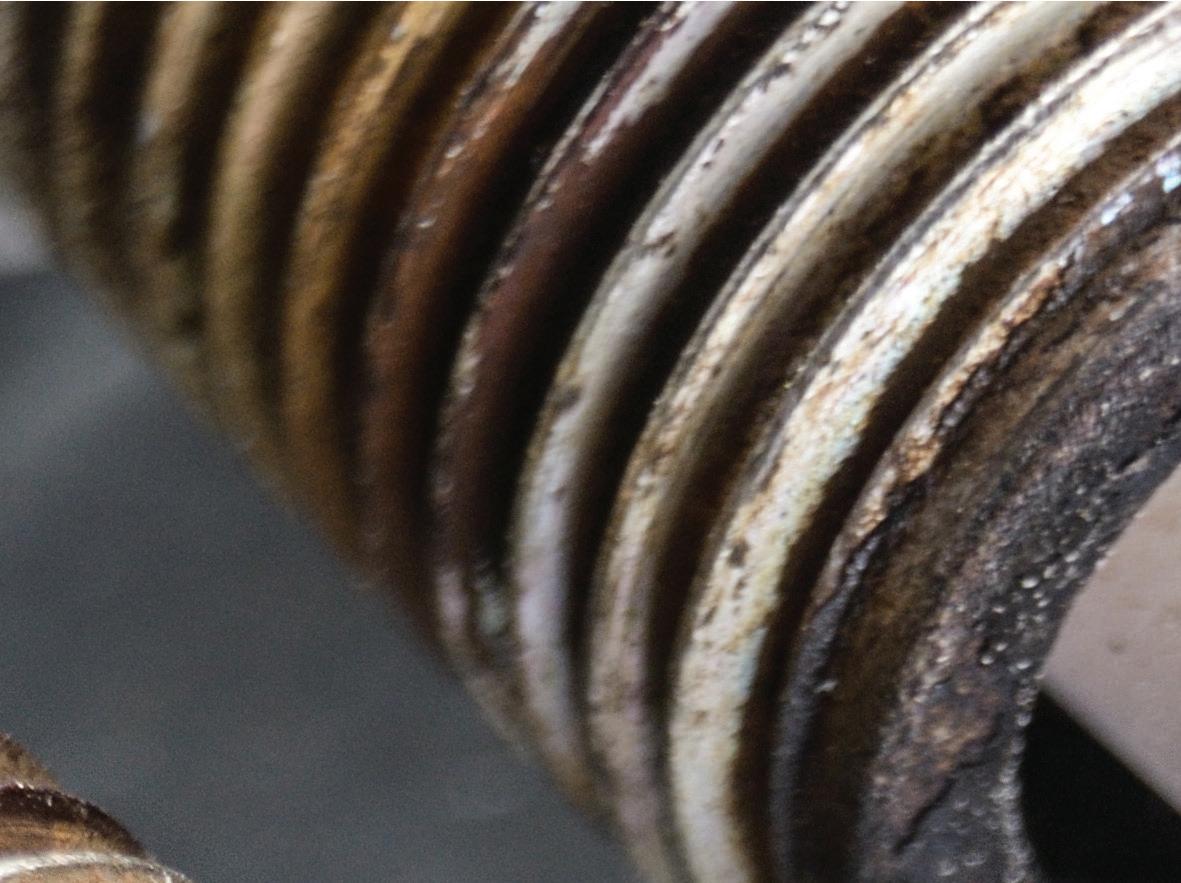
If a customer’s vehicle A/C isn’t working, remember that many of today’s late-model vehicles feature clutch-less A/C compressors. If the compressor appears to be turning, but you have little or no pressure, don’t automatically assume the compressor is at fault.
With the engine running, the pulley may be spinning, which may give you the false impression that the compressor is bad since there’s no pressure in the system. But look closely. If there is no clutch behind the pulley, the compressor is electronically controlled, so scan for DTCs and follow the diagnostics.
L-134 JEEP CAM
If you ever have to deal with a customer’s vintage Jeep featuring the L-134 four-cylinder engine and need to remove the camshaft, you’ll first need to remove the cylinder head. Then remove the die cover plate on the driver’s side of the block. This will provide access to the valves and adjustable lifters.
The cam will not come out until all lifters have dropped fully away from the cam lobes. Adjust the valves (using a pair of ½-inch open end wrenches) to gain as much valve clearance as possible.
Then, using a C-type valve spring compressor, compress each valve enough to allow removal of the valve locks. Once the locks are removed, remove the valve. Push the lifter away from the spring and pry the valve spring out. You may need to use a flat blade screwdriver to pry the spring out from between the lifter and valve guide boss.
Repeat this for all valves. Pull all lifters away from the cam. With the cam gear and cam retainer plate removed, the cam will easily slide out. This is a good time to inspect and possibly replace wear items, such as lifters and worn-out springs. Luckily, engine parts for these 1940’s-1950’s engines are readily available at quite reasonable prices.