4 minute read
Case study: Fiat 500 1.2 2011
Case study by Des Davies AAE MIMI, Top Gear Motor Services
Fiat 500 1.2 2011, Engine code 169A4.000, Mileage 64,105
Symptoms: Check engine light on with a misfire, Codes: P0202-12, P0300-98, P0302-98, P0300-92, P0302-92
We recently had a Fiat 500 towed in by the RAC, with the check engine light on accompanied with the sounds of a bad misfire.
I plugged my scanner into the OBD port to extract any fault codes in the ECM, there were also other codes identified but these were not related to the customer complaint so ignored these for the initial diagnostics and concentrated on the codes relating to the misfire fault.
A good starting point is to do a visual check on the underbonnet engine, ignition and fuel system and then depending on what is found, to look for the easiest and quickest place to start testing the fuel system in relation to the fault codes.

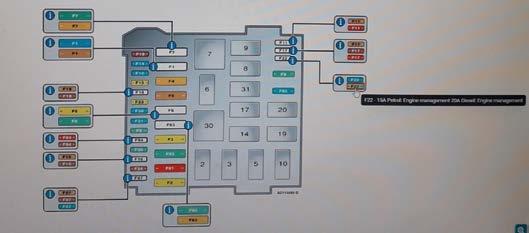
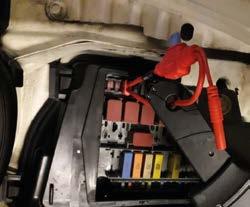
A nice easy and non-intrusive test is to locate the fuse box and find the fuse that is related to the fuel injectors to check the current flow to all injectors, to look for any abnormalities.

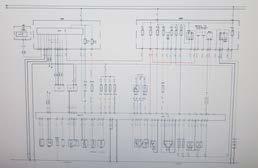
Now to work smarter and not harder, by gathering some information of the system and how it operates to help locate the relevant components to diagnose the fault.

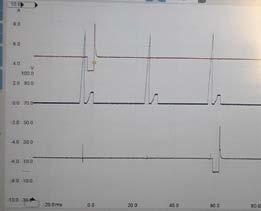
On checking the results of the waveform of the cylinder for no. 2 injector, the voltage trace of the injector was incorrect, with no back EMF signature on the trace. The injector for cylinder no. 2 was not opening and incapable of building the strong magnetic field to intensify and then induce the required voltage to operate correctly.

It could not deliver the correct amount of fuel for mixing and burning the air/fuel mixture in the engine combustion chamber – this can be caused by the injector feed or injector coil voltage being too low.
The injector feed voltage for no.2 injector was 13.7V, which is good so the injector coil windings must be causing the problem. You should also have a minimum back EMF of around 80V.
Please note on the current ramp pattern that you also have the ignition coil current ramp as well, this is because I am taking the measurement from the fuse that shares the injector voltage feed with the ignition coil feed, which gave me a quick and easy location for this test.
I then removed the fuel rail and checked injector no.2 for resistance using an Ohmmeter and compared this with the other three injectors:
Injector 1= 12.3Ω
Injector 2= 36.9Ω (problem found)
Injector 3= 12.1Ω
Injector 4= 12.3Ω
After replacing injector no.2, the resistance then measured 11.9Ω.
The resulting waveform of no.2 cylinder injector in Figure 6 has a good pattern and shows correct operation.

I cleared all fault codes, there was no misfire, and the engine ran smoothly with low emissions. I took it on a road test and the job was complete – a nice, easy fix.
Testing vehicle systems using the correct tools and equipment will help you to diagnose, test and fix these systems safely
It does not matter where you start to test a vehicle system for a fault, provided you know the basics of how the system operates and you have the relevant information, training and knowledge, you should be capable of fixing the problem
I tend to either start at the midpoint of the system and then work backwards or forwards depending on your last test results, or look to see where the easiest access point is to test the system safely
We all make mistakes, but if we learn from these mistakes then we will improve
The basics never change!
Keep training and learning on these new systems – I am learning everyday working on these systems that are rapidly changing with new advanced technology.


