1 minute read
Do it yourself
Worm bin
PROJECT COURTESY OF CHILDREN’S MUSEUM OF SONOMA COUNTY, SANTA ROSA
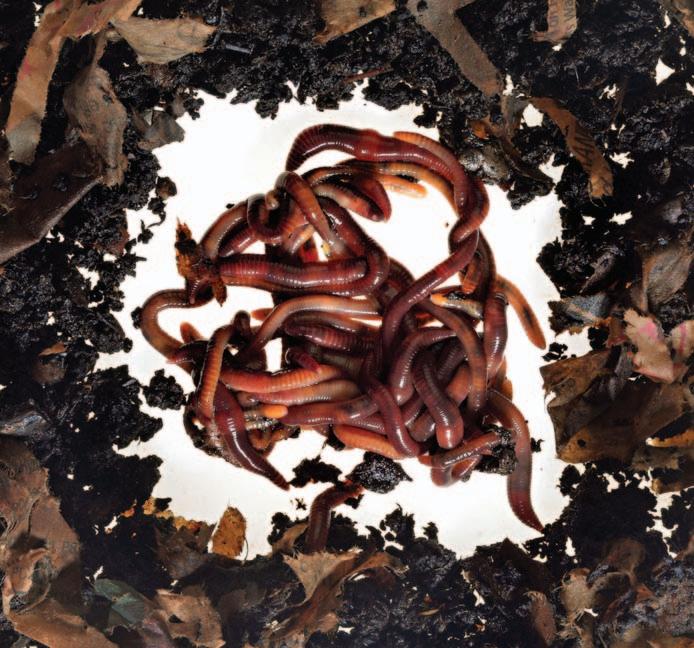
This activity is not only fun and interesting, it’s also sustainable and extremely practical. The worm bin project is from the Children’s Museum of Sonoma County, which is a destination for North Bay families wanting to steep their young ones’ minds in the arts and sciences. Don’t throw those food scraps away toss them into the container, where the slimy little crawlers help convert uneaten waste into nutrient-rich compost. Feed your worms a vegan diet — don’t give them meat, fish or dairy. Check the composter every few days, and harvest when it smells like a fresh forest (usually after three–five months).
MATERIALS
Dark plastic 10-20 gallon storage box, 2 lids for box, newspapers, 1 quart soil from the garden, 1 gallon water, red wiggler worms (Eisenia fetida), brightly colored tape, 2 craft sticks
PROCESS
Drill 20-25 ¼-inch drainage holes in the bottom of the box, two rows of 1⁄16-inch ventilation holes near the top and 30 1⁄16-inch holes in the lid. Shred newspaper, moisten until damp and fill the box 2⁄3 full. Add soil. Tuck worms into the middle. Cover with bedding. Put second lid under bin to catch drips, which can be poured back into composter Make an X-shaped marker with tape, craft sticks. Place kitchen scraps in a hole in the corner, cover with bedding with marker on top. When the scraps are mostly gone, add more. Put them to the right of the first batch, move the marker and continue like this clockwise


