
6 minute read
FUE lin G F r U strations p t 2 r
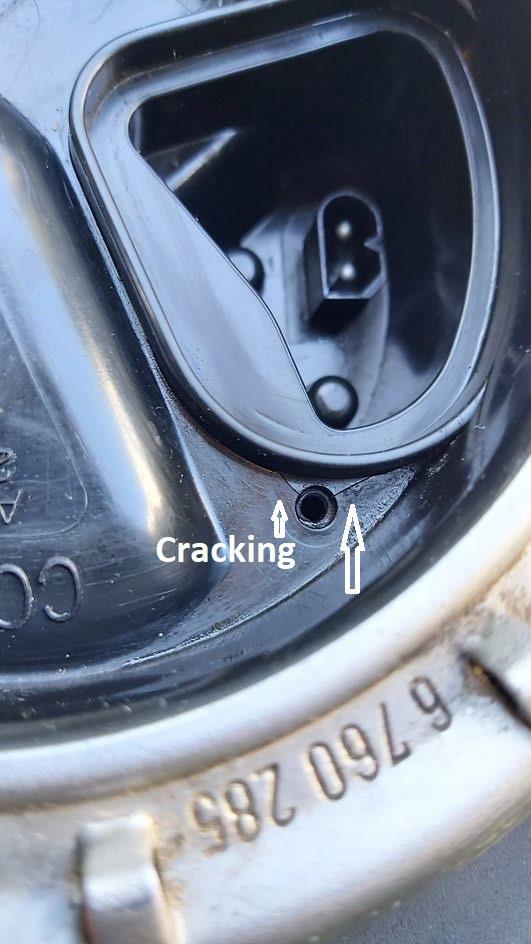
The cause of the fuel leak was not the quick connect fuel lines but an entirely new placeI found very fine hairline cracks around the mounts for the fuel pump controller (FPC) in the plastic fuel pump housing. The function of the FPC is to to regulate the voltage supply to the fuel pump and therefore the speed it runs at and rate of fuel supply. It is retained by two screws that are tightened no more than finger tight so it is hard to see any stress being placed on the housing, but cracked it was at both screw points.
A quick trip back through history is required here - BMW had a major issue with cracking around the high pressure fuel lines on the R1200 range affecting models from the first in 2004 up to the introduction of the wet heads in 2013/14. Mine had cracked and was replaced in 2015. BMW installed a new housing including the fuel pump as one unit even though the parts are separable. BMW only sell the complete unit as a spare part which is in the $600 range. Being of Scottish descent I sought a more economical solution and obtained a replacement from Frank at usedmotorcyclepartsonline.com.au in Benalla for the price of $120 delivered. This unit had a broken internal frame but the outer housing that I required was intact. It also came with a working pump and FPC so an absolute bargain.


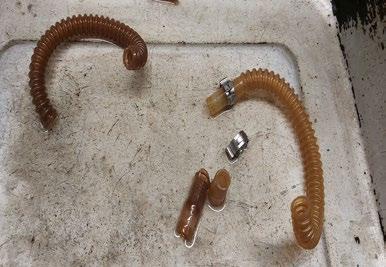
When I started to separate the various parts from my unit and the spare unit to build a hybrid I better understood why BMW replaced the units as a whole when they undertook the replacement program. It is labour intensive and risky as you are dealing with plastic parts which will break if forced. The high pressure fuel hose that connects the pump to the outer housing is an extremely tight fit at both ends but only clamped at the pump end. After years of use it almost fuses to the plastic connections so it is not salvageable and must be cut off. BMW do not stock this hose but Munich Motorcycles do, but I was impatient and found a supplier closer to home at Riverview - Dirt Devil Industries (DDI). If you are looking for this hose ensure it is made of PTFE which not only withstands the high pressure required but also is resistant to a wide range of fuels including E85, Ethanol & Alcohol. Oh, PTFE stands for Polytetrafluroethlene, but you already knew that!
This submersible hose comes in set lengths not sold by the metre like external hose. It is made from convoluted pipe with rounded ends and although flexible, the ends are
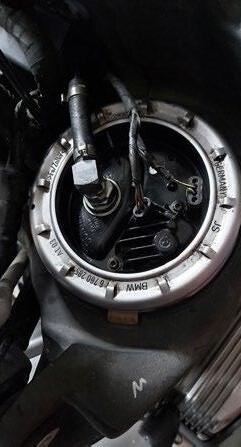
Reinstalled and ready to run
quite rigid. To make matters worse the BMW example has different diameter ends - 8mm at the pump (clamped) and 9mm at the tank (unclamped). To add to the confusion the Munich example is quoted at 212mm long compared to the 240mm length pipe I removed.
I first tried a 220mm length of 8/8mm hose from DDI but even heating this to a point where it couldn’t be held with bare hands it would not slide over the larger plastic connection at the tank end. I then tried a 250mm length of 8/10mm hose and this did the trick. I put clamps onto both ends as an added precaution. I found it easier to remove the pump from the plastic frame (3 rubber cush mounts hold it in place) to fit the new hose.
The 2nd hand housing I got from Frank had a broken frame and there was a risk that the same might happen to my housing if left in place while trying to fit the hose to the pump. I heated the hose with a hot air gun before installing. Sensing that success was within grasp I re-assembled and installed the pump housing and bathed in the delight of a bike that fired up immediately and ran sweetly. The last test was again to fill the tank above the level of the pump housing and check for leaks. All was good - for about 2 minutes, then a slight weep appeared: Aaargh!
This time it was the ring gasket around the pump housing - exposed to air after removal it appears that the gasket had swelled and didn’t fit perfectly. A quick call to Julian at M&W quoting the part number for the gasket and voila - yes I am looking at those as we speak, they just arrived in our stock delivery. A quick run into M&W and handed over a quite reasonable $16 (with Club discount) and I was back home and had her all up and running with no leaks. This saga has taken a month to resolve with a few lessons learned along the way. Murphy’s Law applies when working on motorcycles so beware. If you disturb a ‘system’ on an older high mileage motorcycle then expect that each component within that system will take the opportunity to fail so be prepared with a supply of new O rings, gaskets, seals etc. If you are riding an R1200 up to the wet heads it would be worthwhile checking around the fixing points for the FPC for any sign of a hairline crack. Use a magnifying glass after first removing the FPC. I will do this in future before setting off on any long trip.
Just wait there is more: After writing the above article I left the Grey Ghost and moved over to work on Rex the Kwaka who was having starter problems (another story for another day) without taking the GG for a big ride. The opportunity for that ride came on a beaut Wednesday and the mid-week ride to Somerset Dam via Mt Mee. I got about 2km from home over the Indooroopilly Bridge when the original problem resurfaced - the engine cut out. It could be cranked over but seemed starved of fuel. I could hear the fuel pump get excited when the ignition was turned on so I suspected that the FPC unit was at fault. Unfortunately the FPC bypass cable I carry didn’t resolve the problem so it was another call to the RACQ for a ride home. My GS911 showed Fault codes 10167 & 10168 being Output stage to Electric Fuel Pump faulty (Most likely Fuel pump electronics/ driver) and Electric Fuel Pump System faulty.
I swapped my FPC for the unit I got from Frank and the bike fired and the fault codes were no longer present. I did a bit of research that indicated the early model 1200’s were fitted with a FPC with an orange coloured sealing gasket (my example) while the later improved model had a blue gasket (the replacement unit). Hopefully this story endeth here!
Route 66 - By David Whale, Member #4185
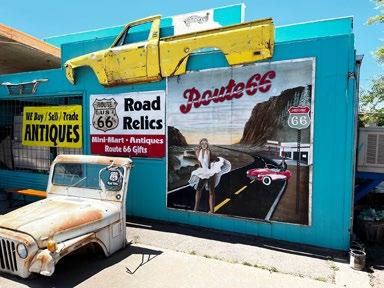
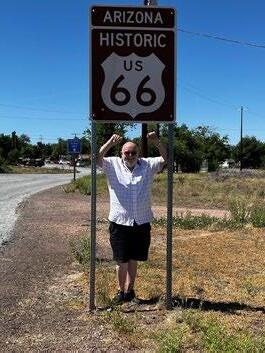
Therewas no way that being so close to this iconic route that it wasn’t going to be visited. Although a great chunk of it wasn’t there and we were on 4 wheels it was still a must.
How better to back track than taking the lead from Billy Connolly. Harley Davidson and route 66 go together like BMW and comfort. So many customised machines in the small town it was a sight (and sound) to behold!
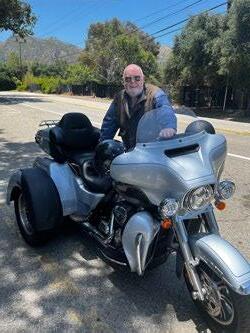

When we picked up the trike we did a reverse look and started from the end of ‘66’ in the city of the angels. Riding the route for a while we headed up into the mountains where twisties on a trike are very different to 2 wheels!

Heading through Hollywood watching the beautiful people we rode to Beverly Hills to watch even more beautiful people strut by!
Riding down Sunset Boulevard, Rodeo Drive and passing the Beverly Wilshire it was clear that there was nothing like cruising on a fun machine.
Building a Richthofen 750 or the creation of a Franken R75/6 Part 3
By Christopher Robertson, Member #243
Greetings from the land of seemingly endless BMW builds and bottomless wallets…or does it just seem that way!!!! This part is sort of the boring, but necessary, bit. You know like the scene in an action movie such as Indiana Jones where it slows down from a full-on motorcycle chase to a love scene, before the action picks up again. Thus, I will try to make this as painless, interesting and as brief as possible.
Recap rear bearings:
Now to recap something I missed. I have made it a point to change all the wheel and frame bearings, in their respective positions. The reality is there is quite a bit of information in the form of videos on how to change these bearings on YouTube. Generally, if it is filmed in Europe or USA they are being fitted in the off-riding season, that is winter. Thus, plenty of heat is applied both for removal and refitting.


