2 minute read
FUE lin G F r U strations
By Tony Gray, Member # 3905
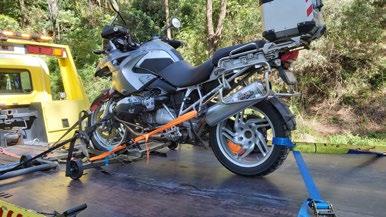
For only the second time in her 250,000km life the Gray Ghost returned home in shame on the back of a Tow Truck. The previous occasion it was a collapsed final drive bearing and seal on a club run in Goomeri in 2017. This time it was another club ride to Tumbulgum but she only made it half way up Mt Tamborine before expiring with suspected fuel starvation.

When I got her home and connected up my GS911 diagnostic tool I was not surprised to have a fault code indicating Electric Fuel Pump supply system faulty. I removed and drained the fuel tank and extracted the pump which worked perfectly on the test bench. There was no other problem with the various hoses, all electrical connections were clean, no crushed wires, the injectors were a bit grubby but cleaned up nicely and the gauze filter on the inlet side of the pump was clean. So it was head scratch time. Could it have been dirty fuel which was a fresh load from our local Caltex?

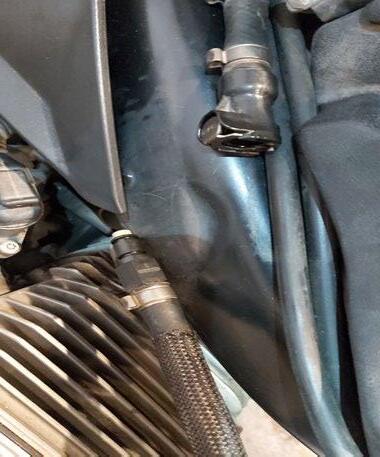
When I reconnected the tank and put in some fresh fuel she ran like a charm EXCEPT there was now a fuel leak from the hose quick connect from the scavenge pump on the RHS of the bike. There is only one O ring sealing this connection and they are known to swell and fail after being removed and exposed to the air. Simple I thought, new O ring and back on the road.
Not so fast! New O ring installed and she still leaked. Now the Gray Ghost was still fitted with the plastic quick connects on this line and also the take off line above the fuel pump. These plastic fittings have a lot of critics but I cannot complain with the trouble free life they have given to this point.

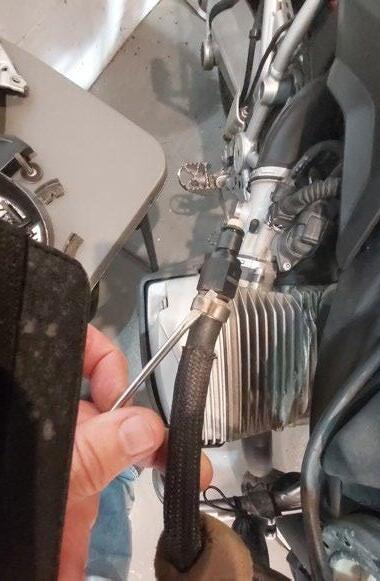
I decided to bite the bullet and replace both of the connections with (expensive) plated brass fittings from Munich Motorcycles. OK if you are contemplating this upgrade then here are my experiences with my 2007 R1200GS. Different models will vary slightly: way. Clamp the fuel hose just below the end of the fluted section of the connector. This has the effect of opening up the hose slightly. Use the larger screw driver blade as a wedge to open up a small gap between the end of the hose and the shoulder of the fitting. Once this opening has been made, work the ball end of the Allen key in under the hose and force separation from the fluted fitting. I used the ball end rather than a flat bladed screwdriver to eliminate the risk of puncturing the hoseor your hand if it slips.
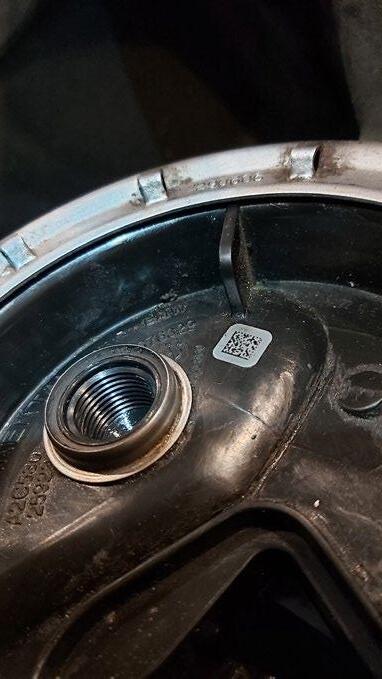
• It is easier to work with panel work removed. Also remove the fuel sender unit from the top of the pump as it obstructs getting a good angle with an open ended spanner on the hex fitting of the male connector.

Tools:

• 19mm open end spanner, 4mm & 6mm flat bladed screwdrivers, 2mm ball ended allen key, multi grips, pincer pliers, hose clamp pliers.
• There is the option of using screw type hose clamps in lieu of the crimped type in which case you would not need pincer pliers. I chose to keep what was fitted - I think they look neater.
• Use the small flat bladed screw driver to pry open the hose clamps. Slide back out of the
• Grab the fitting with the multi-grips while holding the hose in your other hand - twist & pull and it will release with a pretty sudden force so be prepared. Remove the old clamp


